 by
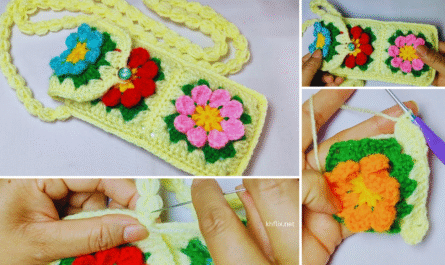
by Absolutely! Here’s a detailed step-by-step guide on how to make a Crochet Mini Bag Purse Keychain – a fun and easy project perfect for beginners. This adorable accessory can be used as a keychain, bag charm, or even a coin pouch. Let’s get started!
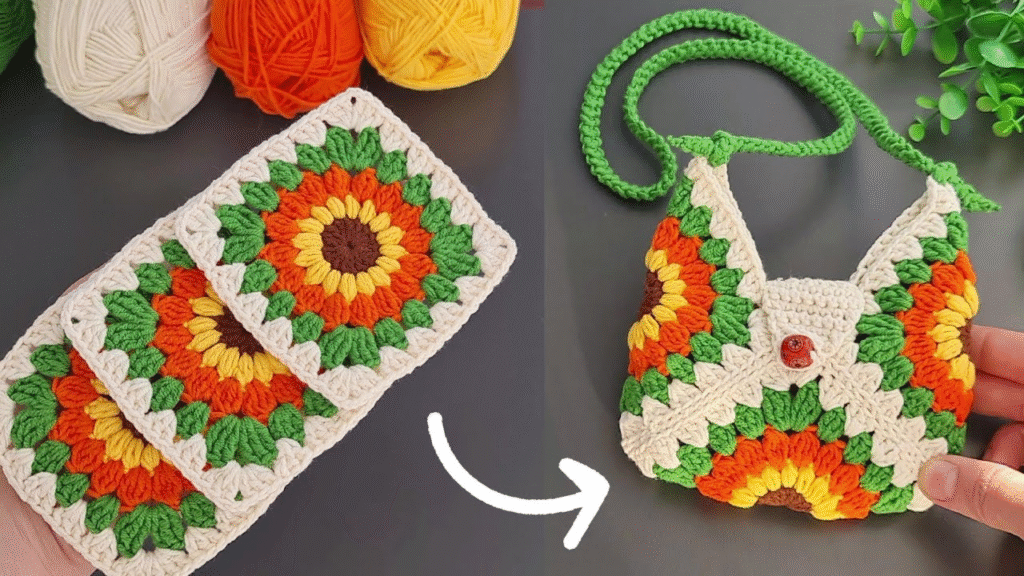
👜 How to Make a Crochet Mini Bag Purse Keychain – Step-by-Step Tutorial
🧶 Materials Needed:
| Item | Description |
|---|---|
| Yarn | Light weight (Category 3) or cotton yarn – choose any color |
| Hook | 3.0 mm or 3.5 mm crochet hook |
| Keychain Ring or Lobster Clasp | For attaching to keys or bags |
| Tapestry Needle | For weaving in yarn ends |
| Button or Snap | Optional for a closing flap |
| Scissors | For trimming yarn |
🧵 Abbreviations (US Crochet Terms)
| Abbreviation | Meaning |
|---|---|
| CH | Chain |
| SL ST | Slip Stitch |
| SC | Single Crochet |
| HDC | Half Double Crochet |
| DC | Double Crochet |
| INC | Increase (2 SC in 1 stitch) |
| DEC | Decrease (SC 2 together) |
📐 Finished Size
- Approx. 2.5–3 inches wide × 2.5 inches tall (without strap)
- Can be resized by adjusting the base chain and rounds
🪡 Pattern Overview
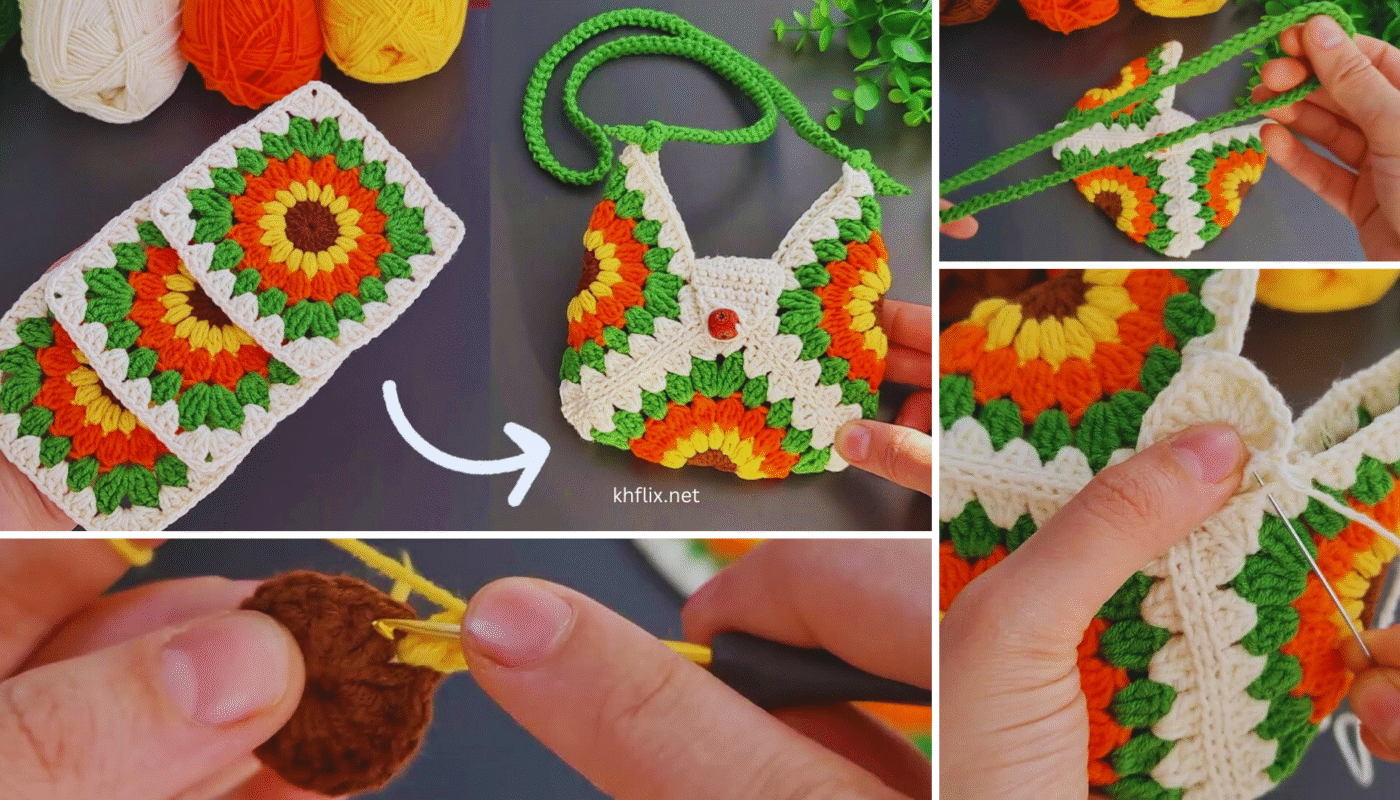
The mini bag is made in two parts:
- The Body – A simple rectangle folded in half and sewn on the sides
- The Flap & Strap – Crocheted directly onto the body
✨ Step-by-Step Instructions
👜 Part 1: Make the Bag Body
Step 1: Chain Base
- CH 13 (for a small purse; increase for larger size)
Step 2: Work the Foundation Row
- SC in 2nd CH from hook, SC in each stitch across
👉 (12 SC total)
Step 3: Build the Body
- CH 1, turn, SC across the row
- Repeat until you have about 14–16 rows (for a square or rectangle)
📝 You should now have a small rectangle. Fold it in half like a sandwich.
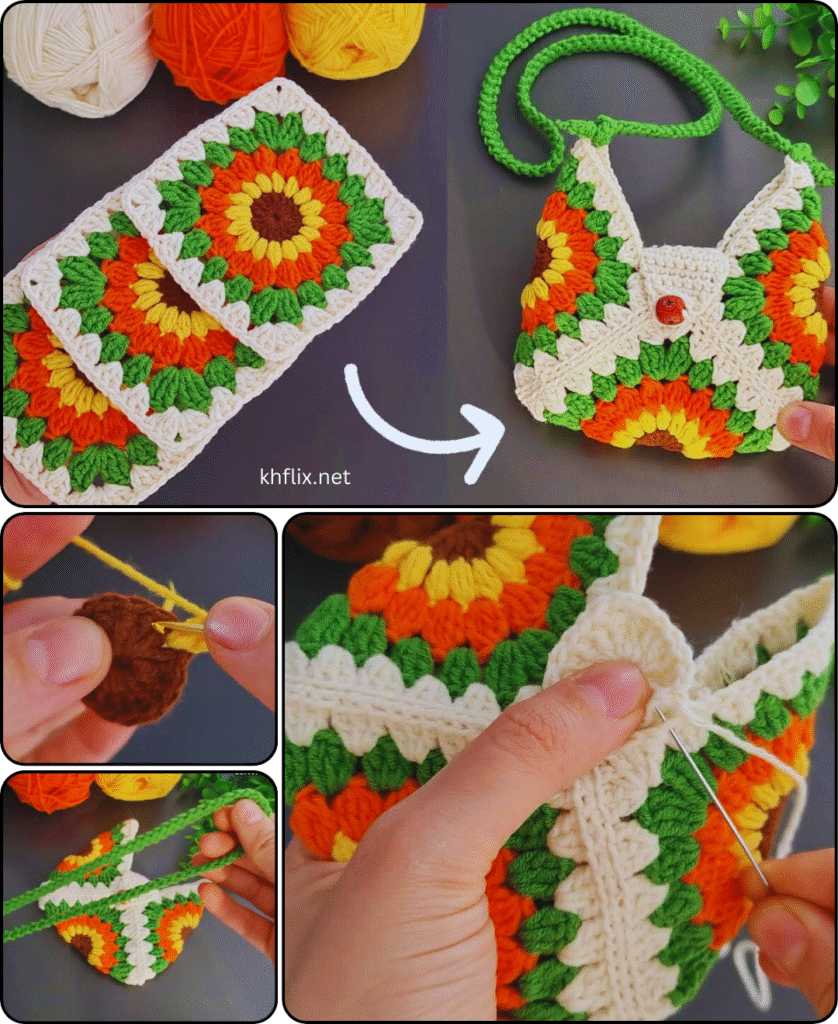
Step 4: Join the Sides
- Fold your work in half (so CH edge meets last row)
- SC along the side to join, then SC across the bottom, and up the other side
- SL ST to join and fasten off
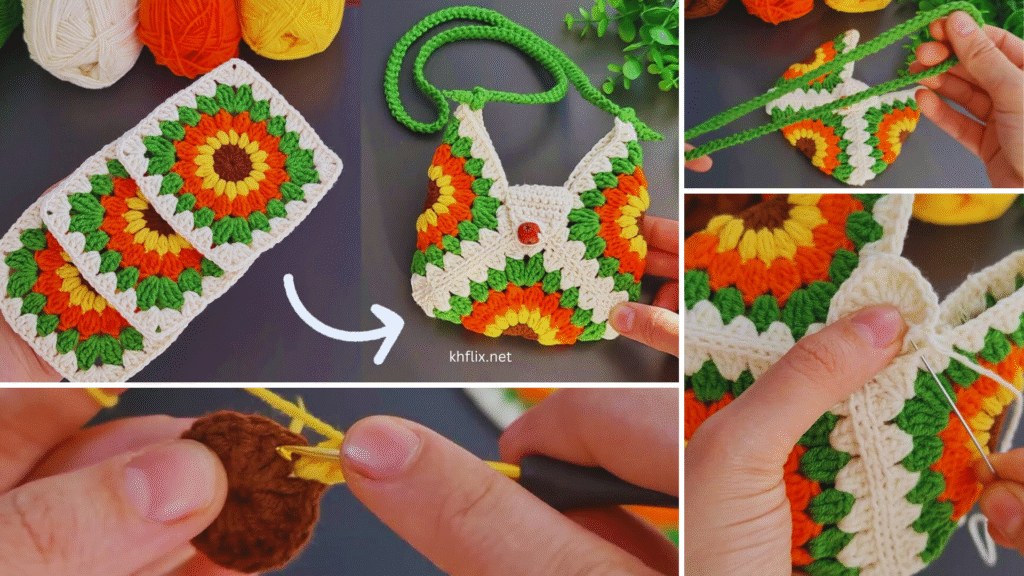
🎀 Part 2: Flap Closure
Step 5: Add the Flap
- Attach yarn to the back edge of the opening (center of top back)
- CH 1, SC across 8 stitches (you can adjust depending on width)
- CH 1, turn, SC across
- Repeat for 4–5 rows for a short flap
Optional: In the final row, add a buttonhole:
- SC 3, CH 2, skip 2 stitches, SC to end
Fasten off and weave in ends
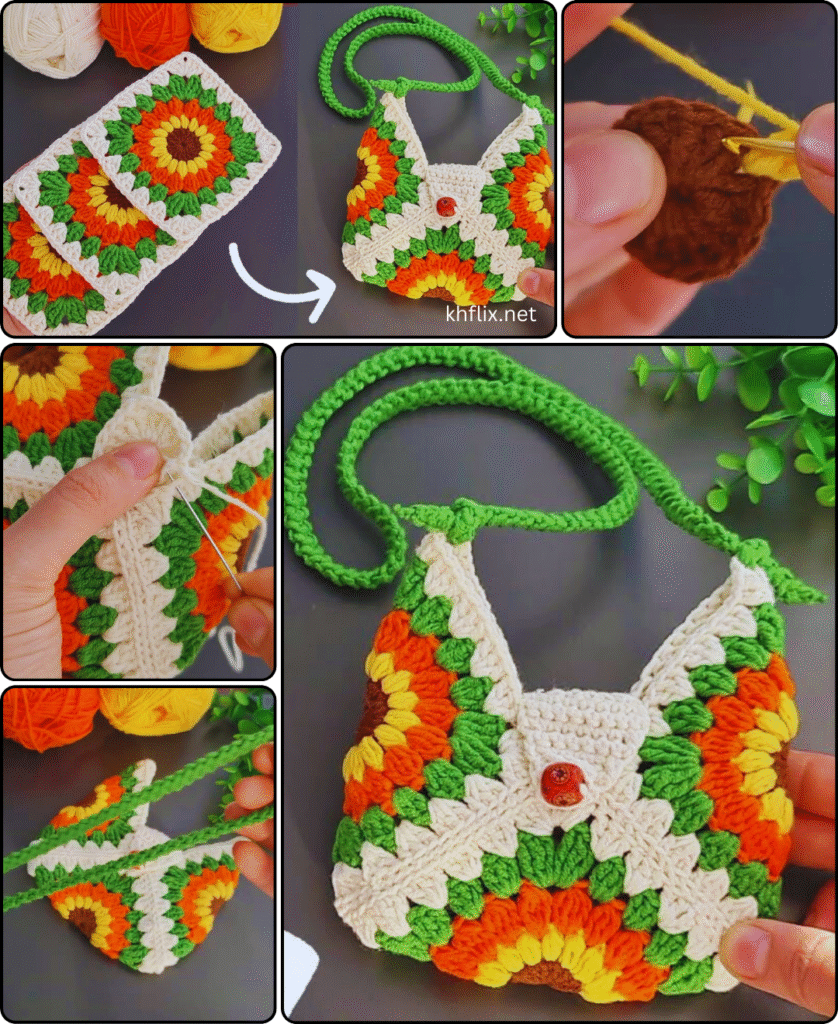
🧵 Part 3: Add Strap or Loop
Step 6: Create the Strap Loop
- Attach yarn to the top side of the bag (wherever you want your loop)
- CH 10–15 (depending on length)
- SL ST back into same stitch to form a loop
- Fasten off and weave in ends
Alternative: Use a jump ring or metal loop sewn to the top
🔗 Step 7: Add Keychain Hardware
- Use a lobster clasp, keyring, or ball chain
- Slip it through the crochet loop or sew a ring directly onto the back
🌟 Optional Embellishments
- Sew on a tiny button for the flap
- Add small flowers, beads, or bows
- Embroider initials or hearts for personalization
🧺 Care Tips
- Spot clean gently with water and soap
- Air dry flat
- Use durable yarn to prevent stretching if you carry coins or accessories
📎 Gift & Use Ideas
- 🎁 Handmade gift or party favor
- 🧷 Earbud or coin holder
- 👜 Bag charm or backpack accessory
- 💄 Mini pouch for lipstick or USB drives
Would you like a photo tutorial, video link, or a PDF printable version of this pattern? I’d be happy to provide one!