by
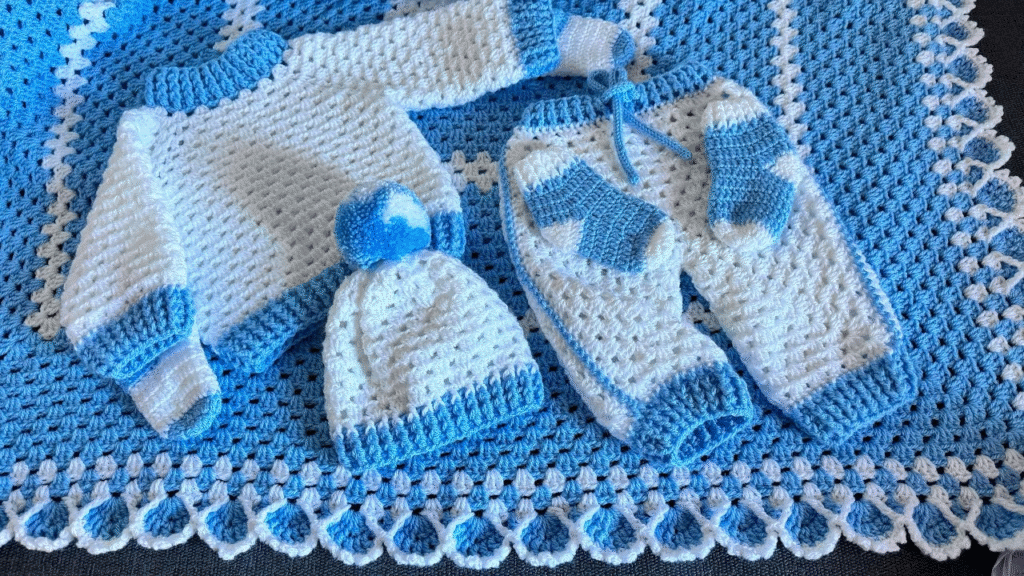
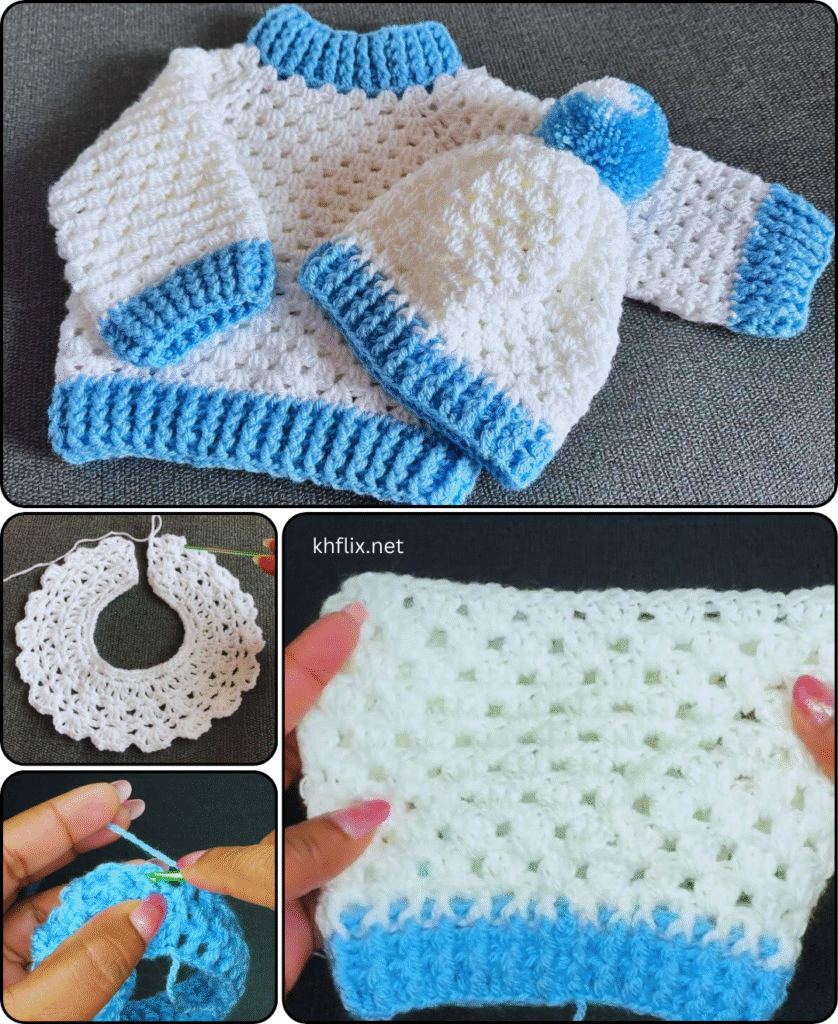
by Absolutely! Here’s a complete, step-by-step guide on how to make a Crochet Baby Set (Hat, Booties, Pants, and Shirt) in white and blue colors. This baby set makes a wonderful gift for baby showers, newborn photography props, or everyday wear.
🎯 Skill Level:
Beginner to Intermediate – Basic crochet knowledge required (working in rounds, increases, and joining pieces)
🧶 Materials Needed:
- Yarn: Soft baby yarn or acrylic yarn – White and Blue
- Weight: DK (Light #3) or Worsted (Medium #4)
- Hook size: 4.0 mm – 5.0 mm (depending on yarn weight)
- Tapestry needle
- Scissors
- Stitch markers (optional)
- Buttons or ribbons (optional for shirt decoration)
👶 Crochet Baby Set (0–3 Months Size)
✨ Pattern:
- With white yarn, make a magic ring.
- Round 1: Ch 2 (counts as dc), work 11 dc into the ring. Join. (12 dc)
- Round 2: Ch 2, 2 dc in each st around. Join. (24 dc)
- Round 3: Ch 2, (dc in next st, 2 dc in next) around. Join. (36 dc)
- Round 4–8: Ch 2, dc in each st around. Join. (36 dc)
- Round 9 (trim): Switch to blue yarn, ch 1, sc in each st around. Join and fasten off.
🎀 Optional: Add a pom-pom or a small bow.
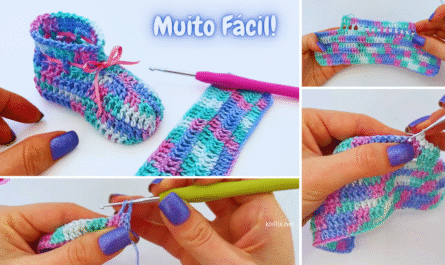
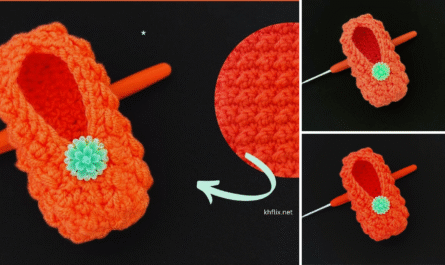
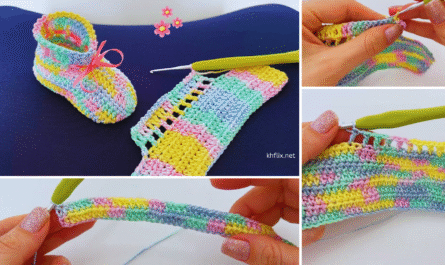
👣 2. Crochet Baby Booties (Blue with White Sole)
✨ Sole:
- With white yarn, ch 10.
- Sc in 2nd ch from hook, sc in next 7 ch, 3 sc in last ch.
- Work on the opposite side: sc 7, 2 sc in last st. (20 sc)
- Round 2: Work 2 sc in ends, sc along sides. (Increase to 26 sc)
✨ Top & Sides:
- Change to blue yarn, sc around in back loops only.
- Work 4–5 more rounds of sc or hdc in the round.
- Optional: Add a row of dc2tog at the front to shape toe.
✨ Finish:
- Fasten off and weave in ends.
- Optional: Add a small strap or tie with a button.
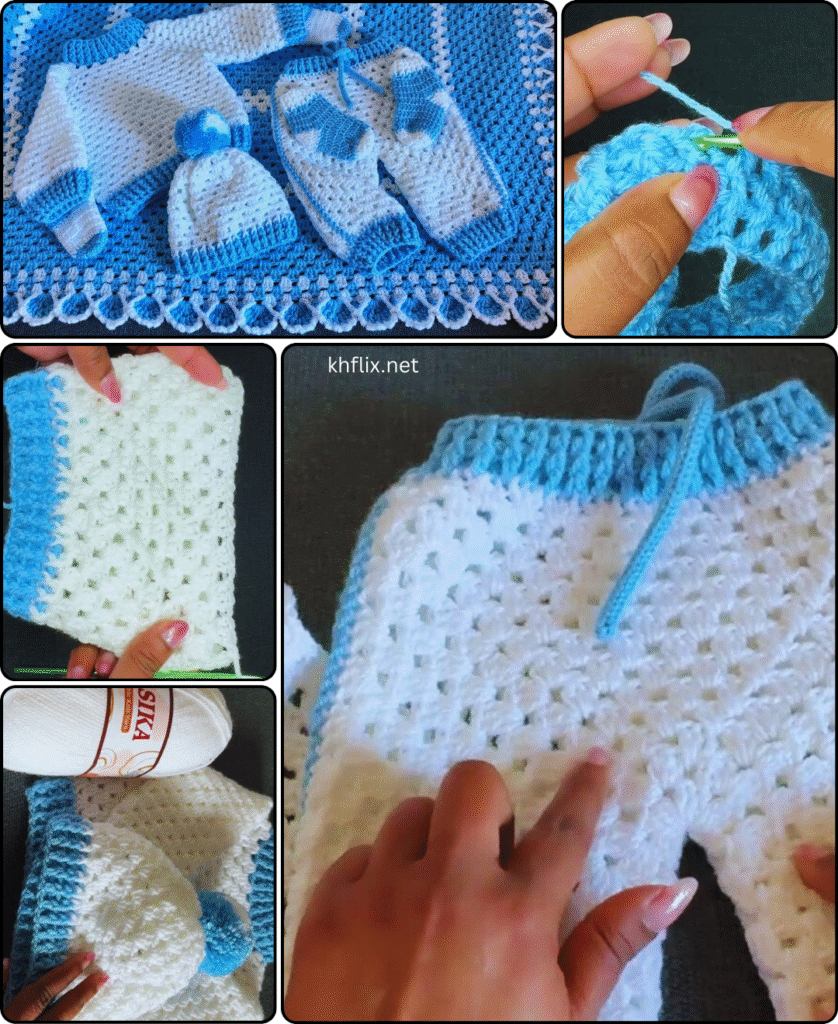
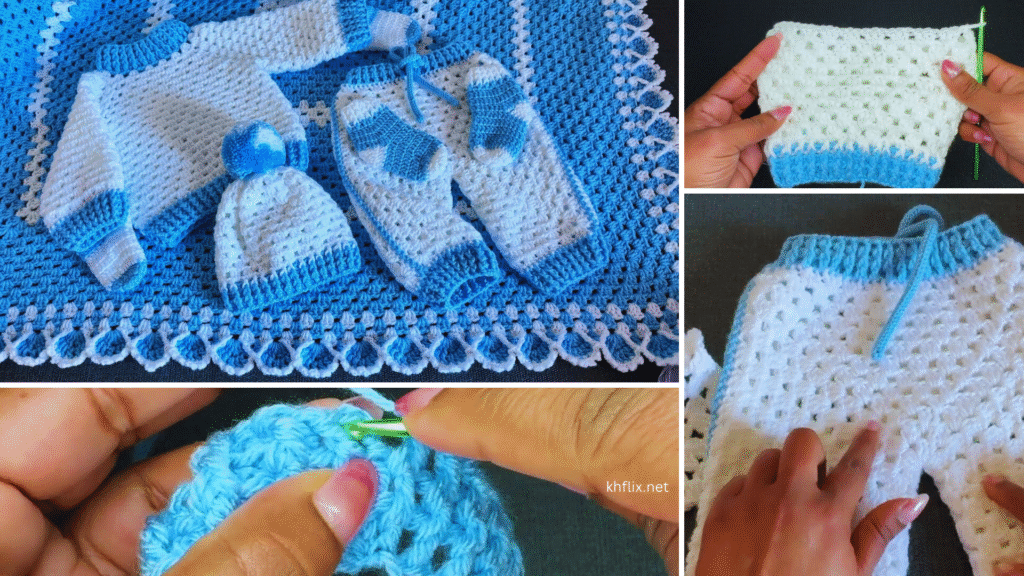
👖 3. Crochet Baby Pants (White with Blue Cuffs)
✨ Waistband:
- With white yarn, ch 52 (adjust to baby’s waist size), join in a circle.
- Rounds 1–4: Work sc or hdc around for the waistband.
- Switch to dc, and work in rounds until you reach 6–7 inches length.
✨ Split for Legs:
- Divide stitches in half. Work one leg at a time.
- Leg 1: Join yarn, work in the round for 3–4 inches.
- Switch to blue yarn for final 2 rows.
- Repeat for Leg 2.
🎀 Optional: Add a drawstring or ribbon to the waistband.
👕 4. Crochet Baby Shirt (Blue Body, White Yoke)
✨ Yoke (White):
- Ch 40 (adjust based on gauge and size).
- Work dc rows, increasing at corners (raglan style) to form front, back, and sleeves.
- Increase every other row for 4–5 rows.
✨ Body (Blue):
- Join underarm chains, skip sleeve stitches.
- Continue working in dc rounds/rows to form the shirt body (5–6 inches length).
- Finish with a row of sc in white yarn.
✨ Sleeves:
- Join yarn at sleeve opening, work 3–4 rounds of dc or hdc.
- Finish with white trim.
🎀 Optional:
- Add buttons to the front (real or decorative).
- Add a white collar or bow for extra detail.
🌟 Assembly and Finishing
- Weave in all ends securely with a tapestry needle.
- Block lightly with steam or warm towel to shape.
- Decorate with small appliqués, bows, or personalized labels if desired.
📝 Project Summary
| Item | Color | Size | Time Est. |
|---|---|---|---|
| Hat | White + Blue | 0–3 months | 1 hour |
| Booties | Blue + White | 0–3 months | 1.5 hours |
| Pants | White + Blue | 0–3 months | 2–3 hours |
| Shirt | Blue + White | 0–3 months | 3–4 hours |
💡 Tips
- Use soft baby yarns to avoid irritation on delicate skin.
- Keep the seams flat and smooth inside the garments.
- Adjust sizes using more or fewer stitches and rows based on your gauge.
- Consider making a matching beanie and mittens for a complete set.
Would you like:
- A PDF pattern version?
- Stitch diagrams or visual layout?
- A video tutorial recommendation for any part of this set?
Let me know how I can assist you further!