 by
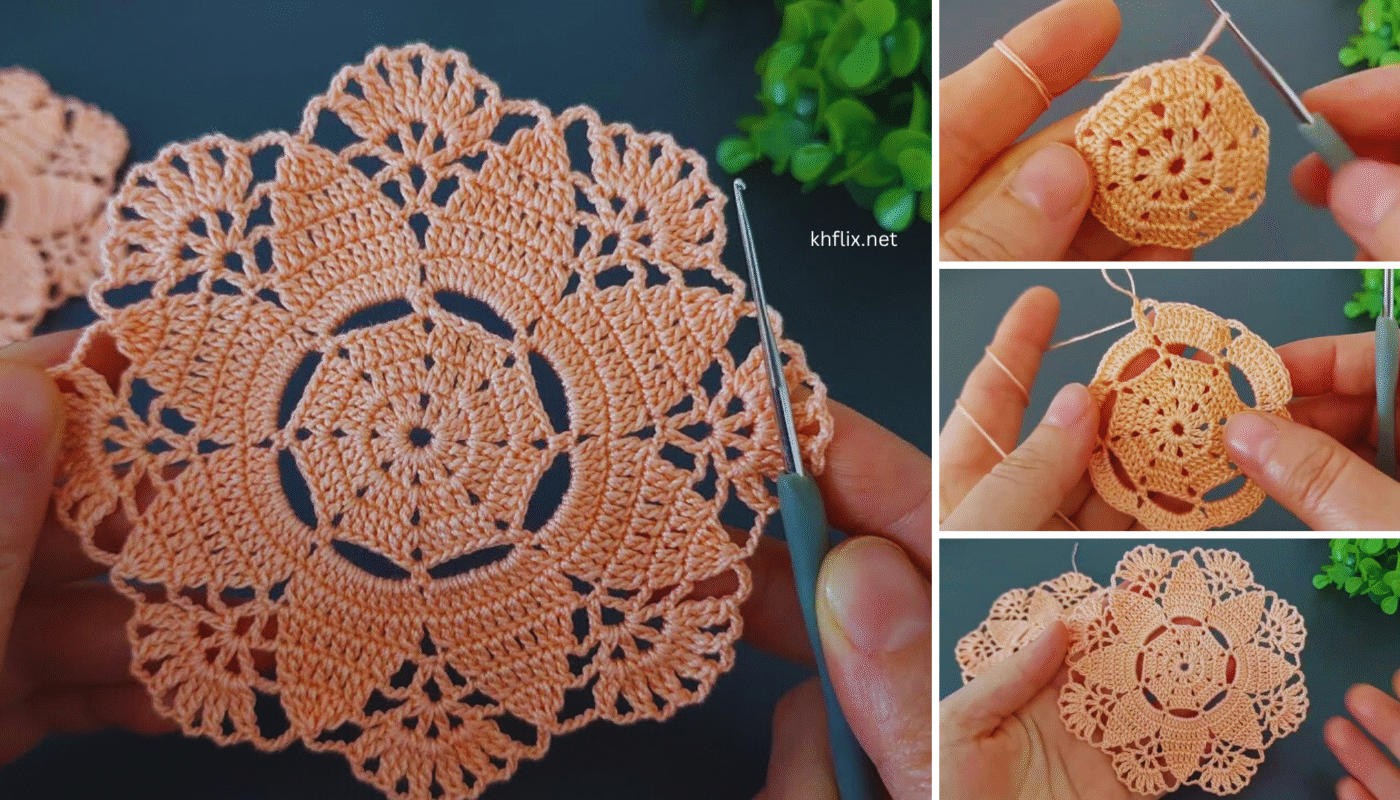
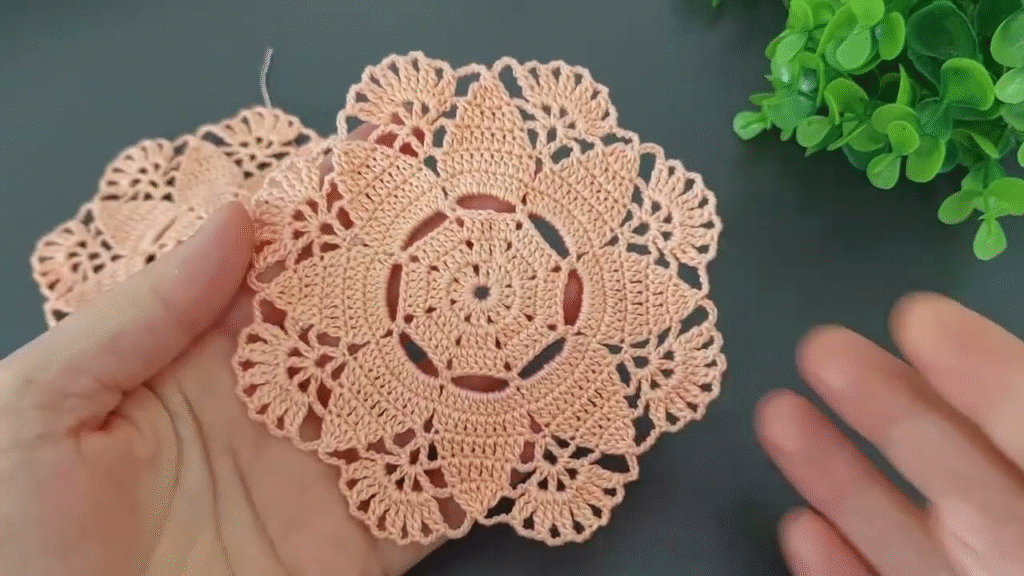
by Certainly! Here’s a detailed, easy & beautiful crochet doily tutorial specially designed for beginners. This guide walks you through making a small round doily using basic stitches, and the final product is both elegant and functional—perfect for table decor, gifts, or just practicing your crochet skills.
🧵 Materials Needed:
- Yarn or thread:
- Cotton crochet thread size 10 (for a traditional lace look)
- OR use light-weight yarn (category 3) for easier handling
- Crochet hook:
- 1.5 mm (for thread) or 3.5–4.0 mm (for yarn)
- Tapestry needle – for weaving in ends
- Scissors
- Blocking materials (optional): Pins and foam board or towel
📏 Finished Size:
- Using thread: 6–8 inches (15–20 cm) diameter
- Using yarn: 8–10 inches (20–25 cm) diameter
(Varies by hook size and tension)
🧶 Stitches & Abbreviations (US Terms):
- ch – chain
- sl st – slip stitch
- sc – single crochet
- dc – double crochet
- sp – space
- st(s) – stitch(es)

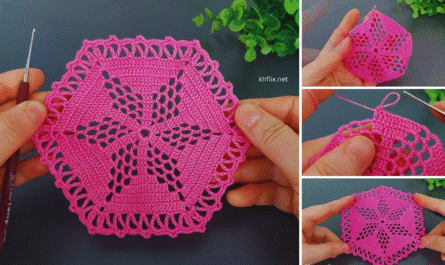
🌸 Pattern: Easy Round Lace Doily (8 Rounds)
🔹 Round 1: Start the Center
- Make a magic ring, or ch 5 and join with sl st to form a ring.
- Ch 3 (counts as 1 dc), then work 11 dc into the ring.
- Join with sl st to the top of ch-3.
🧮 (12 dc total)
🔹 Round 2: Increase Round
- Ch 3, dc in same st.
- 2 dc in each dc around.
- Join with sl st.
🧮 (24 dc)
🔹 Round 3: Add Space
- Ch 4 (counts as dc + ch 1).
- Dc in next st, ch 1, repeat around.
- Join with sl st to 3rd ch of beginning ch-4.
🧮 (24 dc, 24 ch-1 spaces)
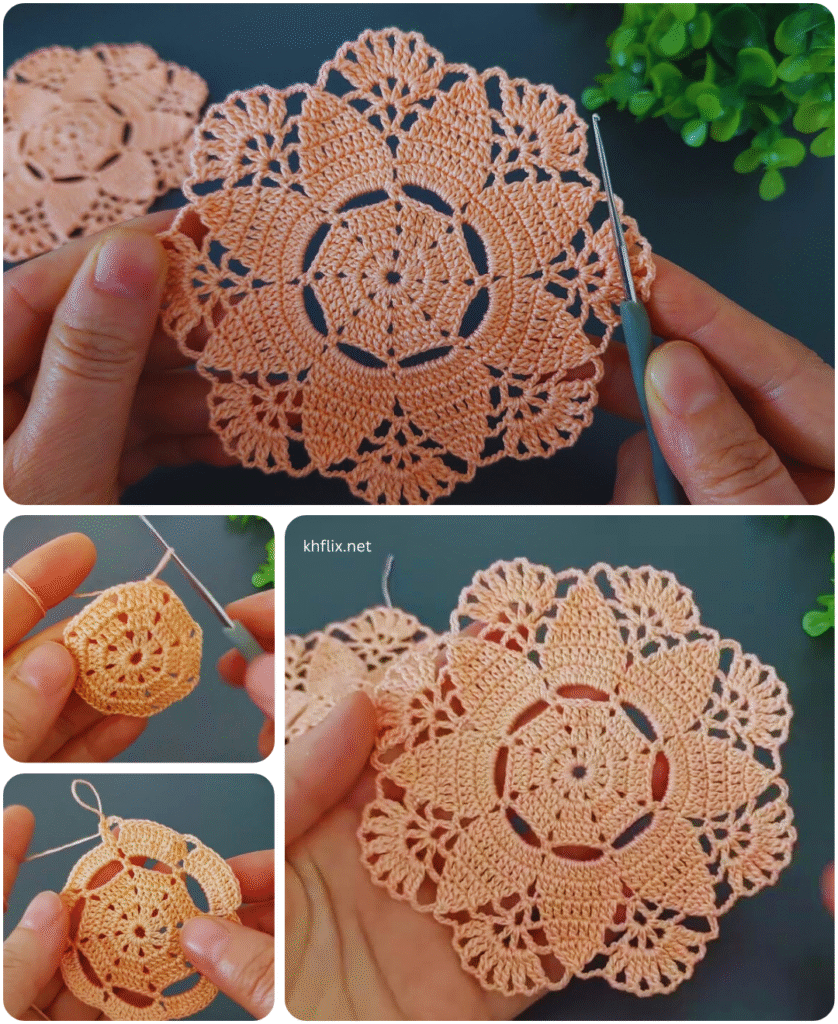
🔹 Round 4: Create Petal Clusters
- Sl st into first ch-1 space.
- Ch 3 (counts as dc), 2 dc in same space.
- 3 dc in next ch-1 space – repeat around.
- Join.
🧮 (24 clusters of 3 dc = 72 dc)
🔹 Round 5: Add Loops
- Ch 1, sc in between dc clusters, ch 5, repeat around.
- Join with sl st to first sc.
🧮 (24 ch-5 loops)
🔹 Round 6: Fancy Shells
- Sl st into first ch-5 space.
- [3 dc, ch 2, 3 dc] into each ch-5 space – repeat around.
- Join.
🧮 (24 shells)
🔹 Round 7: Finishing Touches
- Ch 1, sc in space between shell groups, ch 4, repeat around.
- Join.
🧮 (24 ch-4 loops)
🔹 Round 8: Picot Edging (Optional)
- In each ch-4 loop: sc, ch 3, sl st in first ch (picot), sc.
- Repeat in each loop.
- Fasten off, weave in ends.

✨ Finishing – Blocking the Doily (Optional but Recommended)
- Wet the doily slightly or use a steam iron (do not press down).
- Pin it to a flat surface, stretching out points or petals evenly.
- Allow it to dry to hold shape.
🎀 Customization Ideas:
- Use variegated or gradient thread for a colorful effect.
- Make multiple doilies and stitch them together as table runners.
- Use thicker yarn and larger hook to create placemats.
💡 Beginner Tips:
- If working with thread is hard, start with cotton yarn and move to finer thread later.
- Use stitch markers if you lose count easily.
- Don’t worry if your first doily isn’t perfect—blocking works wonders!
Would you like:
- A printable PDF pattern
- A diagram/chart version
- Or a video tutorial to follow along?
Let me know, and I’ll provide the format that suits you best!