 by
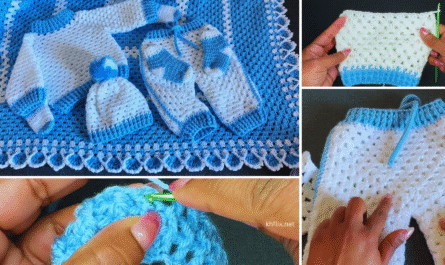
by Sure! Here’s a detailed overview and tutorial-style guide for making a Crochet Baby Dress (0–3 Months), ideal for beginners to intermediate crocheters. This includes materials, sizing, stitches, step-by-step instructions, and tips.
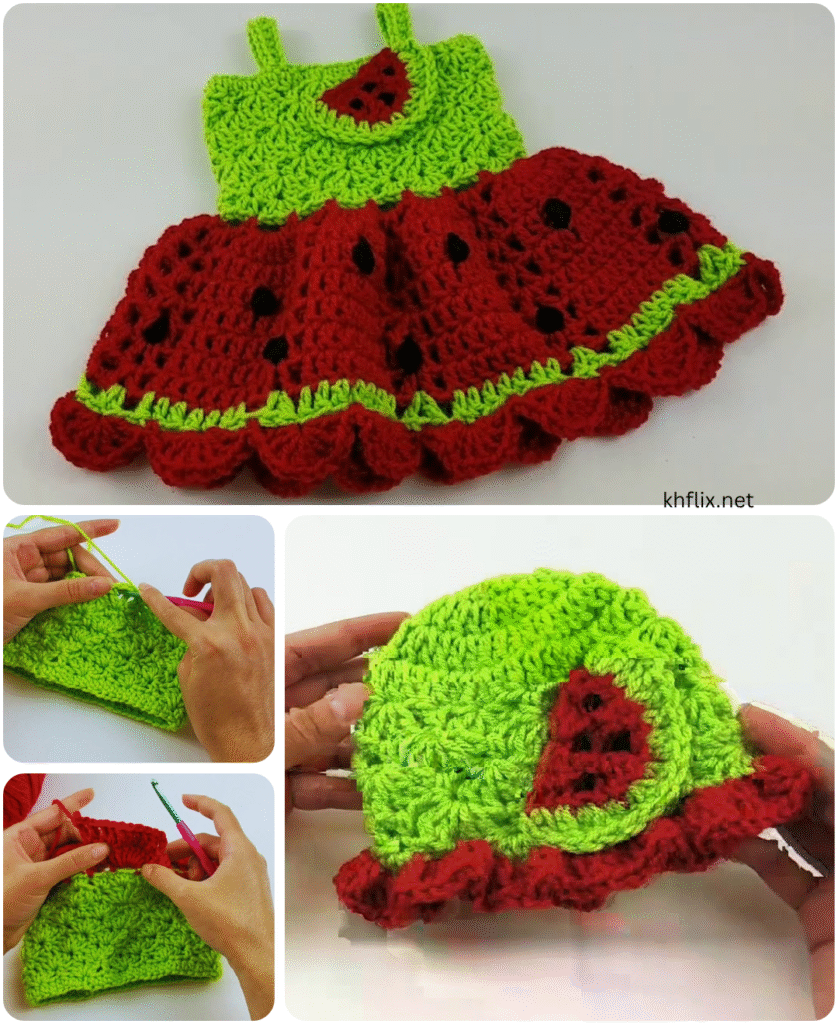
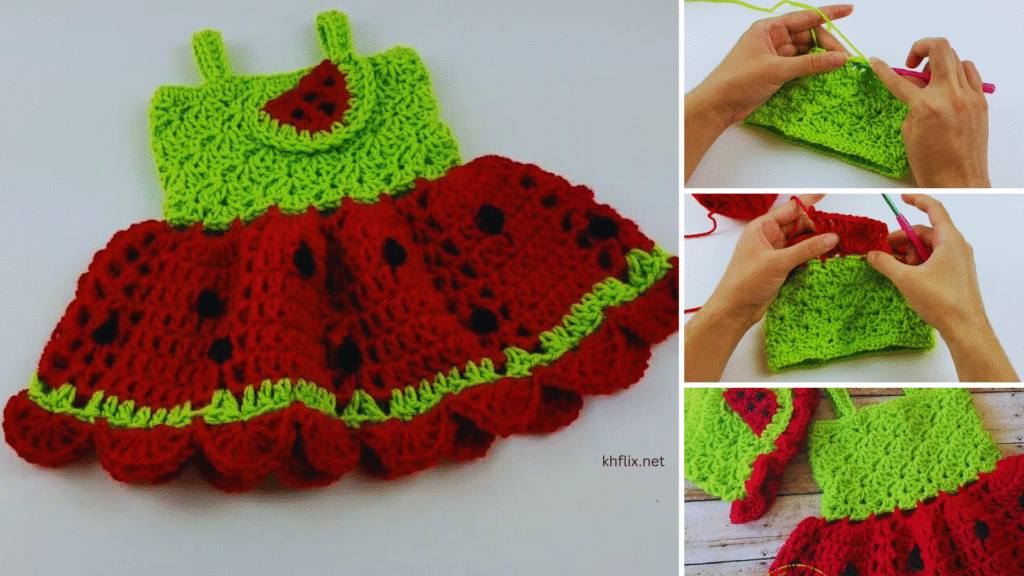
🧶 Crochet Baby Dress Tutorial (0–3 Months)
🧵 Materials Needed:
- Yarn: Soft, lightweight (category 3) baby yarn (like cotton or acrylic baby yarn)
- Approx. 150–200g
- Hook Size: 3.5 mm (E) or 4.0 mm (G) crochet hook (check yarn label)
- Buttons: 2–3 small buttons (for the back or shoulder)
- Tapestry needle
- Scissors
- Measuring tape
📏 Finished Size:
- Chest circumference: ~16–17 inches (41–43 cm)
- Dress length: ~12–14 inches (30–36 cm)
- Designed to fit a baby 0–3 months.
🧶 Crochet Stitches Used:
- Chain (ch)
- Slip Stitch (sl st)
- Single Crochet (sc)
- Double Crochet (dc)
- Half Double Crochet (hdc) (optional)
- *Shell Stitch (multiple dc in one stitch, optional for skirt)
If you’re a beginner, these are basic stitches and there are many free tutorials online for practicing them.
🧷 Step-by-Step Crochet Baby Dress (Top-Down)
Step 1: Yoke (Top Part)
We’ll start with a circular yoke worked back and forth, then join and work in the round.
- Foundation Chain:
Ch 52 (or adjust based on your tension and stitch multiple). - Row 1:
Dc in 4th ch from hook and each ch across. (Total 50 dc) - Row 2–6 (Yoke Increase Rows):
Continue dc rows, increasing at regular intervals (e.g., every 10th stitch), to create a circular yoke. You may place stitch markers at the corners (shoulders) for raglan shaping:- 10 dc (front)
- 1 dc inc (shoulder)
- 8 dc (sleeve)
- 1 dc inc
- 12 dc (back)
- 1 dc inc
- 8 dc (sleeve)
- 1 dc inc
- 10 dc (front)
- After Row 6:
You should have around 70–80 dc (depending on increase pattern). Adjust for baby size.
Step 2: Join for Body (Skirt Section)
- Row 7:
Skip sleeve stitches, connect front and back panels. Join with sl st at the underarm to form the body circle. - Start Working in Rounds:
Begin working in rounds without turning. Continue with dc or a shell stitch pattern:- Shell = 2 dc, ch 1, 2 dc in the same stitch, skip 1–2 stitches between shells.
- Work Skirt for 20–25 Rows:
Continue until the dress reaches desired length (~12–14 inches). Add a ruffled edge if desired:- Final row: (3 dc in each st) around to make it frilly.
Step 3: Sleeves (Optional or Cap Sleeves)
You can leave as is for a sleeveless dress or add short sleeves:
- Attach yarn at underarm.
- Work 2–4 rounds of dc or hdc in the sleeve space.
- Fasten off and weave in ends.
Step 4: Back Opening & Finishing
- Back Opening (Optional for Easy Wear):
- Leave 3–5 stitches unjoined at the top back.
- Add a few rows of sc along each side of the opening.
- Sew buttons on one side and make button loops (ch 5 spaces) on the other.
- Weaving In:
- Use a tapestry needle to weave in all loose ends.
- Block the Dress:
- Gently block using steam or wet method to shape the dress and smooth stitches.
🎀 Optional Embellishments:
- Crochet flower or bow on the chest
- Ribbon through waistline
- Contrasting trim along hem or sleeves
🧵 Tips:
- Always measure as you go, babies vary in size.
- Use soft, baby-safe yarn to prevent irritation.
- Wash and block before gifting or wearing.
Would you like a PDF version, a video tutorial link, or a written pattern in standard crochet notation (Row 1: Ch 52, dc in 4th ch from hook, etc.)? I can also help you customize it for another age range (like 3–6 months).