by
by Crochet coasters are one of the best beginner-friendly crochet projects. They are small, quick to make, and allow you to practice basic stitches while creating something beautiful and useful. A handmade crochet coaster not only protects your table surfaces from heat and moisture but also adds a decorative, cozy touch to your home.
This detailed guide will walk you step by step through everything you need to know about making a beautiful crochet coaster, even if you are just starting your crochet journey.

Why Crochet Coasters Are Perfect for Beginners
Crochet coasters are ideal for beginners for many reasons:
- Small project size (finishes quickly)
- Uses basic crochet stitches
- Requires minimal yarn
- Easy to correct mistakes
- Great for practicing working in the round
- Perfect handmade gift or home décor item
They are also excellent for using leftover yarn and experimenting with colors and textures.
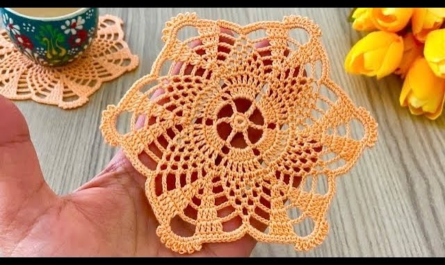
Types of Crochet Coasters
There are many styles of crochet coasters, but beginners usually start with:
- Simple Round Coaster
- Flower-Style Coaster
- Square Coaster
- Textured Coaster
- Layered or Thick Coaster
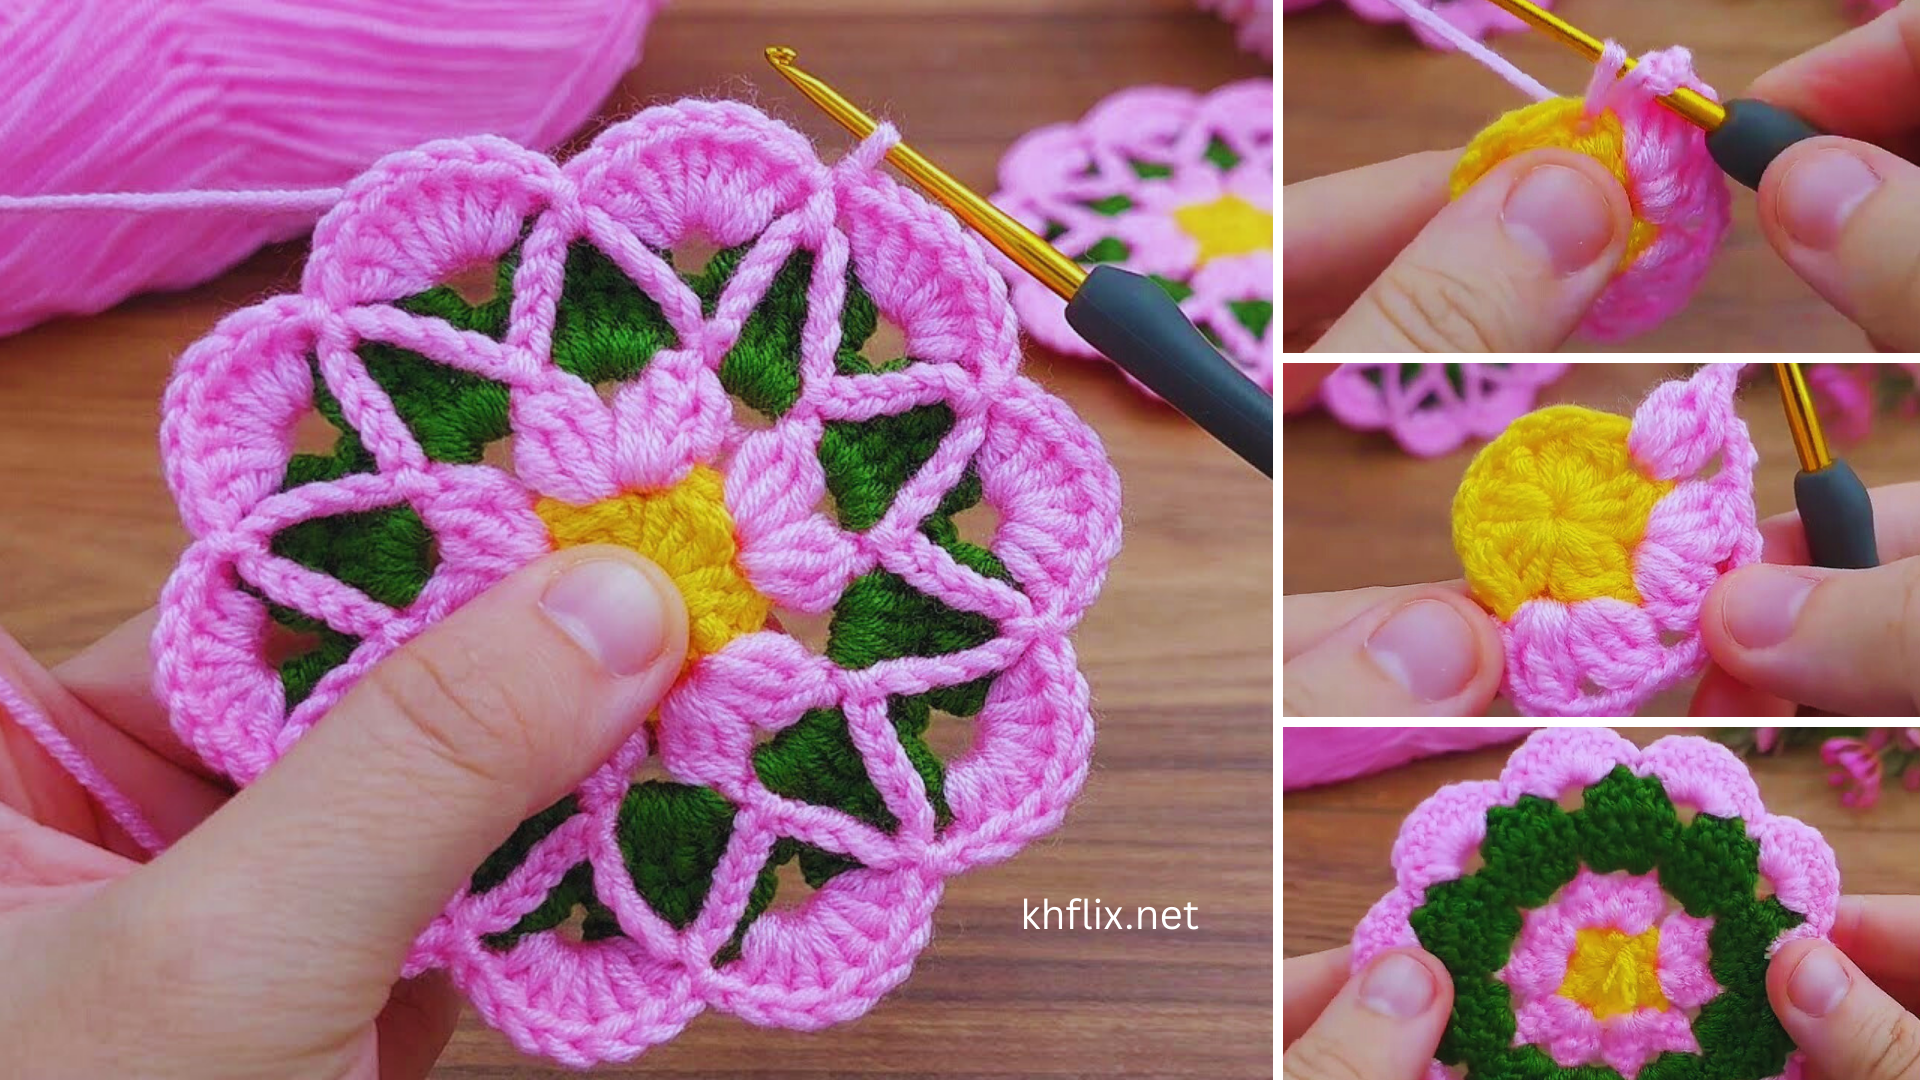
This article focuses mainly on a beautiful round or flower-style crochet coaster, which is beginner-friendly and visually appealing.
Materials Needed
Yarn Selection
Choosing the right yarn is very important for coasters.
- Cotton yarn (highly recommended)
- Absorbs moisture
- Heat resistant
- Durable and washable
- Medium-weight (Worsted / Category 4)
Avoid slippery or stretchy yarns like pure acrylic for coasters used with hot drinks.
Crochet Hook
- Use a 4.0 mm – 5.0 mm crochet hook
- Check the yarn label for recommended hook size
Additional Tools
- Scissors
- Yarn needle
- Stitch marker (optional)
Basic Crochet Stitches You Need to Know
If you are a beginner, make sure you are familiar with these basic stitches:
- Chain (ch) – Starting stitch
- Slip stitch (sl st) – For joining rounds
- Single crochet (sc) – Creates dense fabric
- Double crochet (dc) – Adds height and softness
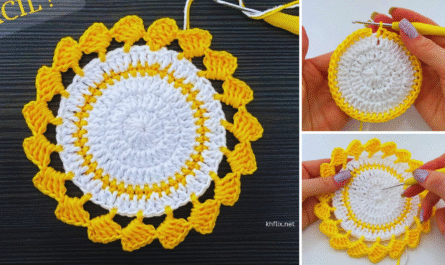
Step-by-Step Guide: Beautiful Crochet Coaster
Step 1: Start with a Magic Ring
- Make a magic ring (also called magic circle)
- Chain 2 or 3 (counts as first stitch depending on pattern)
Alternative for beginners: Chain 4 and join with a slip stitch to form a ring.
Step 2: First Round – Creating the Center
- Work 10–12 double crochet stitches into the ring
- Join with a slip stitch to the top of the beginning chain
- Pull the magic ring tight
This creates the center of the coaster.

Step 3: Second Round – Increasing the Size
- Chain 2
- Work 2 double crochet stitches in each stitch around
- Join with a slip stitch
This round helps the coaster lay flat.
Step 4: Third Round – Adding Beauty & Shape
Choose one of these beginner-friendly options:
Option A: Simple Flat Coaster
- Chain 2
- 1 dc, 2 dc in next stitch – repeat around
- Join with slip stitch
Option B: Flower-Style Coaster 🌸
- Chain 2
- 2 dc, chain 2, 2 dc in each stitch
- Join with slip stitch
This creates a beautiful petal-like effect.
Step 5: Final Round – Decorative Border
Add a border to make your coaster look neat and professional:
- Single crochet around
- Picot stitch for a floral edge
- Reverse single crochet (crab stitch) for a twisted look
Fasten off and weave in all ends.
Tips for Making Perfect Crochet Coasters
- Keep your tension even
- Count stitches carefully
- If the coaster curls, add more stitches
- If it waves, reduce stitches
- Block lightly if needed for a flat shape
Color and Design Ideas
- Solid neutral colors for minimalist décor
- Pastel shades for a soft floral look
- Two-tone or multi-color coasters
- Seasonal colors for holidays
- Ombre or gradient yarn for elegance
How Many Coasters Should You Make?
- Set of 4 or 6 for everyday use
- Set of 8 for entertaining guests
- Single coaster as a small gift
They look especially beautiful when stacked together.

Common Beginner Mistakes and How to Fix Them
- Coaster not flat: Adjust stitch increases
- Holes too large: Use a smaller hook
- Uneven edges: Count stitches and join rounds carefully
- Loose ends showing: Weave in ends securely
Care Instructions for Crochet Coasters
- Hand wash or gentle machine wash
- Lay flat to dry
- Avoid wringing
- Iron lightly if yarn allows
Creative Uses for Crochet Coasters
Besides cups and mugs, crochet coasters can be used as:
- Mini placemats
- Decorative table accents
- Candle holders (with care)
- Jar or vase coasters
- Wall décor when stitched together
Final Thoughts
A 🌸 beautiful crochet coaster is the perfect beginner crochet project—simple, enjoyable, and extremely rewarding. With just a small amount of yarn and a few basic stitches, you can create a handmade item that is both functional and decorative.
Whether you make them for your home, as gifts, or to practice your crochet skills, crochet coasters are a wonderful way to begin your crochet journey.
Take your time, enjoy each stitch, and let your creativity bloom—one coaster at a time. 🌼🧶