 by
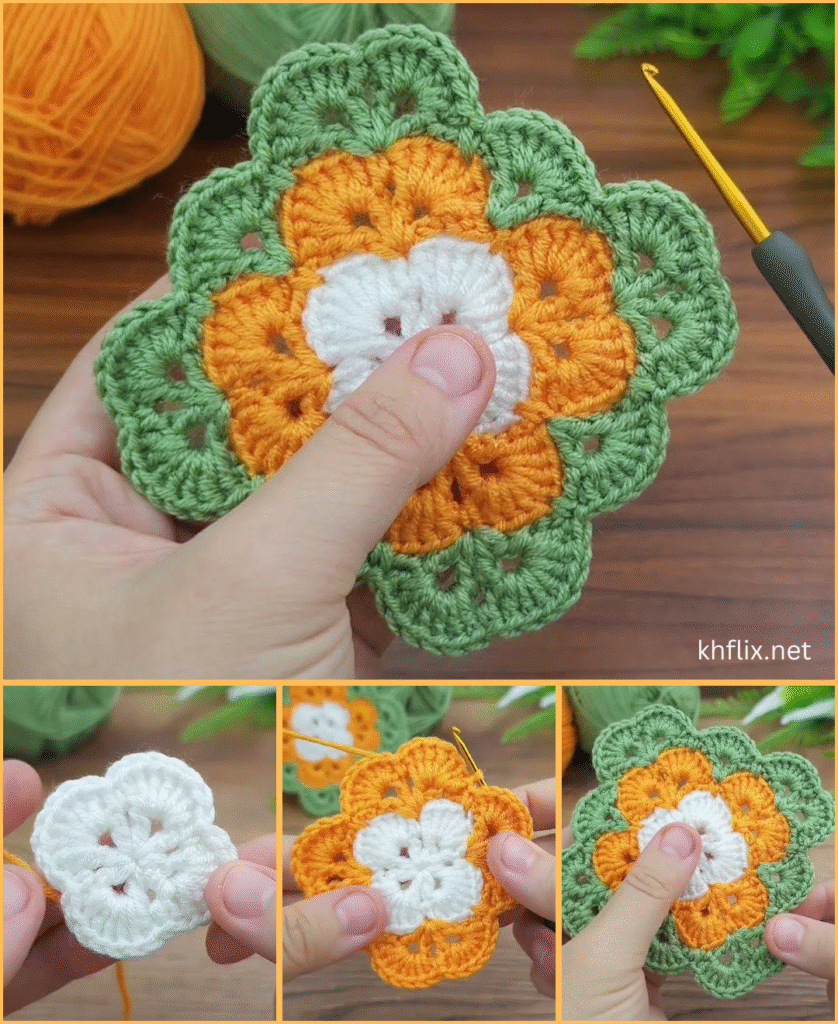
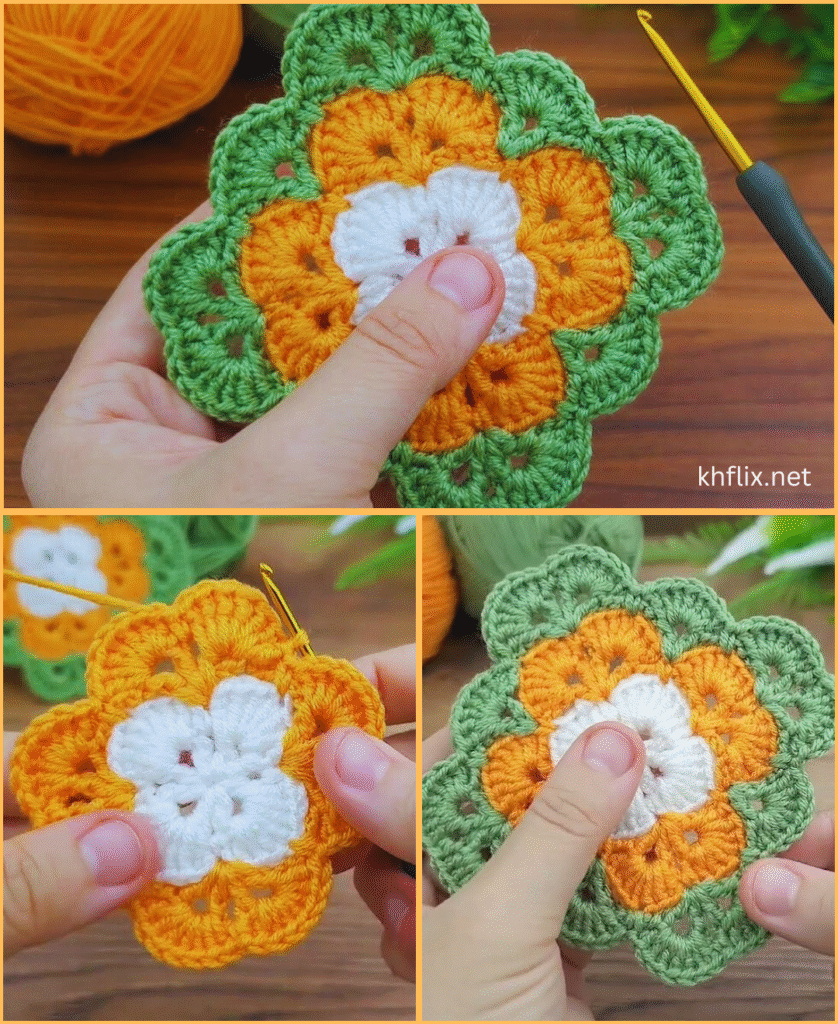
by Creating a very easy blanket with a color motif can be a fun and simple project. Here’s a step-by-step guide:
Materials Needed:
- Yarn in different colors (choose a color palette that suits your motif)
- Crochet hook or knitting needles (appropriate size for your yarn)
- Scissors
- Tapestry needle for weaving in ends
Step 1: Choose Your Pattern
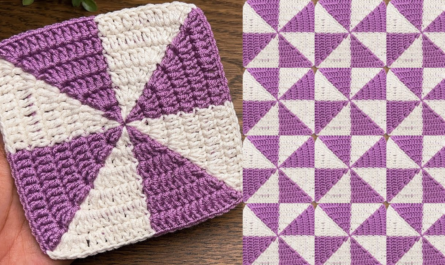
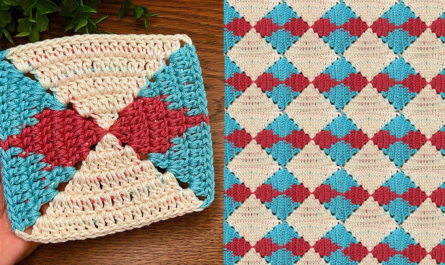
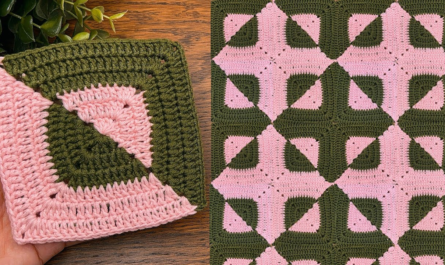
Decide on a simple motif for your blanket. A common and beginner-friendly choice is the granny square for crochet or a striped pattern for knitting. Both allow for easy color changes.
Step 2: Select Colors
Pick 2-5 colors that complement each other for your motif. Consider alternating light and dark shades for contrast.
Step 3: Start With a Base
- For Crochet (Granny Square): Start with a magic ring or chain 4 and join to form a ring. Work in rounds using double crochet stitches to create the square.
- For Knitting (Stripes): Cast on stitches in a multiple of your desired width. Knit in garter stitch or stockinette stitch.
Step 4: Add Your Color Changes
- For crochet, change colors at the end of a round by pulling through the new yarn during the last pull-through of the last stitch.
- For knitting, switch to a new color at the start of a row by simply dropping the old color and beginning with the new one.
Step 5: Repeat the Pattern
- Crochet multiple granny squares in alternating colors, or knit continuous stripes. Ensure you’re consistent with your motif for a cohesive look.

Step 6: Assemble the Blanket
- For Granny Squares: Once all squares are complete, join them together using a slip stitch, whipstitch, or single crochet method.
- For Stripes: If knitting, your blanket will already be in one piece.
Step 7: Add a Border (Optional)
For a finished look, crochet a simple border around your blanket, such as single crochet or a shell stitch.
Step 8: Weave in Ends
Use a tapestry needle to secure and weave in all loose ends from your color changes.
Step 9: Enjoy Your Blanket
Your easy color motif blanket is now ready to use or gift!