 by
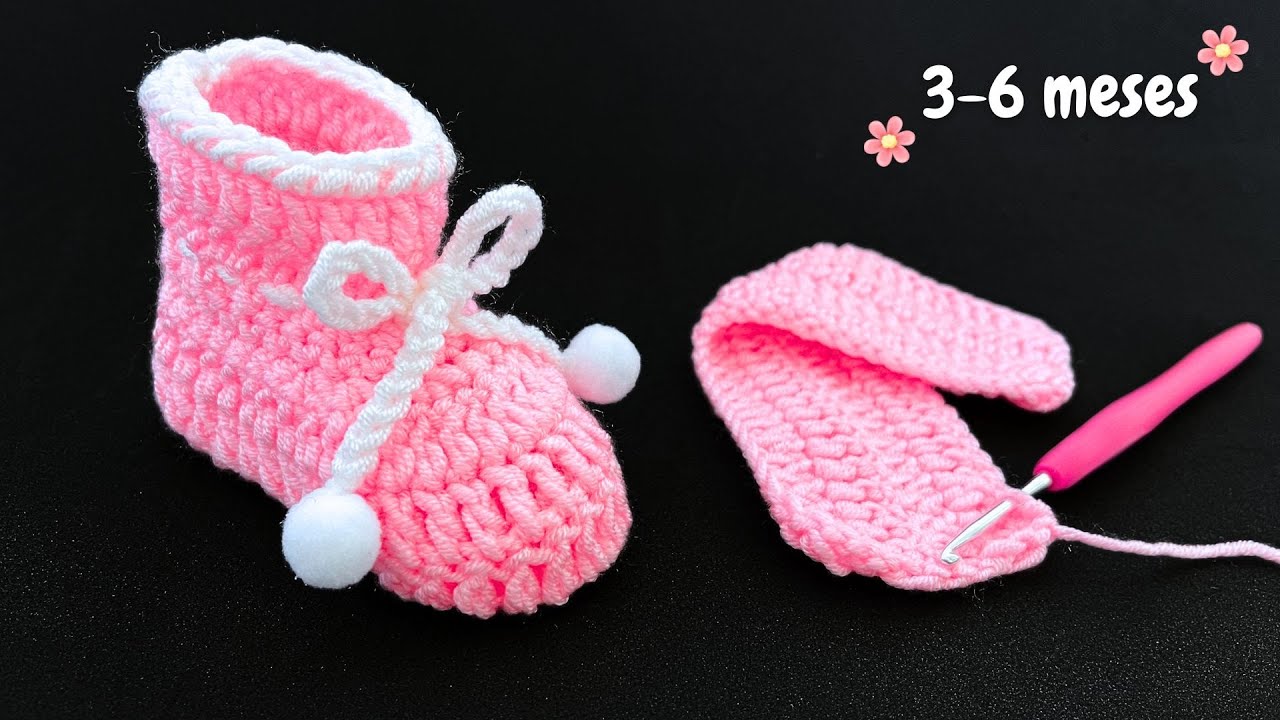
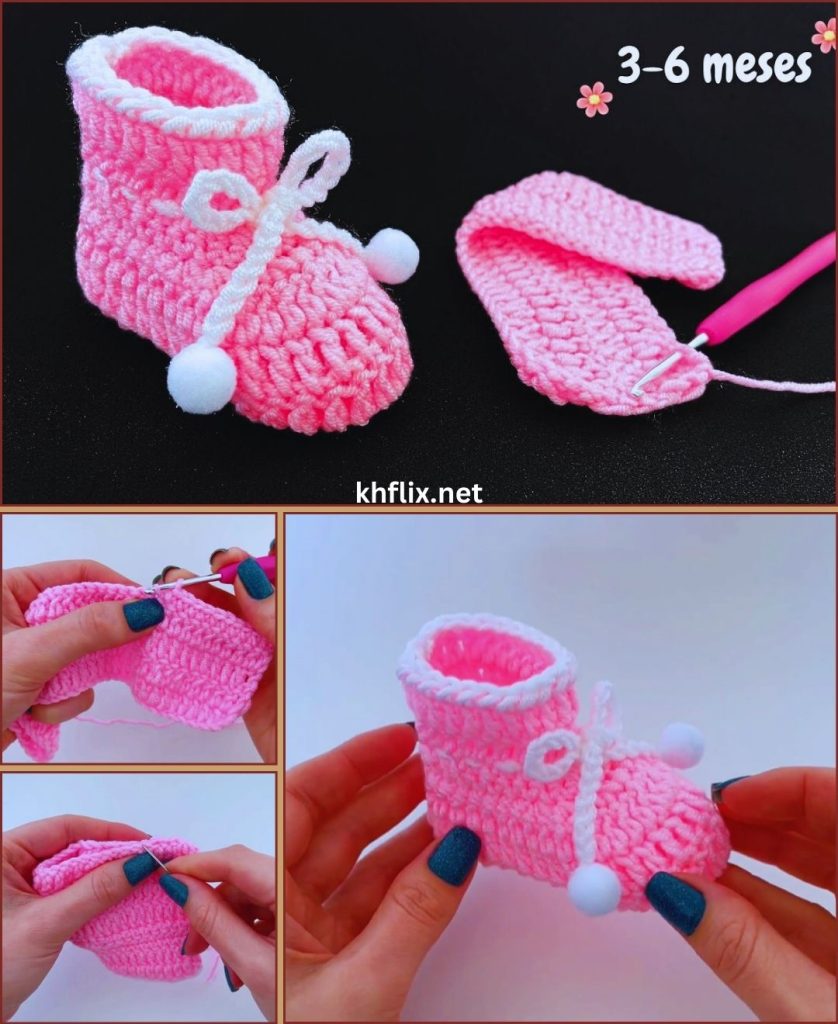
by There’s something extra special about crocheting pink baby booties. Soft, sweet, and timeless, pink booties make beautiful gifts for newborn girls, baby showers, hospital visits, or keepsake memory boxes. Whether you choose blush, pastel pink, dusty rose, or bright bubblegum, this beginner-friendly tutorial will guide you through every step in detail.
This long, complete guide includes:
- Materials and tools
- Stitch explanations
- Full written pattern (0–3 months)
- Size adjustment tips
- Pink color design ideas
- Finishing and styling options
- Beginner troubleshooting
Let’s get started!
Why Choose Pink for Baby Booties?
Pink is one of the most classic baby colors. It symbolizes warmth, sweetness, and softness. From pale baby pink to vibrant fuchsia, you can create:
- Traditional newborn booties
- Modern trendy designs
- Princess-inspired shoes
- Soft pastel nursery sets
- Gift-ready handmade keepsakes
The best part? Pink pairs beautifully with white, cream, gray, or gold accents.
Materials Needed
To make super easy pink crochet baby booties, gather the following:
Yarn
- Worsted weight (Category 4) baby yarn
- Soft acrylic or cotton blend
- Color: Light Pink (approx. 50–80 yards)
Optional accent color:
- White or cream (for trim or bows)
Crochet Hook
- 4.0 mm (G/6) hook
Additional Supplies
- Yarn needle
- Scissors
- Stitch marker
- Measuring tape
Size Information (0–3 Months)
Finished sole length: approximately 3.5 inches
If you want to adjust sizing:
- 3–6 months: aim for 4 inches
- 6–9 months: aim for 4.5 inches
Sizing adjustments are included later in the article.
Crochet Abbreviations (US Terms)
- ch – chain
- sl st – slip stitch
- sc – single crochet
- hdc – half double crochet
- dc – double crochet
- inc – increase (2 stitches in one stitch)
- dec – decrease
- st – stitch
- BLO – back loop only
Pink Crochet Baby Booties Pattern (0–3 Months)
We will work in rounds unless stated otherwise.
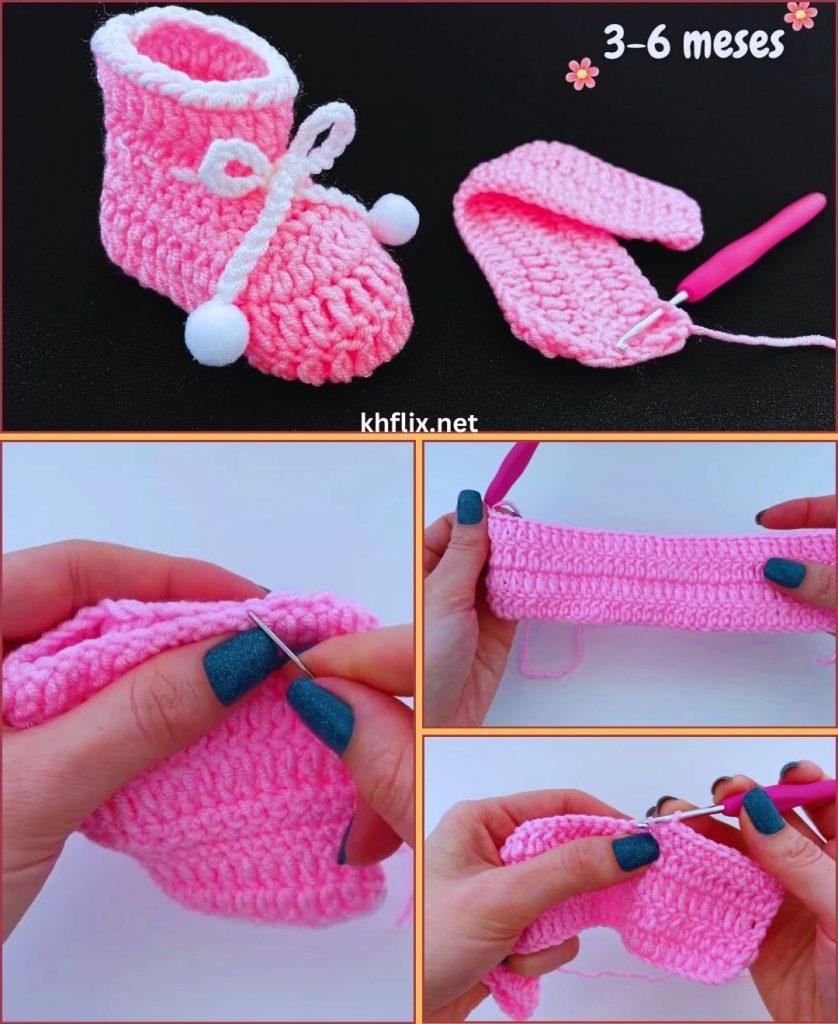
Step 1: Create the Sole (Light Pink Yarn)
The sole forms the foundation of your bootie.
Round 1
- Ch 11
- 2 sc in 2nd ch from hook
- Sc in next 8 chains
- 5 sc in last chain
- Working on opposite side of chain:
- Sc in next 8 chains
- 3 sc in last stitch
- Sl st to join
You should have 26 stitches.
Your piece will look oval-shaped.
Round 2
- Ch 1
- Inc in first 2 stitches
- Sc in next 8 stitches
- Inc in next 5 stitches
- Sc in next 8 stitches
- Inc in last 3 stitches
- Sl st to join
You now have 36 stitches.
The sole should measure close to 3.5 inches.
Round 3
- Ch 1
- Sc in each stitch around
- Sl st to join
You still have 36 stitches.
Your pink sole is now complete!
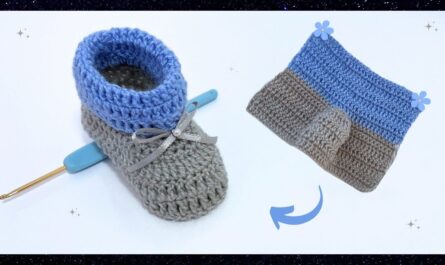
Step 2: Build the Sides
Now we begin shaping the shoe.
Round 4 (BLO for a Defined Edge)
- Ch 1
- Sc in back loop only around
- Sl st to join
This creates a beautiful ridge separating the sole from the upper part of the bootie.
Round 5
- Ch 1
- Sc in each stitch around
- Sl st to join
At this point, your bootie starts looking like a tiny bowl.
Step 3: Shape the Toe
This is where we give the front of the bootie its curve.
Round 6
- Ch 1
- Sc in first 10 stitches
- Hdc dec across next 8 stitches (4 decreases)
- Sc in remaining stitches
- Sl st to join
You will notice the toe area starting to close slightly.
Round 7
- Ch 1
- Sc in first 9 stitches
- Sc dec across next 6 stitches
- Sc in remaining stitches
- Sl st to join
The toe is now nicely shaped.
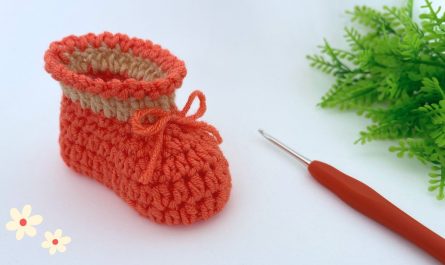
Step 4: Create the Pink Cuff
Round 8
- Ch 1
- Hdc in each stitch around
- Sl st to join
Repeat Round 8 once more if you want a taller cuff.
Optional: Add a White Trim
For an adorable contrast:
- Attach white yarn at back seam
- Ch 1
- Work sc or crab stitch around the top edge
- Sl st and fasten off
This gives the booties a delicate, finished look.
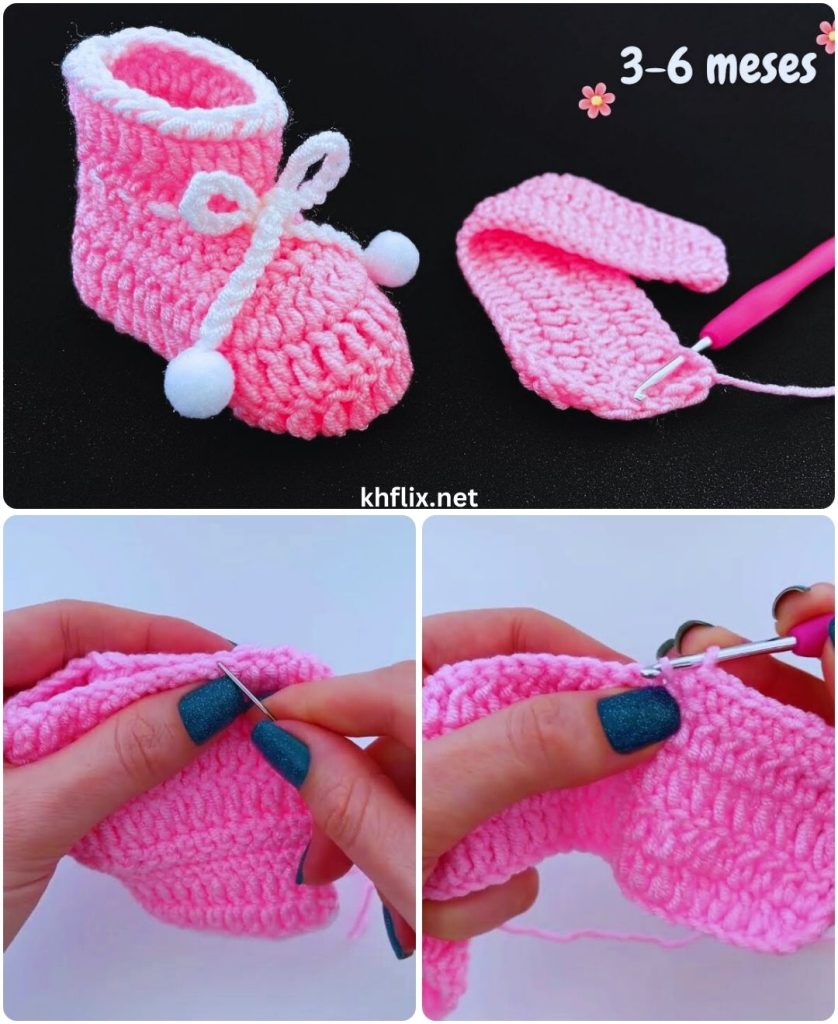
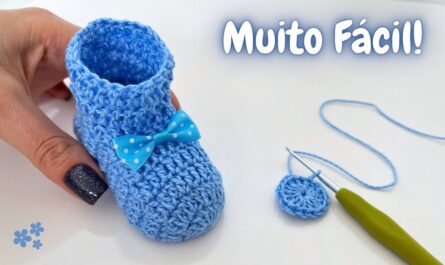
How to Make a Pink Crochet Bow (Optional Decoration)
A tiny bow makes these booties extra sweet.
Bow Pattern
- Ch 10
- Sc across (9 stitches)
- Repeat for 5 rows
- Fasten off
Wrap yarn around the center tightly and sew onto the toe area.
Make sure it is securely attached if the booties are for a baby.
How to Adjust the Size
For 3–6 Months
- Start with Ch 13
- Add 1–2 extra sc along each straight side of the sole
- Add one extra round before shaping toe
For 6–9 Months
- Start with Ch 15
- Increase stitches proportionally
- Add extra height rounds
Always measure sole length before moving upward.
Design Variations Using Pink
You can customize your pink booties in many ways:
🌸 Ombre Pink
Start with light pink sole
Switch to darker pink for upper
Finish with blush cuff
💗 Two-Tone Style
Pink sole
White upper
Pink cuff
👑 Princess Style
Add:
- Small pearl bead
- Satin ribbon
- Lace-style stitch for cuff
Tips for Perfect Results
✔ Use soft baby yarn only
✔ Keep tension even
✔ Count stitches every round
✔ Make both booties back-to-back
✔ Weave in ends securely
Common Beginner Mistakes
Booties Different Sizes
Cause: tension change
Fix: use stitch markers and count stitches
Sole Curves Up
Cause: too few increases
Fix: check stitch count in Round 2
Toe Too Tight
Cause: too many decreases
Fix: reduce one decrease round
Finishing Touches
After completing both booties:
- Weave in all ends neatly
- Gently shape with your hands
- Lightly steam block (optional)
- Store flat
For gifting:
- Place in a small box
- Wrap in tissue paper
- Add handwritten tag
Why This Is the Perfect Beginner Pattern
This pink baby bootie pattern is:
- Simple and clear
- Uses only basic stitches
- Quick to finish
- Easy to customize
- Great for gifts or selling
Even if you’re brand new to crochet, you can absolutely complete this project with patience and practice.
Final Thoughts
Crocheting pink baby booties is more than just making tiny shoes—it’s creating something filled with love. These delicate, handmade treasures can become keepsakes that families cherish for years.
Once you master this pattern, try experimenting with:
- Ribbed cuffs
- Flower appliqués
- Textured stitches
- Sparkle yarn accents
- Matching baby hat sets
Now grab your pink yarn, your crochet hook, and start stitching something beautiful today. 💕🧶