 by
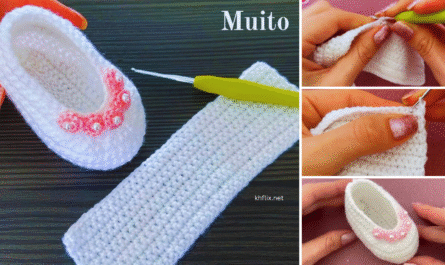
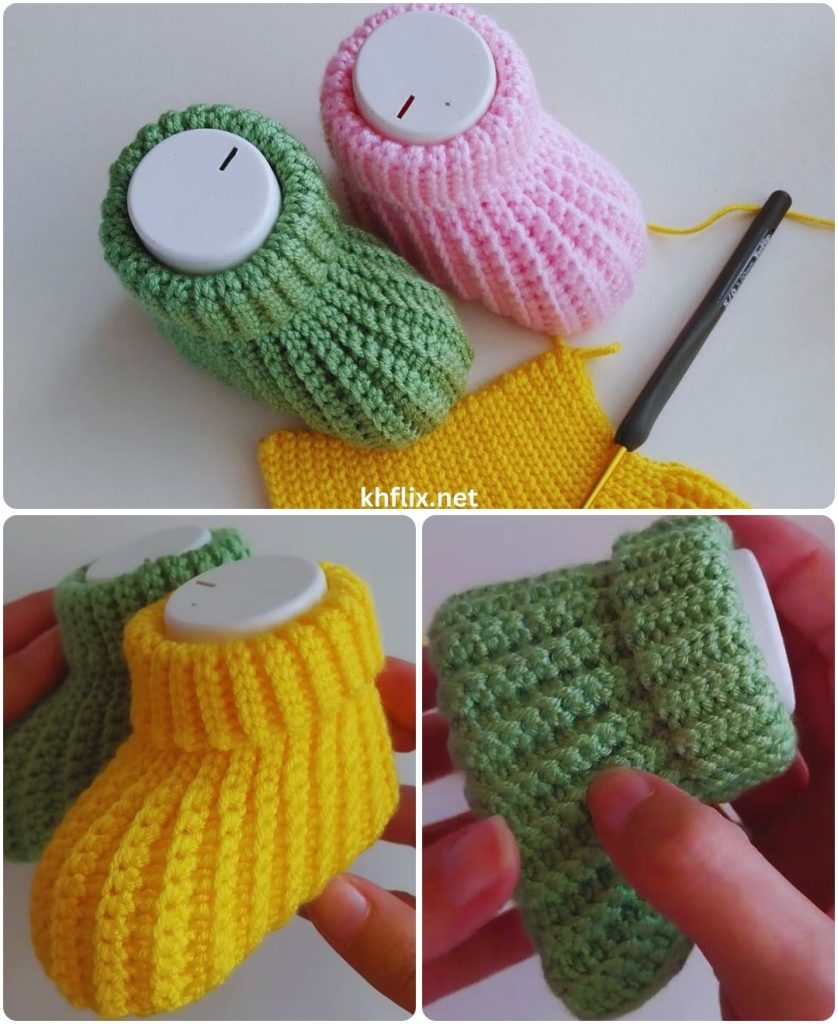
by Crocheting baby booties is one of the most rewarding and beginner-friendly projects you can make. They are small, quick to finish, and absolutely adorable. Whether you’re preparing for a baby shower, creating a handmade gift, or adding items to your craft shop, this detailed tutorial will guide you through every step of making super easy crochet baby booties.
This long-form guide includes:
- Materials and tools
- Yarn and sizing guidance
- Stitch explanations
- Complete step-by-step written pattern (0–3 months)
- Size adjustments
- Customization ideas
- Troubleshooting tips
- Finishing techniques
Let’s begin!
Why Crochet Baby Booties?
Baby booties are perfect for beginners because:
- They use basic stitches.
- They work up quickly (usually 1–2 hours per pair).
- They require very little yarn.
- They’re excellent for practicing crocheting in the round.
- They make thoughtful handmade gifts.
Plus, there’s something incredibly satisfying about finishing such a tiny, cute project!
Materials You’ll Need
To keep this pattern super easy, we’ll use basic supplies.
Yarn
- Worsted weight (Category 4) baby yarn
- Soft acrylic, cotton, or baby blend
- 50–80 yards per pair
Choose a soft, washable yarn suitable for babies.
Crochet Hook
- 4.0 mm (G/6) hook
Other Supplies
- Yarn needle
- Scissors
- Stitch marker (optional but helpful)
- Measuring tape
Finished Size
This pattern is written for 0–3 months.
Finished sole length: approximately 3.5 inches (9 cm)
Size adjustments for older babies are included later in this article.
Crochet Abbreviations (US Terms)
- ch – chain
- sl st – slip stitch
- sc – single crochet
- hdc – half double crochet
- dc – double crochet
- inc – increase (2 stitches in same stitch)
- dec – decrease
- st – stitch
- BLO – back loop only
Before You Start
- Read through the entire pattern once.
- Use a stitch marker to mark the first stitch of each round.
- Count stitches carefully after each round.
- Work with even, relaxed tension.
Super Easy Crochet Baby Booties Pattern (0–3 Months)
We will work in joined rounds.
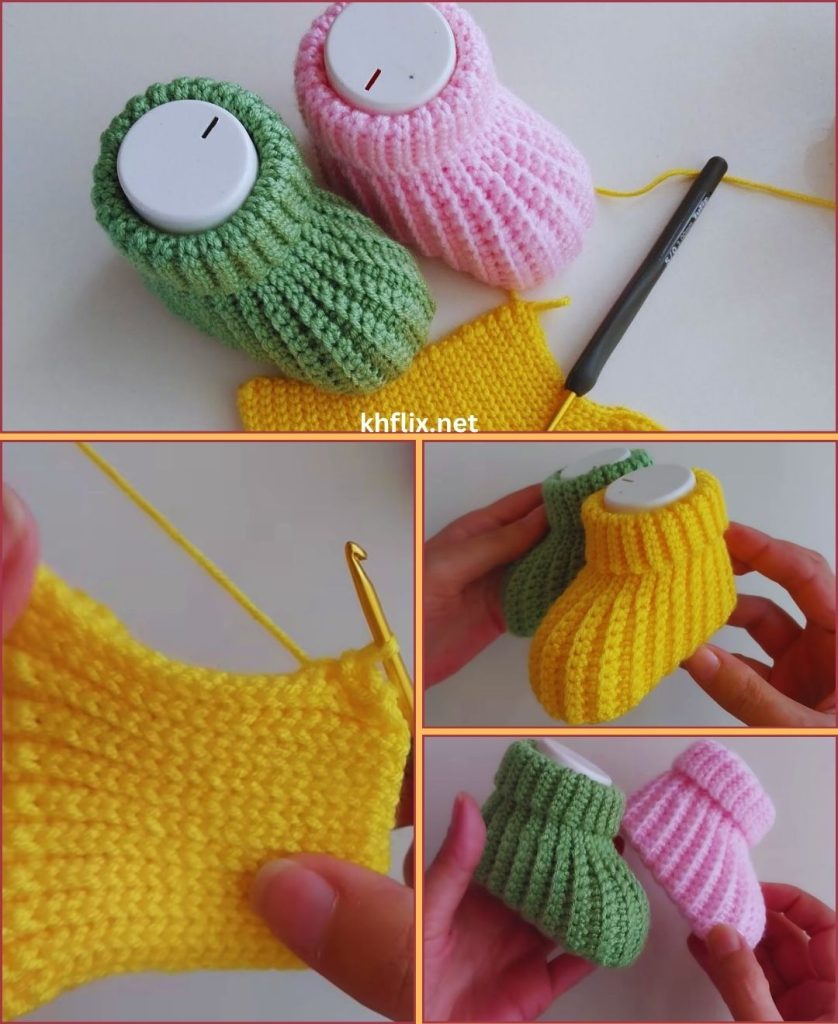
Step 1: Make the Sole
The sole is the foundation of the bootie.
Round 1
- Ch 11
- 2 sc in 2nd ch from hook
- Sc in next 8 chains
- 5 sc in last chain
- Turn work and continue on opposite side of chain
- Sc in next 8 chains
- 3 sc in last stitch
- Sl st to first sc to join
Total stitches: 26
You should now have an oval shape.
Round 2
- Ch 1
- Inc in first 2 stitches (4 sc total)
- Sc in next 8 stitches
- Inc in next 5 stitches
- Sc in next 8 stitches
- Inc in last 3 stitches
- Sl st to join
Total stitches: 36
The sole should measure close to 3.5 inches.
Round 3
- Ch 1
- Sc in each stitch around
- Sl st to join
Still 36 stitches.
Your sole is complete!
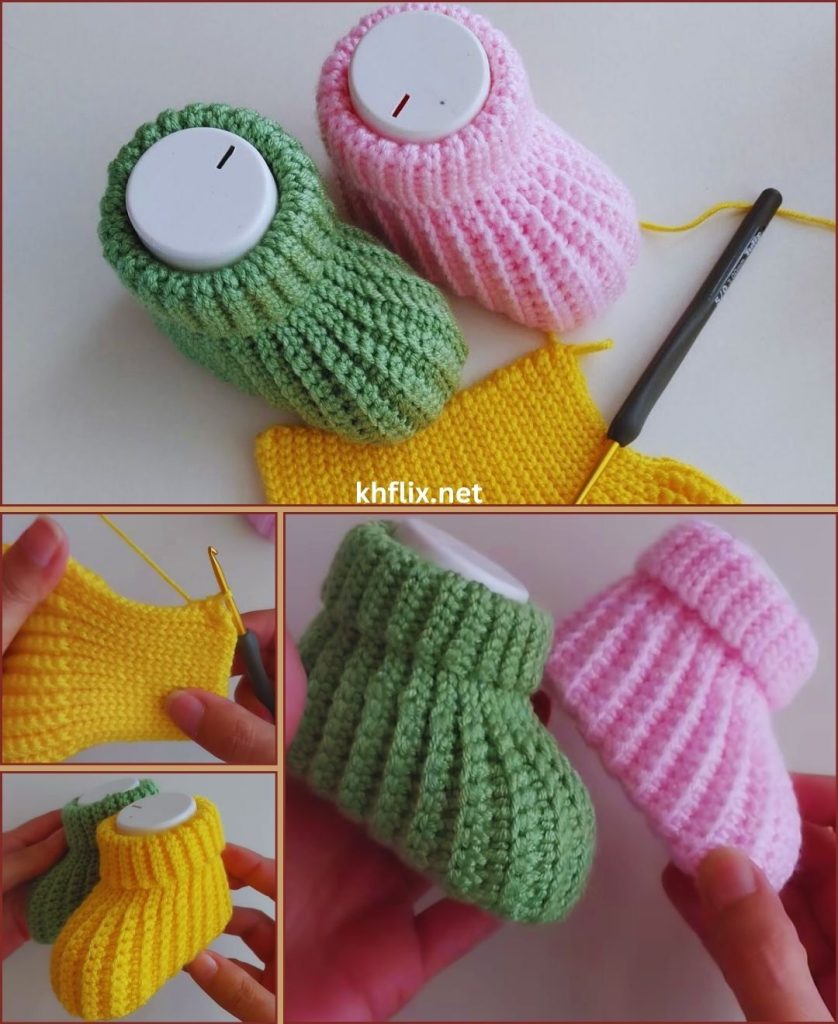
Step 2: Build the Sides
Now we begin forming the body of the bootie.
Round 4 (BLO)
- Ch 1
- Sc in back loop only around
- Sl st to join
Working in the back loop creates a ridge that separates the sole from the upper part of the shoe.
Round 5
- Ch 1
- Sc in each stitch around
- Sl st to join
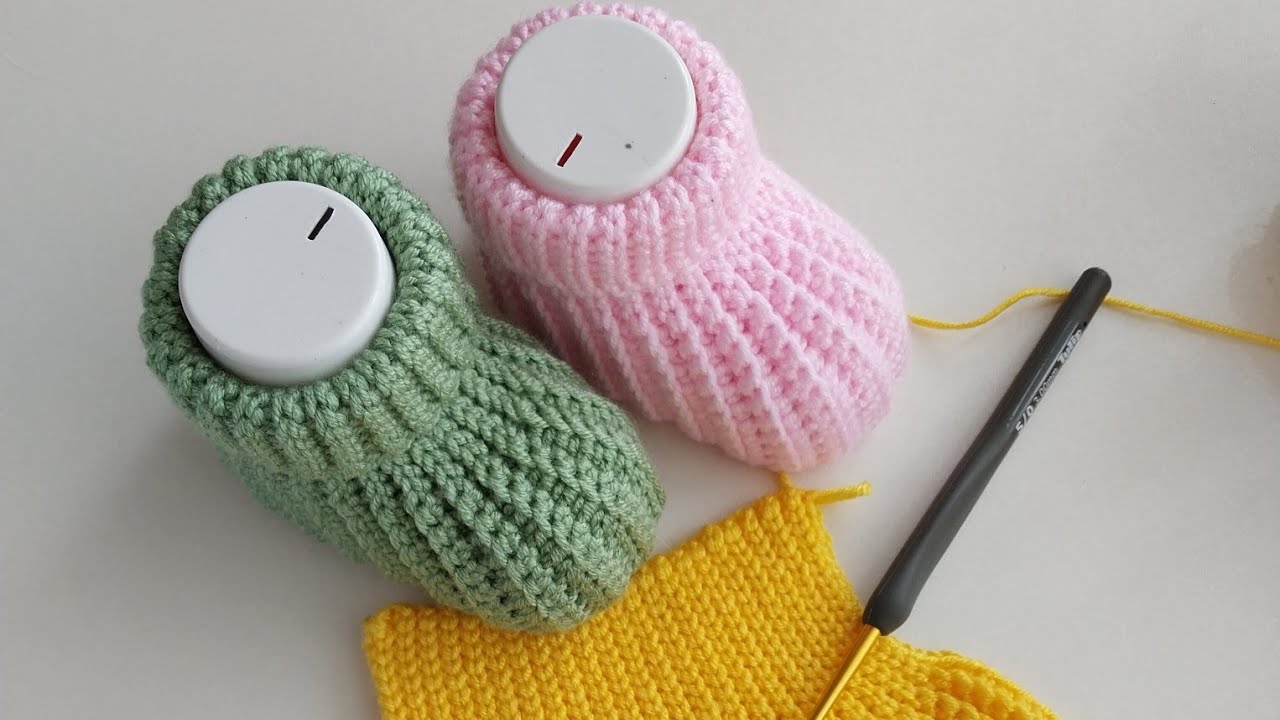
At this stage, your bootie should resemble a small bowl.
If you’d like slightly taller sides, repeat Round 5 once more.
Step 3: Shape the Toe
This step gives the bootie its curved front shape.
Round 6
- Ch 1
- Sc in first 10 stitches
- Hdc dec across next 8 stitches (4 decreases)
- Sc in remaining stitches
- Sl st to join
You’ll notice the toe beginning to narrow.
Round 7
- Ch 1
- Sc in first 9 stitches
- Sc dec across next 6 stitches
- Sc in remaining stitches
- Sl st to join
The front of the bootie should now be nicely shaped.
Step 4: Add the Cuff
The cuff finishes the bootie and adds height.
Round 8
- Ch 1
- Hdc in each stitch around
- Sl st to join
Repeat Round 8 once more for a taller cuff if desired.
For a folded cuff look, add two extra rounds and fold the top outward.
Fasten Off
- Cut yarn, leaving a 6-inch tail.
- Pull through and tighten.
- Use a yarn needle to weave in all ends securely.
Your first bootie is complete! 🎉
Repeat the pattern to make the second one.
How to Adjust Sizes
3–6 Months (4 inches sole)
- Start with Ch 13 instead of 11.
- Add 1 extra sc along each straight side.
- Add one extra round before shaping the toe.
6–9 Months (4.5 inches sole)
- Start with Ch 15.
- Increase stitches proportionally in Round 2.
- Add extra height rounds before shaping toe.
Always measure the sole before building upward.
Customization Ideas
Once you master the basic pattern, try these variations:
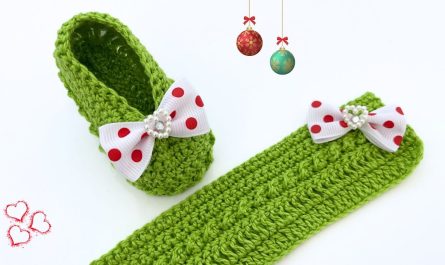
Add a Bow
- Ch 10
- Work 5 rows of sc
- Wrap yarn around center
- Sew onto toe area
Add a Strap
- Attach yarn at side
- Ch 12–15
- Sl st to opposite side
- Add small button (secure tightly)
Two-Color Design
- Use contrasting color for cuff
- Change color before Round 8
Ribbed Cuff
Instead of hdc rounds, alternate:
- Front post double crochet
- Back post double crochet
This creates a stretchy, knitted look.
Helpful Tips for Success
✔ Count stitches every round
✔ Use stitch markers
✔ Maintain even tension
✔ Make both booties in the same session
✔ Use soft, baby-safe yarn
Troubleshooting Common Issues
Booties Are Different Sizes
Cause: inconsistent tension
Fix: crochet both back-to-back and count stitches carefully
Sole Is Curling
Cause: not enough increases
Fix: check Round 2 stitch count
Toe Looks Too Tight
Cause: too many decreases
Fix: reduce one decrease or use hdc instead of sc decrease
Finishing and Presentation
For gifting:
- Place booties in a small gift box
- Wrap in tissue paper
- Add a handmade tag
- Pair with matching hat or blanket
Handmade baby booties make beautiful keepsakes.
Final Thoughts
Learning how to crochet super easy baby booties is a wonderful way to build confidence in your crochet skills. This simple pattern uses basic stitches and gentle shaping, making it ideal for beginners while still producing professional-looking results.
Once you feel comfortable, experiment with:
- Textured stitches
- Lace cuffs
- Animal-inspired designs
- Seasonal color combinations
- Matching baby sets
Crocheting baby booties isn’t just about making tiny shoes—it’s about creating something filled with care, love, and creativity.
Now grab your yarn and hook, and start stitching your own adorable pair today! 🧶👶