 by
by Crocheting baby shoes (booties) is one of the most rewarding projects for beginners and experienced crafters alike. They’re small, adorable, and practical—perfect as gifts for newborns or keepsakes. In this detailed guide, you’ll learn how to create perfectly shaped, comfortable, and stylish crochet baby shoes from start to finish.
🌸 1. Why Crochet Baby Shoes?
Crochet baby shoes are:
- 💛 Soft and gentle on delicate skin
- 🎁 Perfect handmade gifts for baby showers
- 🧵 Quick projects (can finish in a few hours)
- 🎨 Easy to customize with colors and designs
🧶 2. Materials You’ll Need
Before you begin, gather these supplies:
- Soft baby yarn (cotton or acrylic blend)
- Crochet hook (usually 3.0mm–4.0mm)
- Yarn needle
- Scissors
- Stitch markers (optional)
- Buttons or ribbons (optional for decoration)
👉 Tip: Choose hypoallergenic yarn that’s safe for babies.
📏 3. Size Guide (Important!)
Baby shoes sizes vary by age:
- Newborn (0–3 months): ~8–9 cm sole
- 3–6 months: ~9–10 cm
- 6–12 months: ~10–11 cm
👉 Always measure if possible—babies grow fast!
🔧 4. Basic Stitches You Should Know
- Chain (ch)
- Slip Stitch (sl st)
- Single Crochet (sc)
- Half Double Crochet (hdc)
- Double Crochet (dc)
- Increase (2 stitches in one)
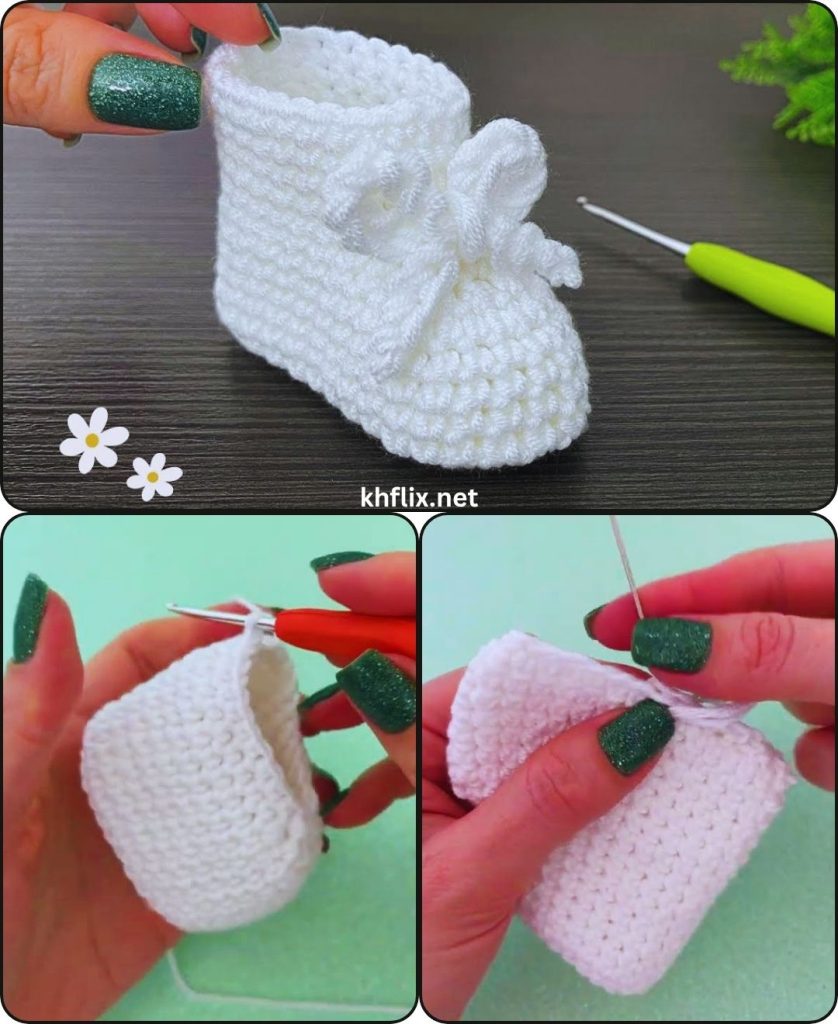
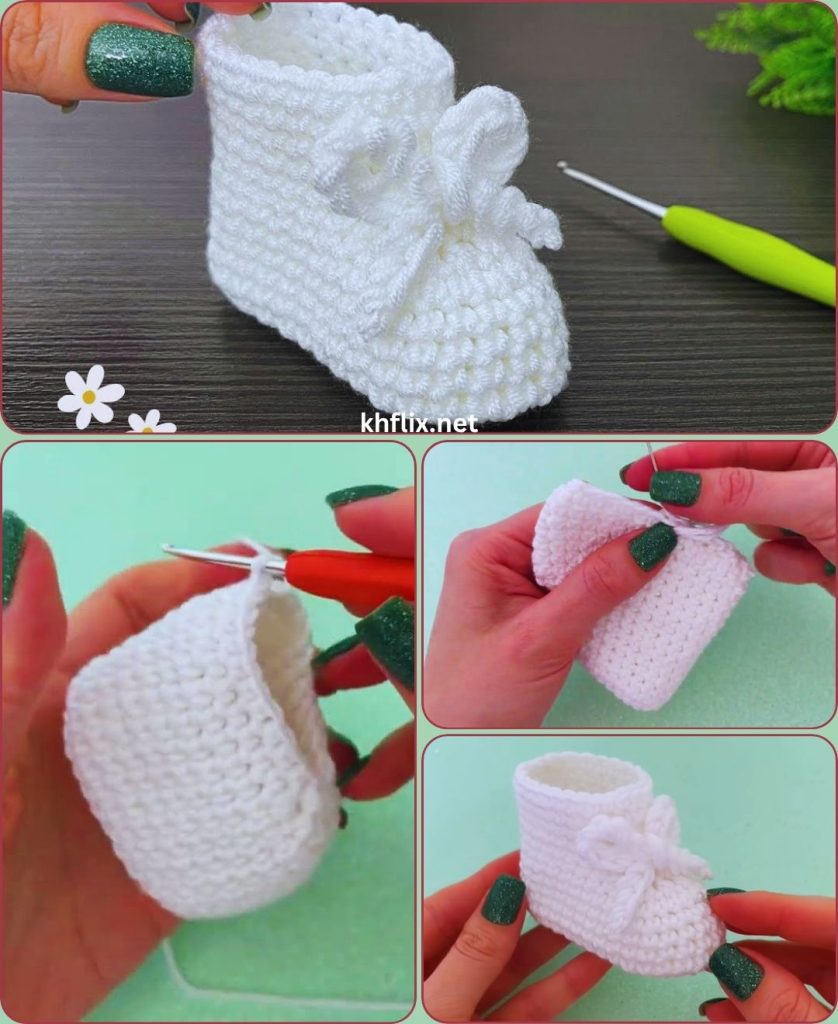
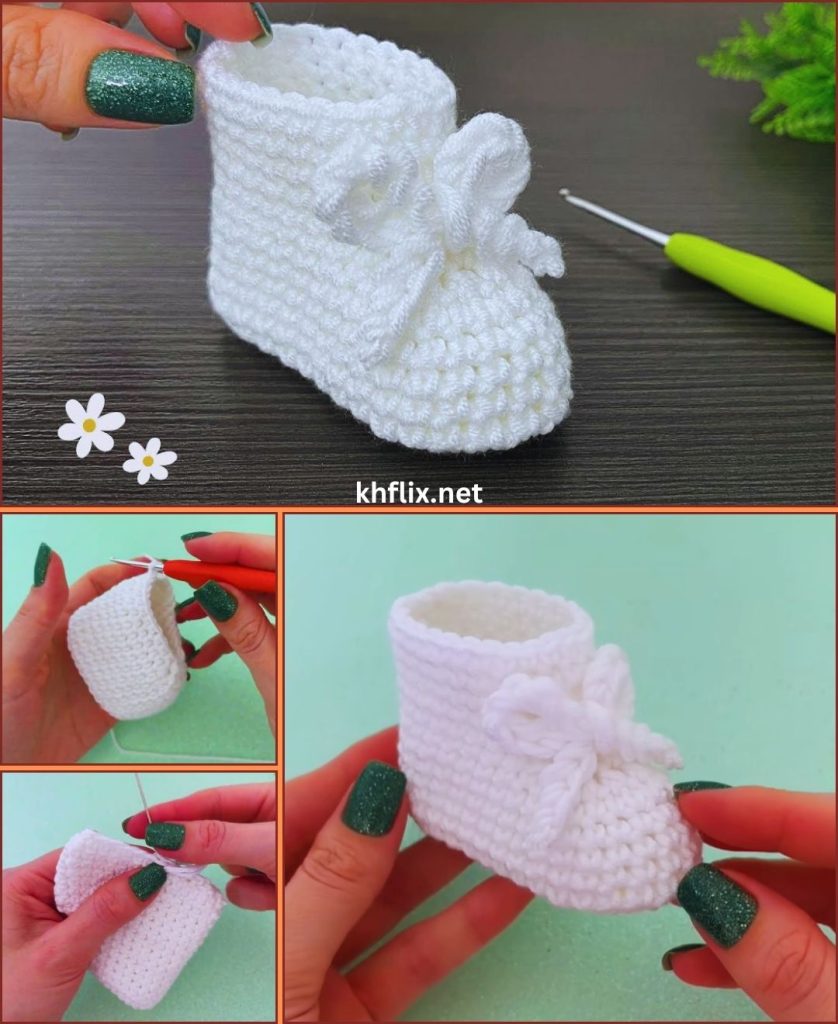
👣 5. Step-by-Step Instructions
🟡 Step 1: Create the Sole
- Chain 10 (adjust for size)
- Round 1:
- 2 sc in 2nd chain from hook
- 1 sc in next 7 stitches
- 5 sc in last stitch
- Continue on other side: 1 sc in next 7
- 3 sc in last stitch
- Join with slip stitch
✔ You now have an oval base
🔵 Step 2: Build the Sole Thickness
Round 2:
- Chain 1
- 2 sc in each of first stitches (increase at ends)
- 1 sc across sides
- Increase again at toe and heel
✔ This shapes the sole nicely
🟢 Step 3: Create the Shoe Wall
- Chain 1
- Work back loop only (BLO) single crochet around
✔ This creates a raised edge (like a real shoe sole)
🟣 Step 4: Build the Upper Part
- Continue with normal single crochet
- Crochet 2–3 rounds evenly
✔ This forms the sides of the shoe
🔴 Step 5: Shape the Toe
- Count stitches and find center front
- Crochet to the front section
- Start decreasing:
- sc2tog (single crochet 2 together)
- Repeat across front
✔ This curves the toe inward
👉 Do 2–3 rounds of decreases until the front closes nicely
🟠 Step 6: Create the Strap (Optional but Cute!)
For Mary Jane Style:
- Attach yarn at side
- Chain 12–15
- Turn and sc back
- Attach to other side
✔ Add a button for closure
🧷 Step 7: Add Button or Decoration
- Sew button securely
- Or add:
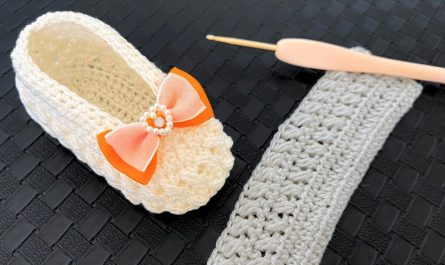
- 🎀 Bow
- 🌸 Flower
- 🐻 Animal face
👉 Make sure decorations are secure for baby safety
🌼 6. Finishing Touches
- Fasten off yarn
- Weave in all loose ends
- Shape shoe gently with hands
✔ You now have a perfect baby shoe!
🎨 7. Design Variations
Try these styles:
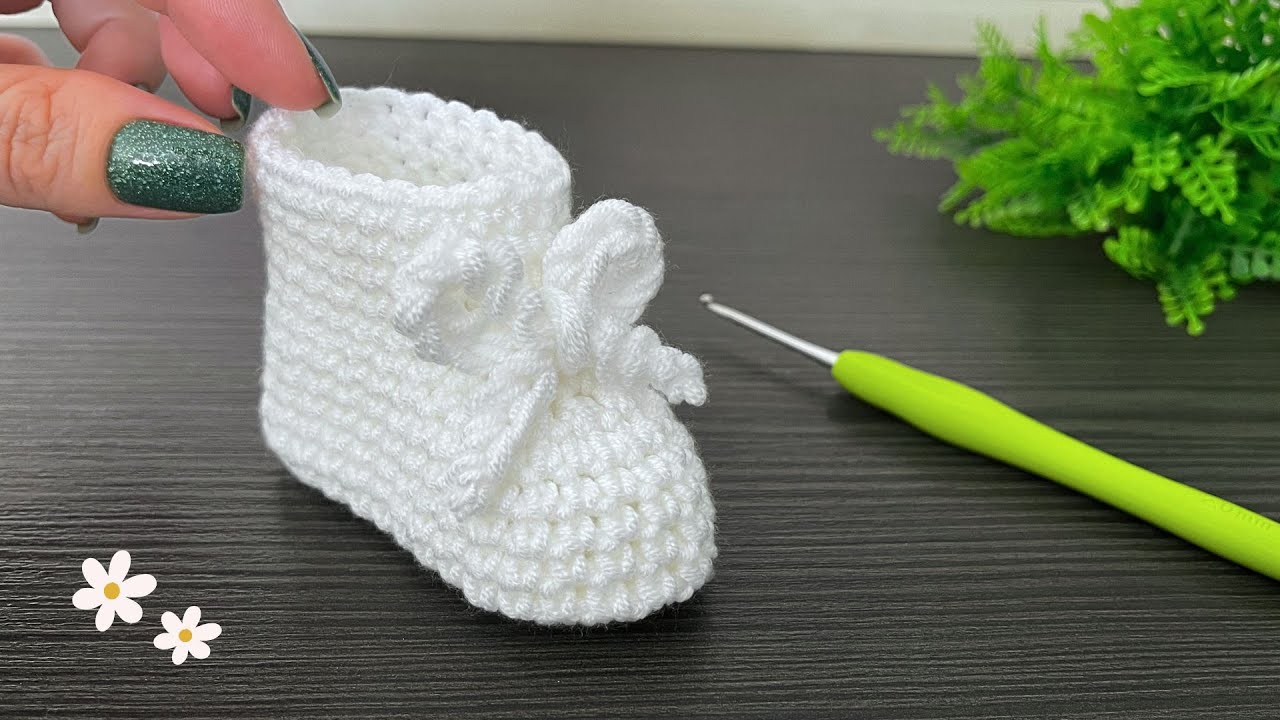
- 👟 Sneaker style (add laces)
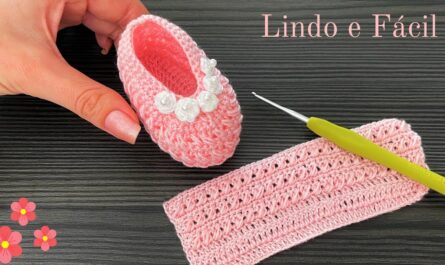
- 👑 Princess shoes (add bows)
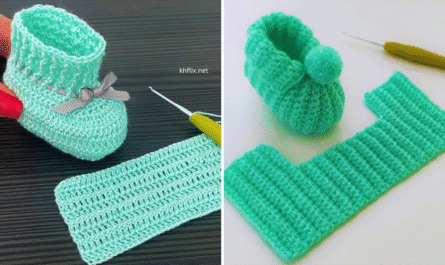
- 🧦 Booties (extend height)
- 🐰 Animal-themed shoes
💡 8. Tips for Perfect Baby Shoes
- Keep stitches tight but soft
- Use soft yarn only (avoid scratchy textures)
- Always make two identical shoes (count stitches!)
- Use stitch markers to track rounds
⚠️ 9. Common Mistakes & Fixes
❌ Shoes too big
✔ Use smaller hook or fewer chains
❌ Uneven shape
✔ Count stitches every round
❌ Toe looks bulky
✔ Increase decreases in front
👶 10. Beginner-Friendly Quick Pattern
- Chain 10
- Round 1–2: oval increases
- Round 3: BLO sc
- Round 4–5: sc
- Round 6–7: decrease front
- Add strap
✔ Done!
💛 Final Thoughts
Crocheting baby shoes is not just about making something cute—it’s about creating something meaningful with your hands. These tiny shoes carry love in every stitch and make wonderful keepsakes for years to come.
With practice, you can experiment with styles, colors, and textures to create truly unique baby footwear 👶🌸