by
by Absolutely! Here’s a comprehensive, long-form tutorial on how to crochet baby sneakers using white yarn. These tiny sneakers are trendy, stylish, and perfect for gifting or making your baby’s outfit stand out. This pattern is beginner-to-intermediate level, with detailed instructions and creative ideas to customize your sneakers.
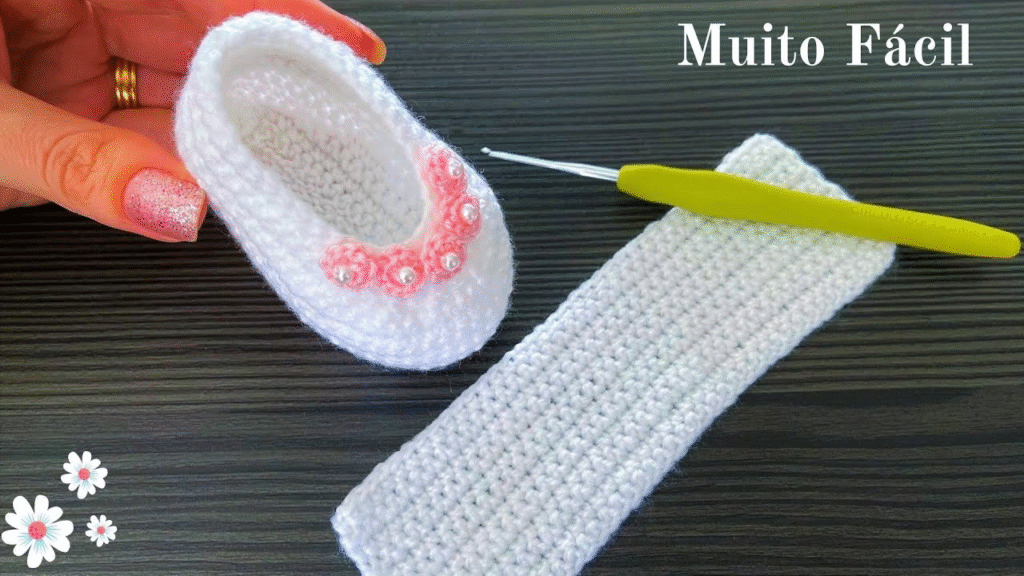
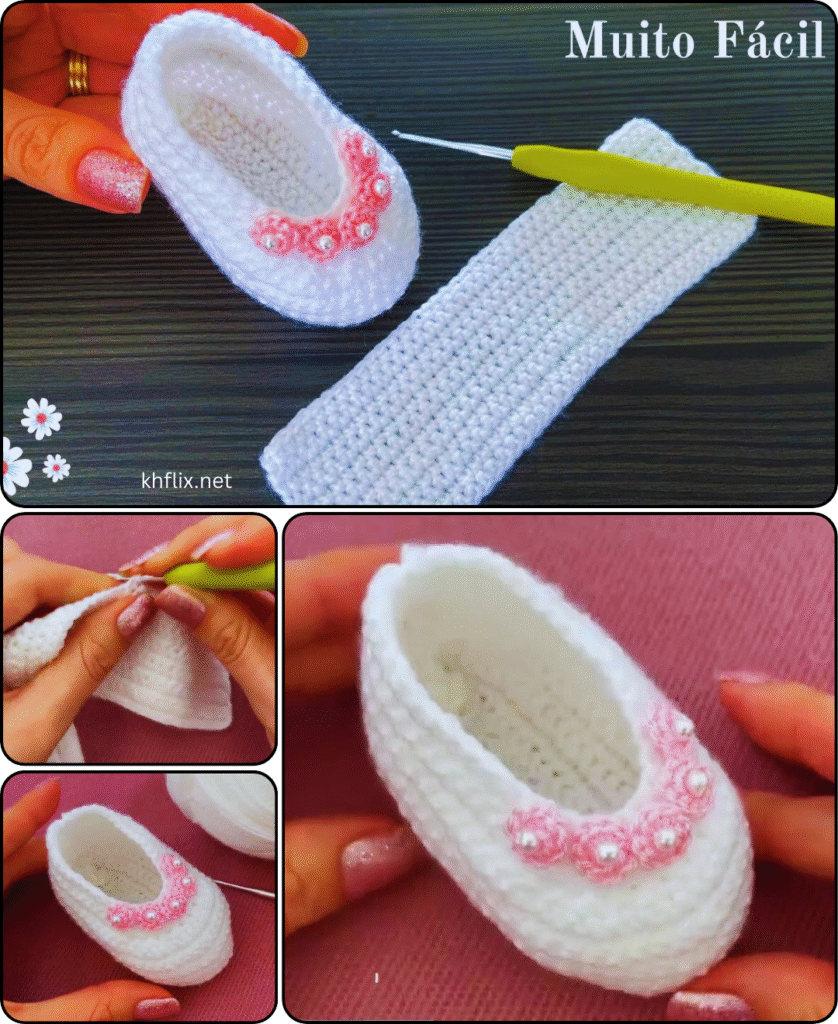
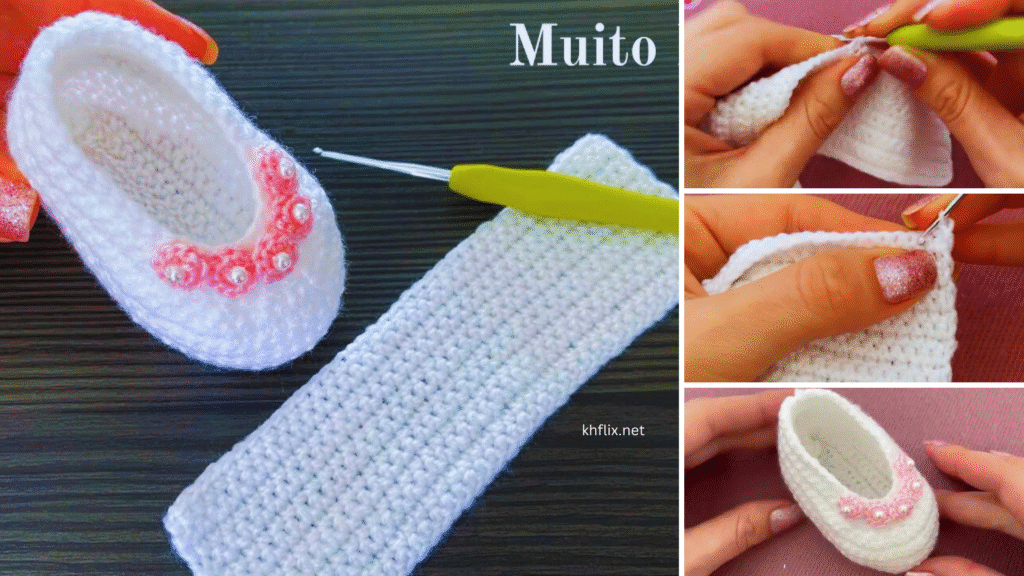
👟 How to Make Crochet Baby Sneakers (White Color) – Full Step-by-Step Pattern
Baby sneakers are a modern twist on the classic baby bootie. Designed to mimic the look of tiny sports shoes like Converse or Nikes, crochet baby sneakers are both adorable and fashionable. In this tutorial, you’ll learn how to create a basic pair using white yarn, which gives them a clean, classic look suitable for baby boys or girls.
🧶 What You’ll Learn in This Tutorial:
- Choosing the right yarn and tools
- Making the sole of the sneaker
- Building the sides and shaping the toe
- Adding high-top ankle support
- Creating laces and optional trim for realism
- Finishing touches for a clean look
🧵 Materials You’ll Need
🧶 Yarn:
- Color: White (for the body)
- Type: Soft worsted weight (#4) or DK (#3) yarn
- Optional Accent Colors: Grey, black, or pastel shades for sole or trim
- Amount: ~50–75 yards of white, small amounts of accent colors
🧵 Hook:
- 3.5 mm or 4.0 mm crochet hook (tight stitches for firm structure)
🧵 Tools:
- Tapestry needle
- Small scissors
- Stitch markers
- Optional: Buttons or small shoelaces
📏 Size Guide
We will make sneakers to fit 0–3 months, with a sole measuring around 3.5″ to 4″ in length.
| Age | Sole Length | Chain Base |
|---|---|---|
| 0–3 months | 3.5–4 in | Ch 10 |
| 3–6 months | 4.5 in | Ch 12 |
| 6–12 months | 5 in | Ch 13–14 |
🧼 Gauge
Before starting, make a quick gauge swatch:
- 14 sc x 16 rows = 4” square (approx.)
👟 Step-by-Step Instructions
🔹 PART 1: Crochet the Sole (White Yarn)
We begin by crocheting an oval sole that forms the base of the shoe.
Round 1:
- Ch 10
- Work 2 sc in 2nd ch from hook
- 1 sc in next 7 chs
- 5 sc in last chain
- Turn and continue on the opposite side
- 1 sc in next 7
- 2 sc in the last stitch
- Join with sl st to the first sc (Total: 24 stitches)
Round 2:
- Ch 1
- 2 sc in first stitch
- 1 sc in next 7
- 2 sc in each of next 5 (toe)
- 1 sc in next 7
- 2 sc in each of the last 3 (heel)
- Join (Total: 32 stitches)
Round 3:
- Ch 1
- Increase slightly at toe and heel: 1 sc in each stitch, with 2 sc in every other stitch around toe and heel
- Join (Total: 37–39 stitches)
📝 You can increase or decrease chain count for other sizes.
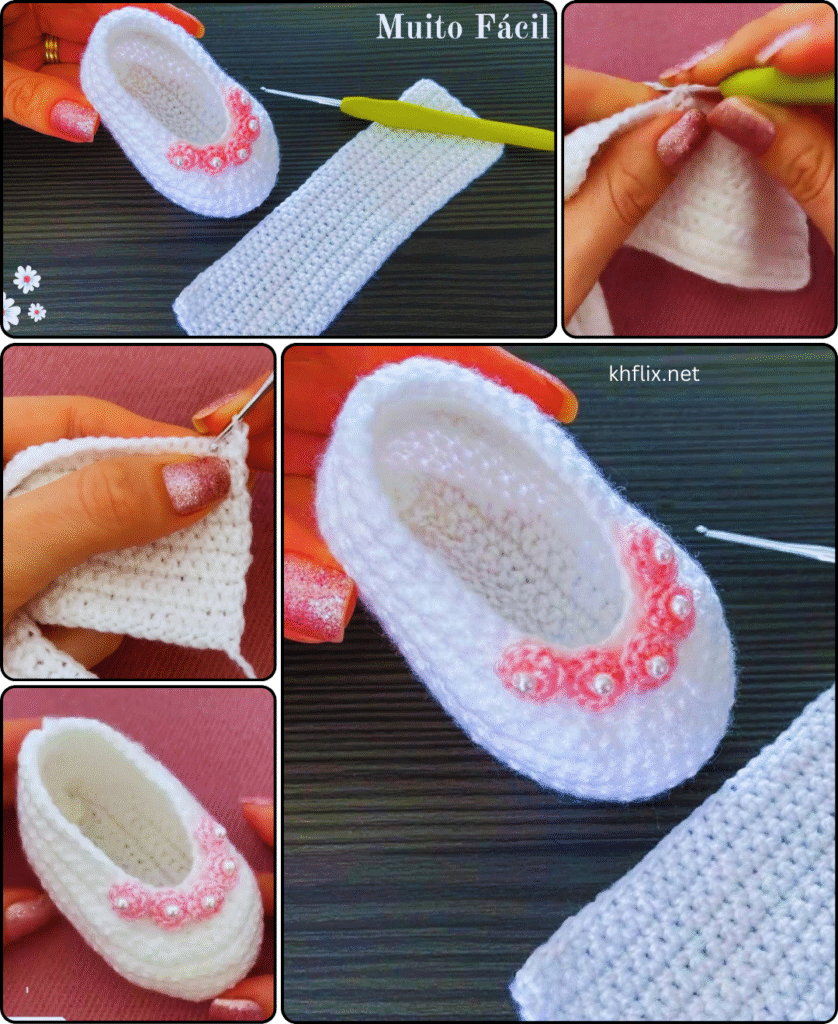
🔹 PART 2: Build the Walls of the Shoe
Round 4:
- Ch 1
- Work 1 sc in back loop only around (this makes a clean edge)
- Join
Rounds 5–6:
- sc in both loops around
- Join each round with sl st
This forms the flat side walls of the sneaker.
🔹 PART 3: Shape the Toe Cap
This is the front part of the shoe that curves up slightly, like a real sneaker.
Round 7:
- Mark the center 12 stitches of the toe
- Work sc around to the marked area
- sc2tog across the 12 toe stitches (6 decreases)
- Continue sc around to end
- Join
Round 8:
- sc until toe area
- sc2tog over next 6 stitches (3 decreases)
- Finish round with sc, join
The front should now curve inward like a toe cap.
🔹 PART 4: Add the Sneaker Tongue (Separate Piece)
Switch to white or an accent color if you like.
- Attach yarn to base of toe shaping (center front)
- Ch 1, sc across 10–12 stitches to form the tongue
- Turn, sc back and forth for 6–8 rows
- Fasten off and weave in end
This creates a flat “tongue” like on real sneakers.
🔹 PART 5: Crochet the High-Top Cuff (Optional)
For a sporty high-top look:
- Attach yarn to back side of shoe opening
- sc around the ankle opening (approx. 25–30 stitches)
- Continue working in rounds for 3–5 more rows to build height
- Optionally add a sl st trim in grey or black at the top
🔹 PART 6: Make the Shoelaces
You have a few choices:
- Chain Laces: Chain 60–80 stitches with white or contrast yarn
- Yarn Laces: Use a long piece of yarn, thread it like a lace
- Ribbon or Cord: For a stylish touch, insert thin ribbon or baby-safe cord
Weave through the side walls just like real sneakers. Tie a bow or leave loose.
🧵 Optional Details & Customizations
✔ Add Side Star Patch (Converse Style):
- Using grey or black yarn, make a small circle (e.g., magic ring with 6 sc)
- Sew it to the outer ankle area
- Use white yarn to embroider a star or logo
✔ Color Combos for Realistic Look:
- White sole, grey stripe, and colored top
- White base with pastel trim for a baby look
- All white with lace and buttons for baby showers
🧽 Finishing Touches
- Weave in all ends securely using your tapestry needle
- Block gently if necessary (optional for firm shapes)
- Wash gently by hand or use machine gentle cycle if using washable yarn
- Always lay flat to dry
📝 Pattern Summary (Quick View)
- Sole: Chain 10, sc around to form oval (3 rounds)
- Walls: sc in back loop, build 2–3 rows
- Toe: Decrease across toe stitches (2 rounds)
- Tongue: Flat rectangle (6–8 rows)
- High-top: 3–5 rounds above heel
- Laces: Chain and thread through
💡 Pro Tips for Success
- Use a stitch marker to track the beginning of each round
- Keep tension tight for a clean, structured shoe
- Count stitches regularly to ensure symmetry in both shoes
- Try different hook sizes for firmer or stretchier results
🎁 Final Thoughts
Crochet baby sneakers in white are an elegant, modern choice for newborn fashion. They work beautifully as a handmade baby gift and are customizable for any season or style. The sneaker pattern gives you the chance to practice shaping, sewing, and styling your crochet in a fun and useful way.
Once you master this basic version, try making sets in different colors—navy, pink, grey, or red—with stripes, logos, and more.
Happy Crocheting! 🧶👟
Would you like me to create:
- A printable PDF pattern
- A photo step-by-step version
- Or a crochet chart/diagram?
Let me know, and I’d be happy to generate that for you!
🎥Video Tutorial
🧶 Thanks for Reading My Crochet Ideas! 🌸
I truly appreciate you taking the time to explore my crochet creations and ideas. Whether you’re here for inspiration, learning, or just for the love of yarn, I’m so glad you stopped by!
If you enjoyed this post, feel free to share it with fellow crocheters, leave a comment, or save it for your next project. Your support means the world and helps keep the creativity flowing!