 by
by Absolutely! Here’s a detailed, beginner-friendly, step-by-step guide on how to make an easy crochet baby shoe using green yarn. This tutorial is perfect for those new to crochet and looking for a simple, satisfying project that’s both adorable and functional.
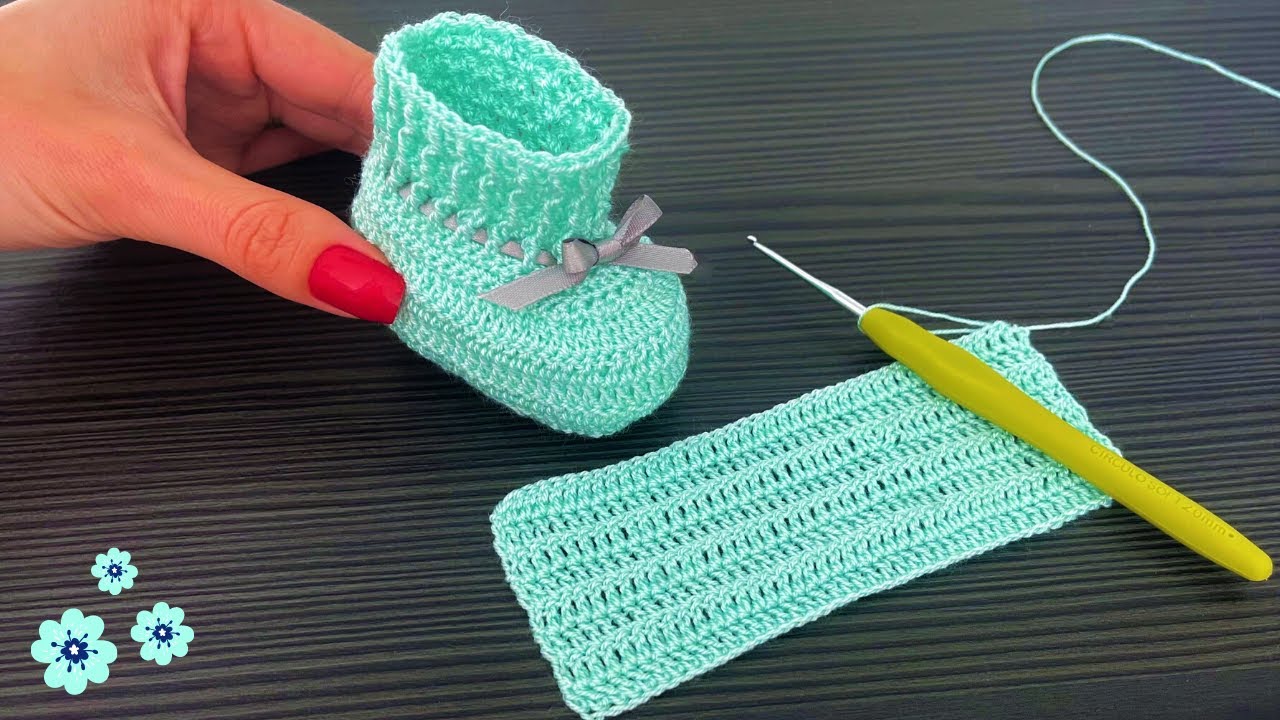
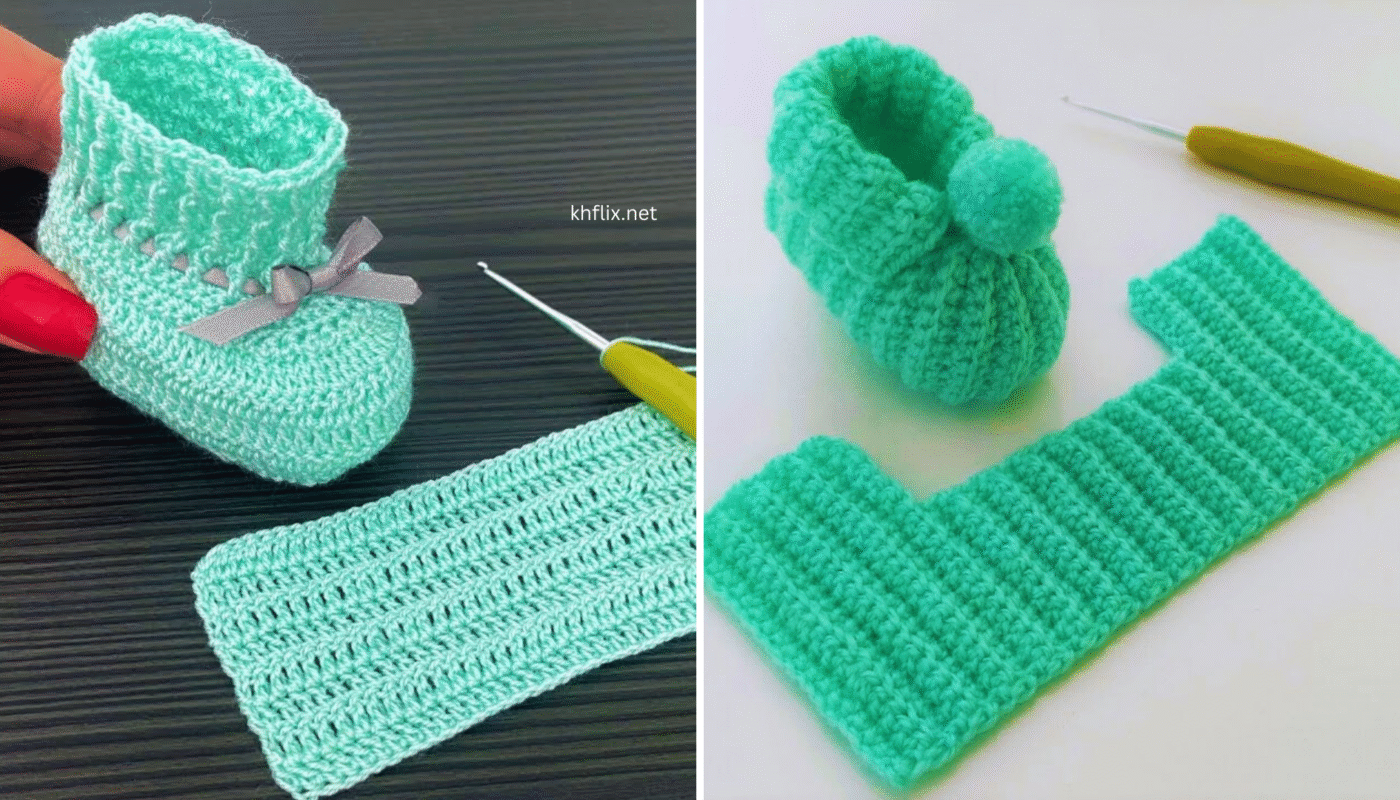
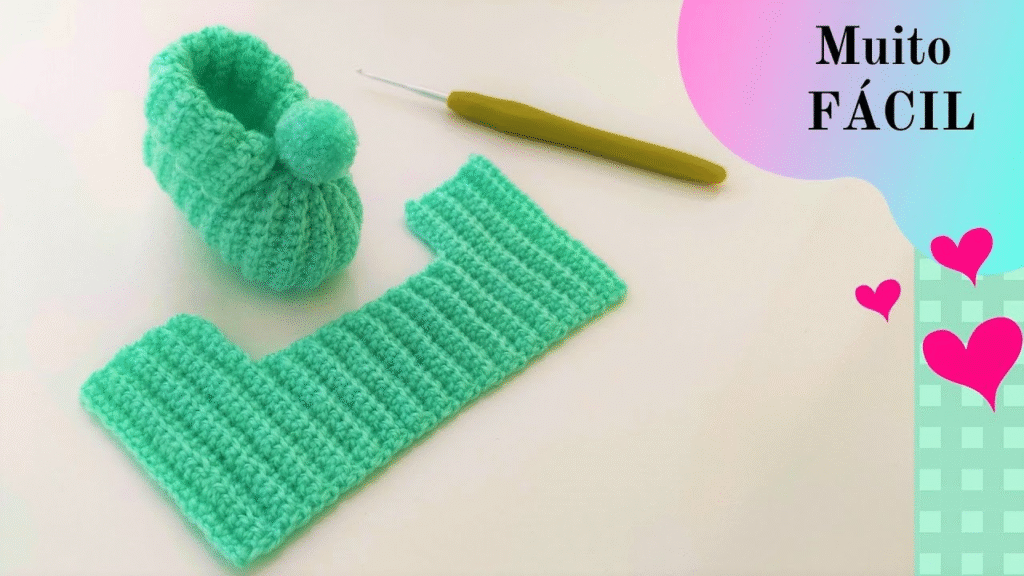
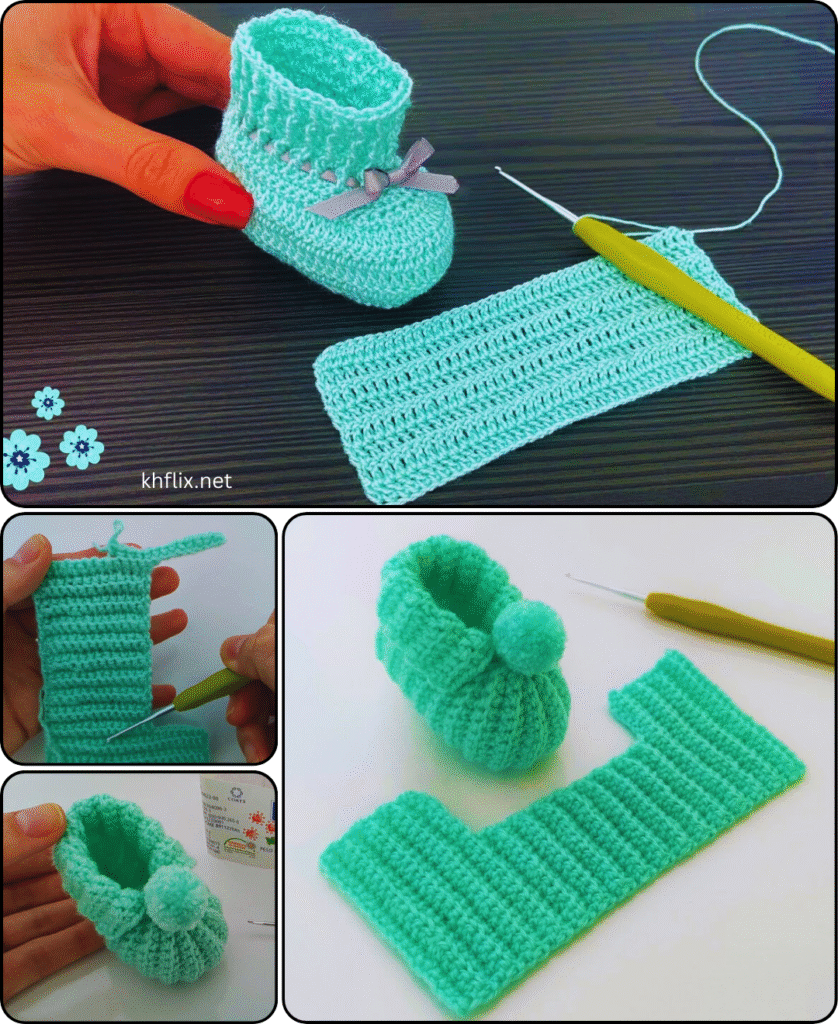
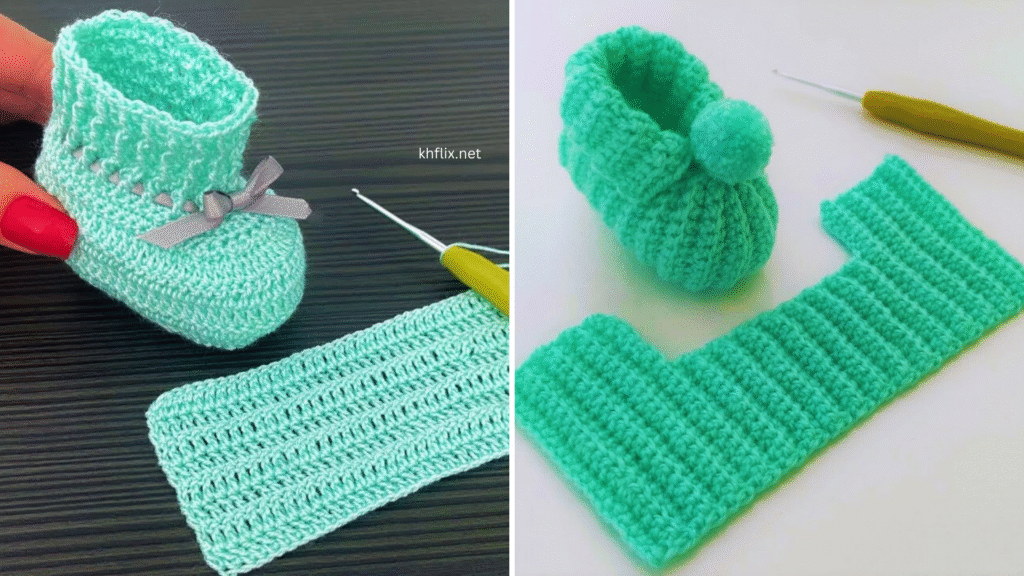
🧶 EASY Step-by-Step Crochet Baby Shoe Pattern – In Green Color
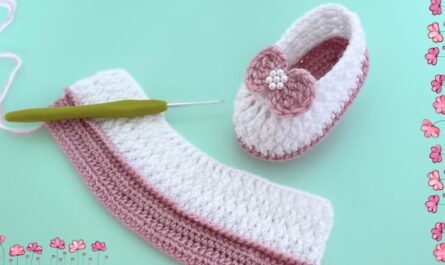
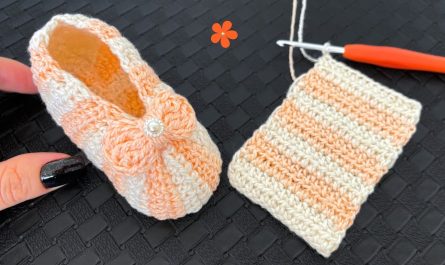
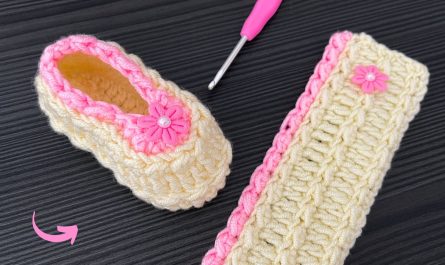
Crocheting baby shoes is one of the most charming and rewarding projects you can take on, especially when you’re creating them in a vibrant, cheerful color like green. These little shoes are soft, customizable, and a thoughtful handmade gift for a newborn. This pattern is simple, uses basic stitches, and is perfect for beginners.
👶 Project Overview
- Skill Level: Beginner
- Shoe Size: 0–3 months (3.5–4 inches sole)
- Time Required: ~1–2 hours
- Yarn Color: Green (any shade — mint, lime, sage, emerald, etc.)
🧵 Materials Needed
Yarn
- Type: Worsted weight (#4) or DK weight (#3)
- Color: Green (main color)
- Amount: 30–50 yards for a pair
Crochet Hook
- Size: 3.5 mm or 4.0 mm (E or G hook)
- Smaller hook = tighter, more structured shoe
Tools
- Tapestry needle (for sewing and weaving in ends)
- Small scissors
- Stitch marker (optional)
- Optional embellishments: buttons, bows, etc.
📏 Shoe Size Chart (Sole Length)
| Age | Sole Length | Chain Base |
|---|---|---|
| 0–3 months | 3.5–4 in | Ch 10 |
| 3–6 months | 4.5 in | Ch 12 |
| 6–12 months | 5 in | Ch 13 |
For this tutorial, we’ll make a 0–3 month size (Ch 10 base).
🧶 Abbreviations Used
| Stitch | Abbreviation |
|---|---|
| Chain | ch |
| Single Crochet | sc |
| Slip Stitch | sl st |
| Stitch | st |
| Increase (2 sc in same stitch) | inc |
👟 How to Crochet Easy Baby Shoes in Green – Step-by-Step
🟢 Step 1: Crochet the Sole
Foundation Chain:
- Chain 10
Round 1:
- Work 2 sc in the 2nd chain from hook
- 1 sc in each of next 7 ch
- 5 sc in the last ch
- Work along the opposite side of the foundation chain:
- 1 sc in next 7 ch
- 2 sc in last stitch
- Join with sl st to the first sc (Total: 24 stitches)
Round 2:
- Ch 1
- 2 sc in first st
- 1 sc in next 7
- 2 sc in each of next 5 sts (toe)
- 1 sc in next 7
- 2 sc in each of last 3 sts (heel)
- Join (Total: 32 sts)
Round 3:
- Ch 1
- sc around, increasing slightly at toe and heel to form a clean oval shape (up to ~36 sts)
- Join
Now you have the finished sole.
🟢 Step 2: Build the Sides of the Shoe
This forms the wall around the foot.
Round 4:
- Ch 1
- Work sc in the back loops only (BLO) of each stitch around
- Join (This helps the shoe “bend” upward from the sole)
Rounds 5–6:
- sc in both loops around
- Join with sl st
Your shoe should now look like a small bowl with a flat base.
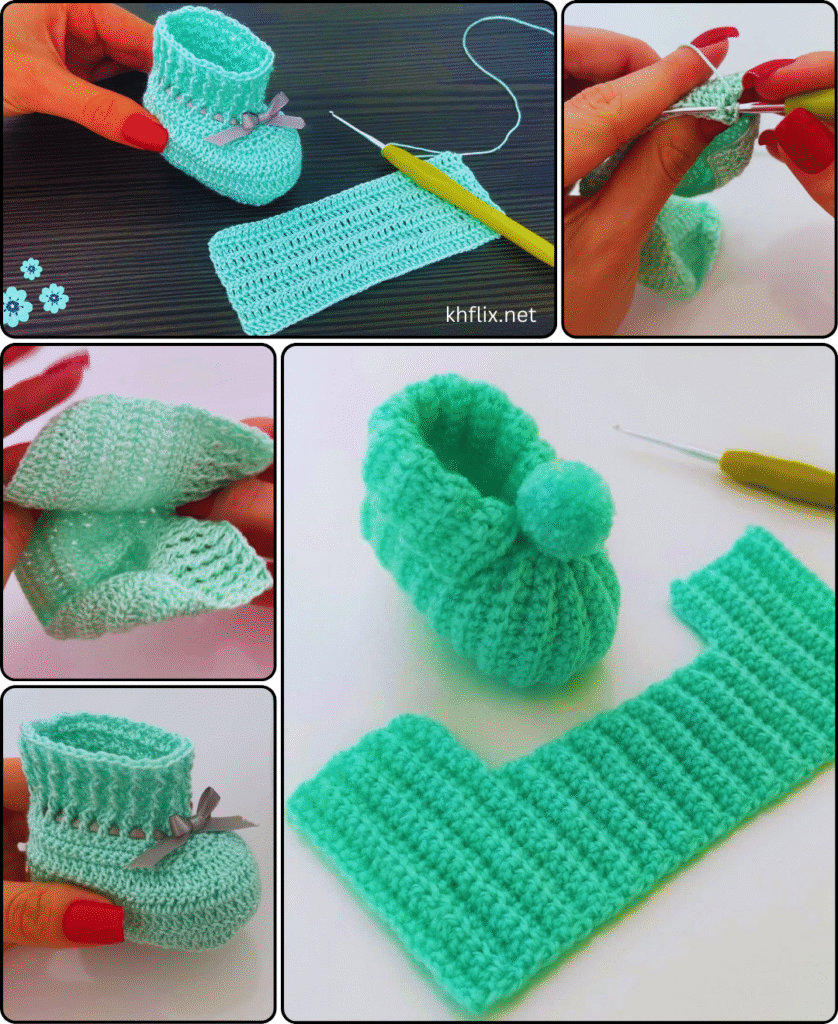
🟢 Step 3: Shape the Toe Area
This part helps wrap the front of the shoe around the baby’s toes.
Round 7:
- sc 10
- sc2tog (single crochet two together) across the next 10 stitches (5 decreases)
- sc to end of round
- Join
Round 8:
- sc 10
- sc2tog over next 6 stitches (3 decreases)
- sc to end
- Join
Your shoe now has a gently curved toe.
🟢 Step 4: Add the Strap (Optional)
You can finish here or add a cute strap to help secure the shoe.
To make a button strap:
- Attach green yarn to one side of the shoe near the ankle
- Chain 10 (or however long needed to cross the shoe)
- Attach to the opposite side with a sl st
- Sew a small button underneath the strap (make sure it’s secure and baby-safe)
🟢 Step 5: Finishing Touches
Weave in Ends:
- Use a tapestry needle to tuck yarn tails into the stitches
Optional Decoration Ideas:
- Add a small flower, bow, or animal face to the top
- Stitch initials or a little heart in white yarn
- Add contrast edging in white or yellow for a spring vibe
🧼 How to Care for Crochet Baby Shoes
- Use baby-safe yarn that is:
- Hypoallergenic
- Machine washable
- Wash on gentle cycle or hand wash
- Lay flat to dry to retain shape
📝 Quick Pattern Recap
Sole:
- Ch 10
- sc around with increases (3 rounds)
Walls:
- Round 4: sc in BLO
- Rounds 5–6: sc in both loops
Toe Shaping:
- Rounds 7–8: sc2tog across toe stitches
Strap (Optional):
- Ch 10, sl st across shoe, sew button
💡 Tips for Success
- Use stitch markers if you struggle to track rounds
- Keep tension even to avoid misshapen shoes
- Make both shoes at the same time to match size
- Try using mint green for spring, olive for fall, or emerald for a classic unisex look
🎁 Final Thoughts
Making easy crochet baby shoes in green is a joyful project that’s ideal for beginners and creates a special keepsake for little ones. The steps are simple but result in a polished, professional-looking pair of baby shoes. Whether you’re making them for a gift, your own baby, or a craft fair, they’re sure to warm hearts—and tiny toes.
Would you like:
- A PDF printable version of this pattern?
- A photo tutorial or step-by-step image guide?
- Or a crochet diagram/chart?
Just let me know and I can generate that for you!