 by
by Sure! Here’s a detailed, easy-to-follow tutorial on how to crochet a baby shoe using blue yarn. This pattern is designed to be beginner-friendly, and it will walk you through each step to create a pair of simple, adorable baby shoes.
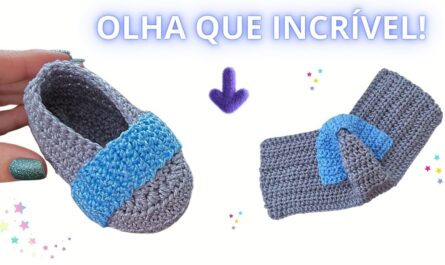
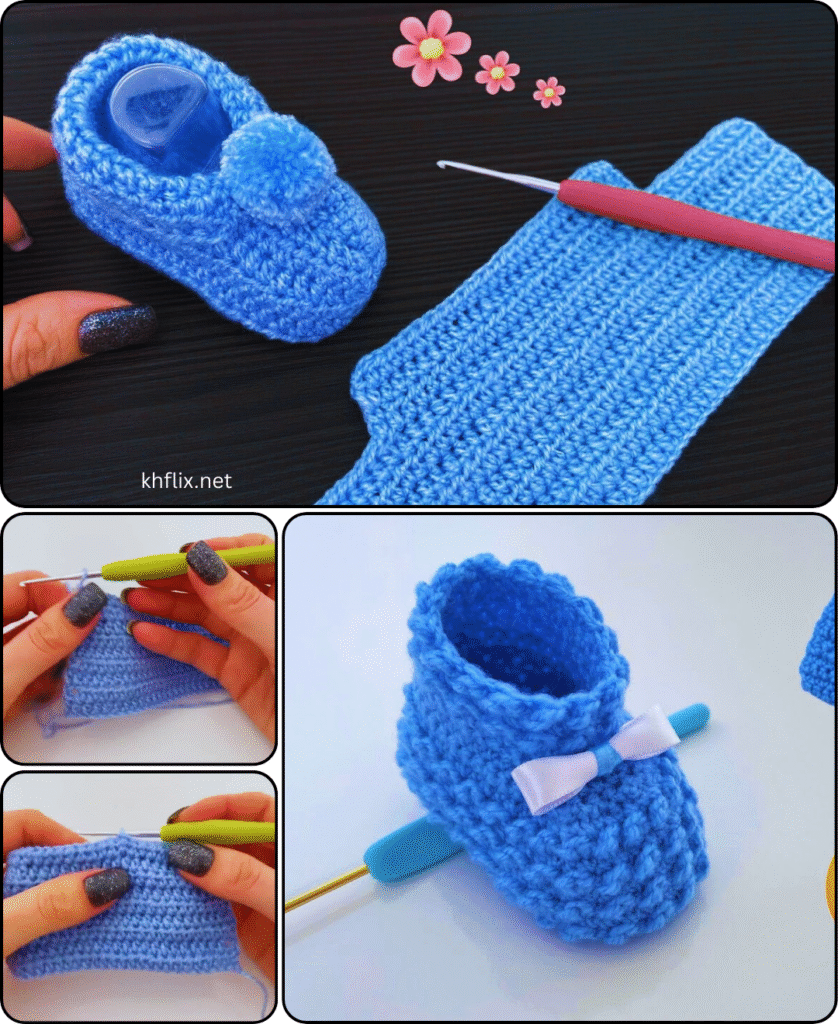
🧶 How to Crochet Baby Shoes – Super Easy Step-by-Step Guide in Blue Color
Crocheting baby shoes is a wonderful way to show your love and creativity. Not only are they a thoughtful gift for new parents, but they’re also a great way to practice basic crochet techniques. The simplicity of this pattern makes it perfect for beginners, and you can customize the shoes with different colors, buttons, or bows.
In this tutorial, we’ll create a basic baby shoe with a blue yarn that’s easy to make, comfortable, and ideal for a 0-3 month-old baby.
🧵 What You’ll Need:
Yarn:
- Color: Blue (you can use any shade you like—light blue, navy, baby blue, or teal)
- Yarn Weight: Worsted weight (#4) or DK weight (#3) yarn
- Amount: 30–50 yards (for a pair)
Hook:
- Size: 3.5 mm or 4.0 mm (E or G hook)
Tools:
- Tapestry needle (for weaving in ends)
- Small scissors
- Stitch markers (optional but helpful)
- Button (optional, for decoration)
- Soft baby-safe yarn for a gentle, comfortable shoe

📏 Size Guide
This pattern is for a 0–3 month size, with a sole measuring around 3.5–4 inches. Here’s a quick guide to help you adjust the pattern for different sizes:
| Age | Sole Length | Foundation Chain |
|---|---|---|
| 0–3 months | 3.5–4 inches | Ch 10 |
| 3–6 months | 4.5 inches | Ch 12 |
| 6–12 months | 5 inches | Ch 13 |
For this tutorial, we’ll use the 0–3 months size.
🧶 Abbreviations:
| Stitch | Abbreviation |
|---|---|
| Chain | ch |
| Single Crochet | sc |
| Slip Stitch | sl st |
| Stitch | st |
| Increase | inc |
| Decrease (sc2tog) | sc2tog |
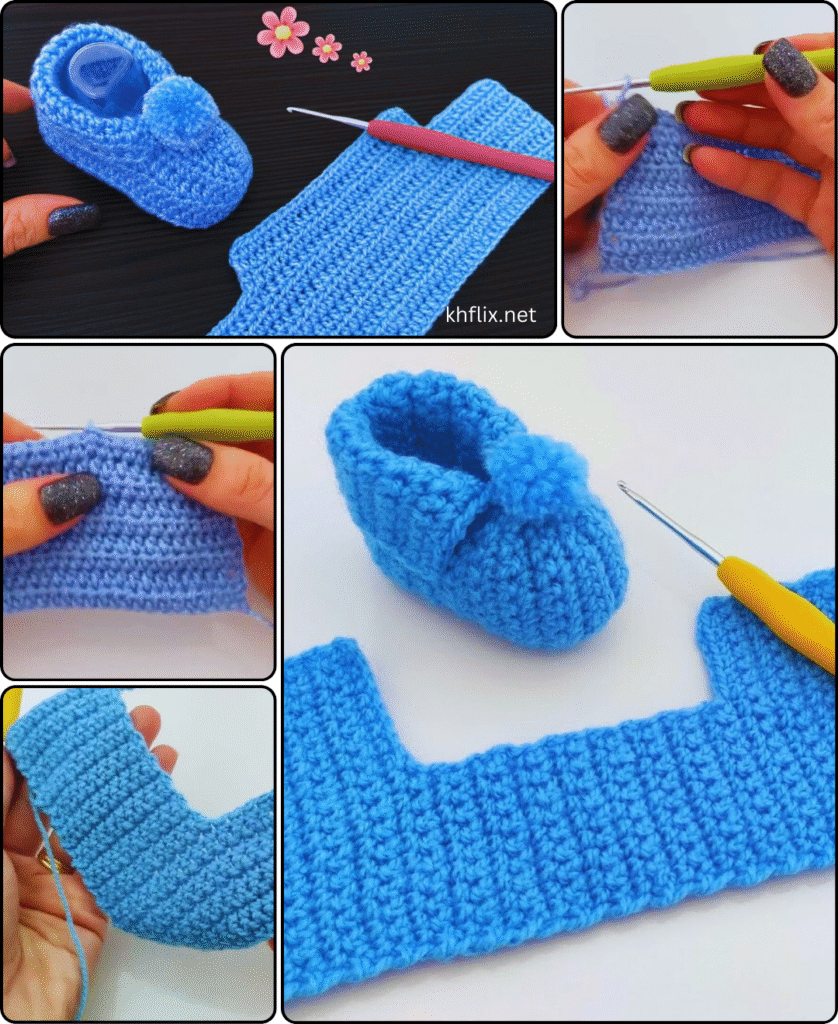
👟 Step-by-Step Instructions
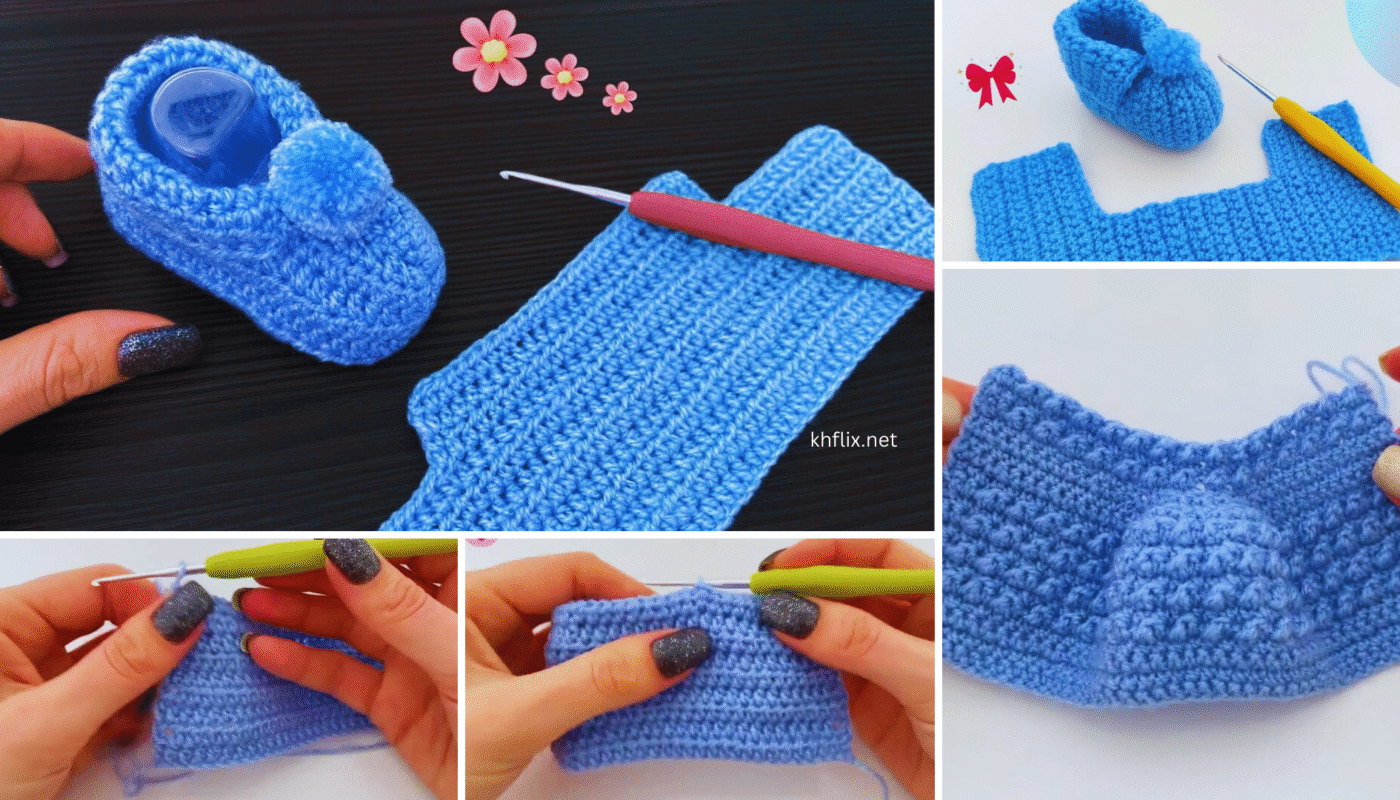
🟦 Step 1: Make the Sole of the Shoe
We begin by crocheting an oval-shaped sole for the shoe.
Foundation Chain:
- Ch 10
Round 1:
- Work 2 sc into the 2nd ch from hook
- 1 sc in the next 7 ch
- In the last ch, make 5 sc to turn the corner
- Working along the opposite side of the foundation chain:
- 1 sc in each of the next 7 ch
- 2 sc in the last stitch
- Join with sl st into the first sc (Total: 24 stitches)
Round 2:
- Ch 1
- Work 2 sc into the first stitch
- 1 sc in the next 7 stitches
- 2 sc in each of the next 5 stitches (this is the toe area)
- 1 sc in the next 7 stitches
- 2 sc in the last 3 stitches (this is the heel area)
- Join with sl st (Total: 32 stitches)
Round 3:
- Ch 1
- sc in each stitch around, adding a slight increase at the toe and heel if necessary (total should be around 36–38 stitches)
- Join
🟦 Step 2: Build the Walls of the Shoe (Sides)
Now, let’s crochet the side walls of the shoe.
Round 4:
- Ch 1
- Work sc in the back loop only (BLO) around the entire sole (this creates a clean edge)
- Join with sl st
Round 5-6:
- Ch 1
- sc around for 2 more rounds (this forms the sides of the shoe)
- Join with sl st
🟦 Step 3: Shape the Toe Area
This step gives the shoe its signature rounded toe shape.
Round 7:
- sc 10
- sc2tog (single crochet two together) over the next 10 stitches (5 decreases)
- sc to the end of the round
- Join with sl st
Round 8:
- sc 10
- sc2tog over the next 6 stitches (3 decreases)
- sc to the end of the round
- Join with sl st
This gives the toe a curved shape, similar to real baby shoes.
🟦 Step 4: Add the Strap (Optional)
If you want your shoes to have a cute strap or Mary Jane style, here’s how to add one.
To Make the Strap:
- Attach yarn to one side of the shoe near the ankle area.
- Chain 10–12 (depending on the size of the shoe and desired strap length).
- Work back in sc along the chain for 1–2 rows.
- Attach the strap to the opposite side with sl st.
- Optionally, sew a small button at the end of the strap for decoration or to help secure it.
🟦 Step 5: Finishing Touches
Weave in Ends:
- Use a tapestry needle to weave in any loose yarn ends inside the shoe.
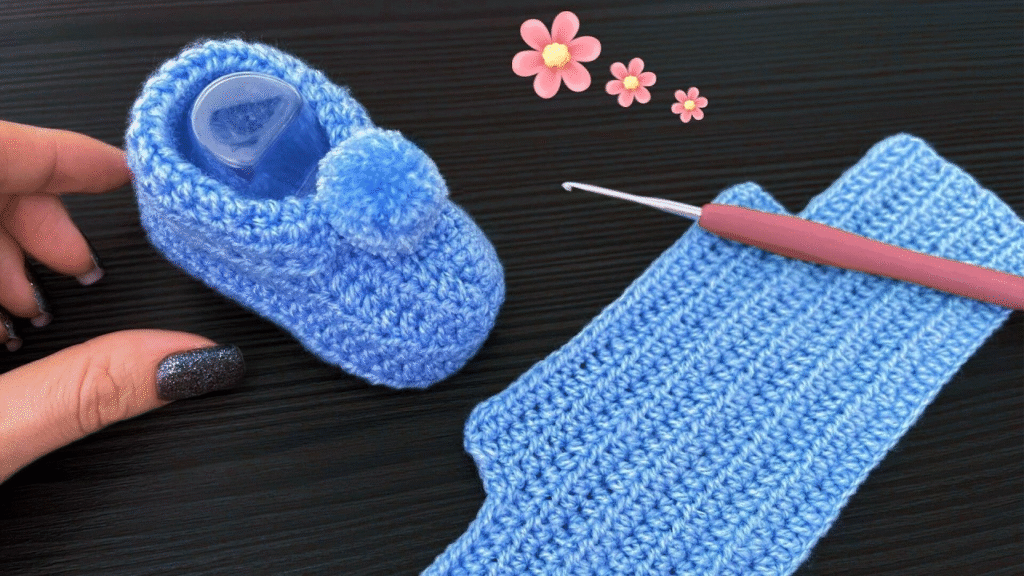
Optional Embellishments:
- Add a small flower, bow, or button for extra flair.
- You can use contrasting yarn for the strap or trim to make the shoes stand out.
🧼 Care Instructions
Since these are baby shoes, you’ll want to make sure they’re easy to clean and gentle on the baby’s skin.
- Machine wash on a gentle cycle or hand wash with mild soap.
- Lay the shoes flat to dry to avoid any shrinkage or misshaping.
📝 Quick Pattern Recap
- Sole:
- Ch 10
- Work in rounds with increases for 3 rounds
- Walls:
- Ch 1, sc in BLO for 1 round
- Work 2 more rounds of sc
- Toe Shaping:
- sc and sc2tog for 2 rounds
- Strap (Optional):
- Ch 10, work 1–2 rows of sc, attach to opposite side

💡 Pro Tips for Success
- Stitch markers help track your rounds, especially for beginners.
- Keep your tension even throughout the project for a smooth, uniform shape.
- Count your stitches regularly to ensure that your shoes match in size.
- Use a button or embellishment to personalize the shoes.
- Make sure the strap fits comfortably around the ankle and is not too tight.
🎁 Final Thoughts
Crocheting baby shoes in blue is an easy and satisfying project that results in a beautiful, handmade gift. These simple shoes are perfect for a variety of occasions and are sure to keep little feet cozy and stylish. You can adjust the pattern with different colors and embellishments to make it unique.
Would you like me to provide a PDF pattern for this tutorial or a step-by-step image guide? Just let me know!
Happy crocheting! 🧶👶