 by
by 🧶 Welcome to My Crochet Corner! 🌸
A cozy space for creativity, comfort, and colorful yarn.
Hello there, fellow yarn lover! 👋
I’m so happy you’ve found your way to my little corner of the internet — a place where loops, stitches, and patterns come together to create something beautiful.
Here at My Crochet Corner, you’ll discover:
- Easy and beautiful crochet patterns
- Step-by-step tutorials perfect for beginners and experienced crafters
- Inspiring crochet ideas for gifts, home décor, and more
- A growing community of people who love handmade things as much as you do
Whether you’re just starting out or you’ve been crocheting for years, there’s always something new to learn, try, or fall in love with here. 💕
So grab your favorite hook, a cup of tea, and let’s create something wonderful together — one stitch at a time.
Happy Crocheting!
Sure! Here’s a detailed guide on how to make a four-color crochet baby blanket, covering everything from material selection to finishing touches.
🧶 How to Crochet a Baby Blanket Using Four Colors (Step-by-Step Guide)
Crocheting a baby blanket is a timeless and heartfelt project, perfect for gifting or personal use. A four-color crochet baby blanket allows for creative expression, and can result in a beautiful, vibrant piece that both baby and parents will cherish. Whether you’re a beginner or an experienced crocheter, this guide will walk you through the process in a detailed, easy-to-follow manner.
🧵 Materials You Will Need
Before you begin, gather all your supplies:

Yarn:
- Type: Choose a soft, hypoallergenic, machine-washable yarn—acrylic or cotton blends work best for babies.
- Weight: Worsted weight (medium #4) is a popular choice.
- Colors: Select four coordinating colors. You can go with pastels (e.g., soft blue, mint, cream, and blush) or bold contrasts (e.g., navy, mustard, white, and teal), depending on your theme.
Hook:
- Size H-8 (5 mm) is a common hook size for worsted weight yarn, but check the yarn label for suggestions.
Other Tools:
- Yarn needle for weaving in ends
- Scissors
- Measuring tape
- Stitch markers (optional)
📏 Blanket Size Guide
Baby blankets come in various sizes depending on the intended use:
| Type | Size (inches) | Size (cm) |
|---|---|---|
| Stroller | 30 x 35 | 76 x 89 |
| Receiving | 36 x 36 | 91 x 91 |
| Crib | 36 x 52 | 91 x 132 |
For this tutorial, we’ll aim for a 30 x 35-inch stroller blanket, but you can adjust to your preference.
🎨 Choosing a Color Pattern
Using four colors allows for creative flexibility. Here are a few ideas:
Stripe Sequences:
- Even Stripes: Rotate all four colors every 6 rows.
- Gradient Flow: Arrange colors from lightest to darkest, or vice versa.
- Asymmetrical Stripes: Make one color dominant with larger bands, and use others for thin accent stripes.
You can also use color-blocking or corner-to-corner crochet for variation.
🧶 Basic Stitch Pattern (Beginner-Friendly)
For simplicity and elegance, we’ll use the Granny Stripe Stitch:
Abbreviations (US Terms):
- ch = chain
- dc = double crochet
- sk = skip
- sp = space
- st(s) = stitch(es)
Gauge (adjust if needed):
14 dc and 8 rows = 4 inches x 4 inches
🔨 Instructions: Step-by-Step
Step 1: Foundation Chain
- Using Color A, chain a multiple of 3 + 2 extra chains to get your desired width.
- For a 30-inch width with worsted yarn and a 5 mm hook, ch 107 (approx).
Step 2: Row 1 – Setup
- Dc in 4th ch from hook (counts as first dc + dc).
- Sk 2 ch, 3 dc in next ch; repeat from * to last 3 ch.
- Sk 2, 2 dc in last ch.
- Turn.
Step 3: Row 2 (Granny Stripes Begin)
- Ch 3 (counts as dc), 1 dc in first st.
- 3 dc in space between 3-dc clusters of previous row; repeat across.
- End with 2 dc in top of turning ch.
- Turn.
Step 4: Continue Pattern
- Repeat Row 2 for the entire blanket, changing colors every 6 rows (or your chosen pattern).
🎨 Color Change Tips
- Change colors at the end of a row for a clean transition.
- In the last yarn-over of the last dc, drop current yarn and pull through the new color.
- Always carry yarn up the side if stripes are close together (less than 6 rows apart) to avoid too many ends.
🪡 Finishing the Blanket
Step 1: Weave in Ends
- Use a yarn needle to securely weave in all the tails on the back side of the blanket.
Step 2: Add Border (Optional but Recommended)
A border gives a polished finish and helps the edges stay neat.
Simple Border Example:
- Attach any color to a corner.
- Ch 1, sc evenly around all sides, making 3 sc in each corner.
- Do 2-3 rounds of sc in alternating colors, or finish with a decorative edge like the shell stitch.
💡 Tips for Success
- Count stitches regularly to ensure you haven’t gained or lost stitches.
- Block the blanket when finished to even out the shape.
- If gifting, add a care tag with washing instructions.
🛏️ Washing and Care Instructions
- Machine wash cold, gentle cycle.
- Tumble dry low or lay flat to dry.
- Avoid bleach and fabric softener.
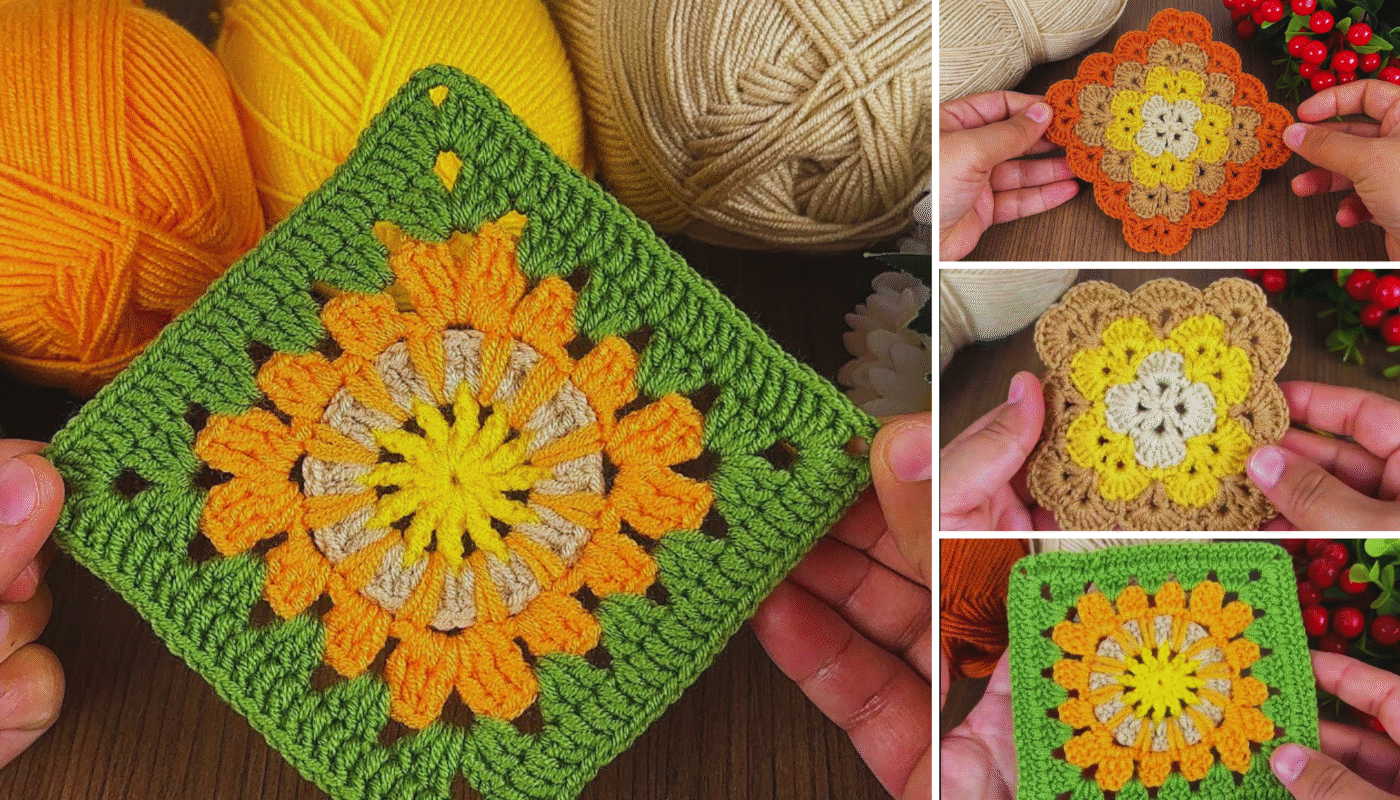
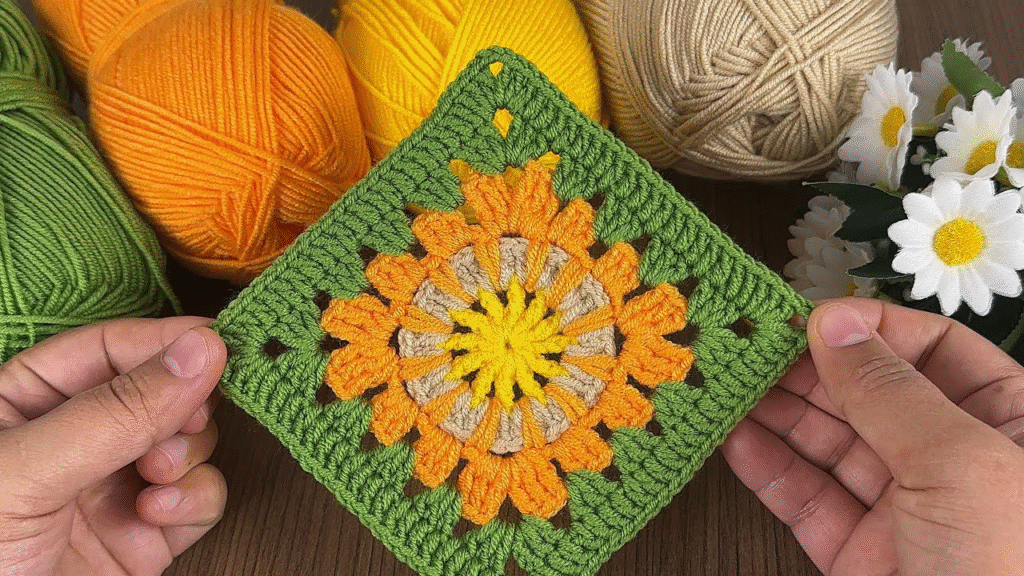
🧩 Pattern Variation Ideas
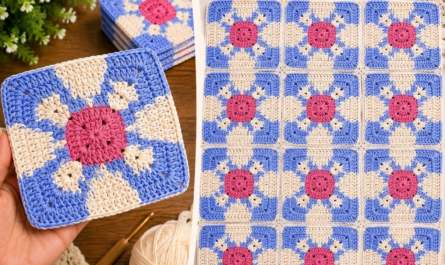
- Granny Squares: Make 4 different colored squares and join them.
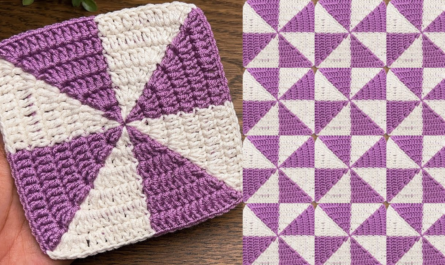
- Chevron Pattern: Use four colors in zigzag form.
- Corner-to-Corner (C2C): Diagonal blanket with color changes.
- Moss Stitch (SC + CH1): Beautiful texture and tight weave for warmth.
🎁 Final Thoughts
Crocheting a four-color baby blanket is more than just a craft—it’s a labor of love. Whether you keep it simple with stripes or explore more complex stitch patterns, the final result will be a cozy, colorful creation made from the heart.
So pick up your hook, choose your palette, and enjoy the rhythmic satisfaction of each stitch. You’re not just making a blanket—you’re making a memory.