 by
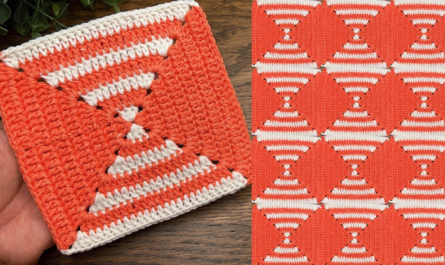
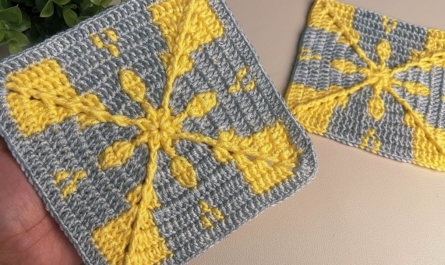
by Let’s create a truly eye-catching supla motif crochet square coaster! This project combines the sturdy, substantial feel of a supla (a mini placemat) with a striking square shape and an interesting texture, making it a beautiful and highly functional addition to your home decor. The “eye-catching” element will come from strategic stitch placement and potentially vibrant color choices.

How to Make an Eye-Catching Supla Motif Crochet Square Coaster: Detailed Tutorial
This detailed pattern will guide you through creating a flat, dense, and visually appealing square coaster. We’ll focus on building texture and definition within the square, ensuring it stands out.
Skill Level: Intermediate
You’ll need to be comfortable with:
- Chain (ch): The basic foundation.
- Slip Stitch (sl st): For joining rounds.
- Single Crochet (sc): A compact stitch.
- Half Double Crochet (hdc): A medium-height stitch.
- Double Crochet (dc): A taller stitch.
- Front Post Double Crochet (fpdc): Creates a raised, ribbed texture.
- Back Post Double Crochet (bpdc): Creates a recessed, ribbed texture.
- Working in rounds: Crocheting in a circular motion.
- Increasing: Adding stitches for shaping a square.
- Magic Ring (MR) or Adjustable Ring: Highly recommended for a tight center.
- Neat color changes (if using multiple colors).
Finished Coaster Dimensions (Approximate):
Your finished supla motif square coaster will typically measure around 6-7 inches (15-18 cm) per side, making it a substantial coaster. This can vary based on your yarn thickness, hook size, and personal tension.
Materials You’ll Need:
- Yarn: Approximately 50-70 yards (45-64 meters) of Worsted Weight (Medium #4) Cotton Yarn.
- Why Cotton? Cotton yarn is highly recommended for coasters due to its absorbency, durability, and heat resistance. Acrylic yarn can melt if exposed to very hot temperatures, so cotton is the safer and more practical choice.
- Colors: To make it “eye-catching,” consider using 2-3 contrasting or complementary colors.
- Color A (Center/Foundation): Often a light or neutral color to make subsequent colors pop.
- Color B (Main Body/Texture): A vibrant or deeper color for the primary texture.
- Color C (Optional Border/Accent): A contrasting color for the final edge.
- Crochet Hook: Size H/5.0mm. Or the hook size that gives you a dense, sturdy fabric without being too stiff. Adjust if your stitches feel too loose or too tight.
- Yarn Needle (Tapestry Needle): Essential for seamlessly weaving in all your loose yarn tails.
- Scissors: For cutting your yarn.
- Stitch Markers (Optional but Recommended): Useful for marking corner chain spaces, especially in earlier rounds, to help maintain the square shape.
Gauge:
Gauge isn’t critical for a coaster, but consistent tension is key. It ensures your coaster is well-formed, lies flat, and has an even texture. If your stitches are too loose, the coaster might be flimsy; too tight, and it could be rigid or pucker.
Abbreviations Used in This Pattern:
- ch: chain
- sl st: slip stitch
- sc: single crochet
- hdc: half double crochet
- dc: double crochet
- fpdc: front post double crochet (yarn over, insert hook from front to back around the post of the specified stitch, yarn over, pull up a loop, [yarn over, pull through 2 loops] twice)
- bpdc: back post double crochet (yarn over, insert hook from back to front around the post of the specified stitch, yarn over, pull up a loop, [yarn over, pull through 2 loops] twice)
- st(s): stitch(es)
- sp: space
- ch-sp: chain space
- MR: Magic Ring (also called Magic Circle or Adjustable Ring)
- rep: repeat
- FO: Fasten Off
- (): repeat instructions within parentheses a specified number of times.
- []: indicates the total number of stitches/chain spaces at the end of a specific round.
Mastering Clean Color Changes:
For a truly eye-catching finish, neat color changes are vital.
- Work the last stitch of your current round with the current color as usual, but stop when you have two loops left on your hook.
- Drop the current color yarn.
- Pick up your new color yarn. Yarn over with the new color, and pull it through the remaining two loops on your hook to complete the stitch.
- Now, using the new color, sl st into the first stitch of the round (or the top of your turning chain) to join.
- Always cut the old color yarn, leaving a 4-inch tail. Weave these tails in later for a professional finish.
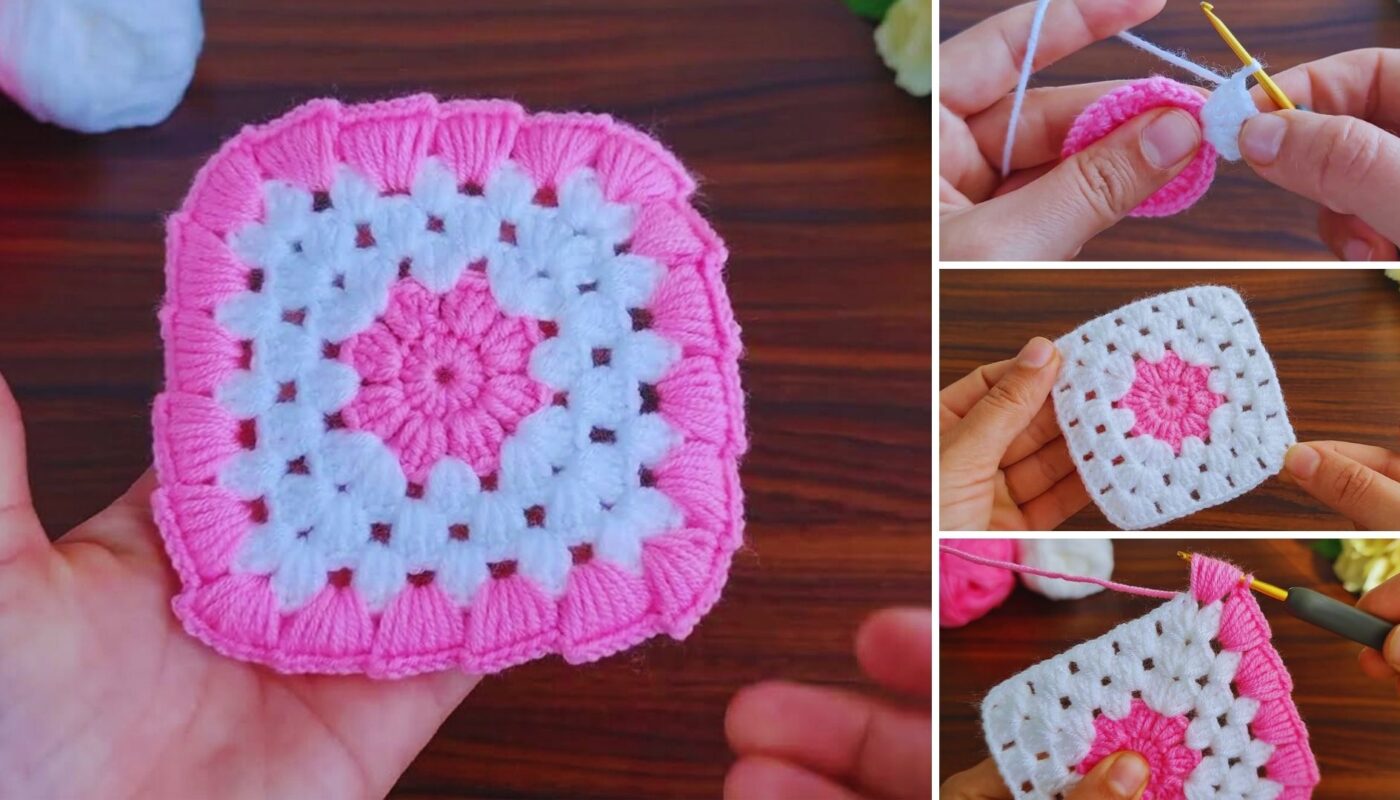
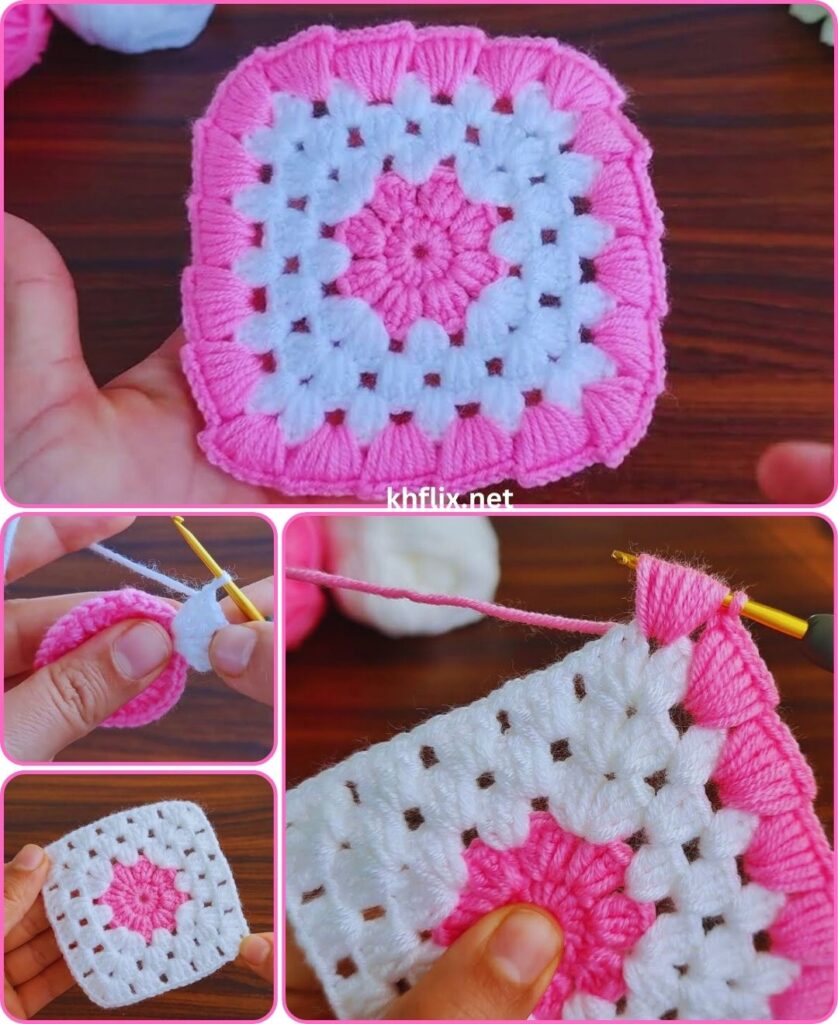
Let’s Crochet Your Eye-Catching Supla Motif Square Coaster!
This coaster begins in the center and expands outwards, incorporating post stitches to create a rich, textured surface while maintaining the square shape.
Part 1: The Center Foundation (Color A)
- Start: Make a Magic Ring (MR).
- Alternative Start: Chain 4, then slip stitch into the first chain to form a ring.
- Round 1:
- Ch 2 (does NOT count as a stitch, but gives height).
- Work 12 dc into the MR (or into the center of your ch-4 ring).
- If using a Magic Ring, pull the starting tail tightly to close the center hole.
- Sl st into the top of the first dc to join the round.
- [12 dc]
- Round 2:
- Ch 2 (does NOT count as a stitch).
- Work 2 dc into each stitch around.
- Sl st into the top of the first dc to join.
- [24 dc]
- Clean Color Change: On the last dc of this round, switch to Color B. Cut Color A, leaving a 4-inch tail to weave in later.
Part 2: Forming the Square with Texture (Color B)
This is where the unique texture and square shape begin to emerge.
- Round 3 (First Post Stitch Round – Defining Corners):
- With Color B now attached, ch 2 (does NOT count as a stitch).
- *(Work fpdc around the first 2 stitches. In the next stitch, work (2 dc, ch 2, 2 dc) – this forms a corner. Work fpdc around the next 5 stitches.)*
- Repeat from * to * 2 more times.
- Work fpdc around the next 2 stitches. In the next stitch, work (2 dc, ch 2, 2 dc) (your last corner).
- Work fpdc around the last 3 stitches.
- Sl st into the top of the first fpdc to join the round.
- [Each side will have 9 fpdc stitches + 4 dc stitches (from the corners) + 4 ch-2 corner spaces. Total of 36 fpdc/dc stitches.]
- Round 4 (Alternating Post Stitches):
- Ch 2 (does NOT count as a stitch).
- Work bpdc around the first stitch.
- Work fpdc around the next stitch.
- *(Work bpdc around the next stitch. Work fpdc around the next stitch. When you reach a corner ch-2 space, work (2 dc, ch 2, 2 dc) in the space. Work fpdc around the first 2 stitches on the next side. Work bpdc around the next stitch. Work fpdc around the next stitch.*
- Repeat from * to * 2 more times.
- Finish the last side by working bpdc around the next stitch. Work fpdc around the last 2 stitches.
- Sl st into the top of the first bpdc to join.
- [Each side will have 13 fpdc/bpdc stitches + 4 dc stitches (from the corners) + 4 ch-2 corner spaces. Total of 52 fpdc/bpdc/dc stitches.]
- Clean Color Change: On the last post stitch of this round, switch to Color C (or back to Color A if using only two colors). Cut Color B, leaving a 6-inch tail.

Part 3: Final Border & Definition (Color C)
This final round will give your coaster a clean edge and further define its square shape.
- Round 5 (Simple DC Expansion):
- With Color C now attached, ch 2 (does NOT count as a stitch).
- Work dc in the same stitch where you joined.
- Work dc in each stitch along the side until you reach the next corner ch-2 space. (You’ll be working into the tops of the post stitches from Round 4, and the dc stitches from the previous corner.)
- *(Work (2 dc, ch 2, 2 dc) in the corner ch-2 space.
- Work dc in each stitch along the side until you reach the next corner ch-2 space.*
- Repeat from * to * 2 more times.
- Work (2 dc, ch 2, 2 dc) in the last corner ch-2 space.
- Sl st into the top of the first dc to join.
- [Each side will have 17 dc stitches + 4 ch-2 corner spaces. Total of 68 dc stitches.]
- Fasten off (FO), leaving a 6-inch tail.
Part 4: Finishing Your Eye-Catching Coaster
- Weave in All Ends:
- This is a crucial step for a neat, professional, and durable coaster. You’ll have tails from your magic ring and each color change.
- Thread each yarn tail onto your yarn needle.
- Carefully weave them through several stitches of the same color on the back side of your coaster. Try to go through the middle of the stitches to fully hide the tails. Weave in one direction for a few stitches, then change direction slightly and weave back for a few stitches (this “locks” the tail in place and prevents it from unraveling).
- Take your time with this step, as neatly woven ends contribute significantly to the “eye-catching” quality.
- Block Your Coaster (Highly Recommended!):
- Blocking is essential for ensuring your coaster lies perfectly flat and has crisp, straight edges, especially with the textured stitches.
- Method 1 (Wet Blocking): Gently wet your coaster (you can spritz it or fully submerge it and gently squeeze out excess water). Lay it flat on a foam blocking mat or a towel. Pin it to your desired square dimensions, ensuring the corners are sharp and the sides are straight. Let it air dry completely.
- Method 2 (Steam Blocking): Lay your dry coaster flat on a blocking mat or heat-safe surface. Hover a steamer or an iron (on a low, steam setting) over the coaster without touching the fabric. As the steam relaxes the fibers, gently pull and pin the coaster to your desired dimensions. Let it cool and dry completely.
- Caution: Be careful not to overstretch or overheat acrylic yarn, as it can “kill” the fibers and make them limp.
You’ve now created a truly eye-catching supla motif crochet square coaster! The combination of the sturdy construction, defined square shape, and textured post stitches makes this coaster a standout piece. Experiment with different color combinations to create a set that perfectly matches your decor!