 by
by A stylish and practical transparent ribbon summer hat is a fantastic accessory for any warm-weather outfit. The beauty of this hat lies in its unique yarn—a flat, translucent ribbon—that creates a light, airy, and slightly shimmery fabric. This project is surprisingly beginner-friendly, as it uses only a few basic crochet stitches. Here is a detailed tutorial on how to crochet your own DIY transparent ribbon summer hat.
Materials Needed
- Transparent Ribbon Yarn: This is the key to the hat’s unique look. It is a flat, plastic-like ribbon that is often sold in skeins or spools specifically for crochet and knitting. Look for a weight that is easy to work with—usually, about 2-3mm in width is a good starting point. You’ll likely need about 100-150 grams of this yarn, depending on the size of your hat and the length of the brim.
- Crochet Hook: A hook size appropriate for your ribbon yarn. A 4.0mm to 5.0mm (US size G-6 to H-8) hook is a common choice. Always check the yarn label for a recommendation.
- Scissors
- Stitch Marker: Essential for keeping track of your rounds.
- Tapestry Needle: For weaving in ends.
Abbreviations
- ch: chain
- sl st: slip stitch
- sc: single crochet
- st(s): stitch(es)
- inc: increase (working 2 stitches in the same stitch)
- rep: repeat
- […]: work instructions inside brackets as a group
Pattern Instructions
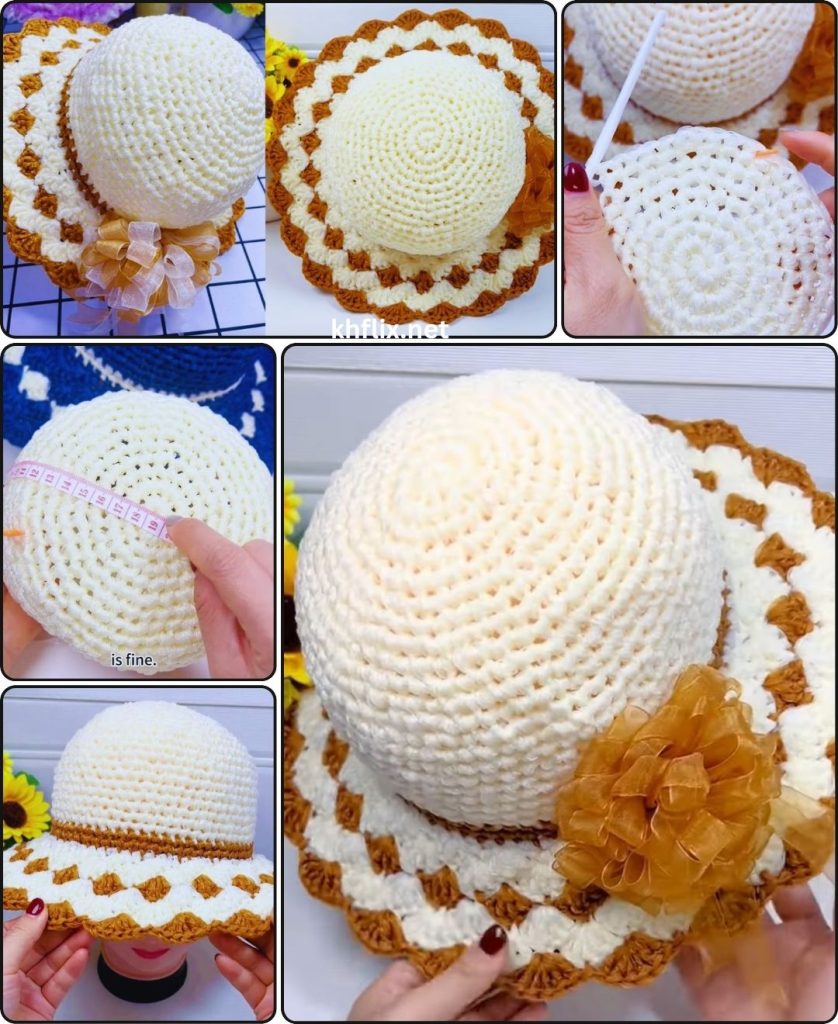
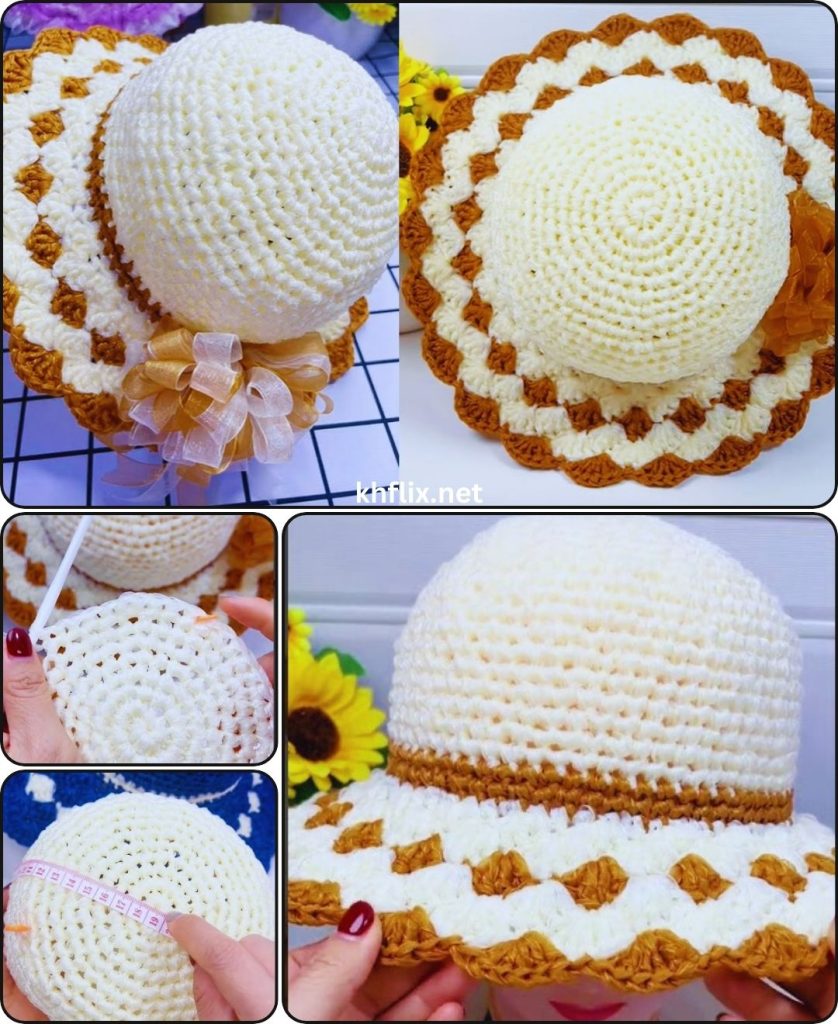
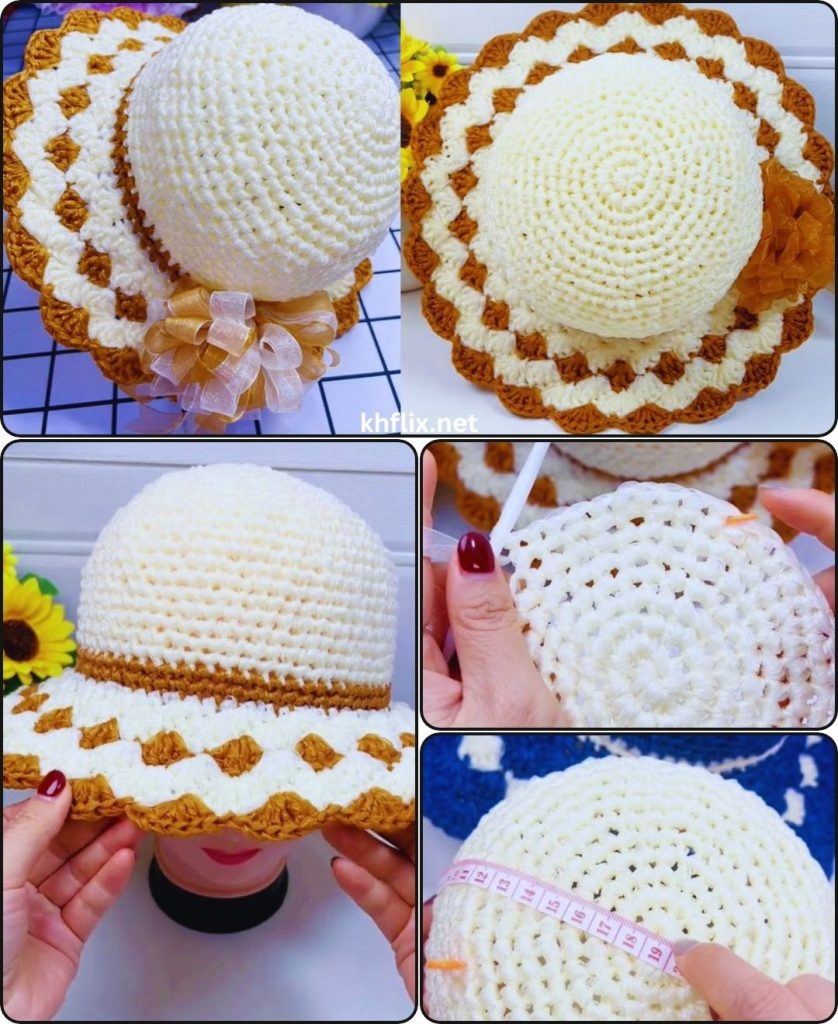
This hat is worked from the top down, in continuous spiral rounds. A continuous spiral means you don’t join with a slip stitch at the end of each round, which helps create a seamless look. Use a stitch marker to mark the first stitch of each round so you know where to stop.
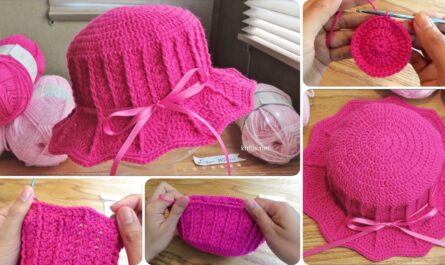
Part 1: The Crown (Top of the Hat)
The crown is a flat, solid circle that will sit on top of your head. It’s made by increasing stitches evenly in each round.
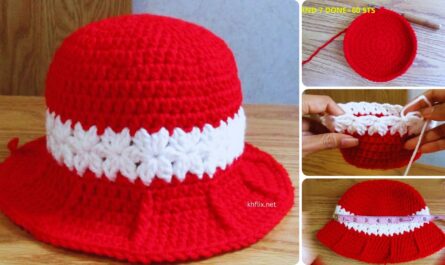
Round 1: Make a magic ring. Ch 1, and work 6 sc into the ring. Do not join. Place your stitch marker in the first sc. (6 sts)
Note: For a beginner, a magic ring can be tricky. An alternative is to ch 2, and work 6 sc into the second ch from the hook.
Round 2: 2 sc in each st around. (12 sts)
Round 3: 1 sc in the next st, 2 sc in the next st (inc). Rep from * to * around. (18 sts)
Round 4: 1 sc in the next 2 sts, 2 sc in the next st (inc). Rep from * to * around. (24 sts)
Round 5: 1 sc in the next 3 sts, 2 sc in the next st (inc). Rep from * to * around. (30 sts)
Continue increasing in this manner, adding one more single crochet stitch between the increases each round. For example, Round 6 would be 1 sc in the next 4 sts, 2 sc in the next st.
Work these increasing rounds until the flat circle (the crown) is the correct size for your head. To determine this, measure the crown’s diameter. For an average adult, a diameter of about 6-7 inches (15-18 cm) is a good starting point. You may need to adjust based on the circumference of the head you’re making the hat for.
Part 2: The Side/Body of the Hat
This section is where you stop increasing and work even rounds to create the “bucket” part of the hat that fits around your head.
Round 1: Sc in each st around. Do not increase. Move your stitch marker up as you go.
Round 2 and beyond: Continue working sc in each st around.
Keep working these even rounds until the body of the hat measures about 4-5 inches (10-12 cm) from the start of the non-increasing rounds, or until it’s the desired depth for a comfortable fit.
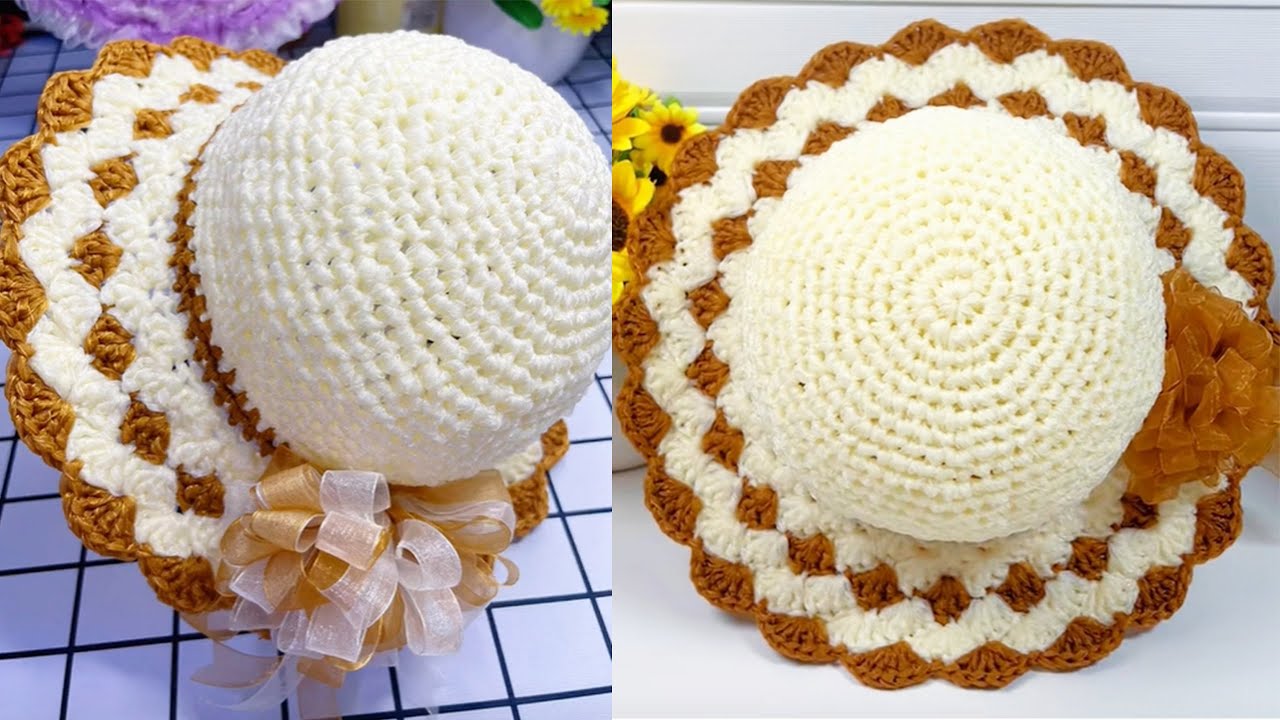
Part 3: The Brim
The brim is created by reintroducing increases to make the hat flare out. The number of increases will determine how wide and floppy your brim is.
Round 1: 1 sc in the next 2 sts, 2 sc in the next st (inc). Rep from * to * around.
Round 2: Sc in each st around. (No increases.)
Round 3: 1 sc in the next 3 sts, 2 sc in the next st (inc). Rep from * to * around.
Round 4: Sc in each st around. (No increases.)
Round 5: 1 sc in the next 4 sts, 2 sc in the next st (inc). Rep from * to * around.
Round 6: Sc in each st around. (No increases.)
Continue this alternating pattern of an increasing round followed by an even round. The number of stitches between your increases will grow with each increasing round. You can continue this for as many rounds as you like to achieve your desired brim width. For a floppy, wide-brimmed hat, you might work 10-12 rounds for the brim. For a simple bucket hat look, 4-6 rounds might be sufficient.
Finishing
- Once your hat is the desired size and shape, end the final round with a sl st to the next st.
- Cut your ribbon yarn, leaving a tail of about 6 inches.
- Thread the tail onto your tapestry needle and weave in the end securely on the inside of the hat. Because the ribbon is transparent, it’s a good idea to weave it along the same color ribbon stitches so it blends in.
- Congratulations, your hat is complete! You can wear it as is, or add a decorative touch.
Tips for Beginners
- Yarn Choice is Key: The transparent ribbon yarn can be a bit slippery and stiff. A larger hook size than you might normally use for a similar weight of yarn can make it easier to work with.
- Practice First: Before starting the hat, practice the single crochet stitch with the ribbon yarn to get a feel for the material and your tension.
- Use a Stitch Marker: This is your best friend when working in a continuous spiral. It prevents you from getting lost and ensures your hat is symmetrical.
- Maintain Even Tension: Try to keep your stitches at a consistent tightness. This will ensure your hat’s fabric is smooth and even.
- Blocking: If your hat seems a little stiff or misshapen, blocking can work wonders.
- Gently steam the hat with a garment steamer or a steam iron (without touching the iron to the hat).
- Alternatively, you can spritz it with water.
- Place the hat over a bowl, balloon, or Styrofoam head to shape it while it dries. This will help the brim to flatten out nicely and the crown to hold its shape.
This transparent ribbon hat is a simple and quick project that is perfect for a beginner who wants to make a unique and stylish summer accessory. The results are stunning and look much more complicated than they are to create. Happy crocheting!