 by
by A Complete Beginner-Friendly Guide
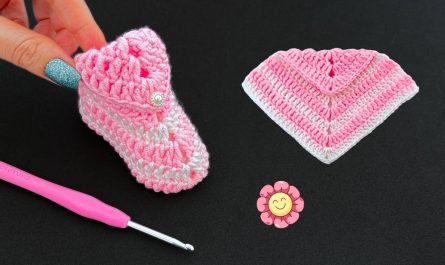
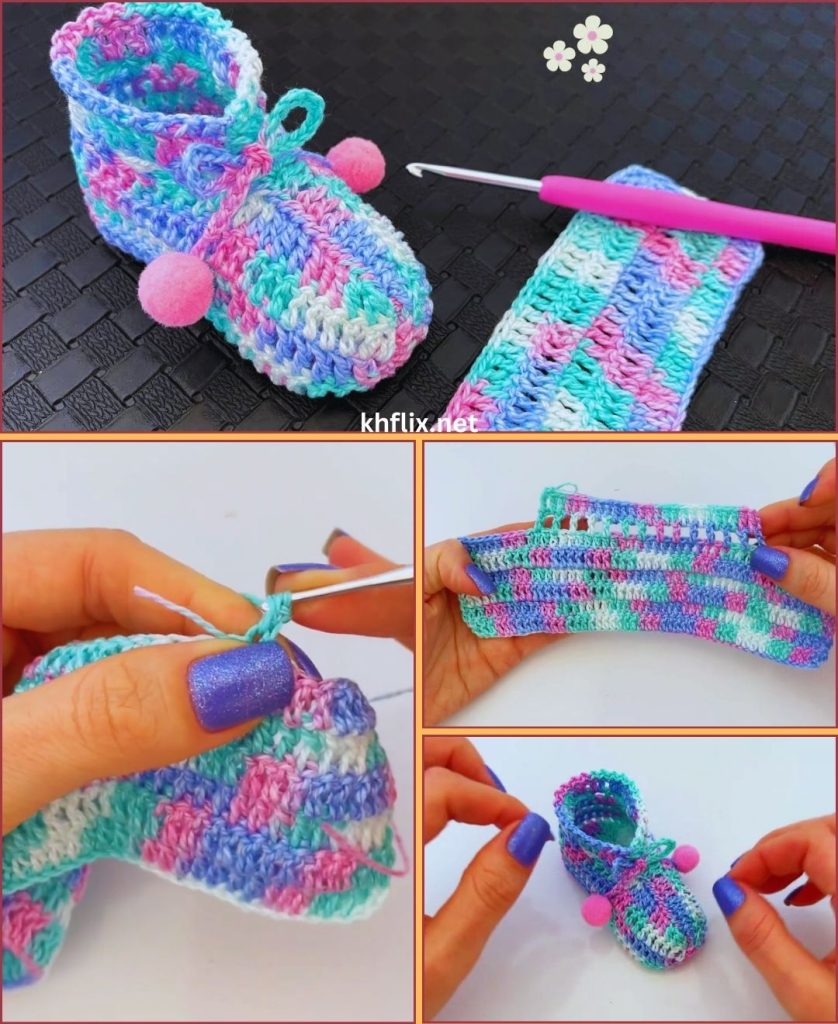
Crochet booties are one of the most rewarding and adorable handmade projects you can create. They are small, quick to finish, and perfect for baby gifts, personal use, or even selling. The best part? You don’t need advanced skills to make a bootie that looks beautiful and professional.
In this detailed guide, you’ll learn how to make a very easy crochet bootie step by step — simple enough for beginners, yet stylish enough to look amazing.
👶 Why Crochet Booties Are Perfect for Beginners
If you’re new to crochet, booties are a great starting point because:
- ✅ They use basic stitches
- ✅ They require small amounts of yarn
- ✅ They work up quickly
- ✅ They’re easy to customize
- ✅ They make wonderful gifts
And since babies grow fast, handmade booties are always appreciated!
🧵 Materials You’ll Need
Keep it simple — no complicated tools required.
Yarn
- Soft baby yarn (DK or light worsted weight)
- Choose a gentle, washable yarn suitable for baby skin
Crochet Hook
- 3.0 mm to 4.0 mm (depending on yarn thickness)
Other Supplies
- Yarn needle
- Scissors
- Stitch marker (optional)
- Measuring tape
📏 Basic Size Guide (Newborn – 6 Months)
For a beginner-friendly size:
- Sole length: 3.5–4 inches (9–10 cm)
- Starting chain: 10–11 chains
You can adjust size later by adding or reducing chains.
🪡 Stitches Used (Very Easy!)
This pattern only uses basic stitches:
- Chain (ch)
- Slip stitch (sl st)
- Single crochet (sc)
- Half double crochet (hdc)
No advanced shaping required.
👣 Step 1: Make the Sole (Foundation)
We start from the bottom.
- Chain 11.
- In the second chain from hook, work 2 hdc.
- Work 1 hdc in the next 8 stitches.
- In the last chain, work 5 hdc (this creates the rounded toe).
- Now work along the other side of the chain:
- 1 hdc in next 8 stitches
- 3 hdc in last stitch
- Join with slip stitch.
You now have a small oval shape — this is the sole.
👣 Step 2: Increase the Sole
Round 2:
- Chain 1.
- 2 hdc in first stitch.
- 1 hdc in each stitch until you reach the curved end.
- Increase evenly around the toe (2 hdc in each curved stitch).
- Continue around.
- Join.
Round 3:
- Repeat small increases around the toe and heel.
- Join.
Your sole should now measure about 3.5–4 inches.
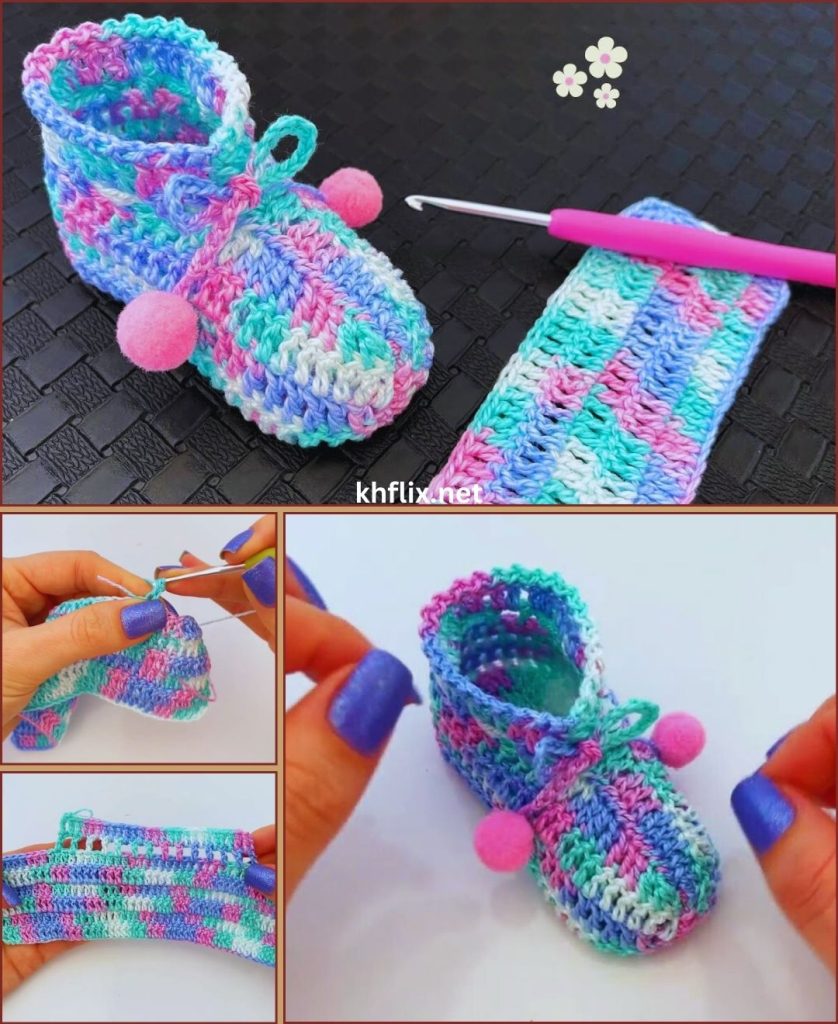
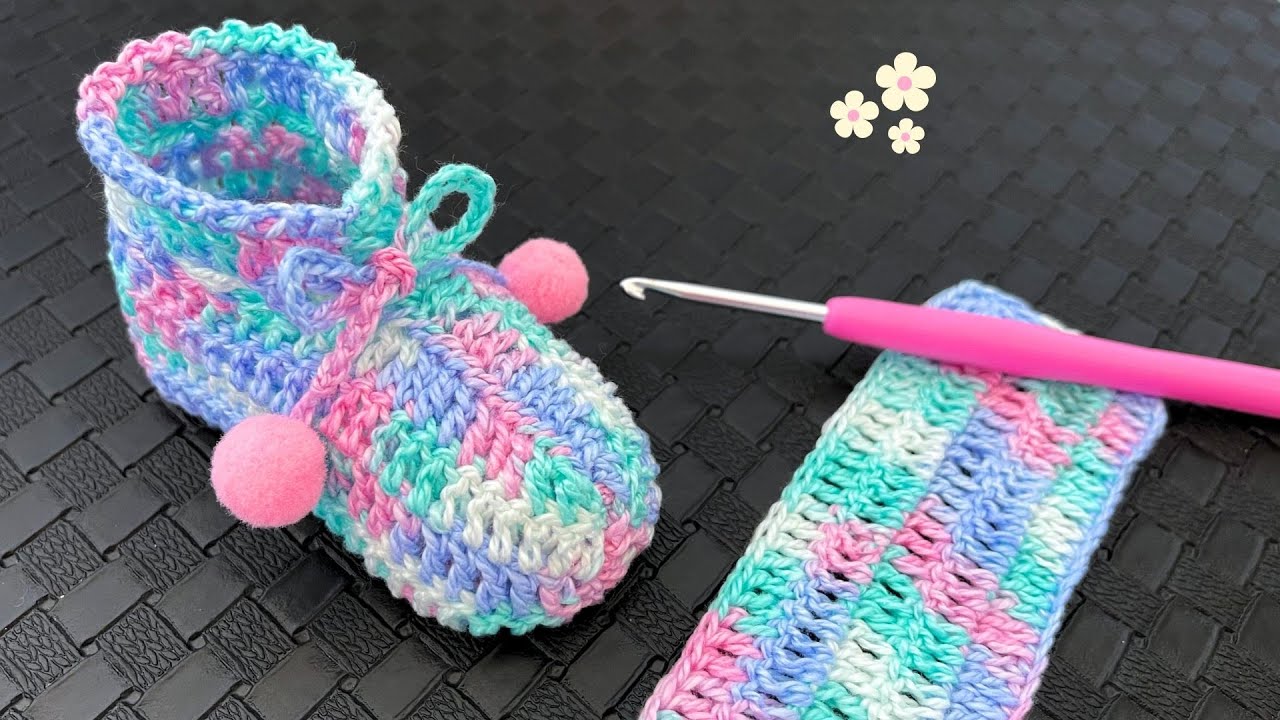
👢 Step 3: Build the Bootie Walls
Now we create height.
Round 4:
- Work in back loops only (this helps the sides stand up).
- 1 hdc in each stitch around.
- Join.
Round 5:
- 1 hdc in each stitch around.
- Join.
You’ll see the bootie starting to take shape!
👶 Step 4: Shape the Toe (Very Easy Method)
We will gently close the front.
Round 6:
- Work hdc until you reach the front center (about 8–10 stitches).
- Work hdc2tog (half double crochet two together) across the toe area.
- Continue hdc on the sides.
- Join.
Round 7:
- Repeat decreases across the front.
- Join.
Now the bootie looks like a real baby shoe!
🧶 Step 5: Add a Simple Ankle Edge
Round 8:
- 1 sc in each stitch around.
- Join and fasten off.
For a softer, stretchy top:
- You can use front post/back post stitches to create a ribbed effect.
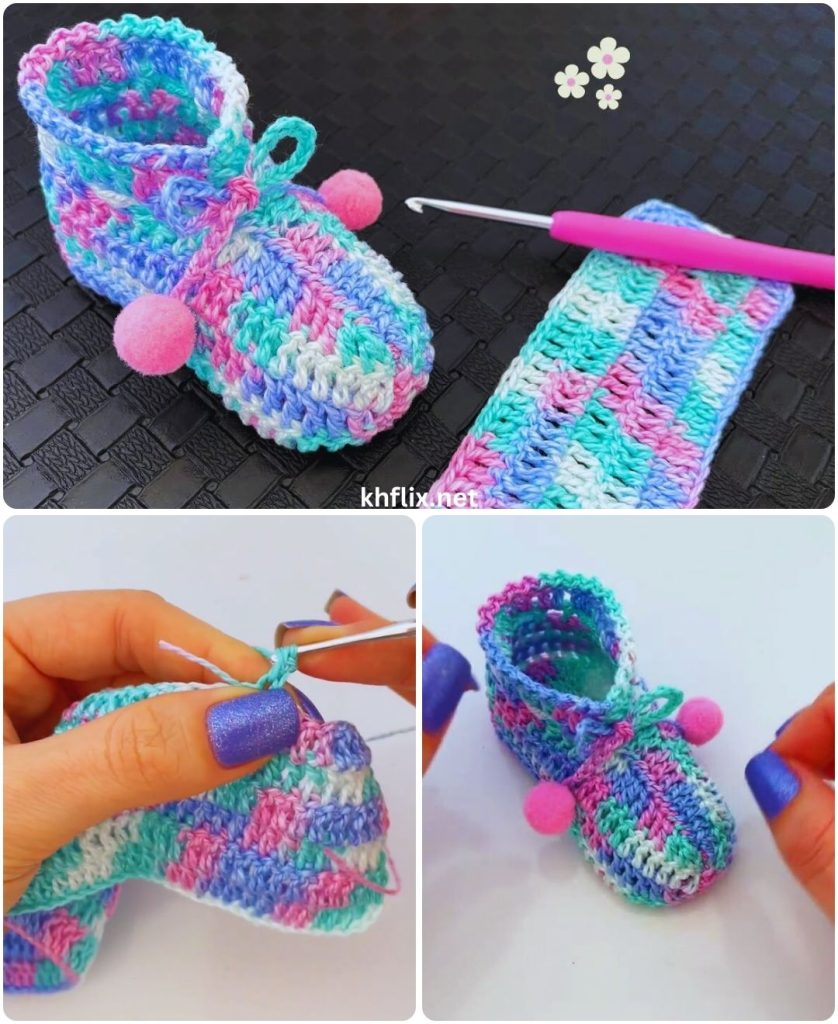
✨ How to Make It Look Amazing (Simple Tricks!)
Even with a basic pattern, you can make your bootie look stunning.
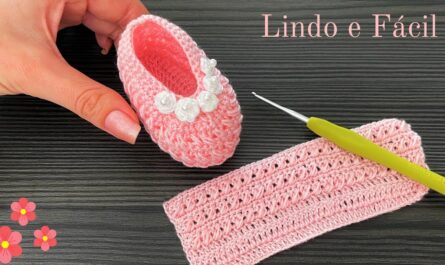
🎨 1. Choose Beautiful Colors
Try combinations like:
- Cream + gold
- Pink + white
- Gray + mustard
- Mint + beige
- Baby blue + white
Soft contrasting colors look elegant.
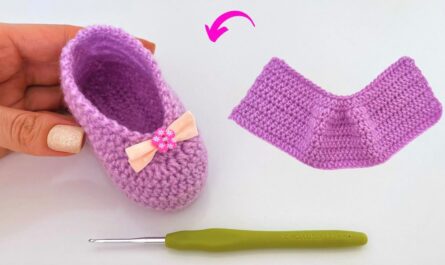
🎀 2. Add Cute Decorations
You can add:
- Small crochet bow
- Tiny flower
- Simple strap with button
- Decorative edge stitch
Keep decorations soft and secure.
🧵 3. Keep Stitches Even
Amazing-looking crochet comes from:
- Consistent tension
- Clean joins
- Hidden yarn ends
- Smooth shaping
Neat finishing makes even simple designs look professional.
🧼 Safety First for Baby Items
✔ Use soft, baby-friendly yarn
✔ Avoid hard beads or loose buttons
✔ Secure all yarn ends tightly
✔ Make sure no rough stitches are inside
Comfort is more important than decoration.
⏱ How Long Does It Take?
- Beginners: 1–2 hours per pair
- With practice: 45–60 minutes
Booties are quick projects, making them perfect for busy schedules.
💡 Why Simple Designs Look Best
Sometimes beginners try complex patterns and feel frustrated.
But here’s the truth:
✔ Clean shape
✔ Soft yarn
✔ Balanced colors
✔ Neat finishing
These four things make a bootie look amazing — not complicated stitches.
🧶 Make the Second Bootie
Important tip:
Write down your stitch counts and row numbers so the second bootie matches perfectly.
Consistency is key!
💰 Can You Sell Easy Crochet Booties?
Absolutely!
They are popular because:
- Handmade baby items are loved
- Great for baby shower gifts
- Custom orders are easy
- Low material cost
- Quick production time
Even a simple design can look high-end if made neatly.
🌟 Final Thoughts
Making a very easy crochet bootie that looks amazing is not about complicated techniques.
It’s about:
- Using basic stitches
- Choosing beautiful colors
- Keeping tension consistent
- Finishing neatly
- Adding small decorative touches
With just a hook, soft yarn, and a little patience, you can create something truly adorable and meaningful.
Start with one pair.
Practice slowly.
Enjoy the process.
Soon, you’ll be making beautiful crochet booties confidently and effortlessly. 🧶👶✨
If you’d like, I can also provide:
- A printable row-by-row pattern
- Instructions for different baby sizes
- A sandal-style version
- A bootie with strap design
- A video-style written tutorial
Just tell me!