 by
by A Beginner-Friendly Method for Perfect Crochet Baby Shoes
Crocheting baby shoes is one of the most heartwarming and rewarding projects for beginners. Tiny, soft, and adorable, baby shoes are always in demand—for gifts, baby showers, and handmade collections. But many beginners struggle with shaping, sizing, and getting a neat finish.
That’s where the secret exclusive baby shoe technique comes in. This special approach simplifies construction, improves fit, and creates professional-looking baby shoes using basic stitches and smart shaping. Best of all, it’s easy enough for beginners while still delivering beautiful results.
What Is the “Secret Exclusive” Baby Shoe Technique?
The secret exclusive baby shoe technique isn’t about complicated stitches—it’s about how the shoe is constructed.
What Makes This Technique Special?
- Seam-minimized or seamless construction
- Smooth, rounded toe without gaps
- Better fit around the heel and ankle
- Clean, professional appearance
- Uses only beginner-level stitches
Instead of working baby shoes in multiple awkward pieces, this method focuses on smart stitch placement and gradual shaping, making the process easier and more enjoyable.
Why This Technique Is Perfect for Beginners
Baby shoes often look complicated, but this technique removes the confusion.
Beginner Benefits
- No advanced crochet skills required
- Easy-to-follow structure
- Fewer seams to sew
- Adjustable sizing
- Faster completion time
Beginners gain confidence while producing shoes that look store-bought.
Skill Level & Time Required
- Skill level: Beginner
- Time required: 1–2 hours per pair
- Stitches used: Chain, single crochet, half double crochet, slip stitch
- Techniques: Working in rounds, simple increases and decreases
It’s an ideal project for practicing shaping in a small, manageable format.
Materials You’ll Need
Using the right materials ensures comfort and durability.
Basic Supplies
- Soft baby yarn (cotton or acrylic baby yarn)
- Crochet hook (usually 3–4 mm)
- Yarn needle
- Scissors
- Stitch marker
Yarn Tips
Choose yarn that is:
- Soft and non-irritating
- Lightweight and breathable
- Easy to wash
Avoid rough or stiff yarns, as baby skin is sensitive.
Understanding Baby Shoe Sizing
One key part of the secret technique is flexible sizing.
Common Baby Shoe Sizes
- Newborn (0–3 months)
- Infant (3–6 months)
- Baby (6–12 months)
This method allows you to adjust size simply by:
- Changing hook size
- Adding or removing rounds
- Slightly adjusting stitch count
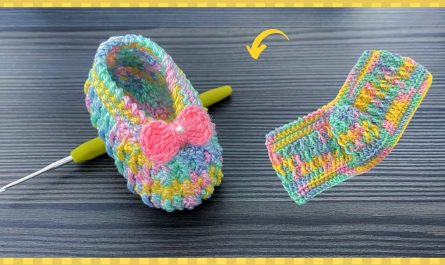
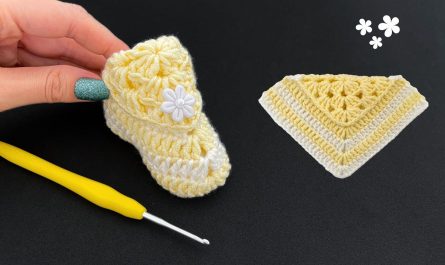
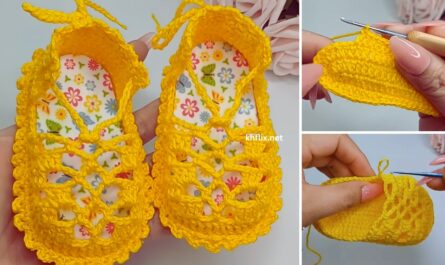
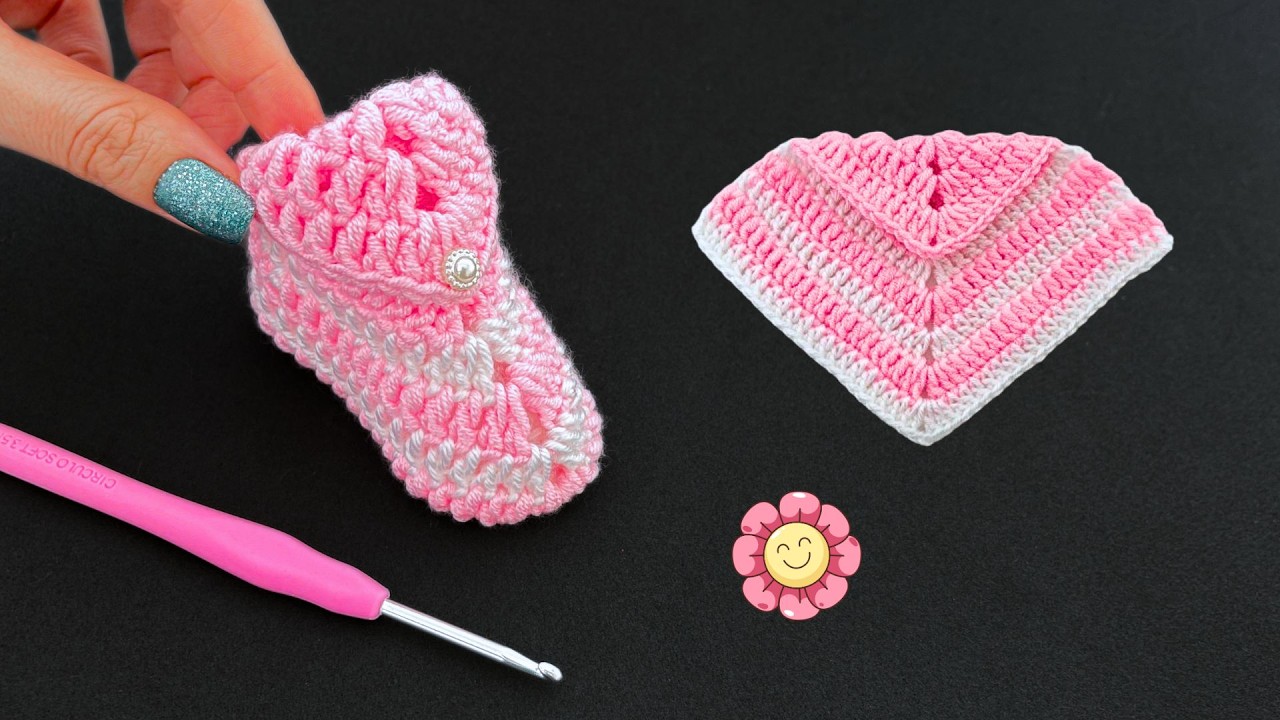
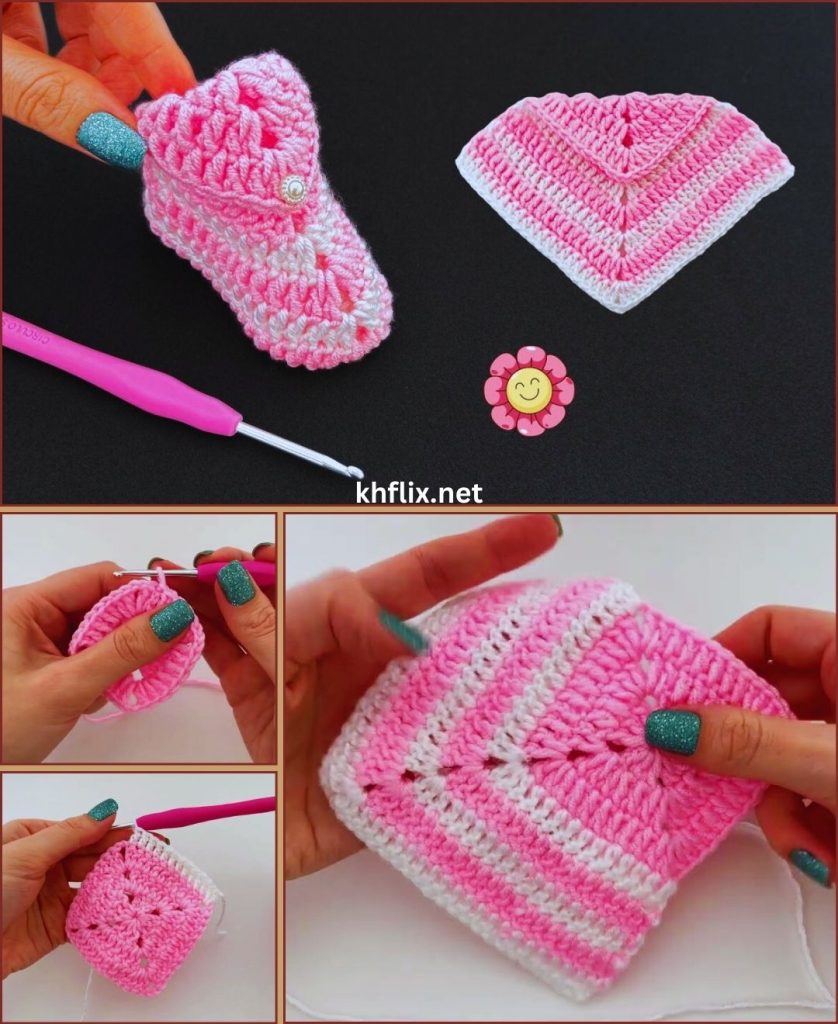
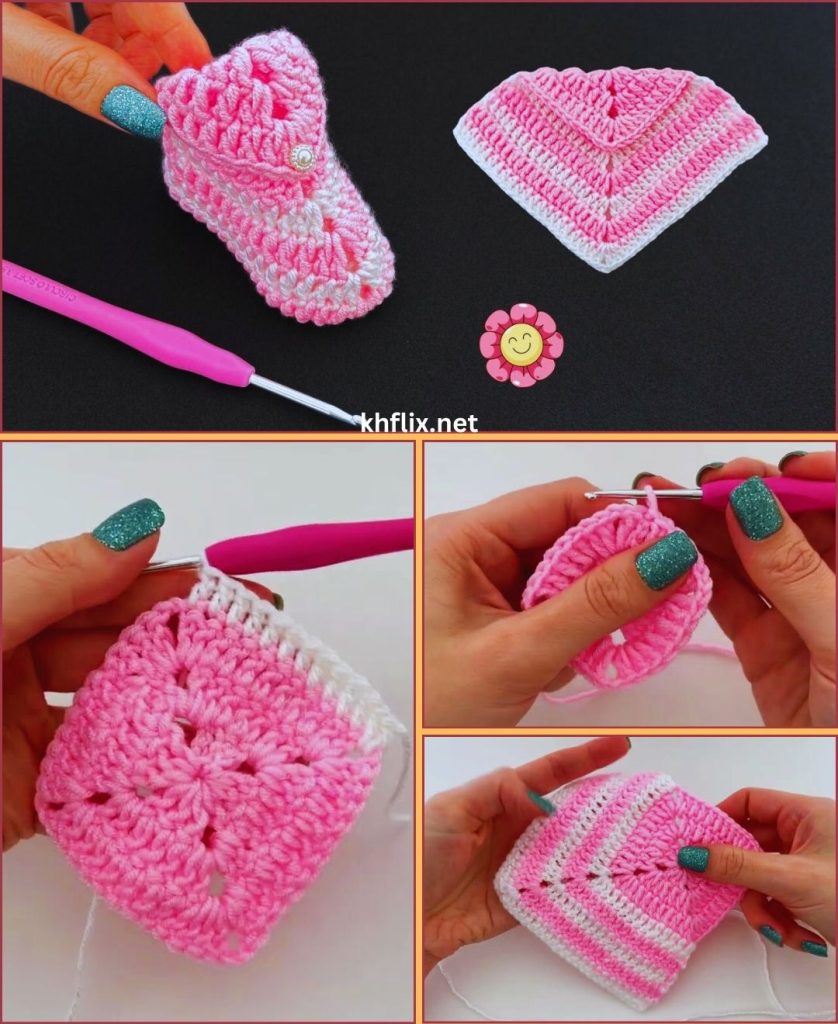
The Foundation of the Technique: The Perfect Sole
The sole is the most important part of baby shoes.
Why the Sole Matters
- Determines shoe size
- Affects comfort and fit
- Sets the shape for the entire shoe
How the Secret Technique Works
- Start with a foundation chain
- Work stitches evenly around both sides of the chain
- Use smooth, balanced increases at the ends
This creates a rounded, symmetrical sole that fits baby feet naturally.
Step-by-Step: Secret Exclusive Baby Shoe Technique
Exact stitch counts may vary, but the method remains the same.
Step 1: Create the Sole
- Chain the desired length based on baby size
- Crochet along one side of the chain
- Increase at the ends for a rounded shape
- Continue around the other side of the chain
This creates an oval sole with no sharp corners.
Step 2: Build the Side Walls
- Crochet one round in the back loop only
- This creates a clean “edge” between sole and upper
- Continue crocheting evenly upward
This step is the first secret—it gives structure without stiffness.
Step 3: Shape the Toe Smoothly
- Work increases or decreases only at the front
- Keep the sides straight
- Use half double crochet for gentle shaping
This creates a soft, rounded toe instead of a boxy one.
Step 4: Secure the Heel Fit
- Slightly decrease stitches at the back
- This pulls the shoe snug around the heel
- Avoid sharp decreases—gradual shaping is key
This is the second secret—a snug heel prevents slipping.
Step 5: Create the Ankle Edge
- Finish with a round of tight single crochet
- Optionally add a decorative edge
- This strengthens the opening and keeps shape
Step 6: Optional Strap or Tie
Straps add both charm and functionality.
- Chain a short strap and attach to the side
- Add a button or crochet loop
- Or create a tie that wraps gently around the ankle
Straps are especially helpful for active babies.
Why This Technique Looks Professional
The secret exclusive baby shoe technique results in:
- Even stitches
- Balanced shaping
- No bulky seams
- Smooth transitions between sole and upper
This makes beginner-made shoes look expert-level.
Beginner Tips for Best Results
- Use stitch markers to track rounds
- Try the shoe on a baby doll or foot measurement
- Keep tension soft—not too tight
- Count stitches regularly
- Make both shoes together to keep sizing consistent
Small projects reward careful attention.
Customization Ideas
Once you master the technique, customization is easy.
Creative Options
- Two-tone soles and uppers
- Textured stitches for the toe
- Crochet flowers or bows
- Personalized color themes
This technique works for:
- Baby booties
- Mary Jane–style shoes
- Slippers
- Christening shoes
Perfect for Gifts & Selling
Baby shoes made with this method are highly desirable.
Why They Sell Well
- Quick to make
- Low yarn cost
- High emotional value
- Customizable for baby showers
Parents and gift buyers love handmade baby items.
Eco-Friendly & Baby-Safe
- Reusable and washable
- No hard or sharp materials
- Made with soft yarn
- Handmade with care
This makes them a safe and thoughtful choice.
Final Thoughts
The secret exclusive baby shoe technique proves that beginners don’t need complex patterns to create beautiful, well-fitting baby shoes. With smart construction, smooth shaping, and simple stitches, you can achieve professional-looking results that are soft, comfortable, and adorable.
Once you try this technique, it quickly becomes a favorite—easy to repeat, easy to adjust, and perfect for gifts or selling. 🧶👶👟
If you’d like, I can also:
- Write a full baby shoe pattern using this technique
- Create size charts from newborn to 12 months
- Adapt this method for ankle booties or sandals
- Help with pricing and selling tips
Just tell me what you’d like next—happy crocheting!