 by
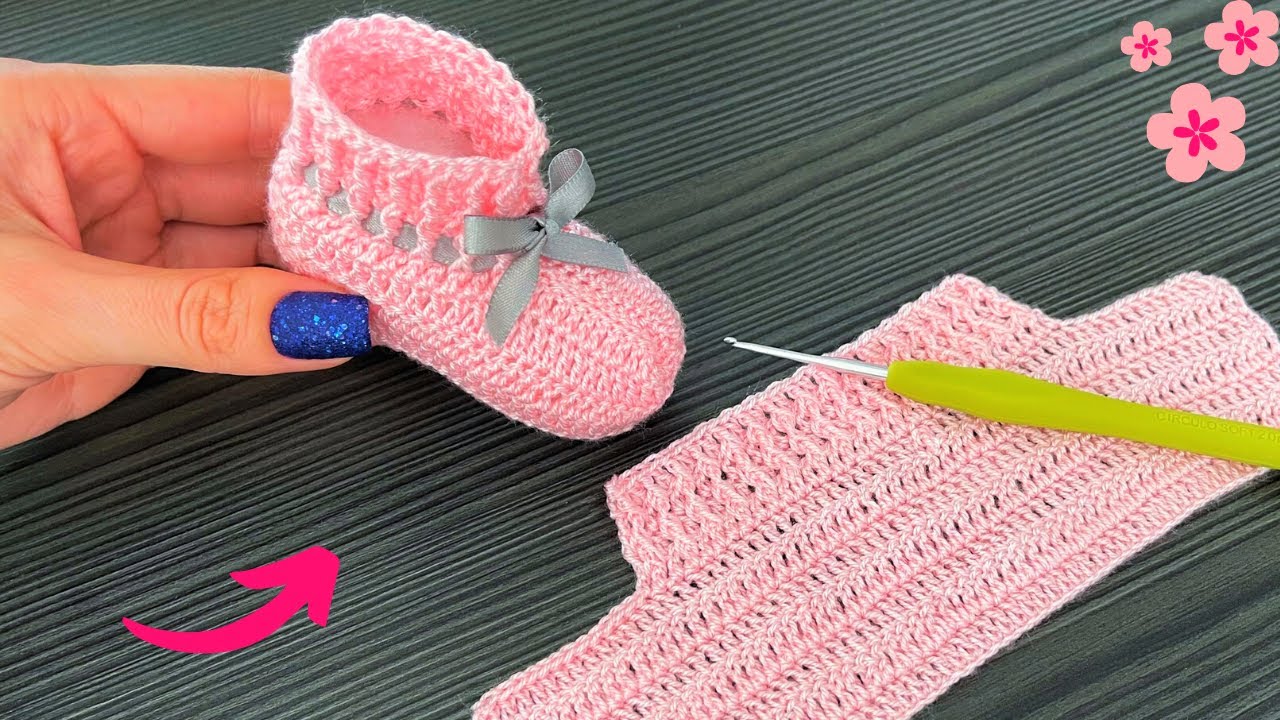
by Crocheting for babies is one of the sweetest and most satisfying crafts. The softness of yarn, the delicacy of tiny stitches, and the joy of creating something by hand make baby booties a timeless project. In this comprehensive tutorial, we’ll learn how to crochet baby booty shoes in orange color — from materials to finishing touches.
Whether you’re making them as a baby shower gift, for your own little one, or simply as a keepsake, this guide will help you create a cozy, cute, and professional-looking pair of baby shoes.
🧵 Introduction: Why Orange?
The orange color symbolizes warmth, happiness, and energy — everything we associate with a cheerful, lively baby! Orange baby booties look adorable on both boys and girls and pair beautifully with neutral outfits like white, beige, or grey. You can also accent them with white or cream trims for a lovely contrast.
🧩 Materials You Will Need
Before starting, gather all the materials. Having everything ready makes your crocheting smoother and more enjoyable.
✅ Yarn:
- Type: Soft baby yarn (cotton-acrylic blend or 100% acrylic)
- Color: Bright or pastel orange
- Weight: Light worsted weight (DK / 3-ply) yarn
✅ Tools:
- Crochet Hook: 3.5 mm (E-4) or 4 mm (G-6)
- Tapestry Needle: For weaving in ends
- Scissors
- Stitch Marker: To keep track of rounds
- Measuring Tape
✅ Optional:
- Decorative buttons or bows
- White yarn for borders or accent trims
- Soft ribbon for tying around the cuff
👣 Size Guide
This pattern fits a 0–6 month-old baby (foot length 9–10 cm or 3.5–4 inches).
To make the booties larger, you can:
- Use a thicker yarn and larger hook, or
- Add 2–4 stitches to the foundation chain for each size increase.
🪡 Stitches & Abbreviations
Here’s a quick reference for all stitches used:
| Abbreviation | Stitch Name | Description |
|---|---|---|
| ch | chain | Foundation stitch |
| sl st | slip stitch | Joining or finishing stitch |
| sc | single crochet | Short, tight stitch |
| hdc | half double crochet | Mid-height stitch |
| dc | double crochet | Taller stitch |
| inc | increase | Two stitches in one stitch |
| dec | decrease | Crochet two stitches together |
If you’re a beginner, it’s worth practicing these basic stitches on a small swatch before starting.
🧶 Step-by-Step Instructions
Let’s begin making our adorable orange baby booties!
🧡 Step 1: Making the Sole
The sole forms the foundation of the baby shoe.
- Start with your orange yarn.
- Chain 10 (for newborn size; add 2 chains for larger sizes).
- Round 1:
- Work 2 hdc in the 2nd chain from hook.
- Hdc in next 7 chains.
- In the last chain, work 6 hdc (this curves the edge).
- Continue working on the other side of the chain: hdc in next 7 sts, then 2 hdc in the final st.
- Join with a sl st to the first hdc.
(You should now have around 24 stitches.)
- Round 2:
- Ch 1, then 2 hdc in first 2 sts, hdc in next 7 sts, 2 hdc in next 6 sts, hdc in next 7 sts, 2 hdc in last 2 sts.
- Join with sl st.
(Approx. 36 sts total.)
- Round 3:
- Hdc evenly around, increasing slightly at the toe and heel if necessary to keep the oval shape.
- Join with sl st.
- Fasten off if you want a color change (for white border, for example).
🪄 Tip: The sole should now resemble a small oval — smooth, flat, and soft. If it curls up slightly, that’s okay; it will take shape later.
🧡 Step 2: Building the Sides
Now, we’ll crochet the sides or “walls” of the bootie.
- Round 4:
- Attach orange yarn again.
- Ch 1, and work hdc in the back loops only all around (this makes a neat crease that separates the sole from the upper shoe).
- Join with sl st.
- Round 5–6:
- Ch 1, hdc in each stitch around.
- Join with sl st at the end of each round.
Now the bootie should look like a shallow bowl — the walls are forming!
🧡 Step 3: Shaping the Toe Area
To make the front part of the shoe (the rounded toe section):
- Round 7:
- Ch 1.
- Hdc in first 10 sts.
- Then, hdc2tog (decrease) 6 times across the next 12 sts.
- Hdc to end of round.
- Join with sl st.
- Round 8:
- Ch 1.
- Hdc in first 8 sts.
- Hdc2tog 4 times across the next 8 sts.
- Hdc in remaining sts.
- Join with sl st.
- Round 9:
- Optional: Work another round with slight decreases if you want a snugger toe area.
Your bootie now looks like a tiny slipper!
🧡 Step 4: Creating the Cuff
The cuff is the ankle portion that helps the bootie stay on.
- Round 10:
- Ch 1, sc in each stitch around.
- Join with sl st.
- Round 11–13:
- Ch 2.
- Work dc in each stitch around for 3 rounds.
- To make a ribbed texture: alternate front post dc (fpdc) and back post dc (bpdc) in the last round.
- Optional:
- For decoration, change color to white or cream yarn on the final round.
- You can also chain a tie (about 35–40 chains) and thread it through the cuff as a lace.
🧡 Step 5: Finishing Touches
- Fasten off your yarn and weave in all ends securely with a tapestry needle.
- Add decorative details if you wish:
- Small buttons shaped like flowers, stars, or animals.
- A crocheted bow or pom-pom.
- Contrast color edging.
- Gently stretch and shape the bootie with your hands.
Once both booties are complete, you’ll have an adorable matching pair!
🪄 Helpful Tips for Crocheting Perfect Baby Booties
- Use soft yarn: Babies have sensitive skin. Always choose baby-safe, hypoallergenic yarn.
- Maintain even tension: Uneven tension can make one bootie smaller or tighter than the other.
- Make both at once: If possible, crochet both booties together round-by-round to ensure uniformity.
- Customize colors: Orange looks great with white, grey, cream, or yellow accents.
- Add a matching hat or mittens: It makes a lovely gift set.
🎁 Creative Variations
Once you’ve mastered the basic pattern, experiment with styles:
- Orange + White Stripes: Alternate 2 rows of orange and 2 rows of white for a fun striped look.
- Orange Booties with Flower Appliqué: Crochet a small white flower and sew it on the toe area.
- Ribbed Booties: Use ribbed stitches for a stretchy, sock-like cuff.
- Buttoned Booties: Add a small button strap over the ankle for extra charm.
💬 Final Thoughts
Crocheting baby booty shoes in orange color is more than just a craft — it’s an expression of love, care, and creativity. These little shoes can become treasured keepsakes, gifts that bring joy, and a cozy accessory that keeps tiny feet warm.
Orange brings a cheerful brightness to the project, symbolizing energy and happiness — perfect for any baby. Once you finish your first pair, you’ll likely want to make more in different colors and styles.
So grab your orange yarn, hook, and a bit of patience — and get ready to crochet the cutest pair of baby booties ever!