 by
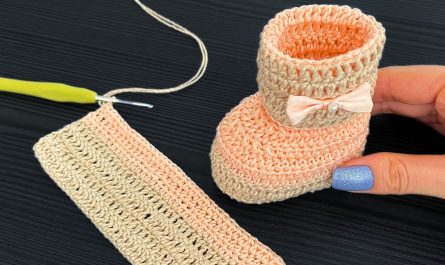
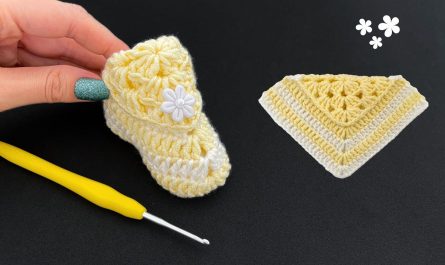
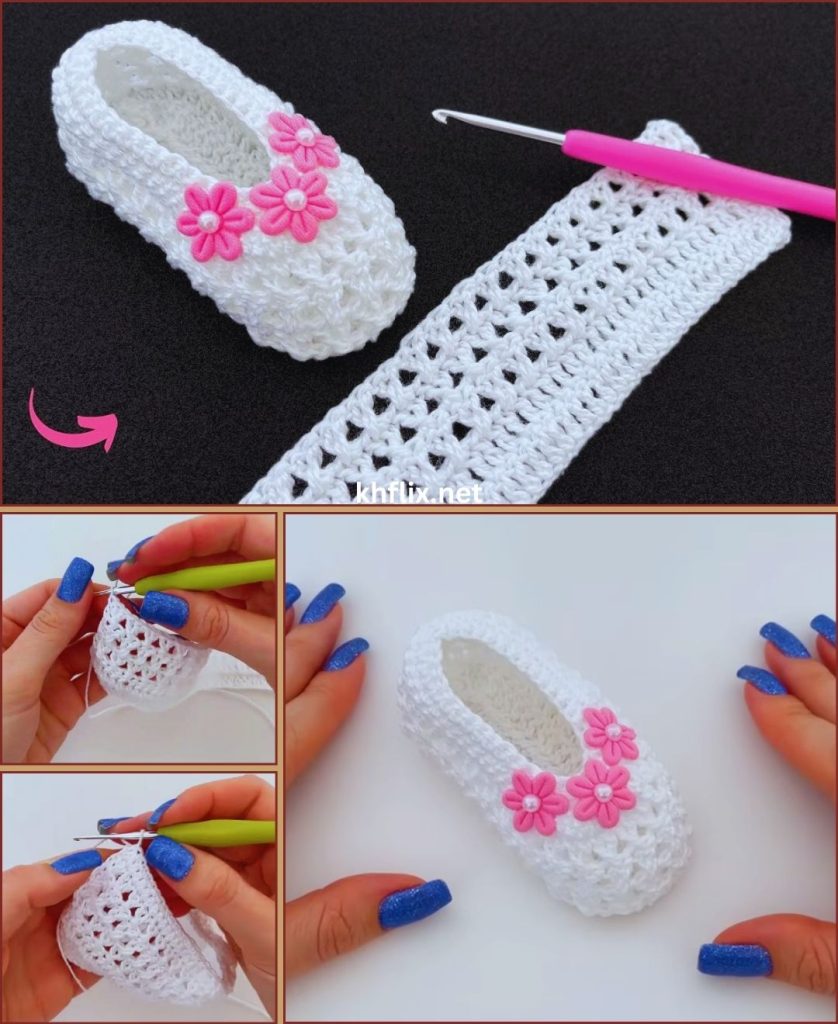
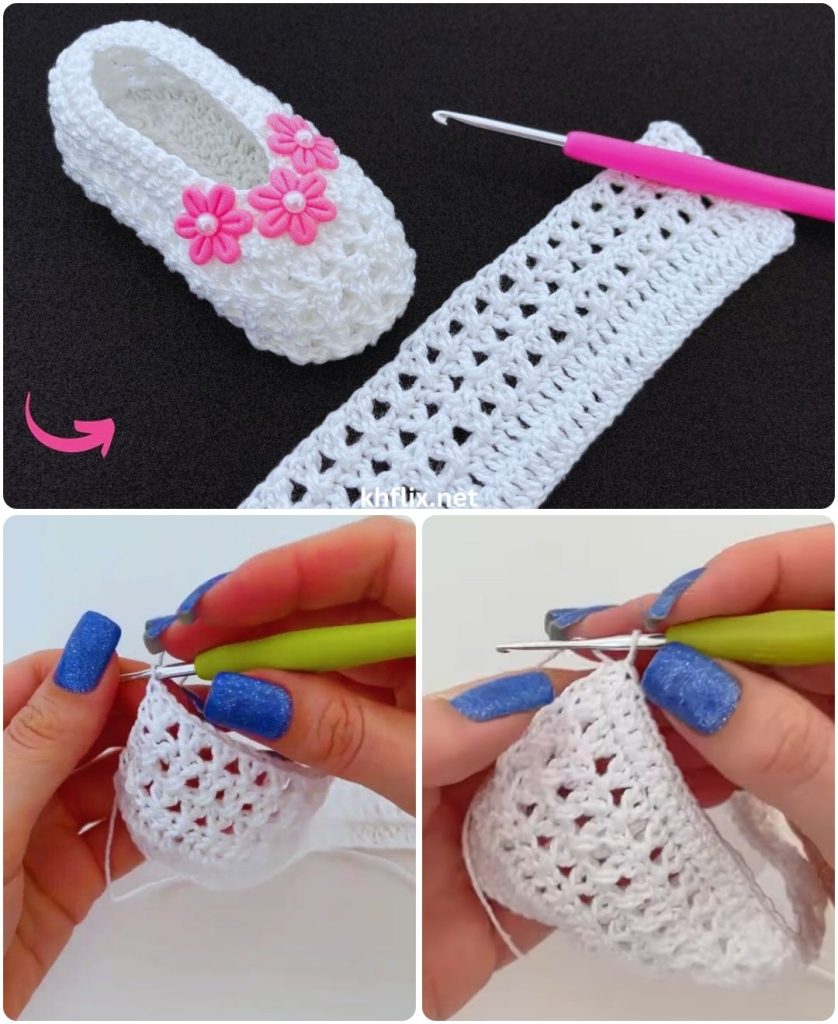
by Crocheting shoes is a wonderful way to turn simple yarn into something both beautiful and useful. A crochet shoe model with a flower is especially popular among beginners because it combines easy stitches with decorative charm. This type of shoe is perfect for slippers, baby shoes, or light indoor footwear, and the added crochet flower gives it a soft, elegant look.
In this detailed beginner tutorial, you will learn how to crochet a shoe model decorated with a flower, step by step—from materials and basic stitches to shaping, decoration, and finishing.
Why Choose a Crochet Shoe with Flower?
This shoe model is ideal for beginners because:
- It uses basic crochet stitches
- The construction is simple and easy to follow
- The flower decoration hides small mistakes
- It looks delicate and handmade
- Perfect for gifts, baby shoes, or home slippers
The flower adds beauty without making the project complicated.
Materials You Will Need
Yarn
- Medium-weight yarn (Category 3 or 4)
- Cotton yarn is recommended for durability
- Acrylic yarn works well for soft indoor shoes
- Choose light colors so stitches are visible
Crochet Hook
- 3.5 mm to 4.5 mm crochet hook
- Use a smaller hook for tighter stitches if needed
Additional Supplies
- Scissors
- Yarn needle
- Stitch markers (optional)
- Measuring tape
- Button or pearl (optional, for flower center)
Basic Crochet Skills Required
This tutorial is beginner-friendly, but you should know:
- Slip knot
- Chain (ch)
- Slip stitch (sl st)
- Single crochet (sc)
- Half double crochet (hdc)
- Double crochet (dc)
These stitches are enough to complete both the shoe and the flower.
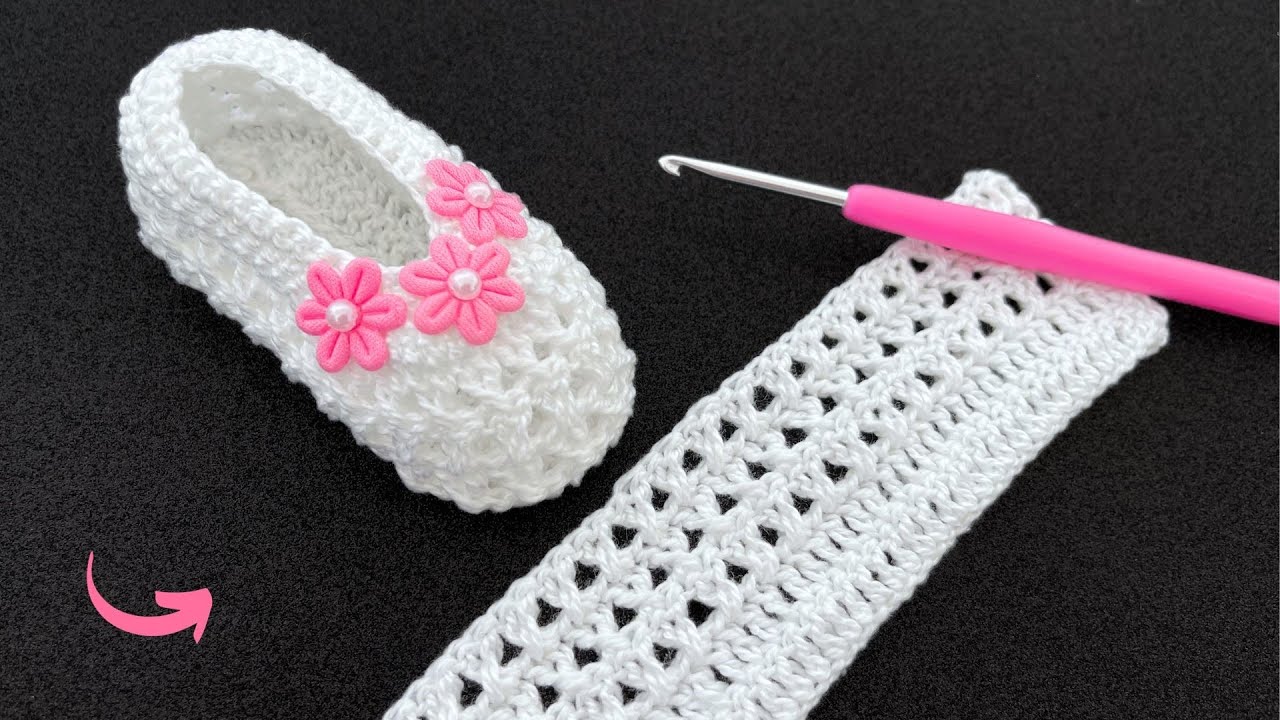
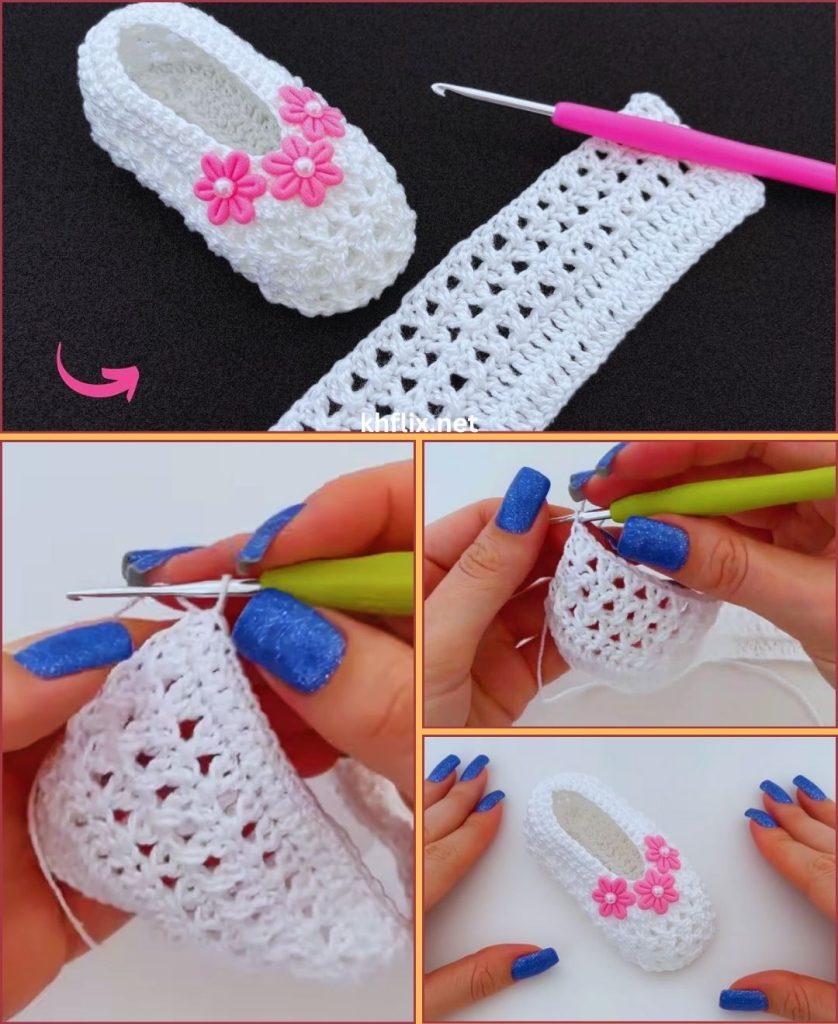
Understanding the Shoe Construction
The crochet shoe with flower is usually made in three parts:
- The sole
- The upper body of the shoe
- The crochet flower decoration
Each part is worked separately and then joined together.
Step 1: Crocheting the Shoe Sole
Starting the Sole
- Make a slip knot
- Chain enough stitches to match the foot length
- Baby: 8–10 chains
- Child: 12–14 chains
- Adult: 16–18 chains
Round 1
- Single crochet in the second chain from hook
- Single crochet in each chain across
- Work 3 single crochets in the last chain
- Continue single crochet on the opposite side
- Work 2 single crochets in the first chain
- Join with slip stitch
Step 2: Shaping the Sole
Round 2
- Chain 1
- Increase by working 2 single crochets in stitches at the toe and heel
- Single crochet in each stitch around
- Join with slip stitch
Round 3
- Repeat increases until the sole fits the width of the foot
- Lay your foot on the sole to check size
The sole should lie flat and feel comfortable.
Step 3: Building the Shoe Body
Round 4 (Creating the Side Wall)
- Chain 1
- Single crochet in back loops only around
- Join with slip stitch
This creates a clear edge and helps the shoe stand upright.
Step 4: Shaping the Toe Area
- Attach yarn at the center front
- Work half double crochets across the toe area
- Decrease gradually by crocheting two stitches together
- Continue for 2–3 rows until toe opening is shaped
This forms a comfortable toe cover.
Step 5: Forming the Heel and Sides
- Single crochet evenly around the opening
- Work 1–2 rows depending on desired height
- Try the shoe on and adjust if necessary
Keep tension even for a snug fit.
Step 6: Crocheting the Flower Decoration
Simple Beginner Crochet Flower
Flower Center
- Make a magic ring
- Chain 2
- Work 10 double crochets into the ring
- Join with slip stitch
Flower Petals
- Chain 2, 2 double crochets, chain 2, slip stitch
- Repeat around to form petals
Fasten off and leave a long tail for sewing.
Step 7: Attaching the Flower to the Shoe
- Place the flower on the top or side of the shoe
- Use yarn needle to sew securely
- Add a button or pearl to the center (optional)
- Make sure it is tightly attached
The flower instantly adds elegance and charm.
Step 8: Creating the Second Shoe
- Repeat all steps for the second shoe
- Count stitches carefully
- Place both shoes side by side to compare shape and size
Consistency is important for a matching pair.
Tips for Beginners
- Practice the flower separately first
- Use stitch markers to mark toe center
- Measure the foot often
- Keep stitches tight for durability
- Don’t rush—crochet at a comfortable pace
Customization Ideas
Once you’re confident, try:
- Multi-colored flowers
- Layered or puff flowers
- Ribbon ties or straps
- Non-slip sole backing
- Matching hats or bags
Common Beginner Mistakes
- Making the sole too small
- Pulling stitches too tight
- Skipping stitch counts
- Not securing the flower firmly
Mistakes are part of learning—don’t be discouraged.
Final Thoughts
A crochet shoe model with a flower is a perfect beginner project that blends simplicity with beauty. It helps you learn essential crochet techniques while creating something charming and wearable. Whether for babies, children, or cozy home slippers, this shoe style is always a favorite.
With practice, you can create endless variations and even design your own patterns. Most importantly, enjoy the process and the joy of handmade crochet.
Happy crocheting 🧶🌸✨