 by
by Crocheting shoes may look difficult at first, but with the square-based crochet shoe model, even beginners can create beautiful and comfortable footwear. This method uses a simple crochet square as the foundation, making the construction easy to understand and follow. With basic stitches and step-by-step shaping, you can crochet a stylish shoe or slipper without complicated patterns.
In this detailed beginner tutorial, you will learn how to crochet a shoe model using a square, from choosing materials to shaping and finishing the shoe.
Why Choose a Square-Based Crochet Shoe?
The square crochet shoe model is ideal for beginners because:
- It uses basic crochet stitches
- Construction is simple and logical
- No advanced shaping techniques are required
- Easy to adjust for different foot sizes
- Great for slippers, baby shoes, or light indoor footwear
This shoe model is also perfect for learning how flat crochet pieces turn into 3D shapes.
Materials You Will Need
Yarn
- Medium-weight yarn (Category 3 or 4)
- Cotton yarn is best for durability
- Acrylic yarn works well for indoor slippers
- Choose a smooth yarn so stitches are easy to see
Crochet Hook
- 3.5 mm to 4.5 mm hook (depending on yarn thickness)
- Always check your yarn label for recommendations
Additional Tools
- Scissors
- Yarn needle
- Stitch markers (optional)
- Measuring tape
Basic Crochet Skills Required
This tutorial is beginner-friendly, but you should know these basic stitches:
- Slip knot
- Chain (ch)
- Slip stitch (sl st)
- Single crochet (sc)
- Double crochet (dc)
Knowing how to count stitches will also help ensure symmetry.
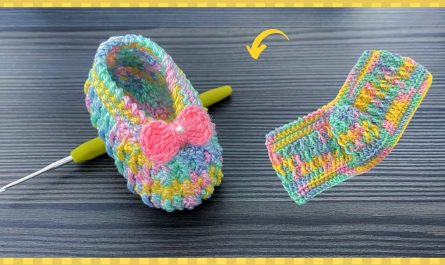
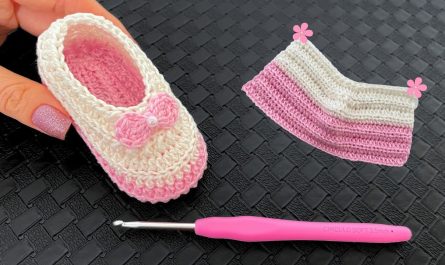
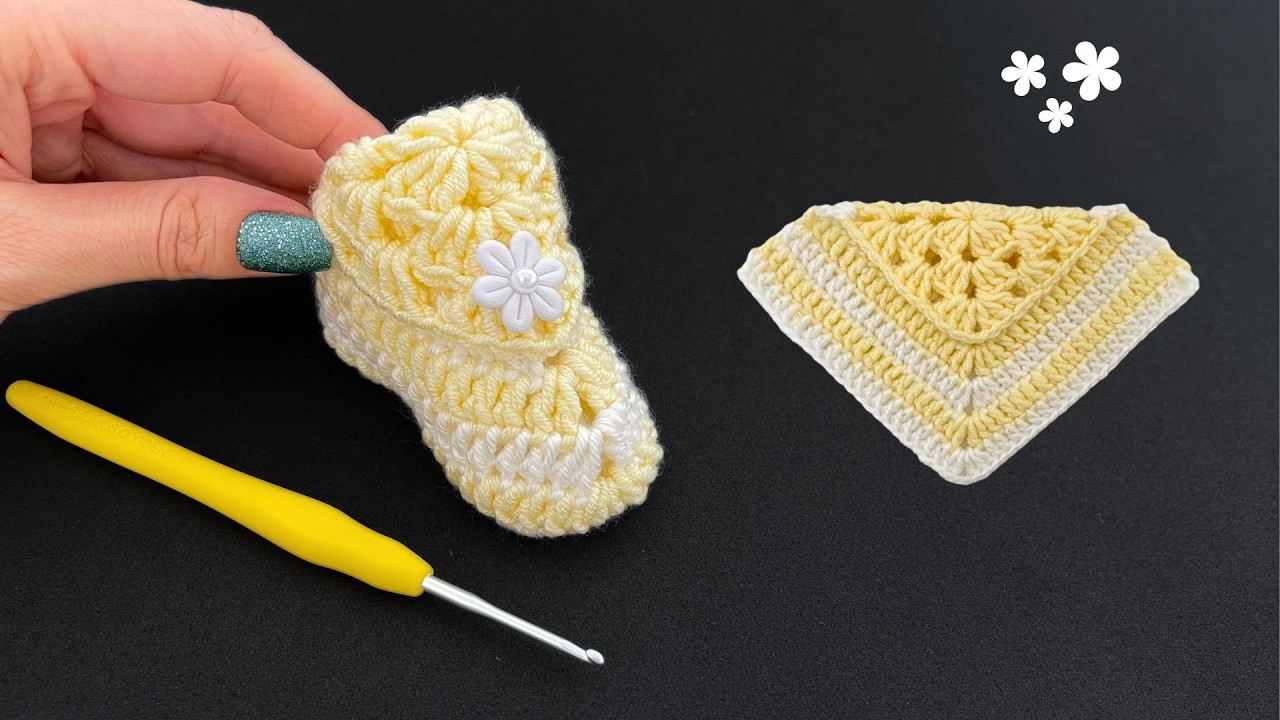
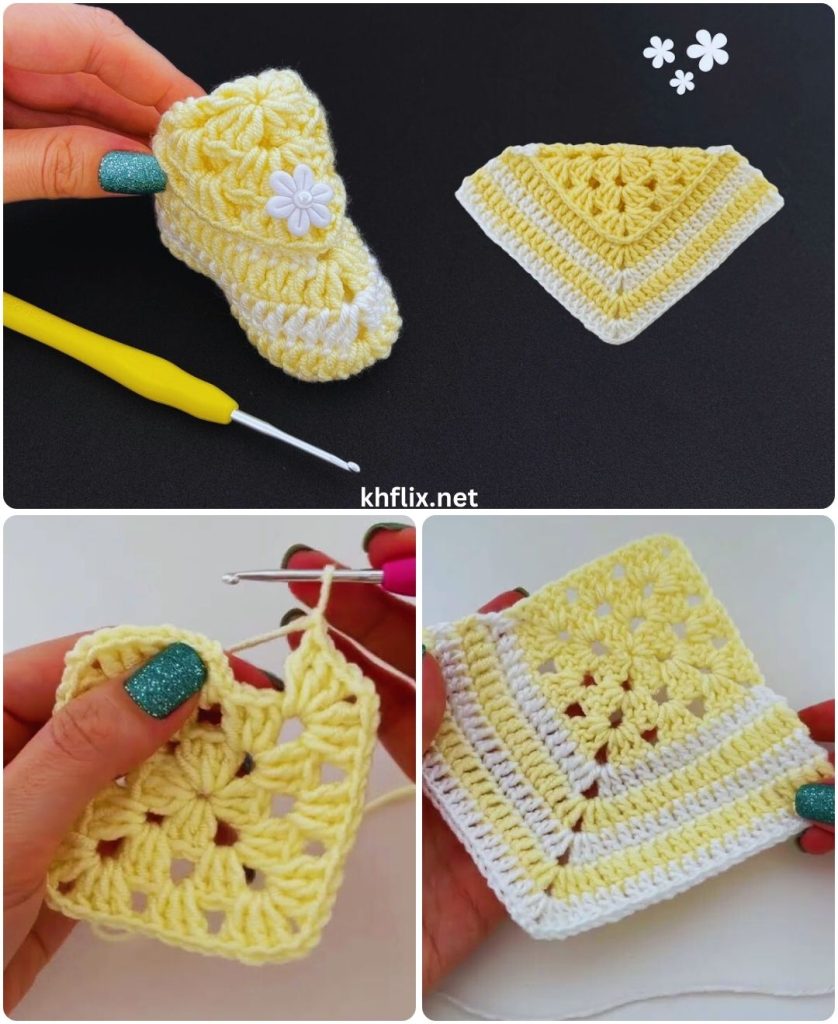
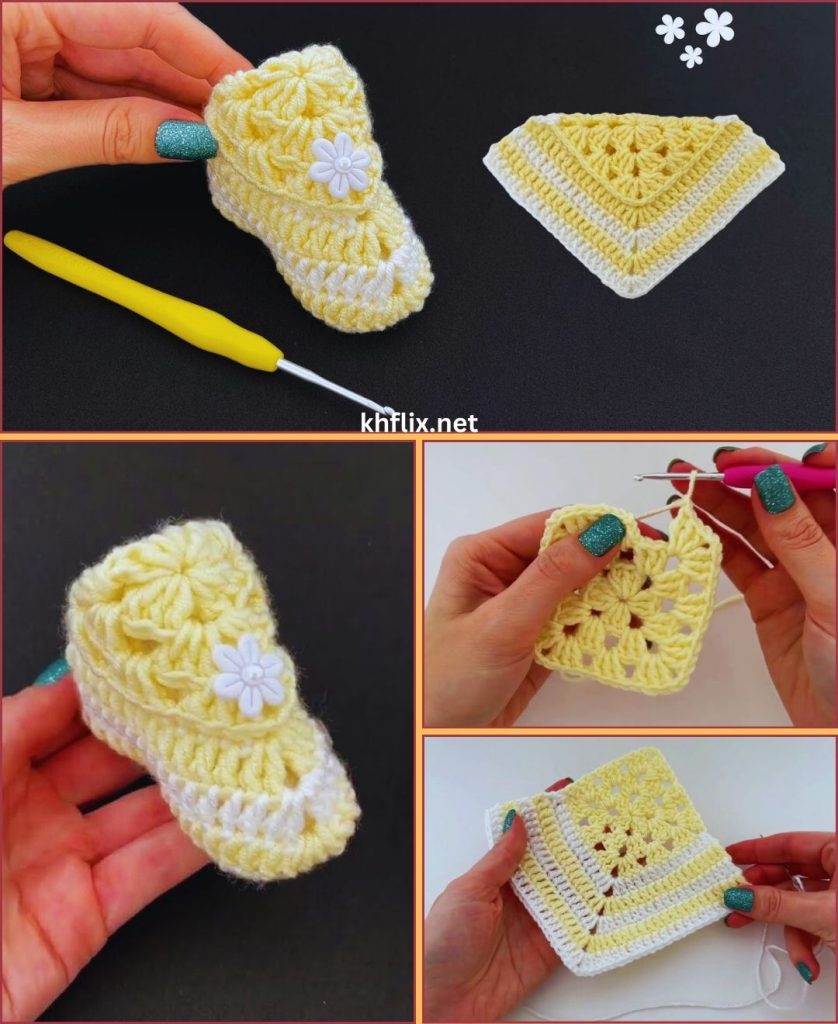
Understanding the Square Shoe Concept
The main idea behind this shoe model is starting with a crochet square, then folding and shaping it to fit around the foot. The square forms:
- The sole
- The sides
- The upper part of the shoe
Once folded correctly, you crochet along the edges to secure the shape.
Step 1: Making the Crochet Square
Starting the Square
- Make a slip knot
- Chain 4 and join with a slip stitch to form a ring
- Chain 3 (counts as first double crochet)
First Round
- Work 2 double crochets into the ring
- Chain 2 (corner space)
- 3 double crochets, chain 2
- Repeat 3 more times
- Join with a slip stitch
You now have a basic square with four corners.
Step 2: Increasing the Square Size
Second Round
- Slip stitch into the corner space
- Chain 3
- Work 2 double crochets
- Chain 2
- 3 double crochets in the same corner
- Work 3 double crochets along each side
- Repeat corner pattern in each corner
- Join with a slip stitch
Continue Growing the Square
- Repeat this pattern until the square matches the length of your foot
- For adults, this is usually 7–9 inches
- For children or babies, measure the foot directly
Always lay your foot on the square to check size.
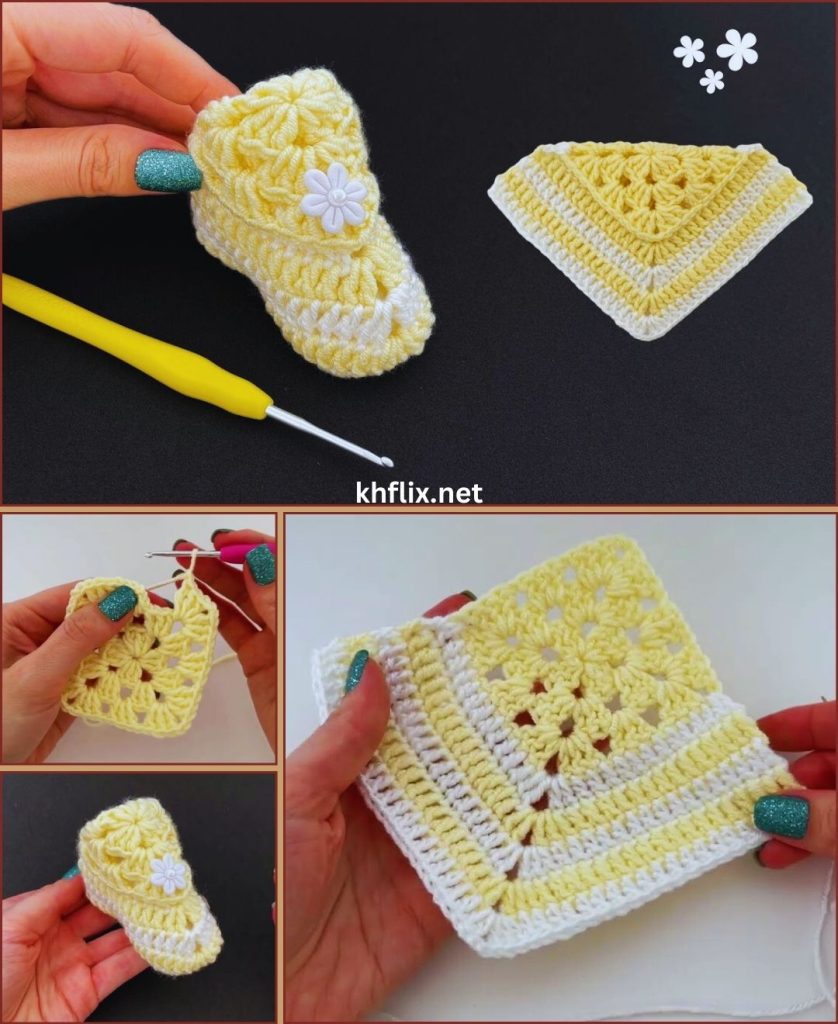
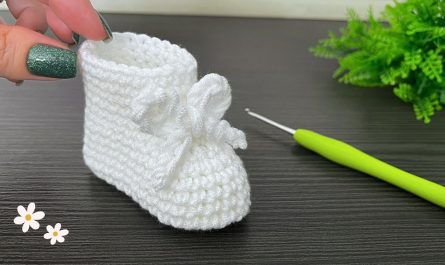
Step 3: Folding the Square to Form the Shoe Shape
This is the most exciting part!
- Place the square flat
- Fold one corner upward to form the toe
- Fold the left and right sides inward
- Adjust until the shape resembles a shoe
Use stitch markers or pins to hold the folds in place.
Step 4: Securing the Toe Section
- Attach yarn at the front toe area
- Single crochet through both layers to close the toe
- Work evenly across the toe opening
- Do not pull too tight
This step creates the front of the shoe.
Step 5: Shaping the Sides and Heel
Side Edges
- Single crochet evenly along each side edge
- Work through both layers where needed
- Keep stitches consistent
Heel Formation
- Fold the back edges together
- Single crochet or slip stitch to join
- This creates a secure heel cup
Try the shoe on to ensure a comfortable fit.
Step 6: Adding Height to the Shoe
Once the base is secure:
- Crochet 1–3 rounds of single crochet around the opening
- This adds structure and height
- Adjust rounds based on how high you want the shoe
For a snug fit, use smaller hook size on the edge.
Step 7: Decorative Edge (Optional)
You can add a decorative finish:
- Slip stitch border
- Crab stitch (reverse single crochet)
- Picot edging
This step gives the shoe a professional look.
Step 8: Making the Second Shoe
- Repeat all steps exactly
- Count rows and stitches carefully
- Place both shoes side by side to ensure symmetry
Consistency is key.
Tips for Beginners
- Start with slippers before outdoor shoes
- Use stitch markers for folding points
- Keep tension even
- Measure frequently
- Practice with scrap yarn first
Customization Ideas
Once comfortable, try:
- Two-color squares
- Flower or button embellishments
- Straps or ankle ties
- Non-slip sole lining
- Thicker yarn for winter shoes
Common Mistakes to Avoid
- Making the square too small
- Pulling stitches too tight
- Skipping stitch counts
- Not testing fit before finishing
Take your time and enjoy the process.
Final Thoughts
The crochet shoe model with a square is a perfect beginner project that transforms a simple crochet square into a functional and stylish shoe. It teaches important skills such as shaping, folding, and joining, while remaining easy and fun.
With patience and practice, you can create comfortable handmade shoes for yourself, your family, or as thoughtful gifts. Once you master this technique, you can explore endless design variations.
Happy crocheting 🧶✨