 by
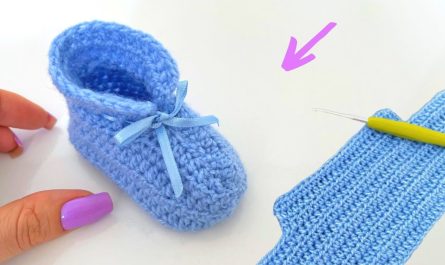
by Crochet baby booties are one of the sweetest handmade items you can make. Not only are they practical and adorable, but they also make wonderful gifts for baby showers, newborn photoshoots, and keepsakes. Among the easiest styles to create are square-style baby booties, which—exactly as the name suggests—begin as a simple crocheted square!
This method is incredibly beginner-friendly because it uses basic stitches, minimal shaping, and produces cute, cozy, perfectly fitting booties for little feet.
If you’ve been wanting to try baby booties but felt intimidated, this is a perfect project to begin with.
Let’s get started!
🧶 Why Square-Style Baby Booties?
Traditional baby booties often require shaping, increases, decreases, and circular techniques. But square-style booties simplify the process because:
- ✔ You start with a flat square or rectangle
- ✔ Fold and stitch it into shape
- ✔ Add a simple ankle cuff
- ✔ Customize to any size
It’s the easiest possible construction and perfect for beginners.
These booties are:
- Soft
- Modern
- Easy to adjust
- Quick to make (30–60 minutes per pair)
- Ideal for gifts or charity donations
🌼 Materials Needed
Yarn
Choose soft, baby-safe yarn such as:
- Size 3 (DK/light worsted)
- Size 4 (medium weight) for chunkier booties
Material options:
- Cotton (cooler climates)
- Soft acrylic (stretchy and warm)
- Bamboo blends (ultra-soft)
Colors
Pastels are classic for babies:
- Baby blue
- Pink
- Mint
- Cream
- Lavender
- White
Hook
Use hook size recommended for your yarn:
- 3.5 mm–4.5 mm typically works best
Other Tools
- Yarn needle
- Scissors
- Measuring tape
- Optional: buttons, ribbons, appliqués
⏳ Skill Level
Beginner-friendly
You only need to know:
- Chain (CH)
- Single Crochet (SC)
- Half Double Crochet (HDC) (optional)
- Double Crochet (DC) (optional)
- Slip Stitch (SL ST)
If you can crochet a square—you can make these booties!
📏 Size Guide
This is a universal foundation for square-style booties:
| Age | Sole Length | Square Size |
|---|---|---|
| Newborn | 3.5 in / 9 cm | 8.5–9 cm square |
| 0–3 months | 4 in / 10 cm | 9.5–10 cm square |
| 3–6 months | 4.25 in / 11 cm | 11 cm square |
| 6–12 months | 4.5–5 in / 12–13 cm | 12–13 cm square |
Increase the square size for bigger booties.
🧵 Step-by-Step: Easy Baby Booties (Square Style)
We will break this into simple stages:
- Crochet a square
- Fold it
- Stitch it into shape
- Add a cuff
- Finish and customize
Let’s go!
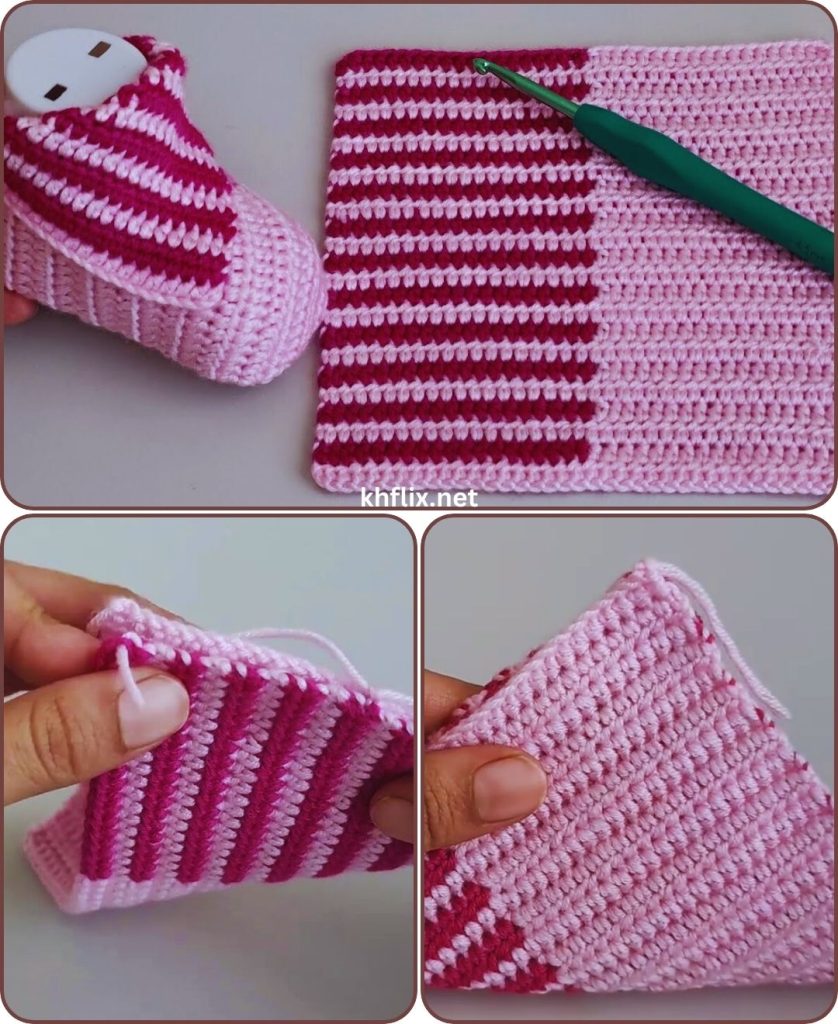
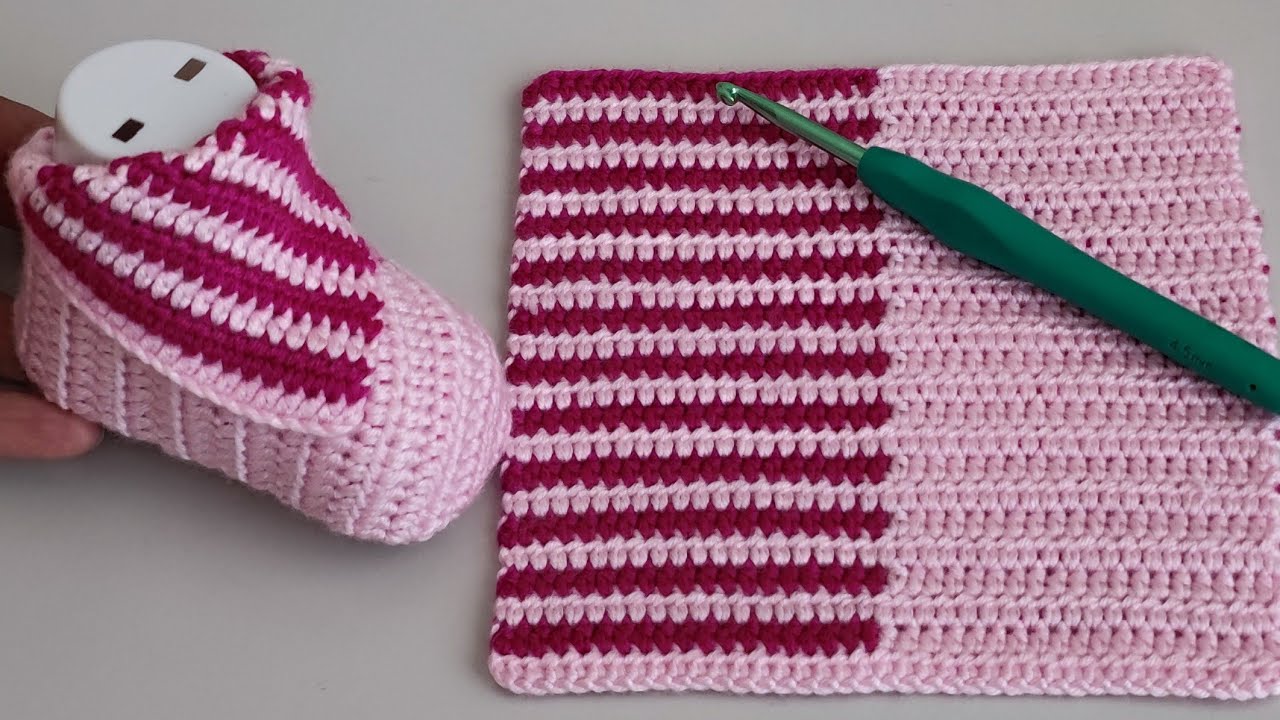
🟥 Step 1: Crochet the Square
You can use SC, HDC, or DC.
SC or HDC makes a firmer sole, while DC makes softer, stretchier fabric.
Here’s a simple SC square.
Row 1
- CH enough to reach your required size (example: CH 20 for newborn)
- SC in 2nd chain from hook
- SC across
- Turn
Row 2–30 (or until height = width)
- CH 1
- SC across
- Keep crocheting until your piece forms a perfect square
Measuring tip:
Fold diagonally corner-to-corner—if edges match, it’s a square.
Make one square per bootie (two for a pair).
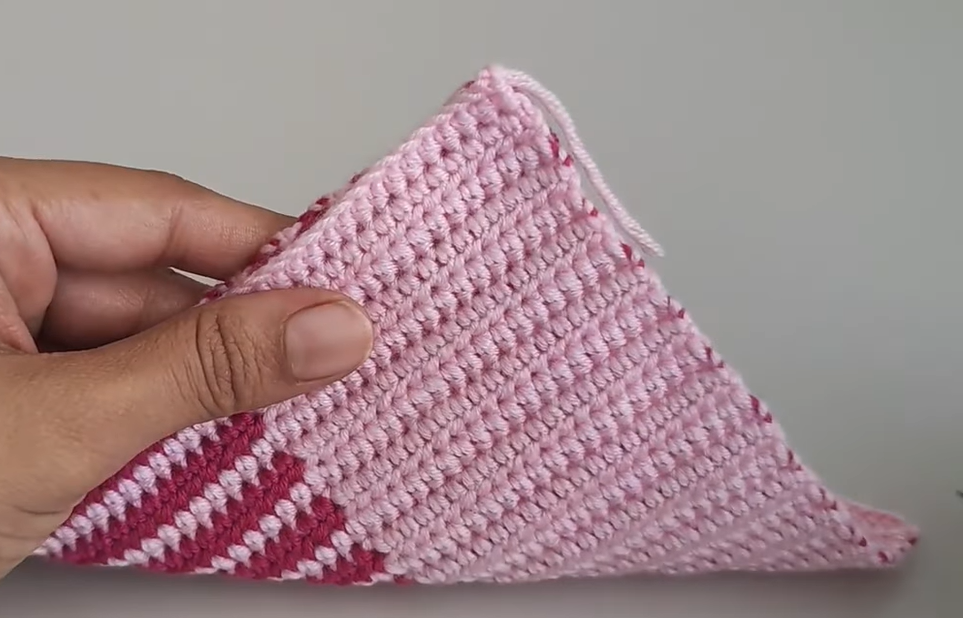
📐 Step 2: Fold the Square into Baby Bootie Shape
This step is the magic moment!
Lay your square flat. Then:
1. Fold the bottom third up
Imagine the square in three horizontal sections:
- Fold the bottom section toward the center.
2. Fold the left and right sides slightly inward
This shapes the toe area and sides.
3. Leave an opening at the top
This becomes the ankle opening.
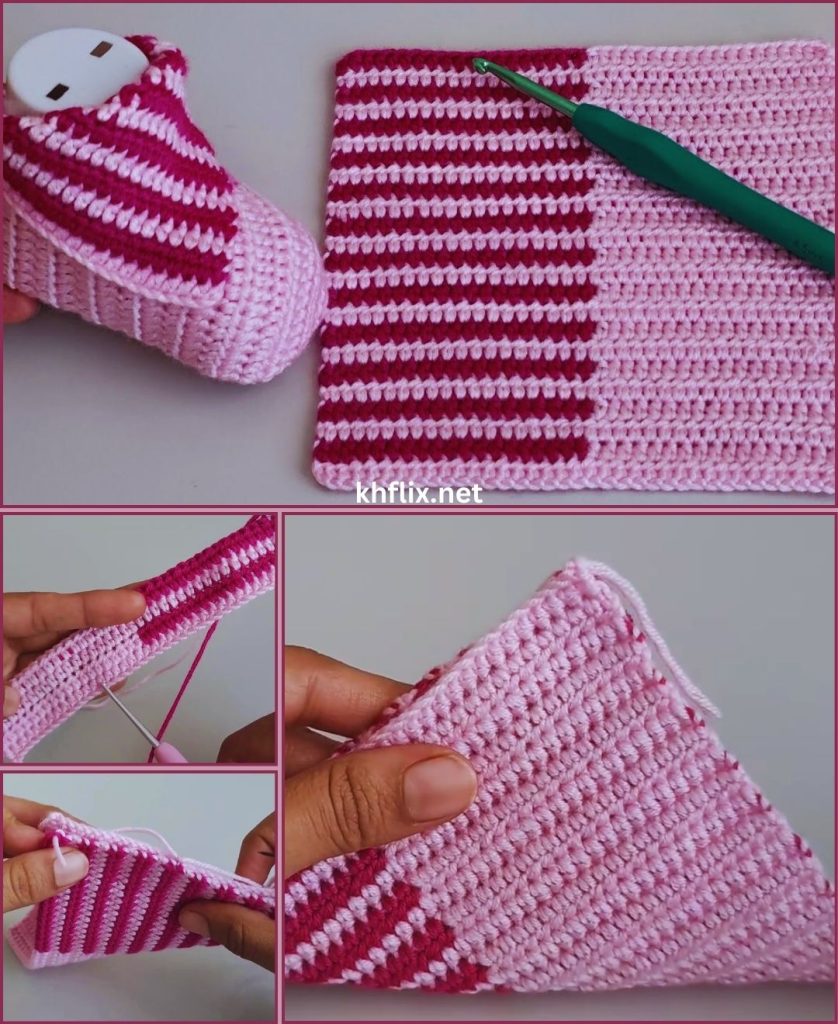
🪡 Step 3: Stitch Bootie Together
Use a yarn needle and whip-stitch or mattress stitch.
Sew the Toe
- Stitch the bottom front point to close the toe
- Adjust shaping as desired to make rounded or boxy toe
Sew the Heel
- Fold back of square
- Sew straight up from heel corner to ankle
Side Seams
- Stitch along sides until you reach the ankle opening
You will now see a bootie shape emerging!
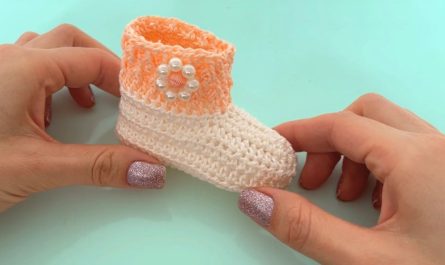
🧦 Step 4: Add a Cute Cuff (Optional but Recommended)
Adding a cuff helps the booties stay on tiny feet and gives a stylish finished look.
Insert your hook into the ankle edge.
⭐ Simple Ribbed Cuff
- Attach yarn anywhere along top edge
- CH 1
- SC evenly around the entire opening
- Join with SL ST
- CH 1
- Work 1 Front Post SC, 1 Back Post SC around
- Repeat 3–5 rows for a stretchy ribbed cuff
⭐ Rolled Cuff
Just DC for 2–3 rounds and allow to curl naturally.
⭐ Foldover Cuff
HDC or DC for 5–7 rounds then fold down.
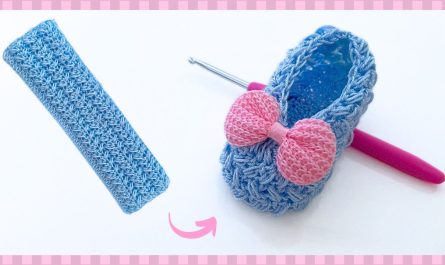
🎀 Step 5: Add Finishing Touches
Here are cute ideas:
- Sew on bows or small crocheted flowers
- Add tiny buttons (securely!)
- Embroider initial letters or hearts
- Add pom-poms
- Mix different yarn colors for stripes
- Crochet a matching hat or mittens
Make sure decorations are secure and baby-safe.
💡 Tips for Perfect Booties
✔ Use soft, washable yarn
✔ Match the hook size to yarn thickness
✔ Ensure both squares are the same size for matching booties
✔ Keep tension even
✔ Try cotton blends to avoid overheating
✔ Gently steam-block (no heavy pressure) for neat edges
🧸 How to Customize Booties (Creative Variations)
🌈 Color Ideas
- Two-tone booties
- Ombre gradient yarn
- Pastel rainbow stripes
- Classic white with colored cuff
🧵 Stitch Options
- Use HDC for thicker, warmer sole
- Use DC for looser, softer booties
- Add bobble stitches for texture
- Create waffle-stitch squares for extra warmth
👣 Shape Variations
- Longer toe folding for moccasin style
- Rounder toe sewing for slipper style
- Taller cuff for winter boot look
🧦 For Bigger Sizes
Increase:
- Square size
- Cuff height
- Yarn thickness
🎁 Great Occasions for Gifting Crochet Baby Booties
These booties make meaningful gifts for:
- Baby showers
- Gender reveals
- Birth celebrations
- First photoshoots
- Baptisms
- Holidays
- Handmade keepsake sets
Pair them with a matching hat, cardigan, or blanket for a stunning handmade baby set.
❓ Frequently Asked Questions
Q1: How long does a pair take?
Beginners: 1–2 hours
Experienced crocheters: 30–45 minutes
Q2: Can I use chunky yarn?
Yes! It makes extra cozy winter booties—just increase the square size slightly.
Q3: Do these stretch to fit?
Yes—especially if using acrylic or a blend.
Q4: Is sewing required?
Minimal sewing (just seams). You can use slip stitches instead if you prefer no needle.
👶🧶 Conclusion
Crochet baby booties don’t have to be complicated—starting with a simple square makes the process approachable, fun, and perfect for beginners. With just a few basic stitches and some creative folding, you can create adorable, cozy booties that look beautiful and feel soft on tiny feet.
This square-style method is easy to customize, quick to make, and guaranteed to impress any parent or loved one.
If you’d like, I can also make:
✔ A printable PDF pattern
✔ Photo-step guide
✔ A video script
✔ Larger sizes (toddler, child)
✔ Matching hat or mittens patterns
Just tell me!