 by
by A Complete Step-by-Step Guide for Beginners
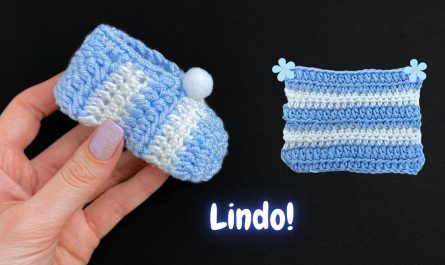
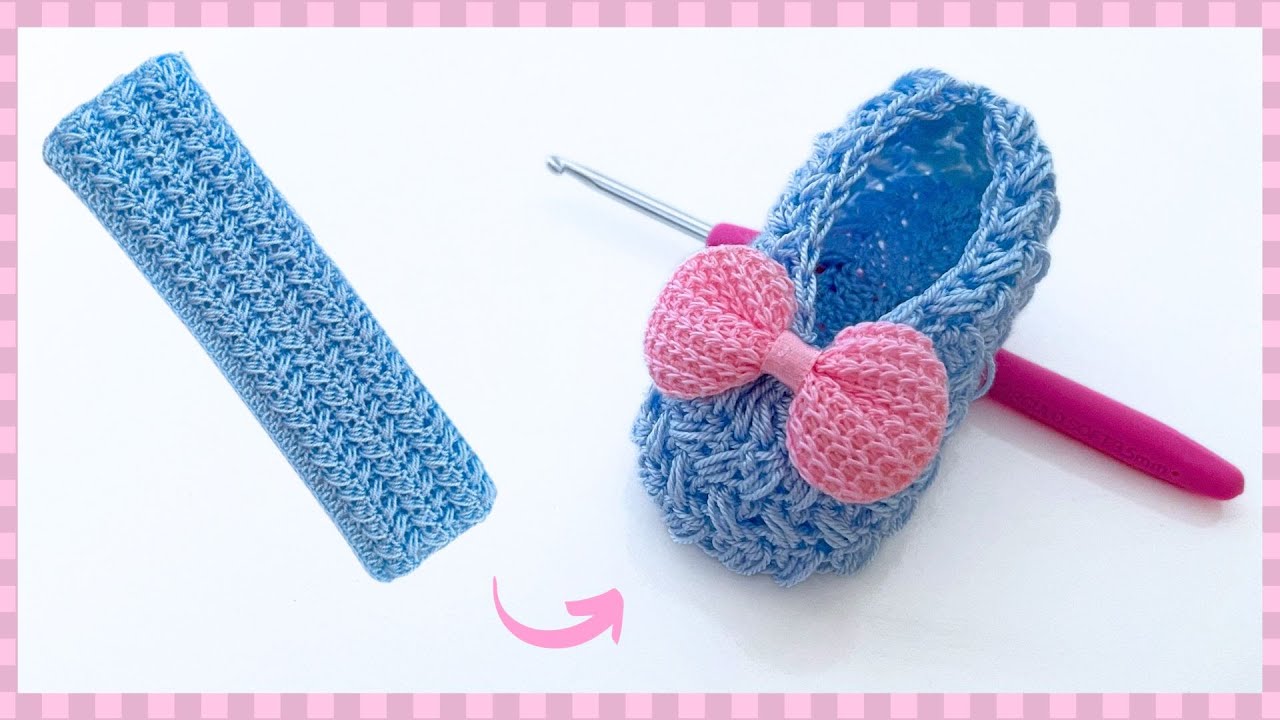
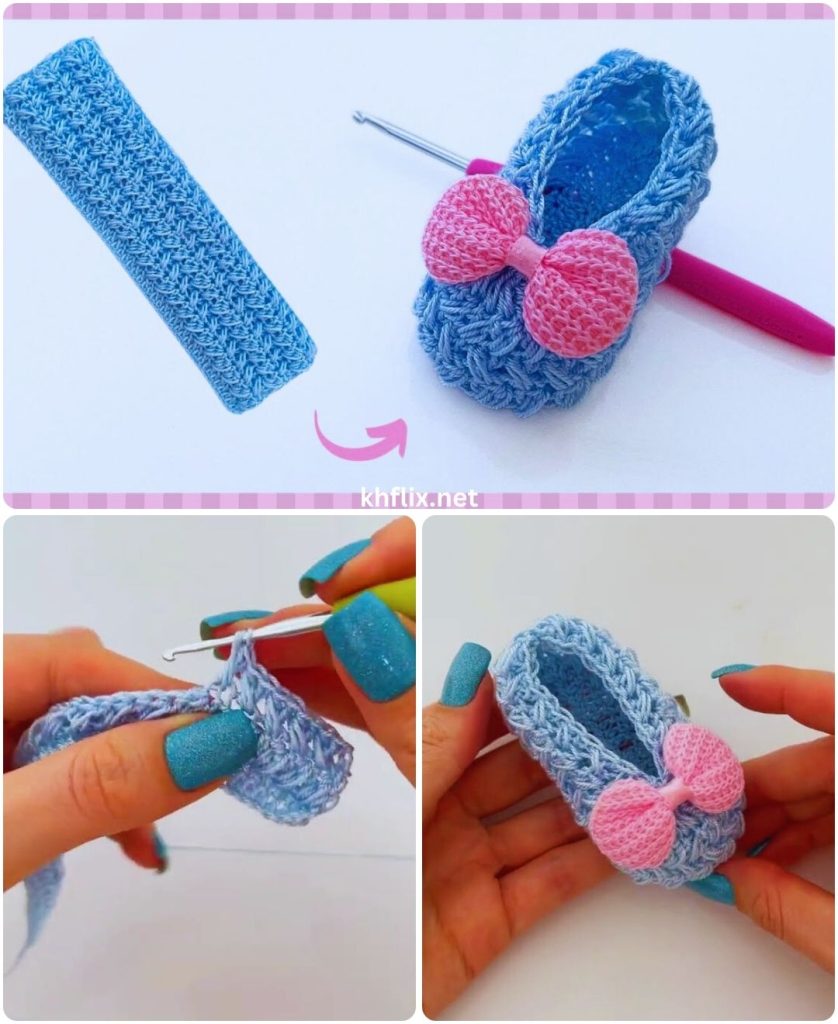
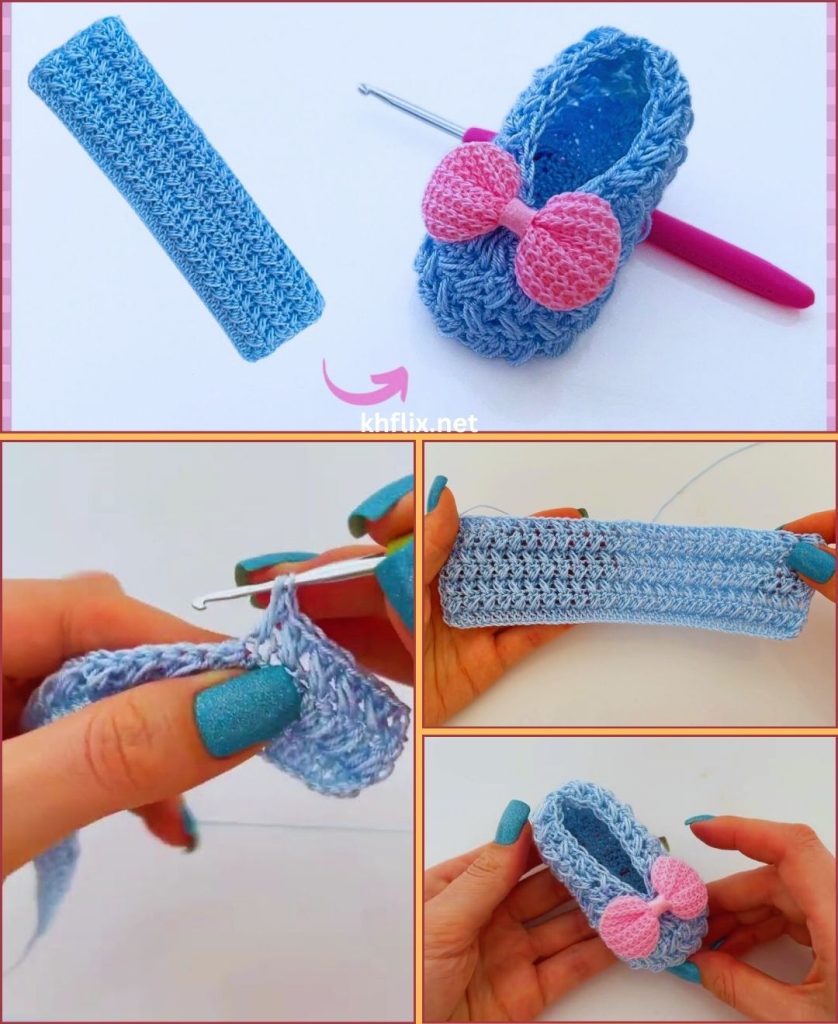
There is something truly special about handmade baby shoes. They are tiny, soft, and filled with love. When designed to be delicate and simple, crochet baby shoes become elegant little treasures — perfect for newborn gifts, baby showers, photography props, or keepsakes.
The good news? You don’t need advanced crochet skills to create beautiful baby shoes. With basic stitches, soft yarn, and careful finishing, you can make something that looks professionally crafted.
This detailed guide will walk you through everything step by step.
👶 Why Choose a Delicate and Simple Design?
Delicate crochet baby shoes are:
- 🌸 Soft and gentle on newborn skin
- 🎀 Elegant and timeless
- 🎁 Perfect handmade gifts
- 📸 Beautiful for baby photos
- 💝 Meaningful keepsakes
The key is simplicity. Clean lines, soft colors, and neat stitching create the delicate look.
🧵 Materials You Will Need
Keep your supplies minimal and baby-friendly.
Yarn
Choose:
- Soft baby yarn (DK or light worsted weight)
- Hypoallergenic and washable fiber
- Smooth texture (avoid scratchy yarn)
Beautiful delicate colors include:
- Cream
- Soft pink
- Baby blue
- Light gray
- Mint green
- Lavender
- Beige
Crochet Hook
- 3.0 mm – 3.5 mm (ideal for newborn size)
Other Tools
- Yarn needle
- Scissors
- Stitch marker (optional)
- Small decorative button (optional)
- Thin satin ribbon (optional)
📏 Size Guide (0–6 Months)
Standard newborn measurements:
- Sole length: 3.5–4 inches (9–10 cm)
- Starting chain: 10–11 stitches
You can adjust size later by increasing or decreasing the starting chain.
🪡 Stitches Used (Very Beginner-Friendly)
This pattern uses only basic stitches:
- Chain (ch)
- Slip stitch (sl st)
- Single crochet (sc)
- Half double crochet (hdc)
- Double crochet (dc)
- hdc2tog (simple decrease)
No complicated shaping is required.
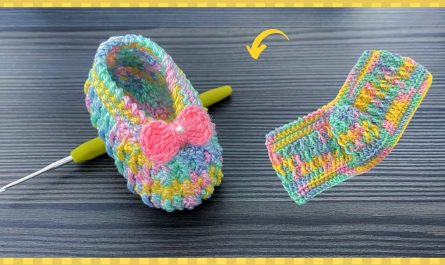
👣 Step 1: Create the Sole
We begin with the foundation — the sole.
Round 1:
- Chain 11.
- In the second chain from hook, work 2 hdc.
- 1 hdc in next 8 stitches.
- In the last chain, work 5 hdc (this forms the toe curve).
- Work along the other side of the chain:
- 1 hdc in next 8 stitches
- 3 hdc in last stitch
- Join with slip stitch.
You now have a soft oval shape.
👣 Step 2: Build the Sole Shape
Round 2:
- Chain 1.
- 2 hdc in first stitch.
- 1 hdc in each stitch until you reach the curved toe.
- Increase evenly around the toe (2 hdc in each curved stitch).
- Continue around.
- Join.
Round 3:
- Add small increases at toe and heel.
- Join.
The sole should now measure about 3.5–4 inches.
💡 Keep your tension even — this makes the shoe look smooth and delicate.
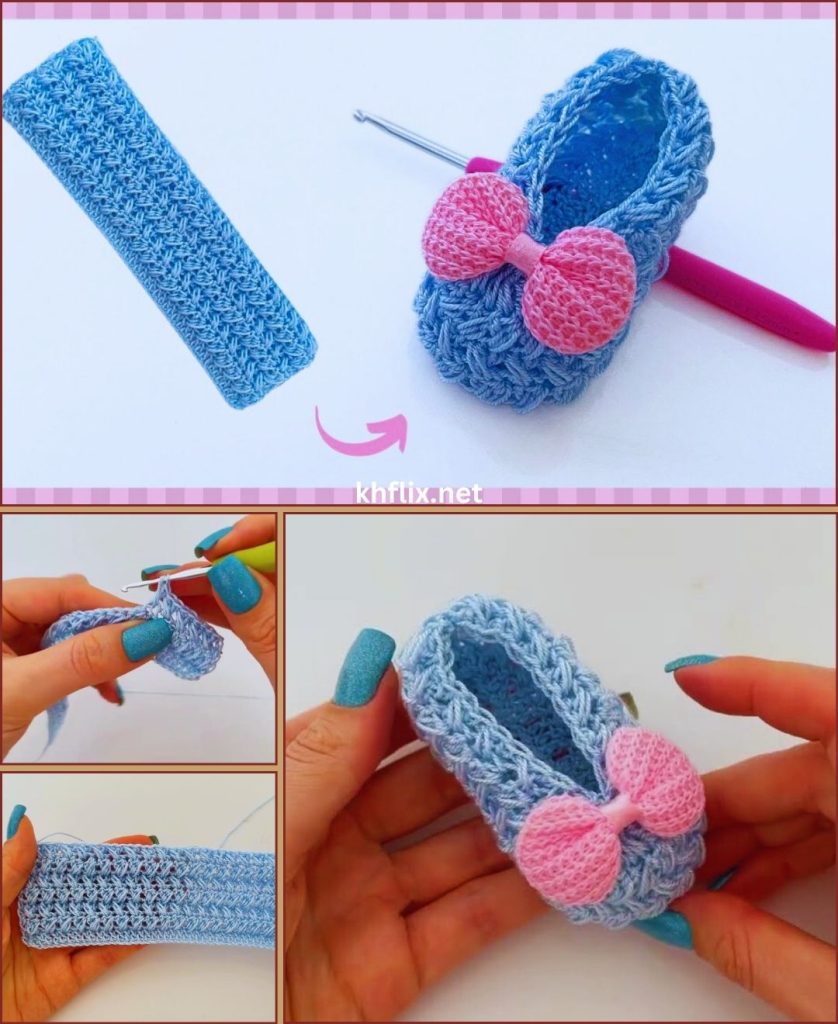
👟 Step 3: Form the Shoe Walls
Now we create height.
Round 4:
- Work in back loops only.
- 1 hdc in each stitch around.
- Join.
This creates a clean edge between the sole and upper.
Round 5:
- 1 hdc in each stitch around.
- Join.
You’ll now see the shoe beginning to form.
🌸 Step 4: Shape the Toe Softly
To maintain a delicate appearance, shape gently.
Round 6:
- Work hdc until you reach the front center (about 8–10 stitches).
- Work hdc2tog across the front section.
- Continue hdc on the sides.
- Join.
Round 7:
- Repeat gentle decreases across the front.
- Join.
The toe should look softly rounded, not tight or sharp.
🎀 Step 5: Add a Delicate Finishing Edge
This step gives your shoe its graceful look.
Option 1: Scalloped (Shell) Edge
- Skip one stitch.
- Work 5 dc in next stitch.
- Skip one stitch.
- Slip stitch.
- Repeat around.
This creates a soft, elegant border.
Option 2: Picot Edge
- 1 sc.
- Chain 3.
- Slip stitch into first chain.
- Skip one stitch.
- Repeat.
Creates tiny decorative points.
Option 3: Simple Clean Edge
- 1 sc in each stitch around.
- Join and fasten off neatly.
Sometimes simple looks most delicate.
🌷 Optional Decorative Ideas
Add a Small Crochet Flower
- Chain 5, join into a ring.
- Work small petal clusters.
- Sew gently onto the toe.
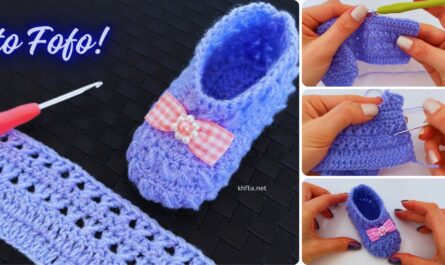
Add a Mary Jane Strap
- Attach yarn at one side.
- Chain 10–12.
- Attach to opposite side.
- Sew a tiny button securely.
Add Ribbon Detail
- Weave thin satin ribbon through upper stitches.
- Tie gently at the front.
Always secure decorations firmly for safety.
✨ How to Make Them Look Professional
Even a simple pattern looks amazing when:
- Stitches are consistent
- Color choices are soft and balanced
- Yarn ends are woven in invisibly
- Both shoes are symmetrical
- Edges are smooth and neat
Take your time during finishing — it makes all the difference.
🎨 Beautiful Color Combinations
For a delicate aesthetic, try:
- Cream + blush pink
- White + lavender
- Soft gray + mint
- Beige + baby blue
- Light peach + ivory
Avoid very dark or harsh contrasts if you want a soft look.
🧼 Baby Safety Reminders
✔ Use soft, baby-safe yarn
✔ Avoid loose beads
✔ Secure buttons tightly
✔ Keep the inside smooth
✔ Ensure the fit is comfortable
Comfort and safety are always the priority.
⏱ Time Required
- Beginner: 1–2 hours per pair
- After practice: 45–60 minutes
Because they are small, crochet baby shoes are satisfying projects with quick results.
💝 Why Handmade Baby Shoes Are So Special
Handmade shoes are not just accessories — they represent:
- Care
- Warmth
- Time
- Creativity
- Love
Every stitch becomes part of a memory.
🌟 Final Thoughts
Creating delicate and easy crochet baby shoes is about simplicity and softness.
You don’t need complicated stitches.
You don’t need advanced skills.
You only need:
- Basic crochet knowledge
- Gentle yarn
- Even tension
- Thoughtful finishing
- Patience and care
Start with one pair.
Practice slowly.
Enjoy the process.
Soon, you’ll be making beautiful, delicate baby shoes that look elegant, timeless, and full of handmade charm. 🧶👶🌸✨
If you’d like, I can also provide:
- A printable row-by-row pattern
- A lace-style elegant baby shoe pattern
- A winter baby bootie version
- A crochet baby sandal design
- A luxury boutique-style baby shoe tutorial
Just tell me what style you’d love to create next!