 by
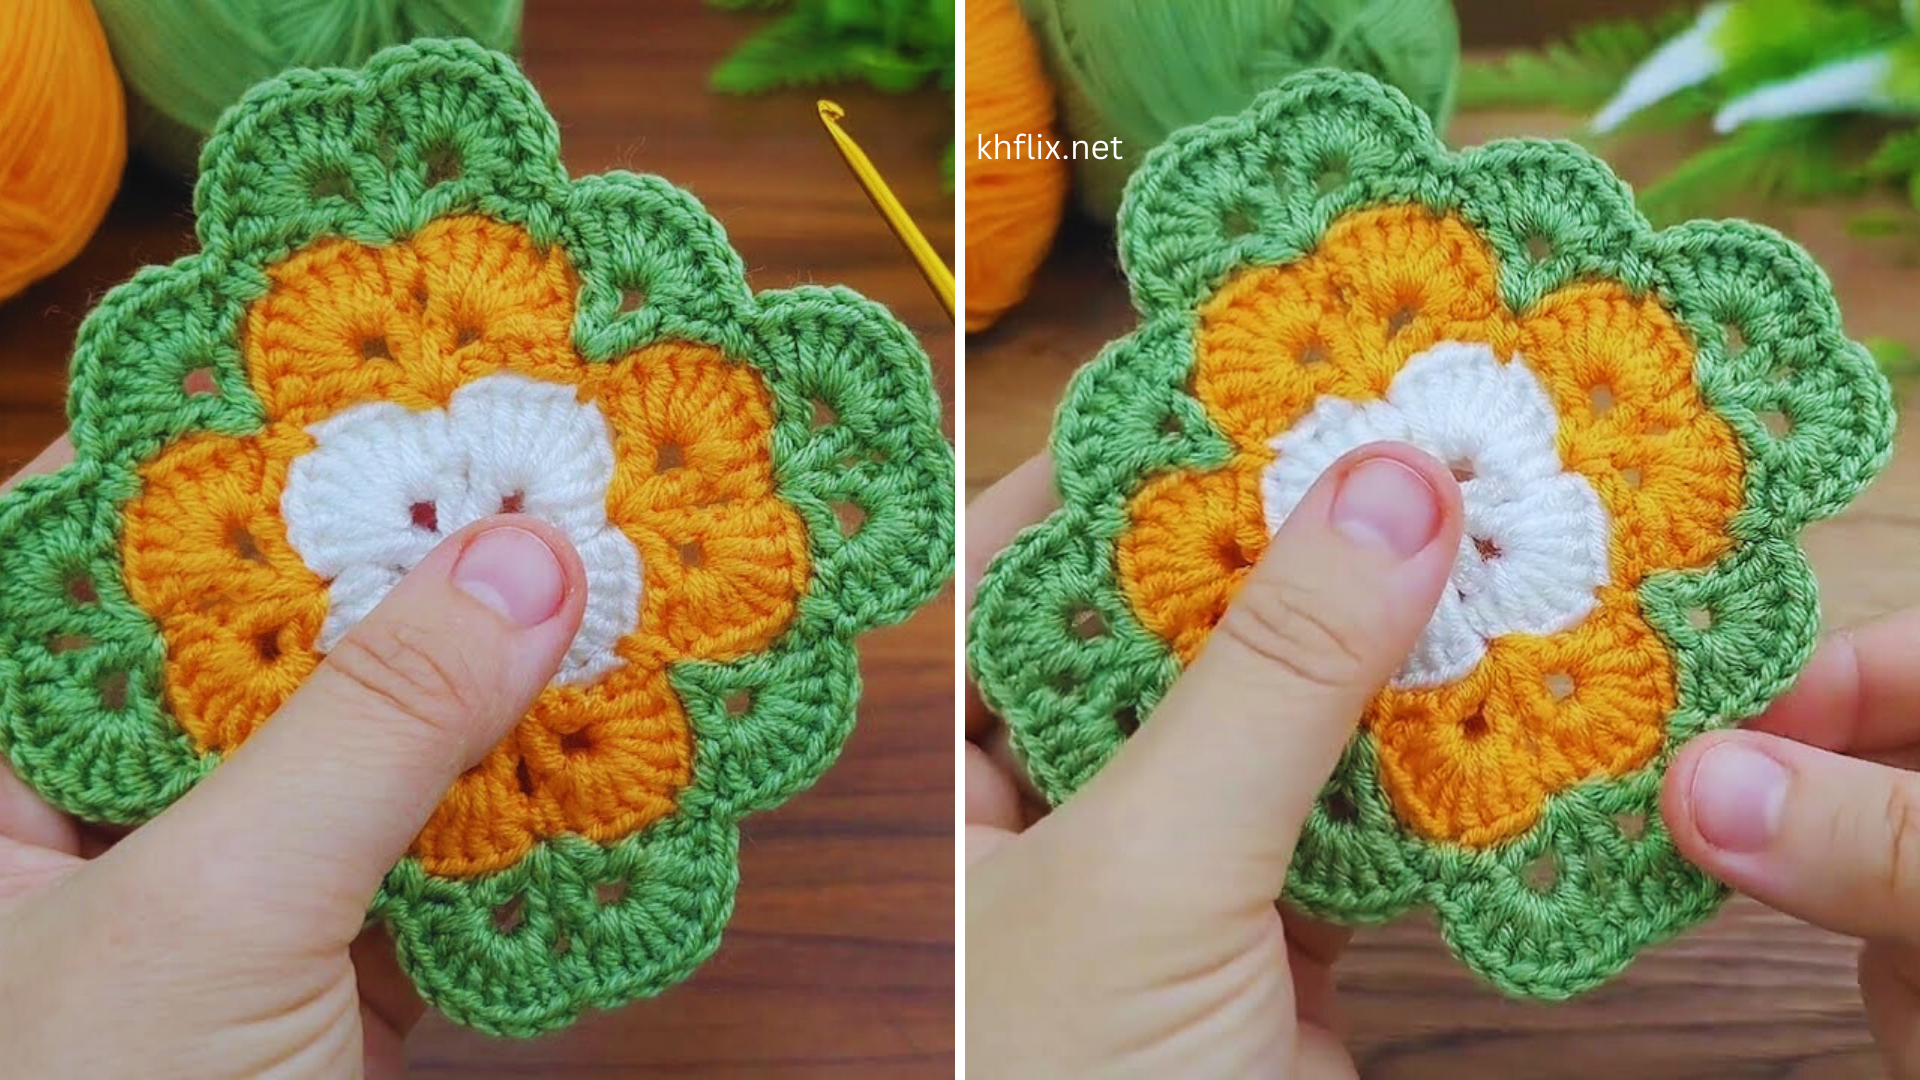
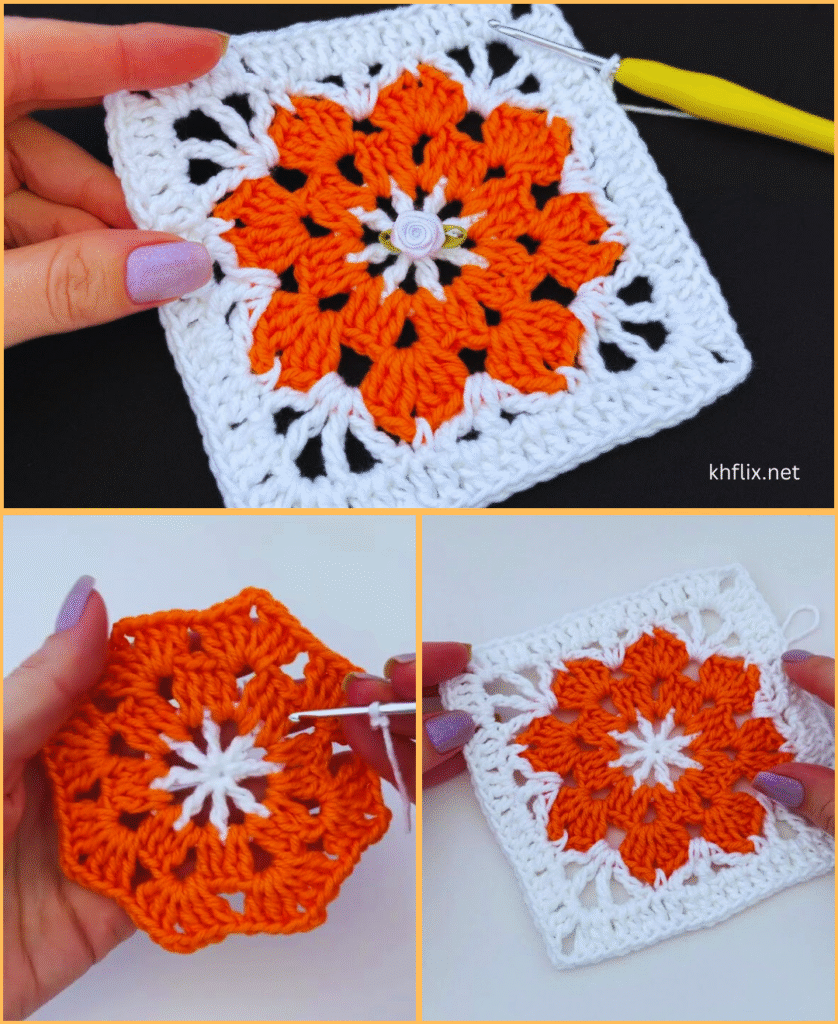
by Creating an easy crochet square is a great beginner project! These squares can be used individually (as coasters or washcloths) or stitched together to make larger items like blankets, bags, or scarves.
Here’s a step-by-step guide for making a basic granny square, which is one of the most popular and easiest types of crochet squares:
🧶 MATERIALS NEEDED:
- Yarn (any weight, but worsted weight is beginner-friendly)
- Crochet hook (check your yarn label for recommended size; H/8 or 5mm is a common choice)
- Scissors
- Yarn needle (for weaving in ends)
📏 BASIC CROCHET STITCHES YOU NEED TO KNOW:
- Slip Knot
- Chain (ch)
- Slip Stitch (sl st)
- Double Crochet (dc) – US terms (UK users: it’s a treble crochet)
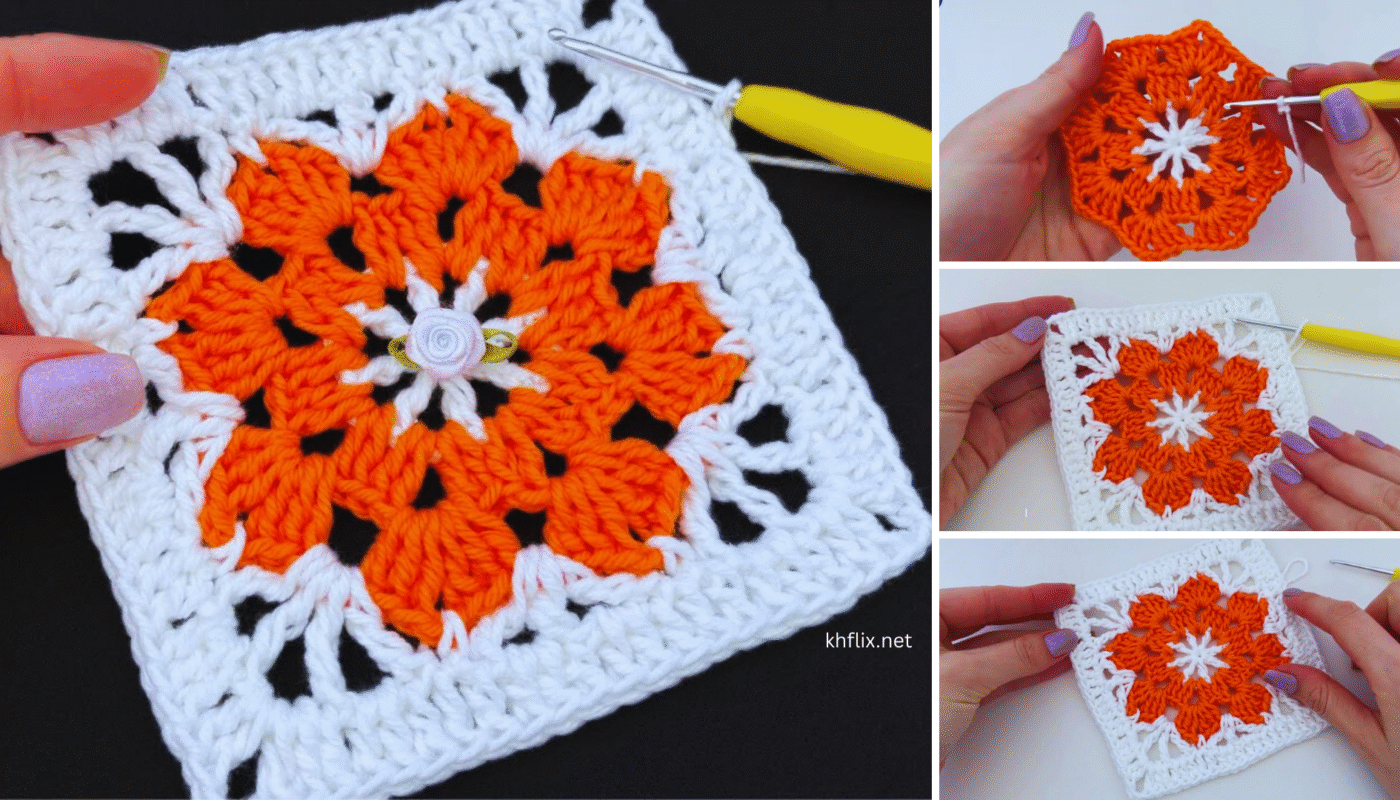
🪡 EASY GRANNY SQUARE PATTERN (CLASSIC STYLE)
ROUND 1:
- Start with a slip knot on your hook.
- Chain 4, and join with a slip stitch to the first chain to form a ring.
- Chain 3 (counts as your first double crochet).
- Do 2 double crochets into the center of the ring.
- Chain 2 (this makes a corner).
- Repeat this: 3 double crochets, chain 2 – do this 3 more times into the ring.
- Join with a slip stitch to the top of the starting chain 3.
👉 You now have four sets of 3 double crochets and four corner chain spaces.
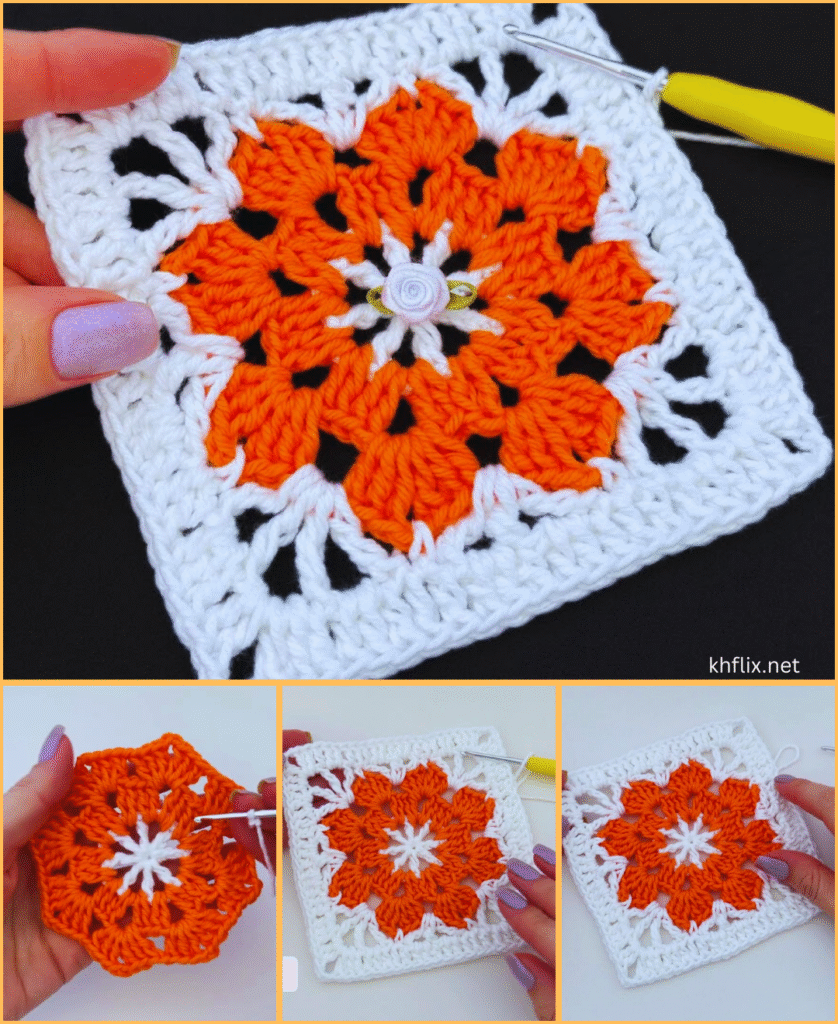
ROUND 2:
- Slip stitch over to the first chain-2 corner space.
- Chain 3 (counts as dc), then 2 dc into the same space, ch 2, 3 dc into the same space.
- In each of the other 3 corners: 3 dc, ch 2, 3 dc.
- Join with a slip stitch to the top of your starting chain 3.
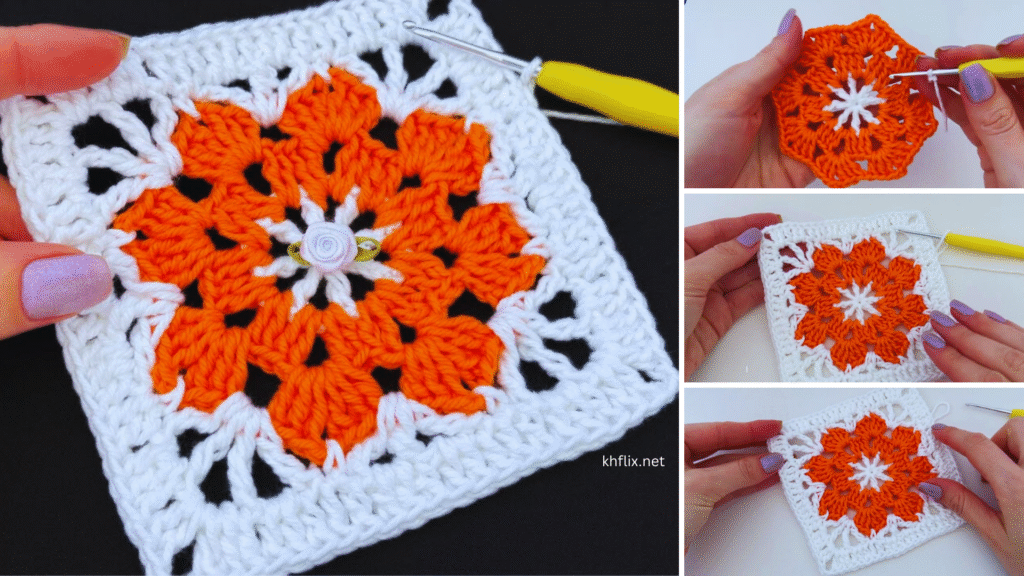
ROUND 3 (and beyond):
- Slip stitch to the next corner if needed.
- In each corner space: 3 dc, ch 2, 3 dc.
- In each side space (between clusters): 3 dc (no chain).
- Join with a slip stitch.
Repeat Round 3 until your square is the desired size.
✅ FINISHING:
- Cut yarn, leaving a 6″ tail.
- Pull the tail through the final loop and tighten.
- Use a yarn needle to weave in the ends.
TIPS:
- Change colors between rounds for a multicolor look!
- Block your square with steam or a damp cloth to straighten edges.
Would you like a diagram or a photo reference to go along with this pattern?