 by
by A Complete Step-by-Step Detailed Guide
Crocheting your own handbag is one of the most satisfying and practical projects you can make as a beginner. A crochet bag is stylish, customizable, eco-friendly, and surprisingly easy to create. Even if you only know basic stitches, you can complete a beautiful handmade handbag with confidence.
In this detailed beginner-friendly tutorial, you will learn:
- Materials needed
- Basic stitches required
- Step-by-step handbag instructions
- How to shape and assemble
- How to add sturdy handles
- Optional lining tips
- Design variations
- Common mistakes and fixes
Let’s begin your crochet handbag journey! 🧶✨
Why Crochet a Handbag?
A crochet handbag is perfect for beginners because:
- It uses simple stitches
- It doesn’t require complex shaping
- It works up quickly
- You can customize size and color
- It makes a beautiful handmade gift
- It can even become a small business product
Plus, handmade bags are trendy and unique — no one else will have the exact same one!
Materials You Will Need
🧶 Yarn
For handbags, choose strong yarn:
- Medium weight (Worsted / Category 4)
- Cotton yarn (recommended for durability)
- 250–400 grams depending on size
Why cotton?
- Holds shape well
- Less stretchy
- Durable for daily use
🪡 Crochet Hook
- 4.5mm – 5.5mm (check yarn label)
Using a slightly smaller hook makes stitches tighter and stronger.
✂️ Other Supplies
- Yarn needle
- Scissors
- Stitch markers (optional)
- Magnetic button or zipper (optional)
- Fabric for lining (optional)
Basic Stitches You Need to Know
This beginner crochet handbag uses simple stitches:
- Chain (ch)
- Slip stitch (sl st)
- Single crochet (sc)
- Half double crochet (hdc)
- Double crochet (dc)
If you know single crochet and double crochet, you can make this bag.
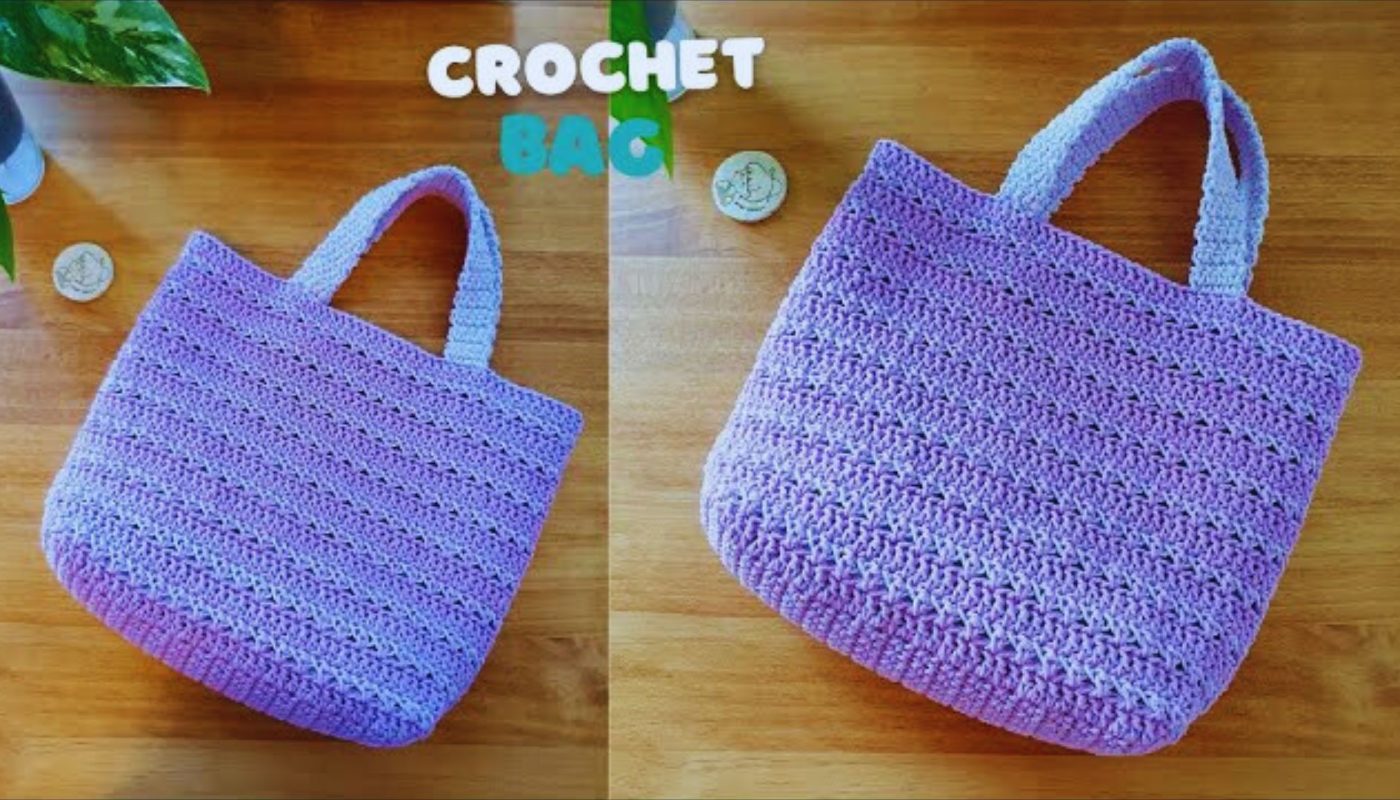
Choose Your Handbag Style
For beginners, we’ll make a simple rectangular handbag with:
- Flat base
- Straight sides
- Two sturdy handles
- Optional top border
Finished size example:
- Width: 12 inches
- Height: 10 inches
- Depth: 3 inches
You can adjust measurements easily.
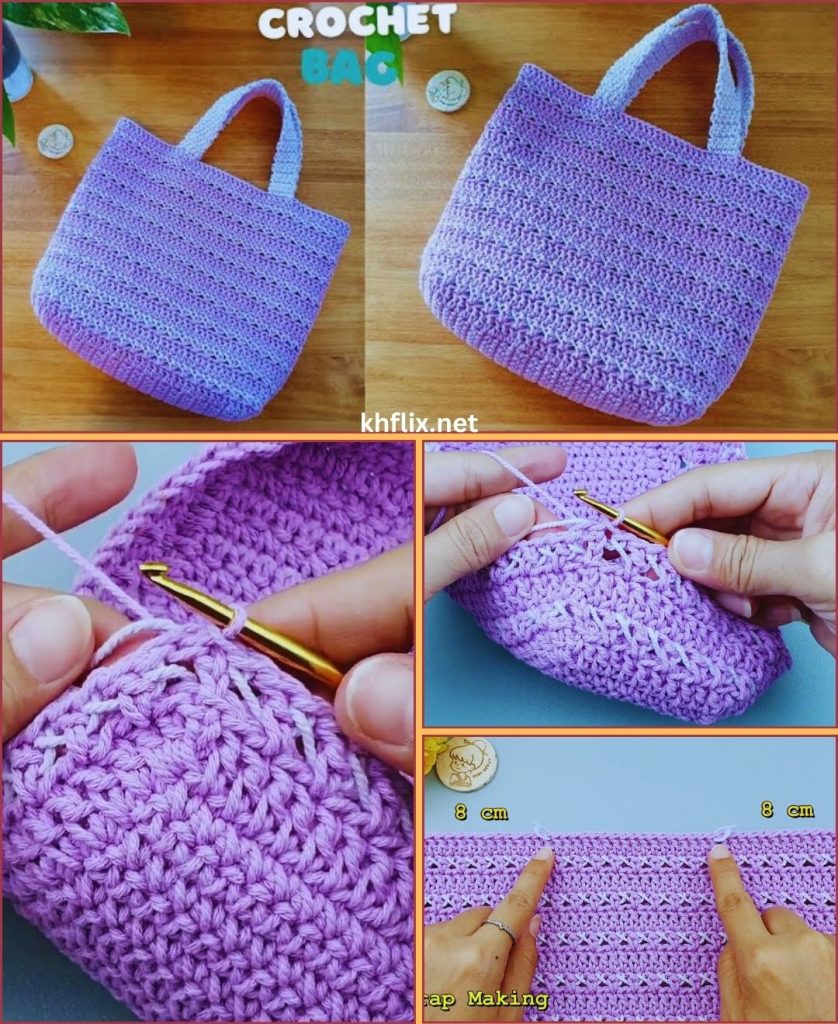
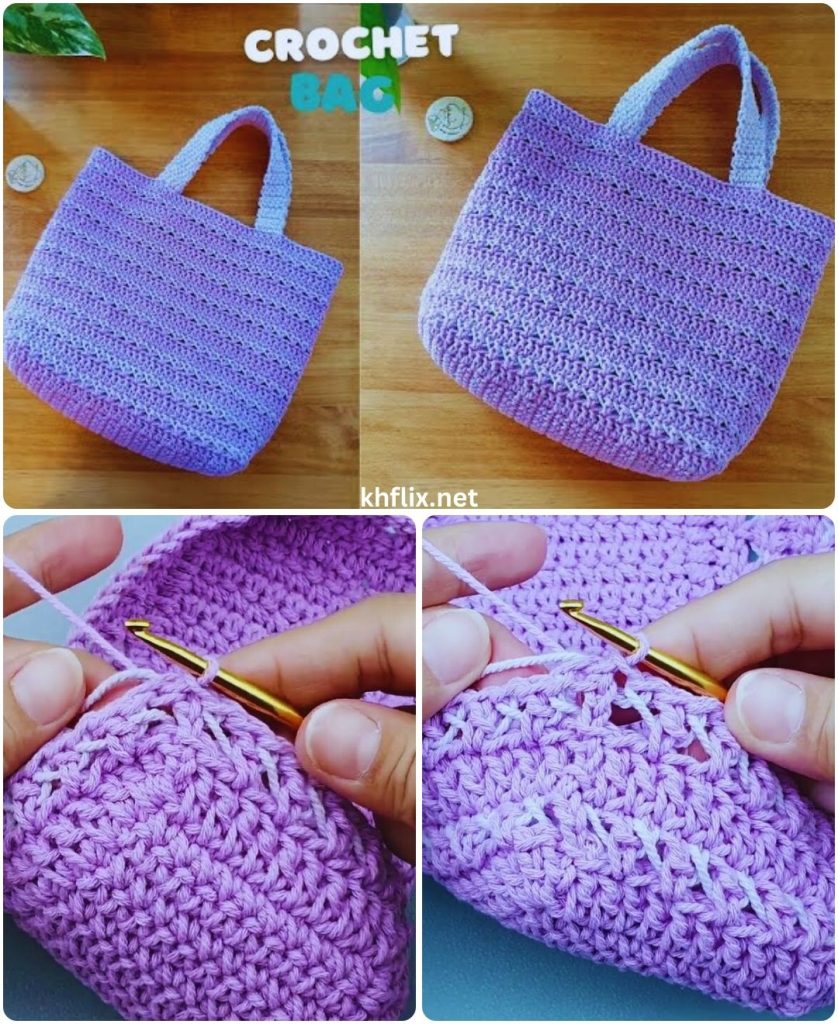
Step-by-Step: Crochet Handbag for Beginners
STEP 1: Create the Base
The base determines the width of your bag.
- Make a slip knot.
- Chain 31 stitches (or desired width).
- Add 1 extra chain for turning.
Row 1:
- Single crochet in 2nd chain from hook.
- Single crochet across.
- Chain 1 and turn.
Rows 2–10:
- Single crochet across.
- Chain 1 and turn.
Continue until the base measures about 3 inches (this forms bag depth).
Fasten off.
STEP 2: Build the Bag Body
Attach yarn at one corner of the base.
Round 1:
- Single crochet evenly around the entire base.
- Work 2 sc in each corner.
- Slip stitch to join.
Now the sides begin to form.
STEP 3: Work Upward
Rounds 2–Desired Height:
- Single crochet in each stitch around.
- No increases.
- Slip stitch to join each round.
Continue until height reaches about 10 inches.
Your handbag body is now complete.
Optional: Add Texture (Makes It Look Stylish)
Instead of plain single crochet, try:
Alternate rounds:
- Round A: Single crochet
- Round B: Half double crochet
Or:
- Use back loop only single crochet for ribbed effect.
This gives your handbag a boutique-style finish.
STEP 4: Shape the Top Opening
To create a smooth opening:
Work 1 round of single crochet evenly around.
Then work 1 round of slip stitch for reinforcement.
Fasten off.
STEP 5: Make Strong Handles
Handles are important for durability.
Option 1: Simple Chain Strap
- Attach yarn at one side.
- Chain 60–80 stitches.
- Attach to opposite side with slip stitch.
- Turn and single crochet across chain.
- Fasten off.
Repeat for second handle.
Option 2: Thick Reinforced Strap (Recommended)
- Chain desired strap length.
- Work 4–6 rows of single crochet.
- Sew securely to bag using yarn needle.
- Stitch multiple times for strength.
This makes your bag stronger and more professional.
Optional: Add a Lining
Lining prevents stretching and adds structure.
Simple lining steps:
- Cut fabric matching bag size.
- Sew sides and bottom.
- Insert inside bag.
- Hand stitch around top edge.
This instantly upgrades your handbag.
Optional: Add Closure
You can add:
- Magnetic button
- Zipper
- Wooden button + loop
- Drawstring
Magnetic buttons are easiest for beginners.
How to Make It Look Professional
✔ Keep tension consistent
✔ Count stitches in each round
✔ Reinforce handles well
✔ Weave in ends neatly
✔ Block lightly if needed
✔ Use cotton yarn
Small finishing details make a big difference.
Color Ideas for Crochet Handbags
🎨 Single neutral color for minimalist look
🌸 Two-tone body + handles
🖤 Black with gold button
🌿 Earth-tone combination
🌈 Striped pattern
🤍 White summer beach bag
Choose colors that match your wardrobe.
Common Beginner Mistakes
Bag Too Stretchy
Use cotton yarn and tighter tension.
Uneven Sides
Make sure no increases after first round.
Weak Handles
Reinforce with extra rows and sewing.
Curved Base
Count stitches carefully in foundation row.
How Long Does It Take?
- Beginner: 5–7 hours
- Experienced crocheter: 3–4 hours
It’s a perfect weekend project.
What Can You Use This Bag For?
This beginner crochet handbag is perfect for:
- Everyday use
- Market shopping
- Beach trips
- Casual outings
- Handmade gifts
- Selling online
Once you master the basic design, you can experiment with new shapes and textures.
Easy Variations to Try Later
After mastering this beginner bag, you can try:
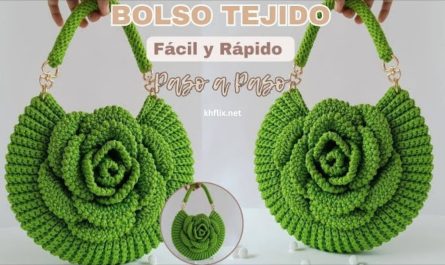
- Round crochet bag
- Granny square handbag
- Drawstring purse
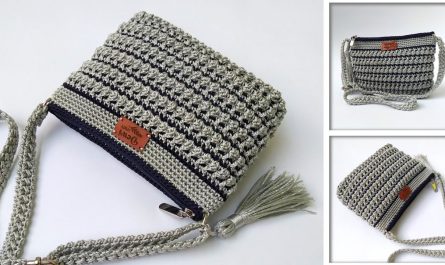
- Crossbody bag
- Chunky yarn handbag
- Crochet clutch
Each variation builds your confidence and skills.
Final Thoughts
Learning how to crochet a bag or crochet handbag for beginners is a rewarding and practical skill. With just basic stitches and simple shaping, you can create something stylish, durable, and completely handmade.
Start simple.
Focus on neat stitches.
Choose strong yarn.
Reinforce your handles.
Before you know it, you’ll have a beautiful crochet handbag that you can proudly carry — and maybe even sell!
If you’d like, I can also provide:
- A printable PDF pattern
- A small purse version
- A video tutorial script
- A step-by-step photo layout
- A crochet handbag business guide
Happy crocheting! 🧶✨