 by
by Very Easy to Make with This Quick and Practical Pattern
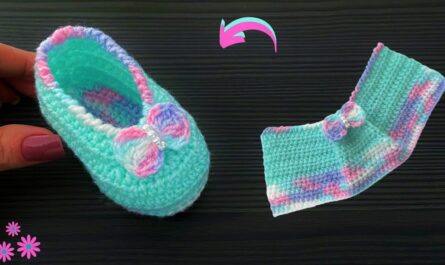
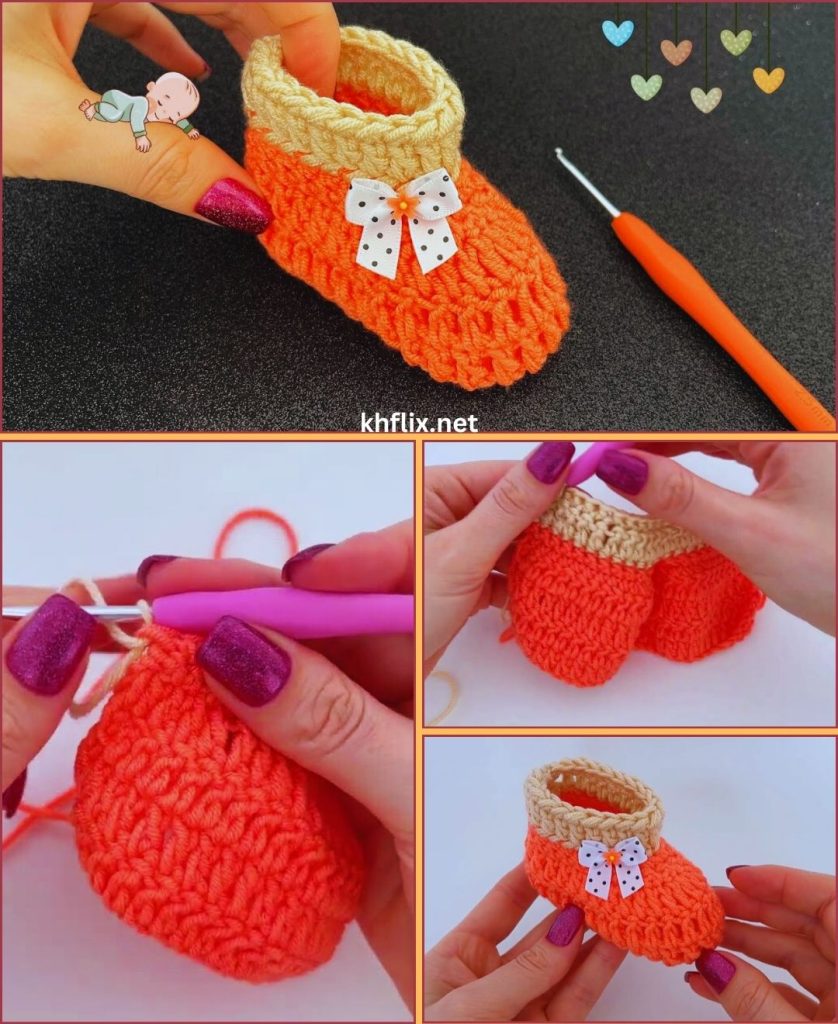
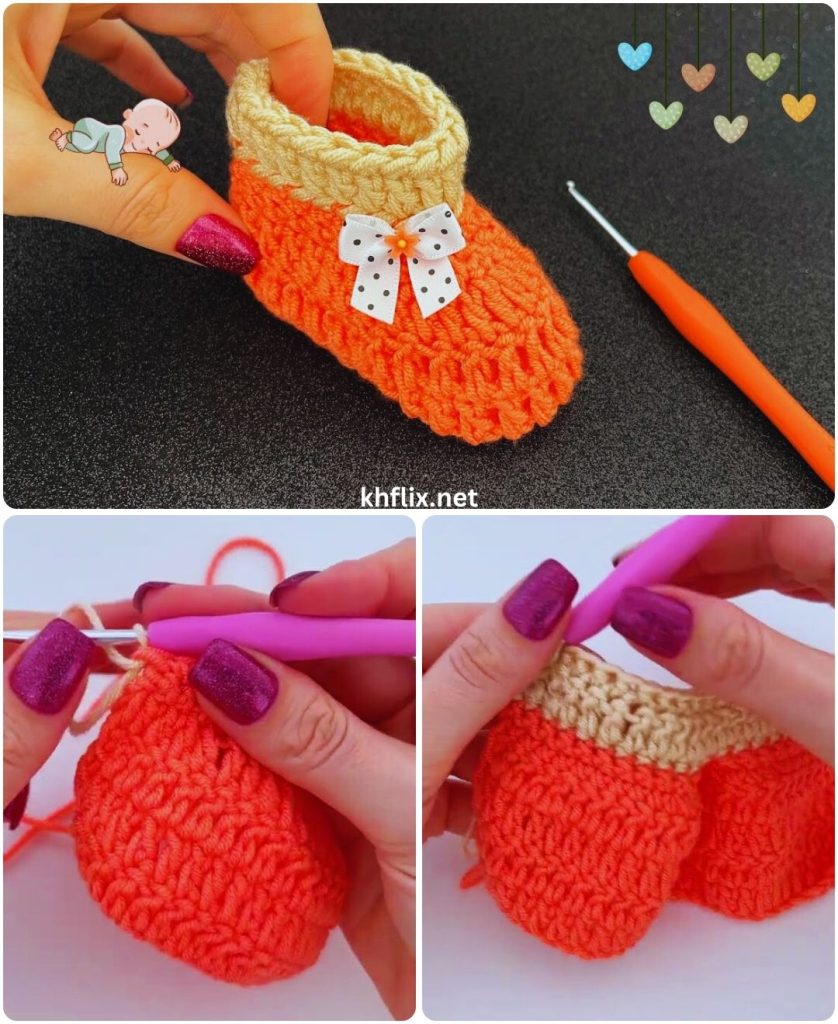
Crocheting baby shoes is one of the most satisfying and heartwarming projects you can make. They’re tiny, adorable, and surprisingly quick to complete. Even if you’re a beginner, this very easy and practical pattern will guide you step-by-step to create soft, comfortable baby shoes in just a few hours.
This detailed tutorial includes:
- Materials and tools
- Stitch explanations
- Complete written pattern (0–3 months)
- Step-by-step shaping instructions
- Size adjustments
- Customization ideas
- Troubleshooting tips
- Finishing techniques
Let’s begin!
Why Crochet Baby Shoes?
Crochet baby shoes are:
- Quick to finish
- Beginner-friendly
- Perfect for baby showers
- Great for handmade gifts
- Ideal for using leftover yarn
Because they are small, they allow you to practice working in the round, shaping, increasing, and decreasing—all in a manageable project.
Materials You’ll Need
To make these baby shoes very easy and practical, gather the following:
Yarn
- Worsted weight (Category 4) soft baby yarn
- 50–80 yards
- Acrylic, cotton, or baby blend
Choose soft, washable yarn that is gentle on baby skin.
Crochet Hook
- 4.0 mm (G/6) hook
Additional Supplies
- Yarn needle
- Scissors
- Stitch marker (optional)
- Measuring tape
Finished Size
This pattern is written for 0–3 months.
- Sole length: approximately 3.5 inches (9 cm)
Sizing adjustments are provided later.
Crochet Abbreviations (US Terms)
- ch – chain
- sl st – slip stitch
- sc – single crochet
- hdc – half double crochet
- dc – double crochet
- inc – increase (2 stitches in same stitch)
- dec – decrease
- st – stitch
- BLO – back loop only
Pattern Overview
We will make the baby shoe in four simple parts:
- Sole
- Side walls
- Toe shaping
- Ankle cuff
All steps are beginner-friendly and use basic stitches.
Step 1: Crochet the Sole
The sole is worked in joined rounds.
Round 1
- Ch 11
- 2 sc in 2nd ch from hook
- Sc in next 8 chains
- 5 sc in last chain
- Turn and work on opposite side
- Sc in next 8 chains
- 3 sc in last stitch
- Sl st to join
Total stitches: 26
You now have an oval shape.
Round 2
- Ch 1
- Inc in first 2 stitches
- Sc in next 8 stitches
- Inc in next 5 stitches
- Sc in next 8 stitches
- Inc in last 3 stitches
- Sl st to join
Total stitches: 36
Check that your sole measures about 3.5 inches.
Round 3
- Ch 1
- Sc in each stitch around
- Sl st to join
Still 36 stitches.
The sole is complete!

Step 2: Build the Shoe Sides
Now we work upward to create the shoe shape.
Round 4 (Back Loop Only)
- Ch 1
- Sc in BLO around
- Sl st to join
Working in the back loop creates a clean ridge between sole and upper.
Round 5
- Ch 1
- Sc in each stitch around
- Sl st to join
At this stage, the shoe looks like a small bowl.
If you want slightly taller shoes, repeat Round 5 once more.
Step 3: Shape the Toe
This is the most important shaping step.
Round 6
- Ch 1
- Sc in first 10 stitches
- Hdc dec across next 8 stitches (4 decreases)
- Sc in remaining stitches
- Sl st to join
You will see the toe area narrowing.
Round 7
- Ch 1
- Sc in first 9 stitches
- Sc dec across next 6 stitches
- Sc in remaining stitches
- Sl st to join
The toe now has a soft rounded shape.
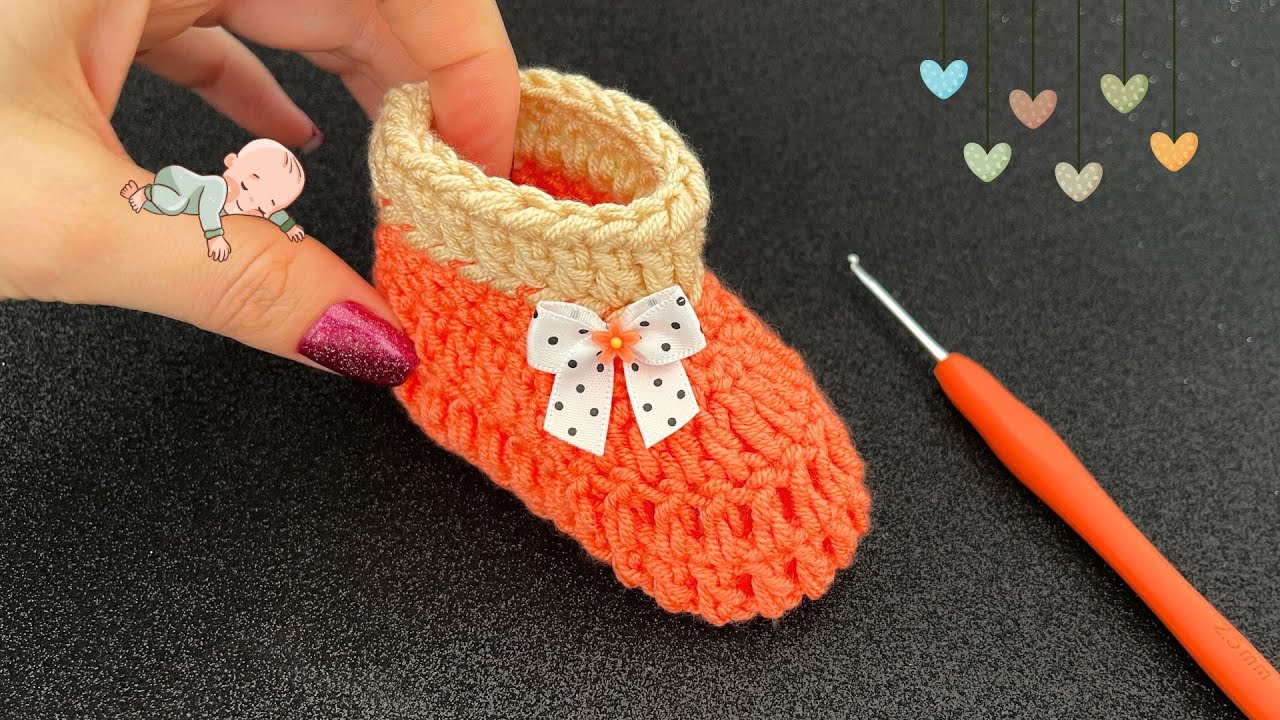
Step 4: Create the Ankle Cuff
This step finishes the shoe neatly.
Round 8
- Ch 1
- Hdc in each stitch around
- Sl st to join
Repeat once more if you prefer a taller cuff.
For a folded cuff, add 2 extra rounds and fold outward.
Fasten Off
- Cut yarn leaving a 6-inch tail
- Pull through
- Weave in ends securely
Your first baby shoe is finished!
Repeat the pattern for the second shoe.
How to Adjust Sizes
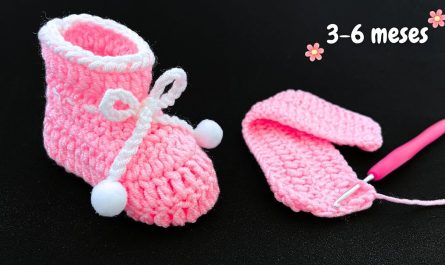
3–6 Months
- Start with Ch 13
- Add 1 extra stitch along each straight side
- Add one extra round before shaping the toe
6–9 Months
- Start with Ch 15
- Increase proportionally
- Add extra height rounds
Always measure the sole before building upward.
Customization Ideas
Once you master this quick and practical pattern, try these creative ideas:
Add a Strap
- Attach yarn at side
- Ch 12–15
- Sl st to opposite side
- Sew on a small button (secure tightly)
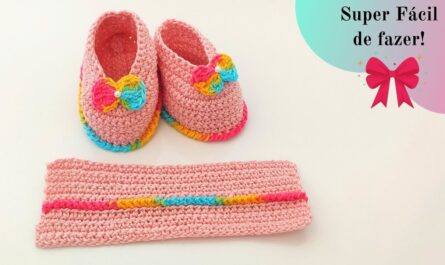
Add a Bow
- Ch 10
- Work 5 rows of sc
- Wrap yarn around center
- Sew onto toe
Two-Color Design
- Use one color for sole
- Change color for upper
- Use contrasting cuff
Sporty Style
Add a chain lace:
- Ch 25
- Thread through front stitches
Tips for Perfect Baby Shoes
✔ Count stitches every round
✔ Keep tension consistent
✔ Use soft baby-friendly yarn
✔ Make both shoes in one sitting
✔ Check measurements before shaping
Common Problems and Solutions
Shoes Different Sizes
Cause: tension changes
Fix: measure sole after Round 3
Sole Curling
Cause: not enough increases
Fix: check Round 2 stitch count
Toe Too Tight
Cause: too many decreases
Fix: reduce one decrease round
Why This Pattern Is So Easy
This quick and practical baby shoe pattern works because:
- It uses only basic stitches
- The shaping is simple
- It’s worked in clear rounds
- The size is easy to adjust
- It’s fast to complete
Even beginners can confidently finish this project.
Final Thoughts
Learning how to crochet baby shoes with this very easy and practical pattern is a wonderful way to build your crochet skills. These shoes are quick to make, customizable, and perfect for gifting.
Once you’re comfortable with this design, you can experiment with:
- Ribbed cuffs
- Textured stitches
- Animal-themed designs
- Seasonal colors
- Matching baby hat sets
Crocheting baby shoes isn’t just crafting—it’s creating something handmade with love and care.
Now grab your yarn and hook and start stitching your adorable baby shoes today! 🧶👶