 by
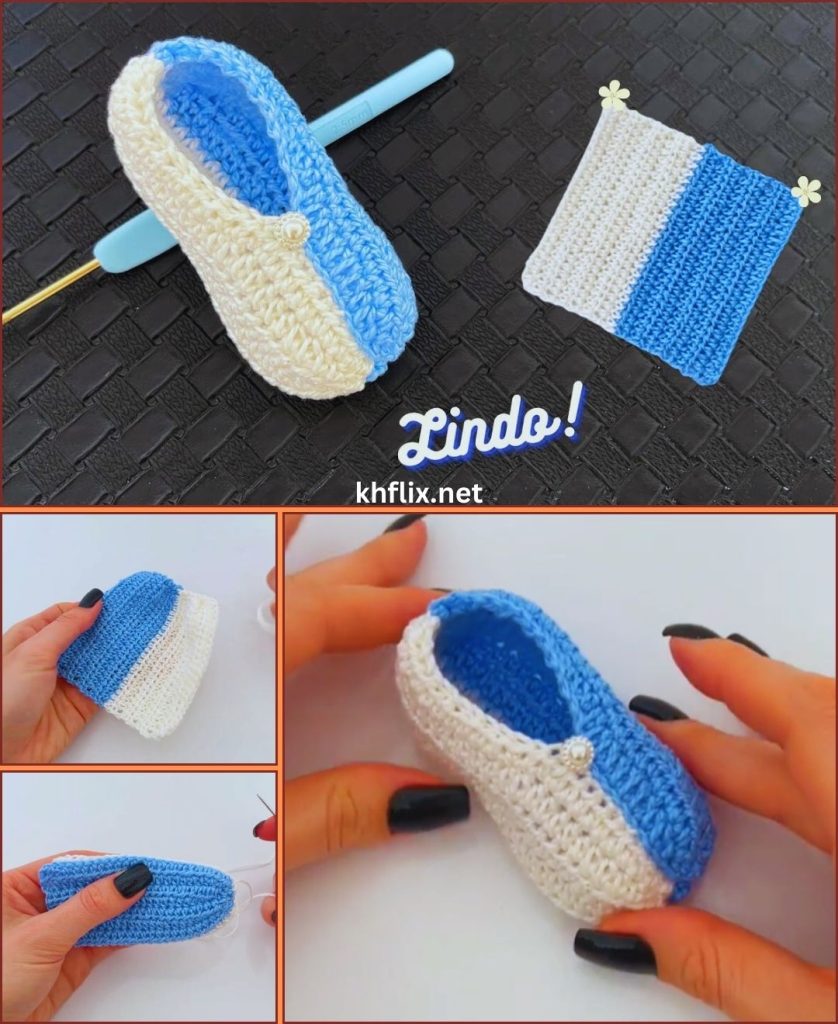
by Crocheting two-color baby shoes is a simple, beginner-friendly project that produces adorable, stylish, and functional footwear for babies. Adding a second color makes even the simplest design look more interesting and modern. With just basic crochet skills, you can create a pair of soft, comfortable shoes in a short time.
This long-form guide will take you through everything you need: materials, stitches, sizing, color-changing techniques, step-by-step construction, finishing touches, and creative variations.

1. Why Two-Color Baby Shoes?
Using two colors adds:
- Visual appeal – a simple shoe becomes more playful and charming
- Customization – mix and match colors to suit any baby wardrobe
- Easy differentiation – you can use one color for the sole and another for the upper
- Beginner-friendly design – still simple to make, no complicated stitches
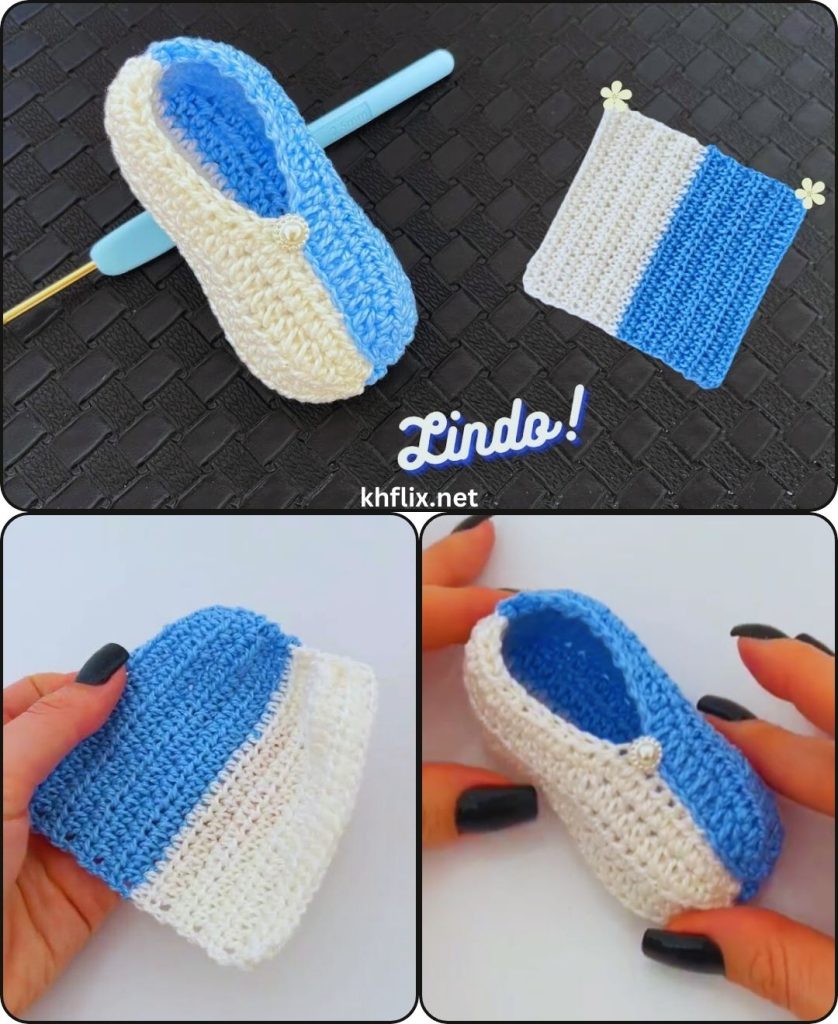
A two-color design can be stripes, contrasting top and bottom, or a decorative cuff, making your shoes look unique.
2. Materials Needed
Yarn
- Soft acrylic yarn – durable, washable, and gentle on baby skin
- Cotton yarn – breathable and soft, ideal for sensitive skin
- Bamboo yarn – silky, hypoallergenic, and eco-friendly
Colors: Two contrasting colors – for example, pink and white, blue and gray, or green and cream.
Weight: DK or light worsted yarn is ideal for baby shoes.
Crochet Hook
- Size 3.0 mm – 4.0 mm, depending on yarn thickness
- Smaller hooks create tight stitches for structured shoes
- Larger hooks create soft and flexible shoes
Additional Tools
- Yarn needle – for weaving in ends
- Scissors
- Stitch markers – optional
- Optional decorations – small bows, beads, or crochet flowers
3. Basic Crochet Stitches Required
Even beginners can make two-color baby shoes using only a few stitches:
- Slip knot – starting point
- Chain (ch) – foundation stitch
- Single crochet (sc) – tight, firm stitches
- Half double crochet (hdc) – optional for taller stitches
- Slip stitch (sl st) – joining rounds
- Increase (inc) – two stitches in one to widen the sole
- Decrease (dec) – combine 2 stitches to shape the toe
Tip: Only these stitches are needed to make a simple, quick pair of shoes.
4. Step 1: Measure the Baby’s Foot
Correct sizing ensures comfort:
| Age | Foot Length (approx.) |
|---|---|
| Newborn | 3.5 inches (9 cm) |
| 0–3 months | 3.75 inches (9.5 cm) |
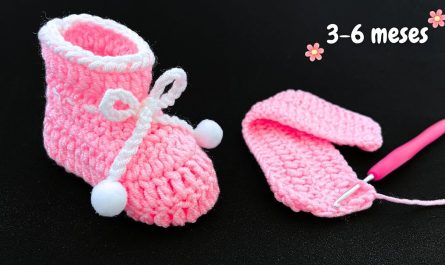
| 3–6 months | 4 inches (10 cm) |
| 6–12 months | 4.5 inches (11.5 cm) |
- Adjust the foundation chain according to the baby’s foot.
- Slightly larger soles are okay for comfort and growing feet.
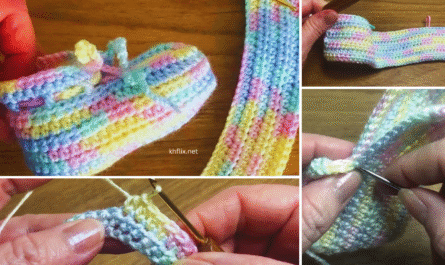
5. Step 2: Crochet the Sole
- Make a slip knot.
- Chain 12–15 stitches for newborn size (adjust for larger sizes).
- Work single crochet stitches along the chain.
- At the end, work 3 sc in the last chain to round the toe.
- Continue along the other side, rounding the heel with 3 sc.
- Join with a slip stitch to form the oval-shaped sole.
Tip: Keep stitches tight for durability and shape retention.
6. Step 3: Add the First Color to the Upper
- Attach your first color at the back of the sole.
- Chain 1 (for sc).
- Work single crochet stitches evenly around the top edge of the sole.
- This forms the base of the upper part of the shoe.
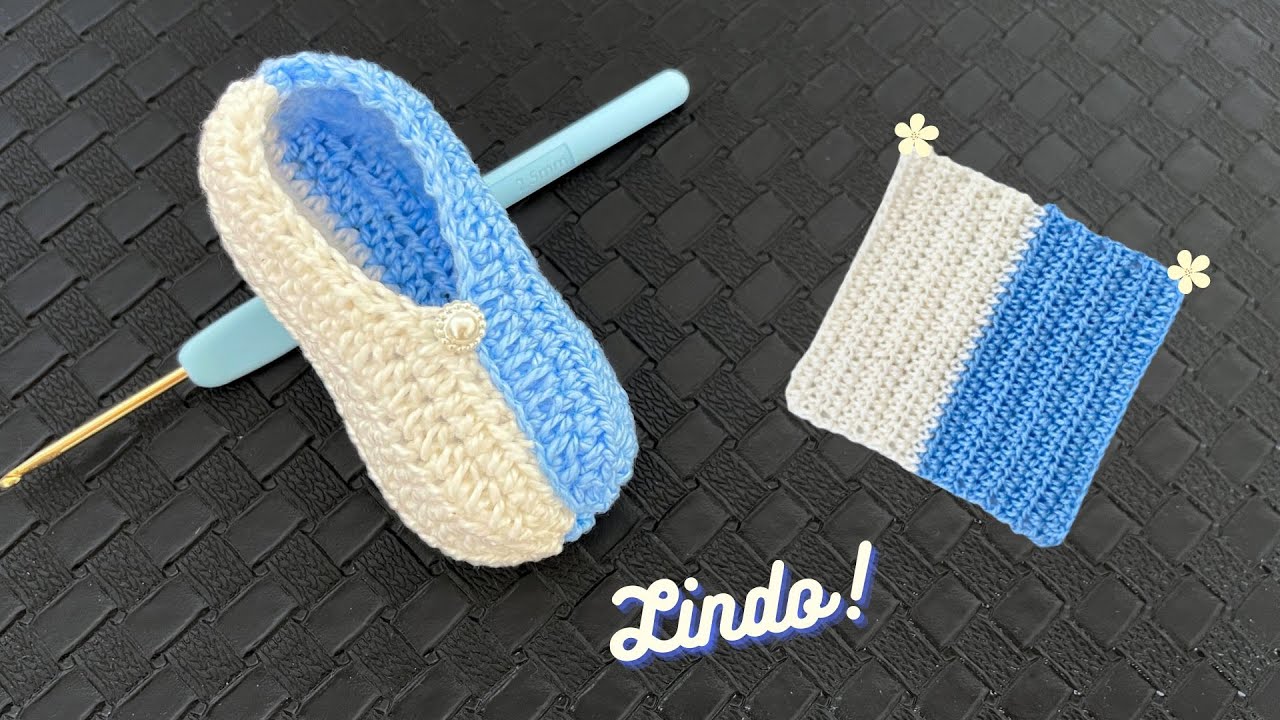
7. Step 4: Add the Second Color
Adding a second color creates the two-tone effect:
- At the end of a row, cut the first color, leaving a tail for weaving.
- Attach the second color at the beginning of the next row.
- Work single crochet stitches in the new color to complete the next row.
- Repeat for desired height – for example, you could make the sole one color and the upper another, or alternate rows for a striped effect.
Tip: Always change colors at the beginning of a new row for neat transitions.
8. Step 5: Shape the Upper
- Stop stitching at the toe area to leave an opening for the foot.
- Optional: Increase 1 stitch at the toe center for a rounded front.
- Continue stitching around the heel to form a simple upper.
The simple design allows the shoes to slip on easily.
9. Step 6: Add an Optional Cuff
For snug, comfortable shoes:
- Continue crocheting single crochet rows from the ankle edge.
- Work 3–5 rows, maintaining the two-color pattern if desired.
- Ensure even stitching for a smooth and polished finish.
This keeps the shoes secure on baby feet without buttons or straps.
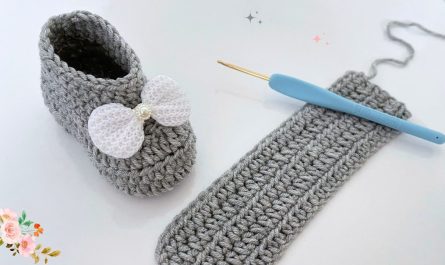
10. Step 7: Finish the Shoes
- Cut yarn and pull through the last loop.
- Use a yarn needle to weave in all ends, including color change tails.
- Shape the shoes gently with your hands.
- Optional: Add small decorations like bows, crochet flowers, or buttons for extra charm.
11. Step 8: Make the Second Shoe
- Repeat all steps for the second shoe.
- Ensure it mirrors the first shoe.
- Keep color placement identical for a matching pair.
Tip: Working both shoes simultaneously helps maintain consistency in stripe placement and size.
12. Design Variations for Two-Color Baby Shoes
- Two-color sole and upper – solid sole in one color, upper in a contrasting color.
- Two-tone stripes – alternate colors every row or every 2–3 rows.
- Cuff contrast – same base color, different color for cuff.
- Decorative top stripe – a single contrasting row across the toe.
- Color block shoes – divide shoe into different color blocks for modern look.
Even simple shoes become stylish with creative color placement.
13. Tips for Success
- Use soft, baby-friendly yarn for comfort.
- Keep tight stitches on the sole for structure.
- Check shoe size against baby foot measurements.
- Weave in yarn ends carefully for a clean finish.
- Shape shoes gently after finishing for smooth edges.
14. Benefits of Two-Color Baby Shoes
- Quick and easy project for beginners
- Soft, comfortable, and safe for babies
- Stylish and visually appealing
- Easy to customize with colors, stripes, or decorations
- Perfect for gifts, baby showers, or everyday wear
15. Care Instructions
- Hand wash or machine wash gently in cold water
- Air dry to maintain shape
- Avoid bleach or harsh detergents
- Reshape gently after washing
16. Conclusion
Crocheting easy and quick two-color baby shoes is a fun and practical project. By combining two colors, even a simple design becomes eye-catching and modern. Using basic stitches, you can make soft, slip-on shoes perfect for newborns and infants.
With optional cuffs, stripes, or decorations, beginners can produce adorable, unique shoes quickly. Two-color baby shoes are perfect gifts, easy to wear, and a memorable handmade keepsake. 👶🧶
I can also create a step-by-step visual guide showing how to make these two-color shoes, including the sole, upper, color change, and finishing, which is ideal for beginners.
Do you want me to make that visual guide?