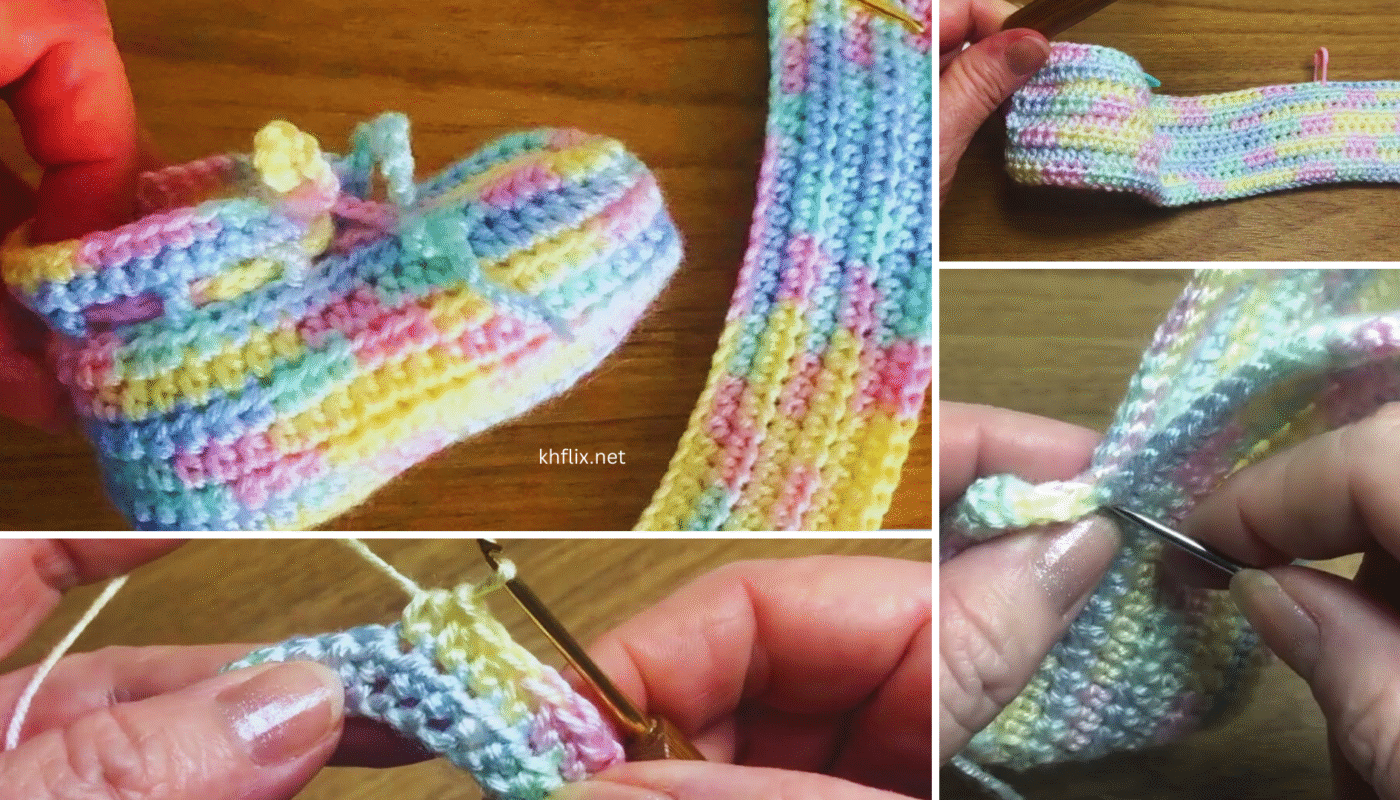
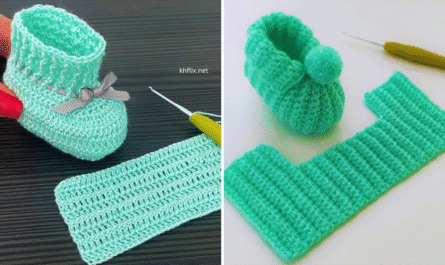
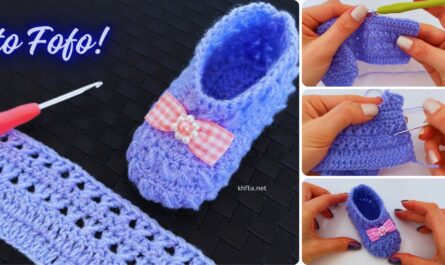
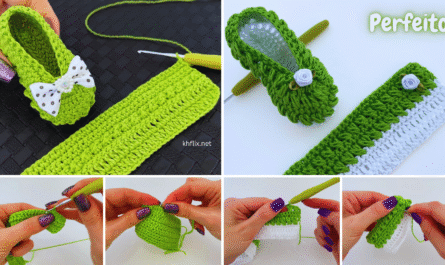
Absolutely! Here’s a detailed step-by-step tutorial on How to Crochet Charming Baby Slippers — a perfect project for beginners or intermediate crocheters looking to create something soft, sweet, and functional for a little one.

🧦How to Crochet Charming Baby Slippers – Step-by-Step Tutorial
These cozy and adorable baby booties are a beautiful handmade gift for a baby shower, birthday, or newborn arrival. The design is simple and classic with a little charm added through color and optional embellishments (like buttons, bows, or flowers).
🧶 Materials Needed:
| Item | Description |
|---|---|
| Yarn | Soft baby-weight yarn (Light or DK #3 weight) – cotton or acrylic blend |
| Hook | 3.5 mm or 4.0 mm crochet hook (check yarn label) |
| Scissors | For trimming yarn |
| Tapestry Needle | To weave in ends |
| Optional | Buttons, ribbon, or appliqués for decoration |
📏 Finished Size:
- Newborn to 3 months: Approx. 3.5″ (9 cm) long
- You can size up by using a larger hook or thicker yarn
🧵 Crochet Abbreviations (US Terms)
| Abbreviation | Meaning |
|---|---|
| CH | Chain |
| SL ST | Slip Stitch |
| SC | Single Crochet |
| HDC | Half Double Crochet |
| DC | Double Crochet |
| INC | Increase (2 stitches in 1 stitch) |
| DEC | Decrease (crochet 2 stitches together) |
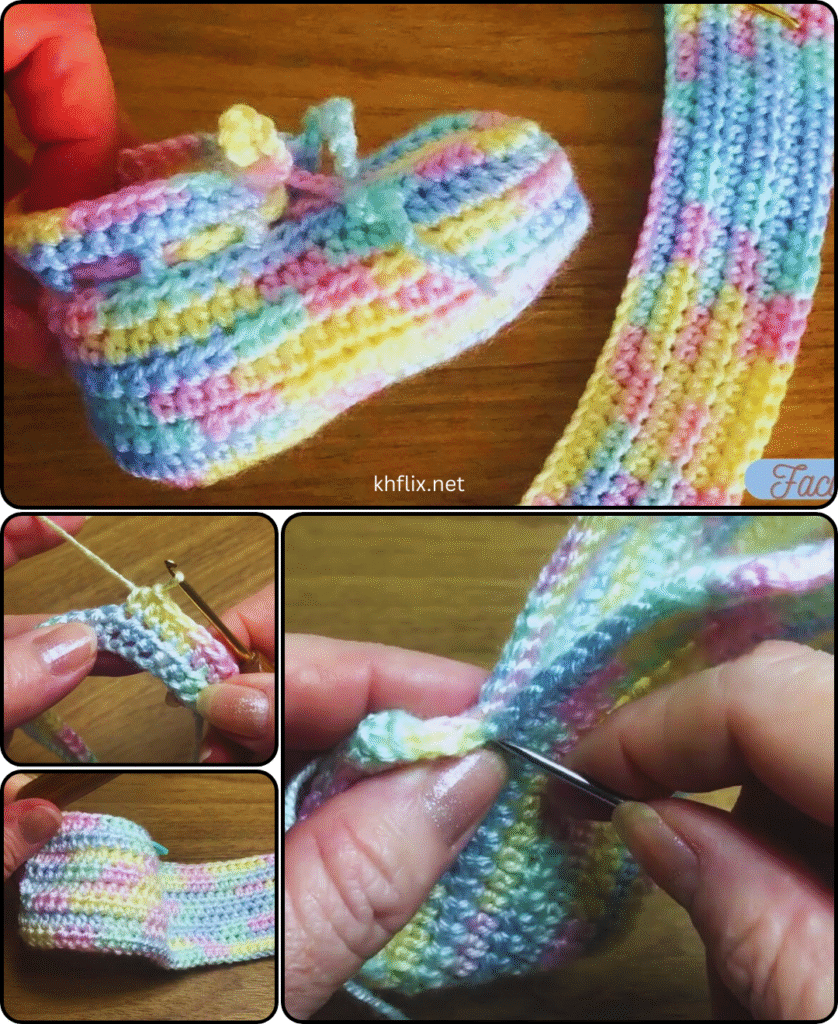
👣 Pattern Overview
This pattern is made in two parts:
- The Sole – Worked in rounds
- The Upper – Shaped around the sole with decreases
✨ Step-by-Step Instructions
🧼 Part 1: Making the Sole
Round 1:
- CH 10 (this will be the base length)
- HDC in 2nd CH from hook, HDC in next 7 stitches, 5 HDC in last chain
- Continue on the opposite side: HDC in next 7 stitches, 2 HDC in last CH
- SL ST to first HDC to join
👉 Total: 22 stitches
Round 2:
- CH 1, HDC in same stitch
- HDC in next 7 stitches, INC in next 5 stitches (at toe curve)
- HDC in next 7 stitches, INC in last 2 stitches (at heel)
- SL ST to join
👉 Total: 29 stitches
Round 3:
- CH 1, HDC in same stitch
- HDC in next 9, (HDC, INC) across next 5 stitches
- HDC in next 9, (HDC, INC) in last 2
- SL ST to join
👉 Total: 36 stitches
📝 Sole is done. You can fasten off or continue directly into the upper.
🧦 Part 2: Upper of the Slipper
Round 4 (Start Upper Sides):
- CH 1, working in back loops only – SC around
- SL ST to join
👉 This creates a ridge where the upper meets the sole
Round 5:
- CH 1, SC in each stitch around
- SL ST to join
👉 Optional: Use a contrasting color here for a cute trim
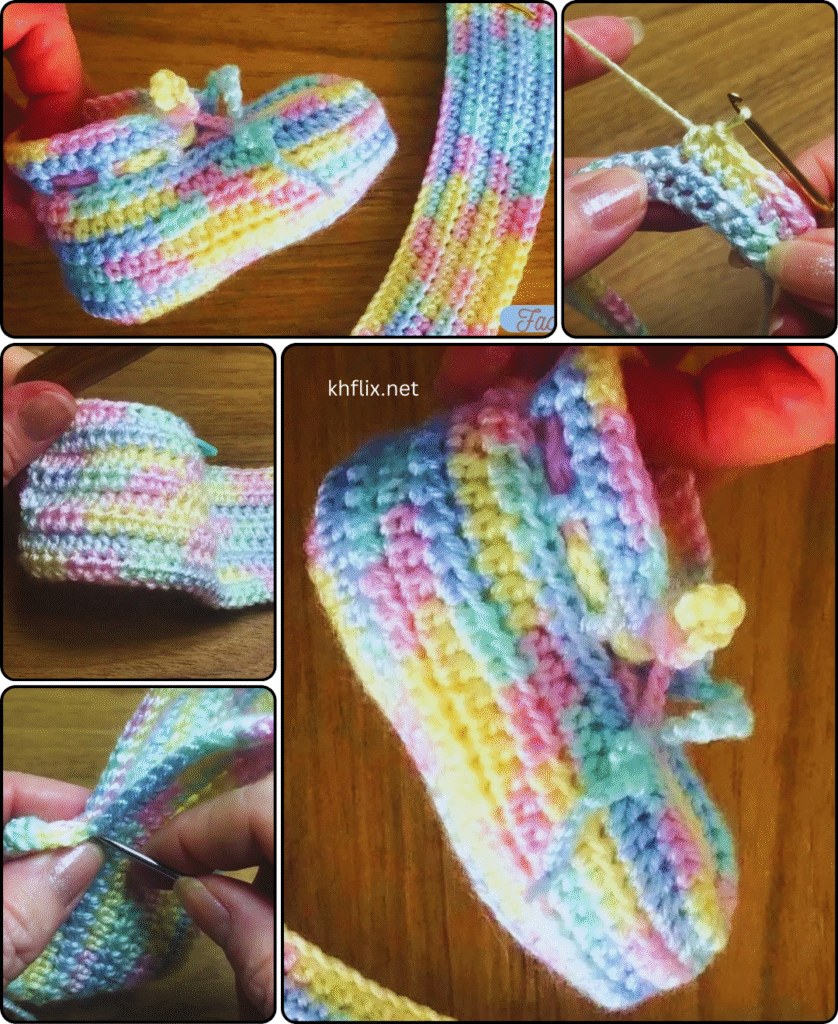
👣 Round 6 (Toe Shaping):
- CH 1, SC in next 11
- (SC2TOG) 7 times (this narrows the toe)
- SC in remaining stitches
- SL ST to join
🧢 Round 7: Final Row
- CH 1, SC around (no decreases)
- SL ST, fasten off and weave in ends
🎀 Optional Embellishments
- Sew a button on the outer side
- Crochet a bow or flower and attach to the toe
- Add a strap: CH 12, attach on both sides over the foot with a button closure
🪡 Finishing Tips
- Weave in all yarn ends securely
- Lightly steam block or shape with your hands
- Always check that any decorations (buttons, bows) are safely attached and pose no choking hazard
🧸 Care Instructions
- Use soft, washable yarn
- Hand wash or gentle cycle recommended
- Lay flat to dry
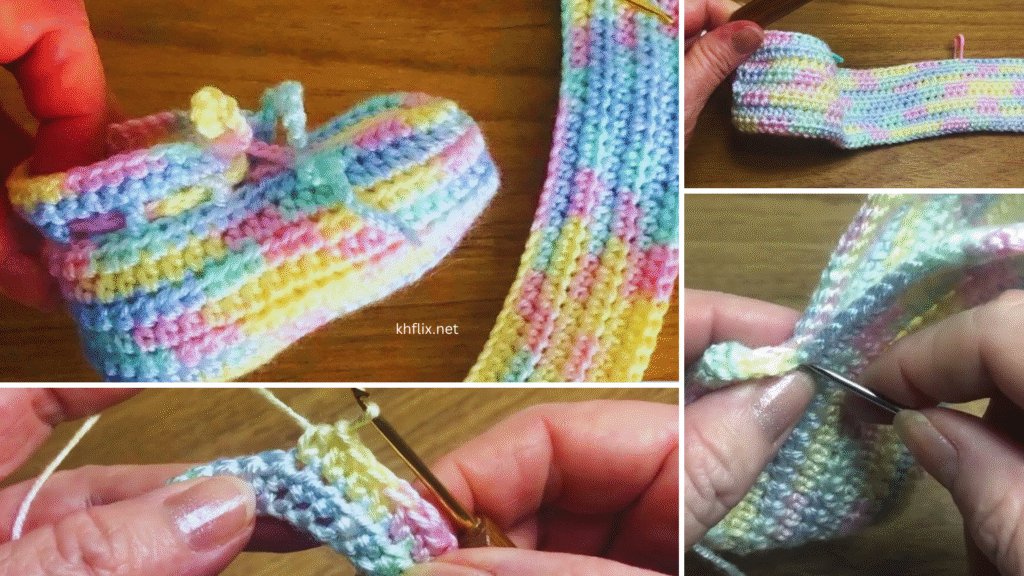
💡 Sizing Adjustments
To size up or down:
- Add or reduce the number of beginning chains in the sole
- Use a larger or smaller hook
- Use thicker or thinner yarn
📎 Use Ideas
- Baby shower gift
- Newborn photography prop
- Keepsake item
- Part of a handmade baby set (match with a hat or blanket!)
Would you like:
- A printable PDF?
- A photo tutorial?
- Or a matching baby hat pattern to complete the set?
Let me know and I can create that for you too!

