 by
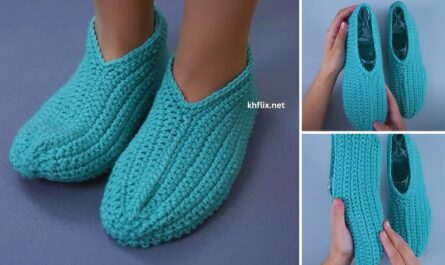
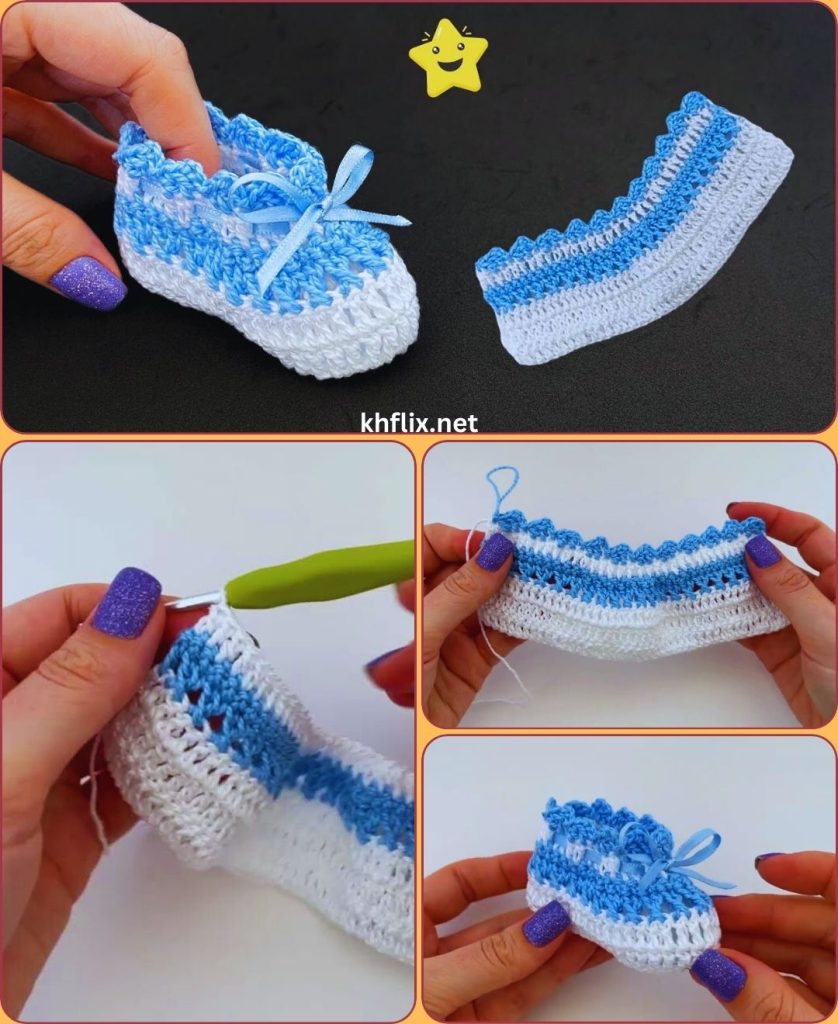
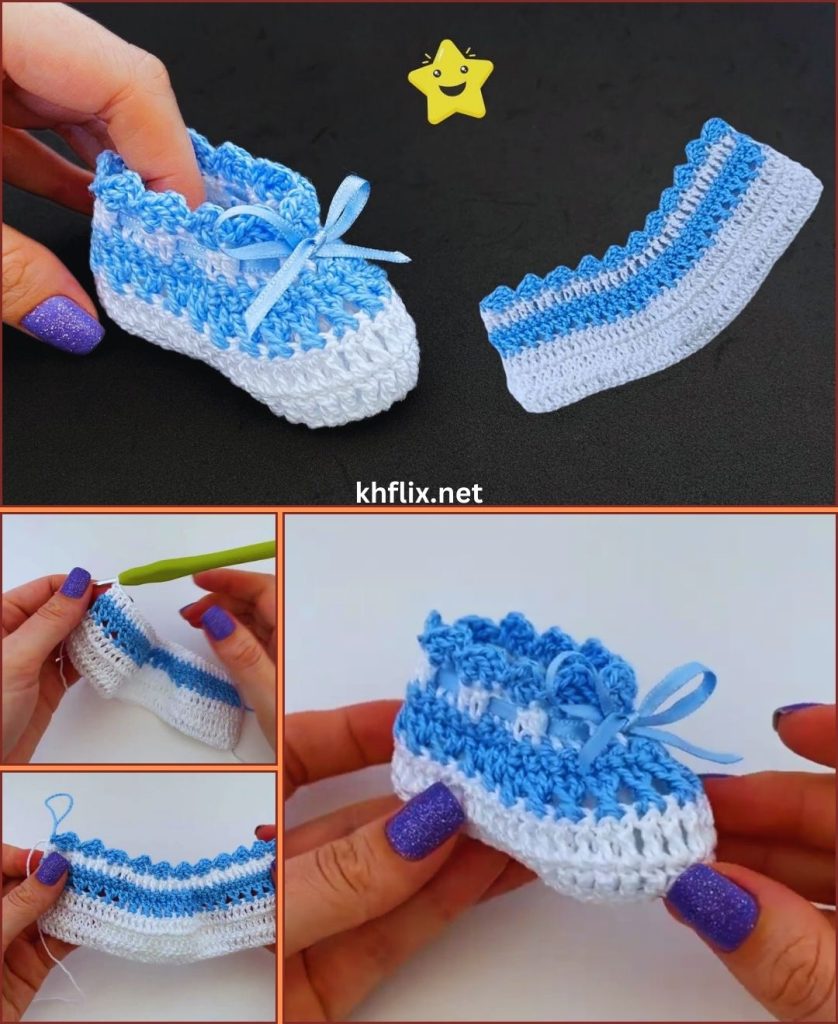
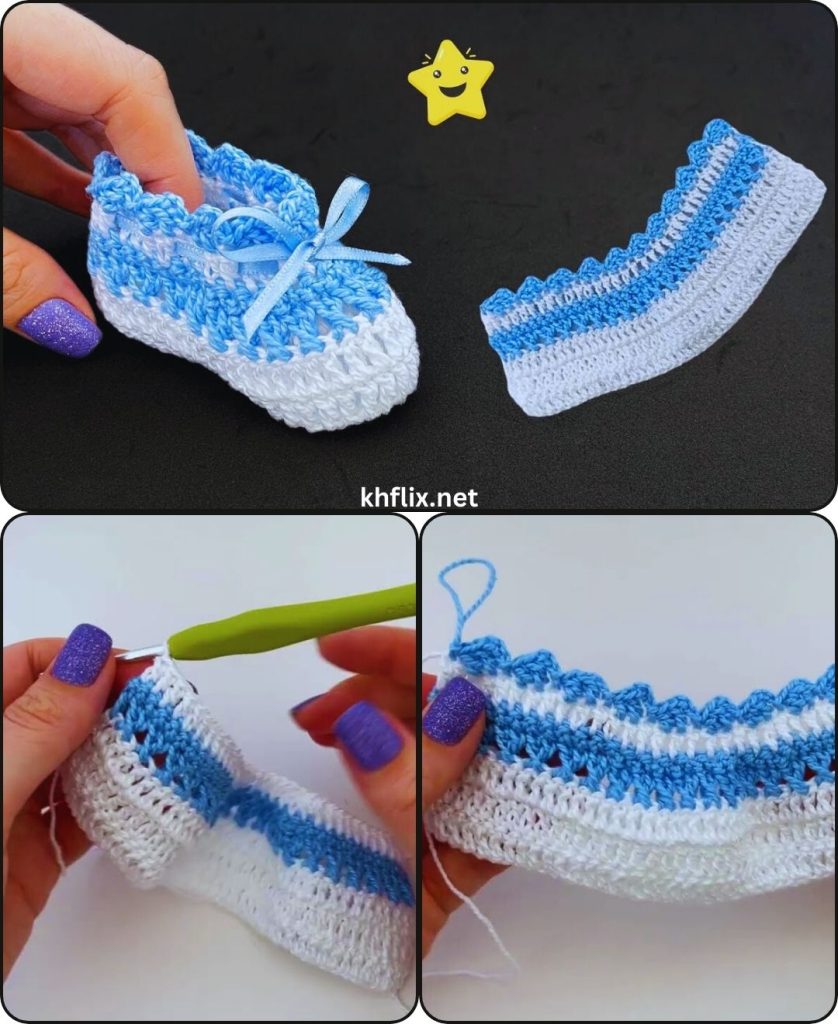
by Crocheting two-color baby shoes is a wonderful project for beginners and experienced crocheters alike. These shoes are soft, comfortable, and adorable, making them perfect for newborns, infants, and baby shower gifts. By using two colors, you can create a stylish design that looks beautiful while still being simple and quick to make.
This detailed guide explains how to crochet easy and quick two-color baby shoes step by step, including the materials needed, basic crochet stitches, sizing, construction process, and finishing touches.
1. Why Choose Two-Color Crochet Baby Shoes?
Two-color crochet shoes are popular because they:
- Look more decorative and stylish than single-color shoes
- Allow creative color combinations
- Highlight different parts of the shoe such as the sole, upper, and cuff
- Are still easy and beginner-friendly
You can use two colors in many ways:
- One color for the sole and another for the upper
- Alternating striped rows
- A contrasting cuff or edge
2. Materials Needed
Before starting your crochet project, gather the following materials.
Yarn
Choose soft yarn suitable for babies:
- Cotton yarn – breathable and gentle on skin
- Acrylic baby yarn – soft and durable
- Bamboo yarn – silky and eco-friendly
Yarn weight: DK or light worsted yarn works best.
Colors: Two colors of your choice. Popular combinations include:
- White and pink
- Blue and gray
- Yellow and cream
- Mint and beige
Crochet Hook
Use a hook size appropriate for your yarn:
- 3.0 mm – 4.0 mm crochet hook
Smaller hooks create tighter stitches that help the shoes maintain shape.
Additional Tools
You will also need:
- Yarn needle – for weaving in ends
- Scissors
- Stitch markers (optional)
- Decorative items such as small bows or crochet flowers (optional)
3. Basic Crochet Stitches Required
This project uses simple stitches suitable for beginners:
- Slip Knot – starting the project
- Chain (ch) – foundation stitches
- Single Crochet (sc) – tight and sturdy stitches
- Half Double Crochet (hdc) – optional for slightly taller stitches
- Slip Stitch (sl st) – joining rounds
- Increase (inc) – two stitches in one to widen the sole
- Decrease (dec) – two stitches together to shape the toe
4. Step 1: Determine the Shoe Size
Baby shoes are usually sized based on foot length.
| Age | Foot Length |
|---|---|
| Newborn | about 9 cm (3.5 inches) |
| 0–3 months | about 9.5 cm |
| 3–6 months | about 10 cm |
| 6–12 months | about 11.5 cm |
Adjust the foundation chain according to the desired size.
5. Step 2: Crochet the Sole
The sole forms the base of the baby shoe.
- Start with a slip knot.
- Chain 12–15 stitches depending on the shoe size.
- Work single crochet stitches along the chain.
- At the end of the chain, crochet 3 single crochets in the last stitch to round the toe.
- Continue crocheting along the other side of the chain.
- Crochet 3 single crochets at the heel end to round the heel.
- Join with a slip stitch to form an oval-shaped sole.
Tip: Keep the stitches tight so the sole remains sturdy.
6. Step 3: Crochet the First Row of the Upper
Attach Color A to begin the upper part of the shoe.
- Insert your hook at the back of the sole.
- Chain 1.
- Work single crochet stitches evenly around the sole.
- Join the round with a slip stitch.
This row forms the base of the shoe’s upper section.
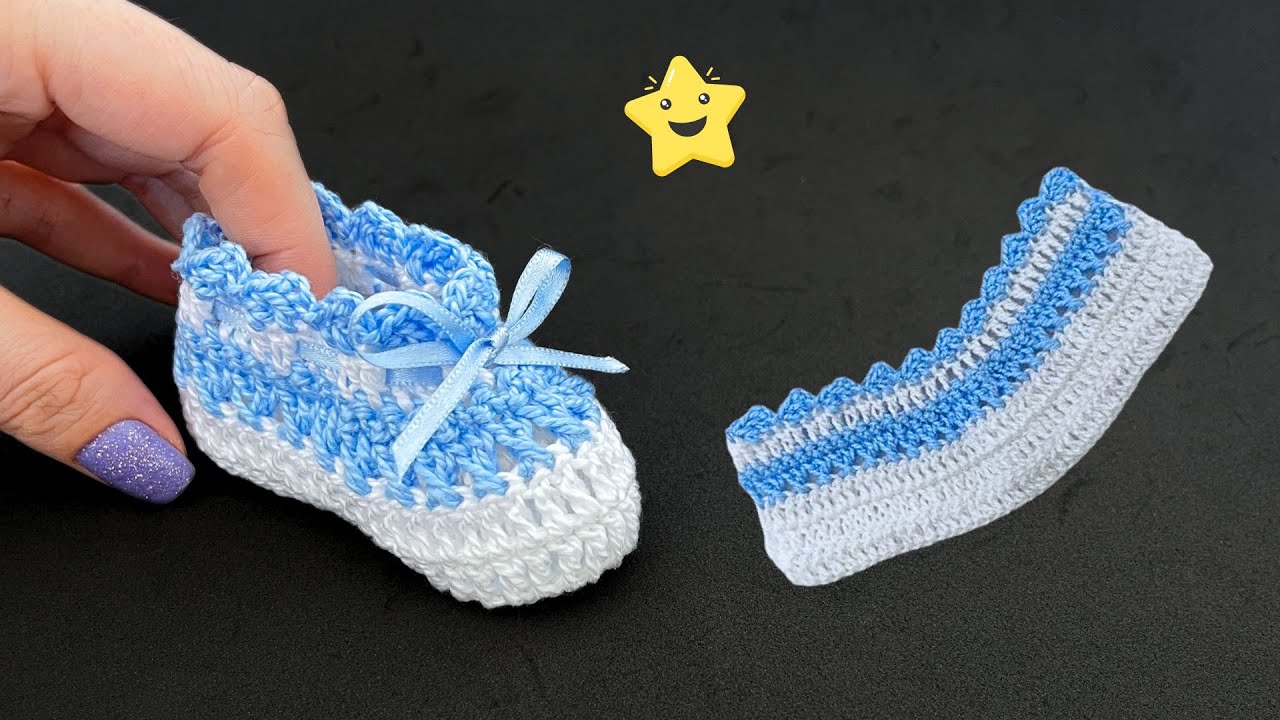
7. Step 4: Change to the Second Color
Now add Color B to create the two-color design.
- At the start of the next round, cut Color A leaving a short tail.
- Attach Color B to the first stitch.
- Chain 1 and work single crochet stitches around the shoe.
You can continue alternating colors every row if you want a striped pattern.
Tip: Changing colors at the beginning of a row makes the stripes look cleaner.
8. Step 5: Shape the Toe Area
To form the shape of the shoe:
- Work decrease stitches (sc2tog) across the front of the shoe.
- This reduces the number of stitches and curves the toe area.
- Continue crocheting around the heel and sides.
Repeat decreases until the front looks slightly rounded.
9. Step 6: Crochet the Cuff
The cuff helps the shoe stay on the baby’s foot.
- Continue crocheting upward from the ankle edge.
- Work 3–5 rows of single crochet or half double crochet stitches.
- Alternate colors if you want the cuff to have stripes.
The cuff can be short or tall depending on your preference.
10. Step 7: Finishing the Shoe
To finish the shoe:
- Cut the yarn leaving a tail.
- Pull the yarn through the final loop to secure it.
- Use a yarn needle to weave in all loose ends.
- Shape the shoe gently with your hands.
Optional decorations include:
- Crochet flowers
- Small bows
- Buttons
- Decorative edging
11. Step 8: Make the Second Shoe
Repeat all steps to crochet the second shoe.
Ensure:
- The color placement is identical
- The number of rows matches
- The shape is the same
Working both shoes side by side can help maintain consistency.
12. Creative Two-Color Design Ideas
You can experiment with different styles:
1. Two-Tone Shoes
Use one color for the sole and another for the upper.
2. Striped Shoes
Alternate colors every row for a fun striped look.
3. Contrast Cuff
Use one color for the shoe and another for the cuff.
4. Decorative Edging
Add a contrasting color around the opening of the shoe.
5. Color Block Design
Divide the shoe into different colored sections.
13. Tips for Beginners
- Use soft baby yarn to avoid skin irritation.
- Keep the sole stitches tight for durability.
- Practice color changing techniques for neat stripes.
- Use stitch markers to track rows if needed.
- Always weave in yarn ends securely.
14. Benefits of Crocheting Baby Shoes
Crochet baby shoes offer many advantages:
- Handmade and personalized gifts
- Soft and comfortable for babies
- Quick and satisfying crochet project
- Allows creative color combinations
- Eco-friendly and reusable
They are also excellent projects for practicing crochet skills.
15. Care Instructions
To keep crochet baby shoes in good condition:
- Wash gently by hand or on a delicate machine cycle
- Use mild detergent
- Air dry to maintain shape
- Avoid harsh chemicals or bleach
16. Conclusion
Crocheting easy and quick two-color baby shoes is a simple yet rewarding project. By combining two colors, even a basic pattern becomes stylish and eye-catching. With just a few basic stitches and simple steps—creating the sole, forming the upper, shaping the toe, and adding a cuff—you can make soft, comfortable shoes perfect for newborns and infants.
Whether you are making them for your own baby or as a thoughtful handmade gift, these two-color crochet baby shoes are beautiful, practical, and fun to create. 🧶👶✨