 by
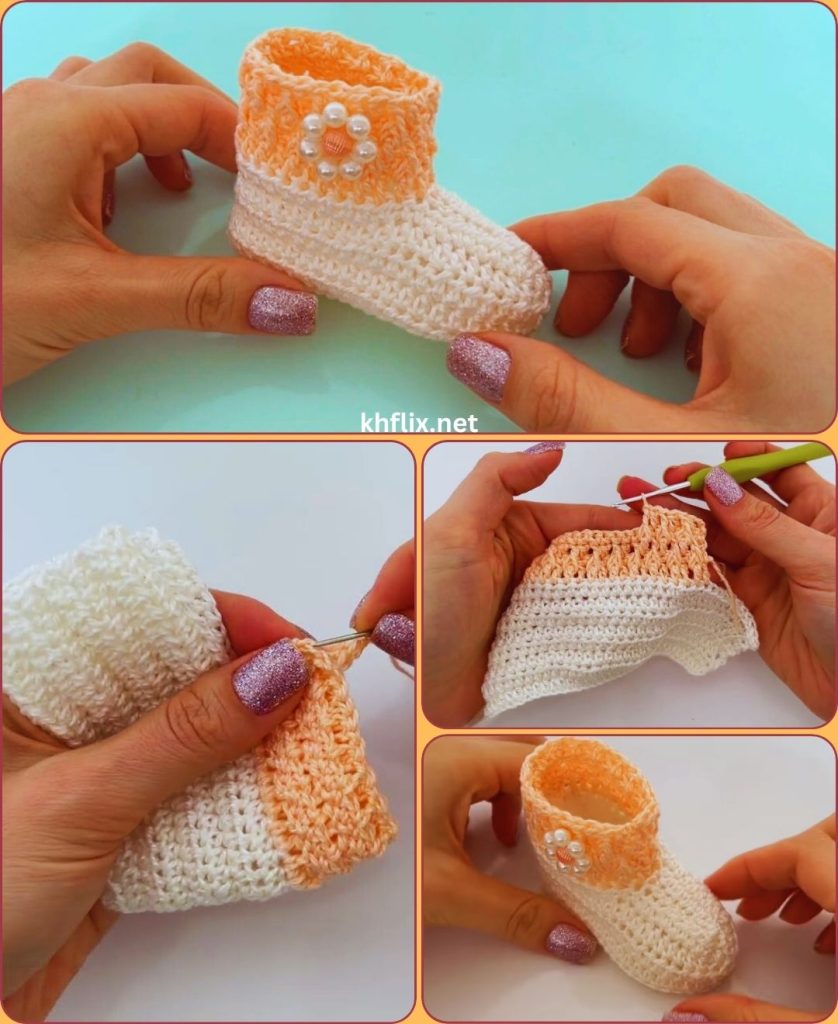
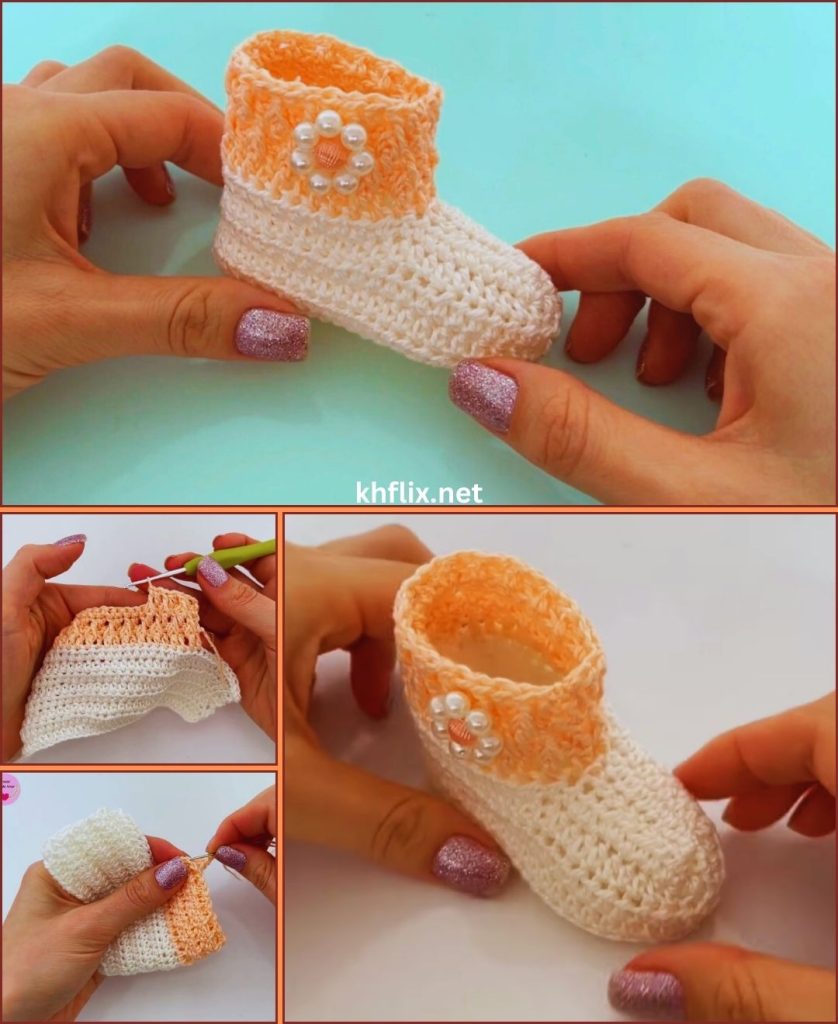
by Crocheting baby shoes is one of the most rewarding projects in the world of crochet. These tiny, adorable shoes are quick to make, require only a small amount of yarn, and allow crocheters to practice important techniques such as shaping, increasing, and decreasing stitches. Whether you are a beginner learning crochet for the first time or an experienced crafter looking to perfect your skills, mastering crochet baby shoes is a wonderful achievement.
Perfect crochet baby shoes are not only cute but also comfortable, durable, and well-shaped. With the right materials, proper stitch techniques, and careful attention to detail, you can create beautiful handmade baby shoes that look professional and feel soft on a baby’s delicate feet.
This detailed guide will teach you how to perfect crochet baby shoes step by step, including tools, stitches, sizing, shaping techniques, finishing tips, and expert advice to improve your crochet skills.
1. Why Crochet Baby Shoes?
Crocheting baby shoes has become very popular among crochet enthusiasts for several reasons.
Quick Project
Unlike large crochet projects such as blankets or sweaters, baby shoes can often be completed within one or two hours. This makes them perfect for quick crafting sessions.
Beginner-Friendly
Most baby shoe patterns use simple stitches such as:
- Chain stitch
- Single crochet
- Half double crochet
- Slip stitch
These stitches are easy to learn and perfect for beginners.
Perfect Handmade Gift
Handmade baby shoes are thoughtful and meaningful gifts for:
- Baby showers
- Newborn babies
- Family members and friends
Parents often appreciate handmade items because they show care and effort.
Endless Creativity
Once you learn the basic pattern, you can customize baby shoes in many ways:
- Different yarn colors
- Striped designs
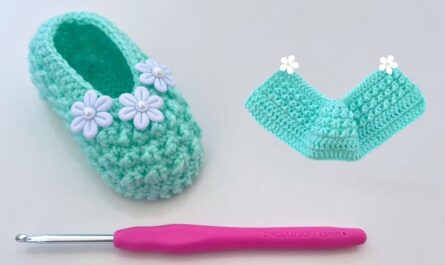
- Decorative bows or flowers
- Buttons and straps
2. Materials Needed for Crochet Baby Shoes
Before you start crocheting, gather the necessary materials.
Yarn
Choosing the right yarn is very important for baby projects. Babies have sensitive skin, so soft yarn is essential.
Recommended yarn types include:
- Baby acrylic yarn
- Cotton yarn
- Bamboo yarn
- Soft wool blends
Avoid rough or scratchy yarn.
Amount needed:
Approximately 30–50 grams of yarn for one pair of baby shoes.
Crochet Hook
Most baby shoe patterns use:
3.5 mm to 4 mm crochet hook
The hook size may vary depending on the yarn thickness.
Other Tools
Additional tools help make the project easier.
You may need:
- Yarn needle for weaving ends
- Scissors
- Stitch markers
- Measuring tape
These tools help maintain accuracy and neat finishing.
3. Basic Crochet Stitches You Must Know
To crochet baby shoes perfectly, you should understand the following stitches.
Chain Stitch (ch)
The chain stitch forms the starting foundation for most crochet patterns.
Slip Stitch (sl st)
Slip stitches are used to join rounds and create clean finishing edges.
Single Crochet (sc)
Single crochet produces a tight and strong fabric, which is perfect for shoe soles.
Half Double Crochet (hdc)
Half double crochet is slightly taller than single crochet and works well for the sides of the shoe.
Half Double Crochet Two Together (hdc2tog)
This stitch decreases two stitches into one, helping shape the toe area.
4. Understanding Baby Shoe Sizes
Baby feet grow quickly, so accurate sizing is important.
Below is a simple baby shoe size guide.
| Baby Age | Sole Length |
|---|---|
| 0–3 months | 9 cm / 3.5 inches |
| 3–6 months | 10 cm / 4 inches |
| 6–12 months | 11–11.5 cm / 4.3–4.5 inches |
You can adjust the size by:
- Increasing chain stitches
- Adding extra rounds
- Using a larger crochet hook
5. Step 1: Creating the Sole
The sole is the base of the baby shoe and should be strong and evenly shaped.
Round 1
- Chain 10 stitches.
- Make 2 single crochet in the second chain from the hook.
- Single crochet in the next 7 stitches.
- Make 5 single crochet in the last stitch to form a curve.
- Continue crocheting along the opposite side of the chain.
- Single crochet in the next 7 stitches.
- Make 3 single crochet in the final stitch.
- Join with a slip stitch.
This creates an oval-shaped sole.
Round 2
- Chain 1.
- Make 2 single crochet in each of the next 2 stitches.
- Single crochet in the next 7 stitches.
- Make 2 single crochet in each of the next 5 stitches.
- Single crochet in the next 7 stitches.
- Make 2 single crochet in each of the last 3 stitches.
- Join with slip stitch.
The sole will widen and become more defined.
Round 3
- Chain 1.
- Single crochet in each stitch around.
- Join with slip stitch.
The sole should now be smooth and symmetrical.
6. Step 2: Building the Shoe Walls
Next, you will build the sides of the shoe.
Round 4
- Chain 1.
- Work single crochet in the back loop only around the entire sole.
- Join with slip stitch.
This step creates a ridge that separates the sole from the upper shoe.
7. Step 3: Creating the Shoe Body
Now you will build the body of the shoe.
Round 5
- Chain 1.
- Work half double crochet in each stitch around.
- Join with slip stitch.
Round 6
- Chain 1.
- Half double crochet around again.
- Join with slip stitch.
The shoe should now resemble a small slipper.
8. Step 4: Shaping the Toe
Shaping the toe is an important step for achieving a professional look.
Round 7
- Chain 1.
- Half double crochet in the first 10 stitches.
- Work hdc2tog across the next 8 stitches.
- Half double crochet in remaining stitches.
- Join with slip stitch.
Round 8
- Chain 1.
- Half double crochet in the first 8 stitches.
- Work hdc2tog across the next 6 stitches.
- Half double crochet in remaining stitches.
- Join with slip stitch.
The toe should now appear rounded and slightly closed.
9. Step 5: Finishing the Top Edge
The top edge provides a clean and polished finish.
Round 9
- Chain 1.
- Work single crochet evenly around the opening.
- Join with slip stitch.
Optional decorative edges include:
- Picot stitch
- Shell stitch
- Crab stitch
These techniques add decorative detail.

10. Step 6: Fasten Off and Weave in Ends
To complete the baby shoe:
- Cut yarn leaving a 10 cm tail.
- Pull the yarn through the final loop to secure it.
- Use a yarn needle to weave loose ends inside the shoe.
This ensures a neat and professional finish.
11. Making the Second Shoe
Repeat the entire process to make the second shoe.
To ensure both shoes match:
- Count stitches carefully
- Maintain consistent tension
- Follow the same pattern steps
12. Tips to Perfect Crochet Baby Shoes
Here are some expert tips to improve your crochet results.
Maintain Even Tension
Consistent yarn tension ensures both shoes are the same size.
Use Stitch Markers
Stitch markers help you track the beginning of each round.
Count Stitches Frequently
Counting stitches prevents mistakes and keeps the shoe symmetrical.
Choose Soft Yarn
Always use yarn that feels gentle and comfortable for babies.
13. Common Mistakes to Avoid
Uneven Stitch Tension
This can cause one shoe to appear larger than the other.
Skipping Stitches
Missing stitches can distort the shape.
Using the Wrong Hook Size
A hook that is too large may create loose fabric.
14. Washing and Caring for Crochet Baby Shoes
Handmade baby shoes should be cleaned gently.
Recommended care instructions:
- Hand wash with mild detergent
- Use cold or lukewarm water
- Lay flat to dry
- Avoid machine dryers
This helps preserve the shape and softness.
15. Creative Ideas for Baby Shoe Designs
Once you master the basic pattern, you can try many creative variations.
Examples include:
- Striped baby shoes
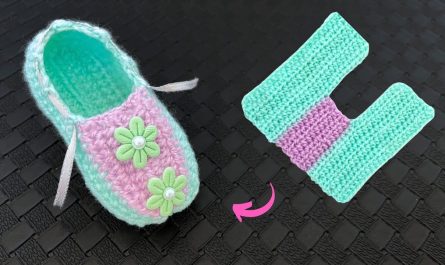
- Two-color designs
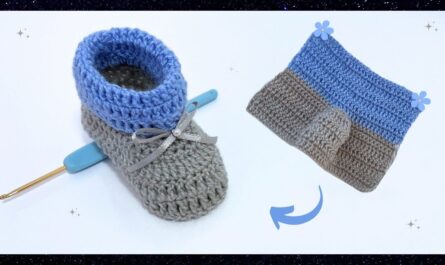
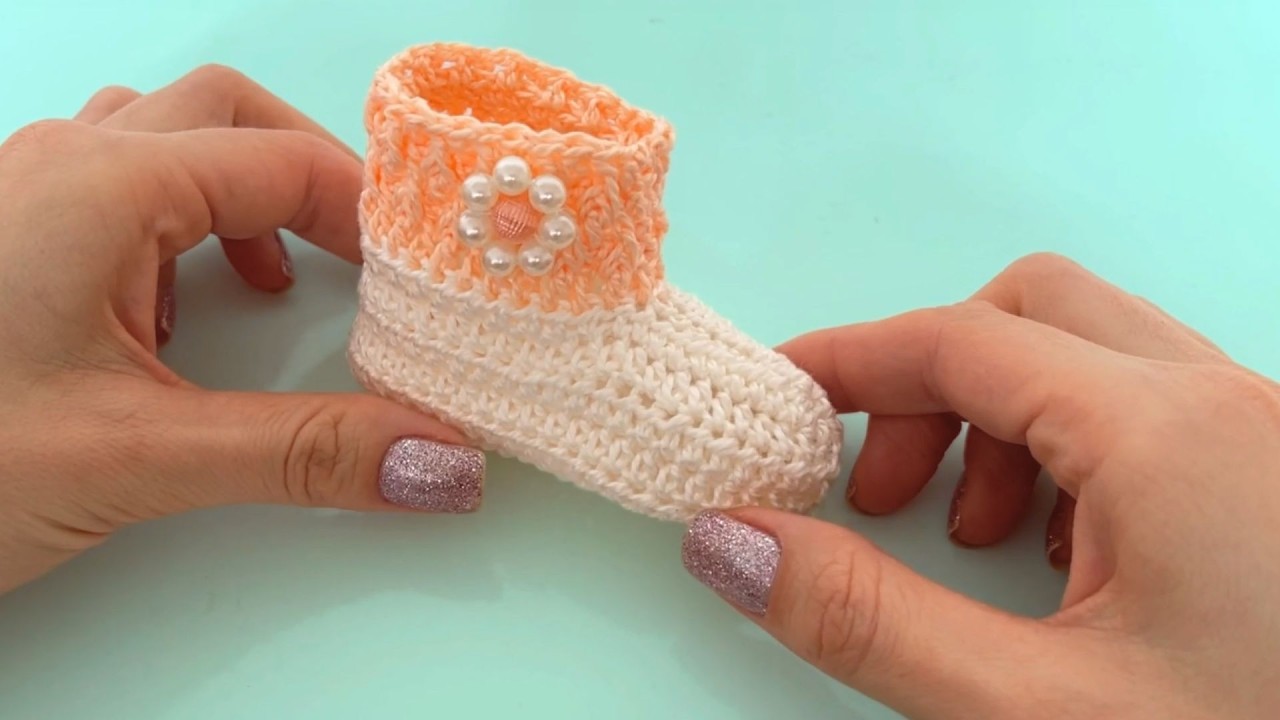
- Baby booties with cuffs
- Mary Jane style baby shoes
- Animal-themed baby shoes
Adding small details like bows, flowers, or buttons can make the shoes even more adorable.
Conclusion
Learning how to perfect crochet baby shoes step by step is a valuable skill for any crochet enthusiast. With basic stitches, a small amount of yarn, and careful attention to detail, you can create beautiful handmade baby shoes that are comfortable, stylish, and unique.
As you practice this pattern, your crochet skills will continue to improve. Over time, you will be able to experiment with more complex designs, decorative elements, and different yarn textures.
Crocheting baby shoes is not just a craft—it is a creative and meaningful way to produce handmade items filled with care and love.