 by
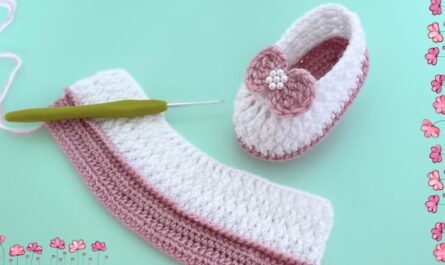
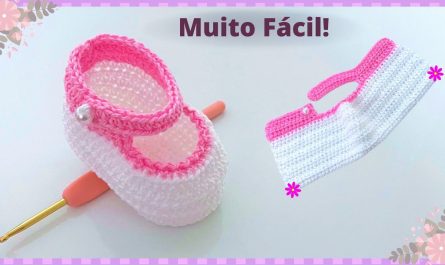
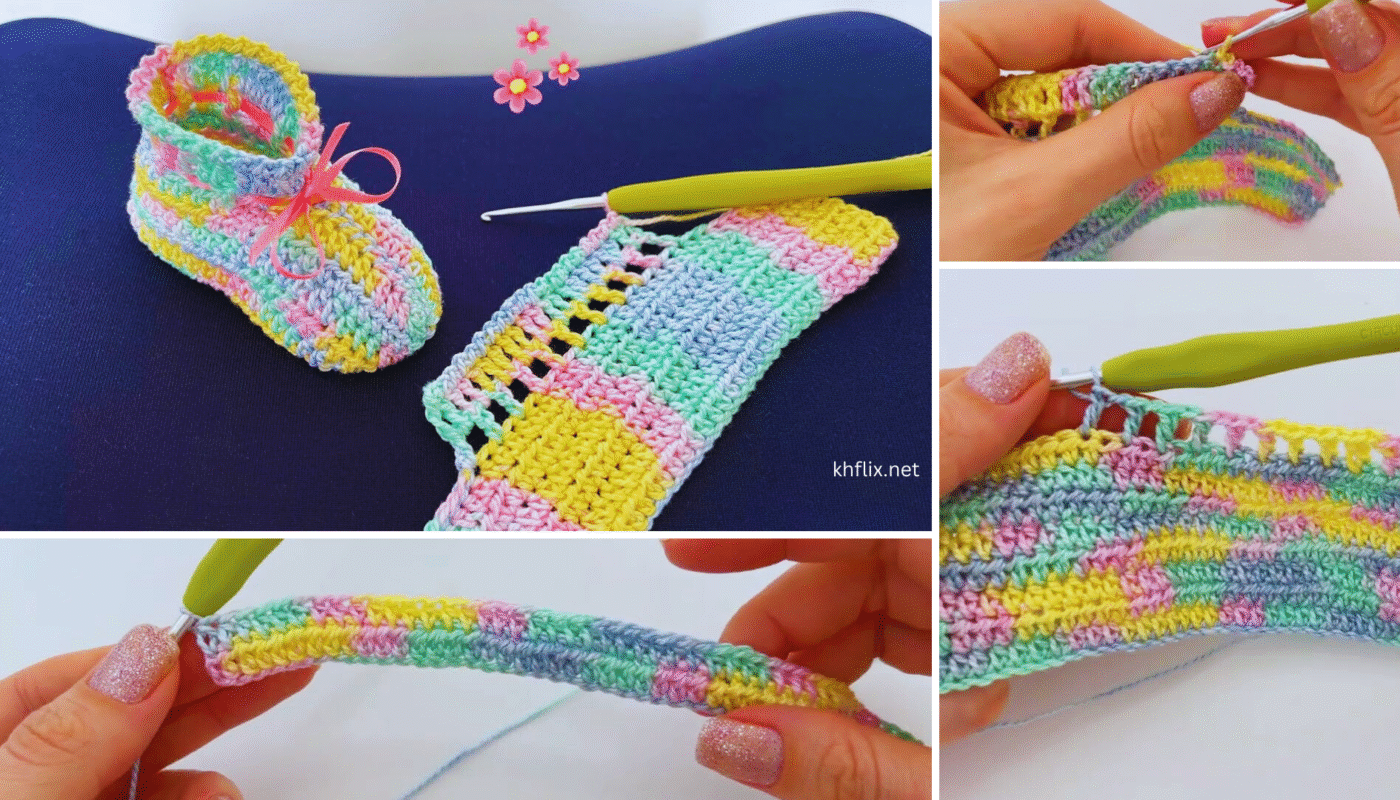
by Absolutely! Here’s a detailed, beginner-friendly tutorial on how to crochet beautiful and easy baby shoes (booties). This is a perfect project for baby showers, newborn gifts, or just to dress up a little one in something handmade with love.
👶 How to Crochet Beautiful & Easy Baby Shoes – Step by Step
Crocheted baby shoes are quick to make, adorable to gift, and a lovely keepsake. This easy pattern uses basic stitches, and you can customize it with colors, buttons, or even flowers.
🧶 Materials You’ll Need
| Item | Description |
|---|---|
| Yarn | Soft baby yarn or light worsted/DK (cotton or acrylic) |
| Hook | 3.5 mm or 4 mm crochet hook (E or G) |
| Scissors | For trimming yarn |
| Yarn needle | For weaving in ends |
| Buttons | Optional (for straps or decoration) |
| Stitch markers | Optional, for counting rounds |
🍼 Recommended colors: Pastel pink, blue, white, cream, grey, or any gentle tone.
🧵 Stitches & Abbreviations
- ch – chain
- sc – single crochet
- hdc – half double crochet
- dc – double crochet
- sl st – slip stitch
- st(s) – stitch(es)
- inc – increase (2 stitches in one stitch)
- dec – decrease (combine two stitches)
📏 Size Guide
This pattern fits most newborns:
Length: ~3.5 to 4 inches (approx. 0–3 months)
For larger sizes, use a larger hook or thicker yarn.
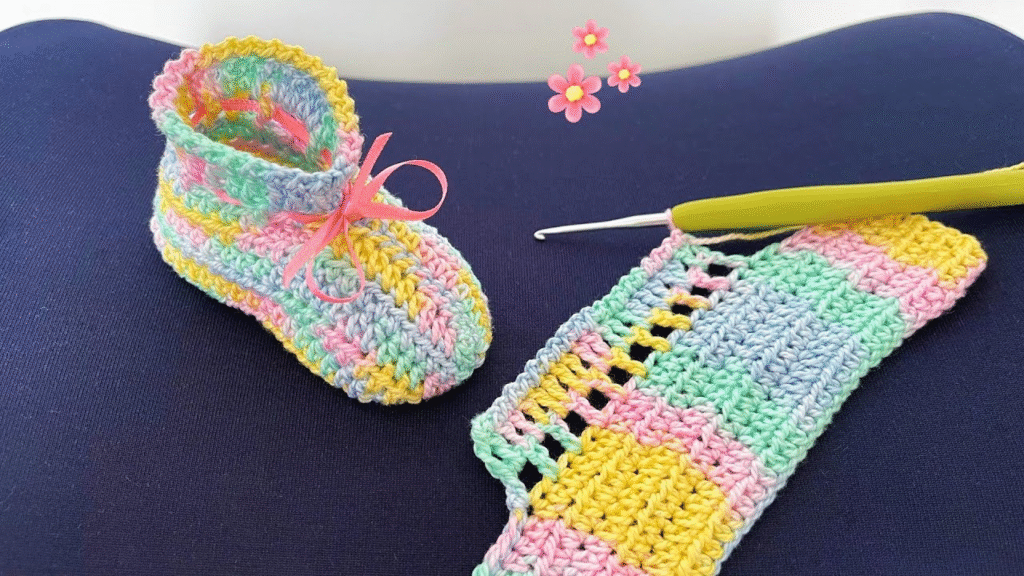
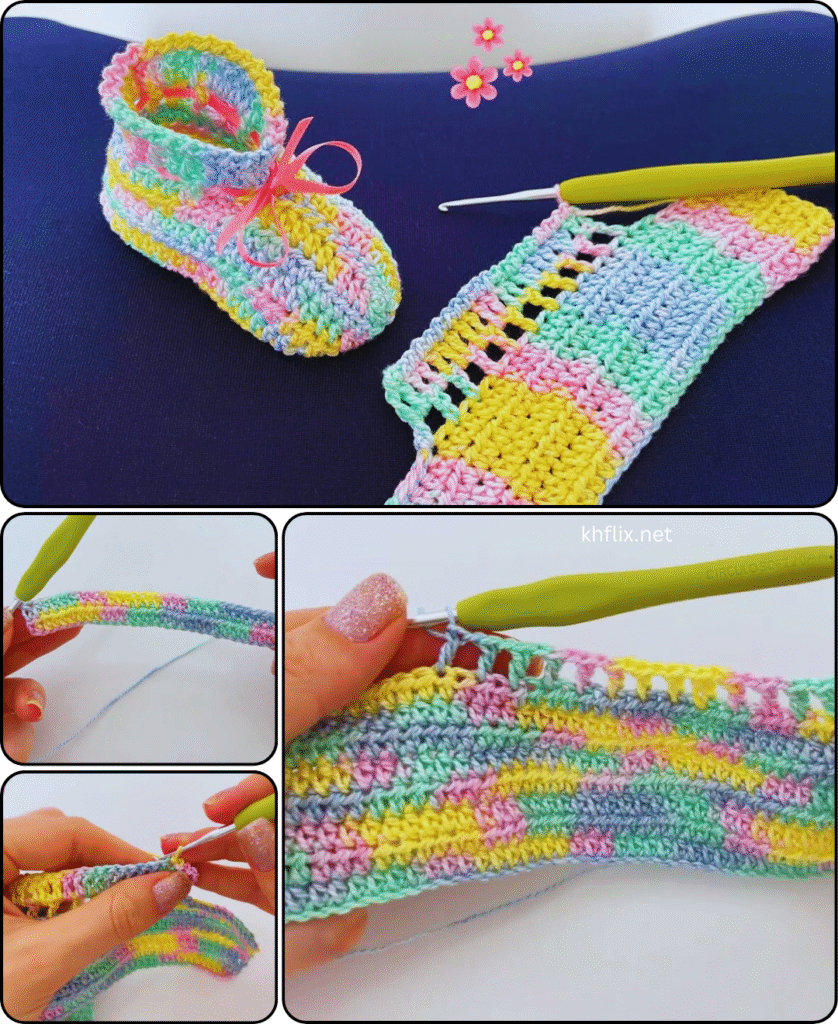
👟 Step-by-Step: Easy Baby Shoe Pattern
🔹 Step 1: Sole (Bottom of the Shoe)
Using main color yarn:
- Ch 10
- Round 1:
- 2 sc in 2nd ch from hook
- 1 sc in next 7 ch
- 5 sc in last ch
- Working on opposite side of the chain:
- 1 sc in next 7 ch
- 2 sc in last ch
- Join with sl st (Total: 24 sc)
- Round 2:
- Ch 1
- 2 sc in next 2 sts
- 1 sc in next 7 sts
- 2 sc in next 5 sts
- 1 sc in next 7 sts
- 2 sc in last 2 sts
- Sl st to join (Total: 34 sts)
- Round 3 (optional for wider sole):
- Ch 1
- Work around increasing slightly at ends (same increase pattern), sl st to join.
✅ Now you have a flat oval sole.
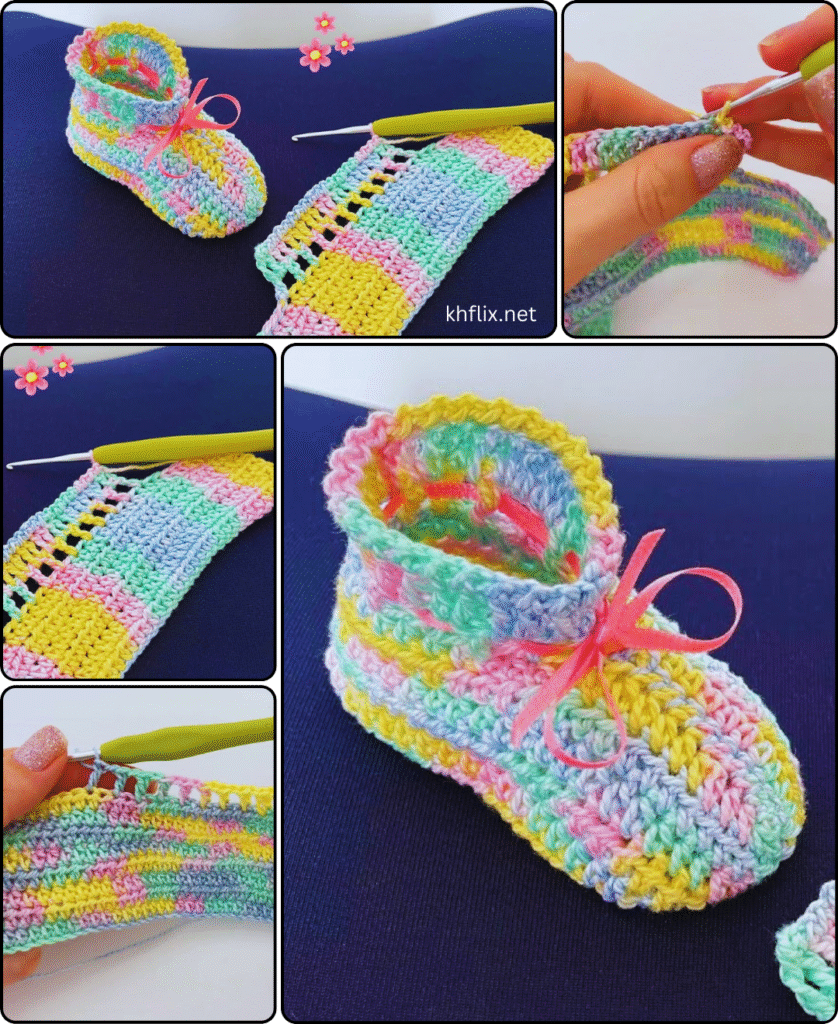
🔹 Step 2: Build the Sides
- Ch 1, working in back loops only, sc in each st around (no increases).
- Join with sl st.
- Next Round: Work 1 sc in each stitch all around again.
- Sl st to join.
This creates the sides of the shoe. You should start seeing the shoe “cup” form.
🔹 Step 3: Toe Shaping
- Count and place a stitch marker in the center front (for toe).
- Next round:
- Sc around until ~10 sts before center.
- Then sc2tog (decrease) 5 times (for shaping the toe).
- Continue sc around back.
- Sl st to join.
- You can do one more decrease round similarly to make the toe tighter.
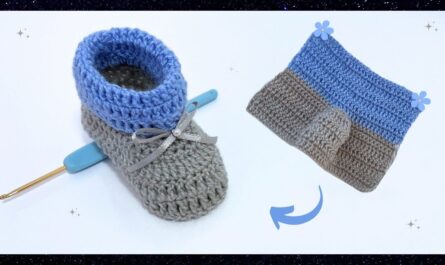
🔹 Step 4: Add a Strap or Cuff (Optional)
You can leave the shoe like a slipper or add a cute strap/cuff:
Option 1: Mary Jane Strap
- Ch 15, sl st to the opposite side.
- Sc back across strap.
- Attach a button to fasten it.
Option 2: Ribbed Cuff
- After final round, switch color.
- Ch 2, hdc in each st around.
- Do 2–3 rounds for a soft ankle cuff.
🎀 Finishing Touches
- Weave in all ends neatly with a yarn needle.
- Sew on buttons, bows, or tiny flowers if desired.
- Make a second shoe by repeating the exact pattern.
🧼 Washing & Care
- Use machine-washable yarn (baby-safe acrylic or cotton).
- Gentle wash cycle; lay flat to dry.

✅ Summary Pattern
| Step | Action |
|---|---|
| 1 | Crochet the sole using sc and increases |
| 2 | Work sides in back loops |
| 3 | Shape the toe with decreases |
| 4 | Add strap or cuff |
| 5 | Finish and decorate |
🎨 Customization Ideas
- Mix pastel tones for a striped look
- Add a ruffled edge for baby girls
- Use a neutral tone with colorful buttons for a unisex look
- Add ears and eyes for an animal-themed shoe
Would you like:
- A printable PDF of this pattern?
- A photo tutorial for each step?
- A video link to follow along visually?
Let me know — I’m happy to help you crochet your first pair of adorable baby shoes! 🧵👶💛