 by
by Absolutely! Here’s a comprehensive and detailed guide on how to make 3D mesh crochet baby shoes, tailored specifically for beginners. This pattern uses a 3D textured stitch (mesh style) to create breathable, stylish, and comfortable baby booties that look intricate but are surprisingly simple to make.
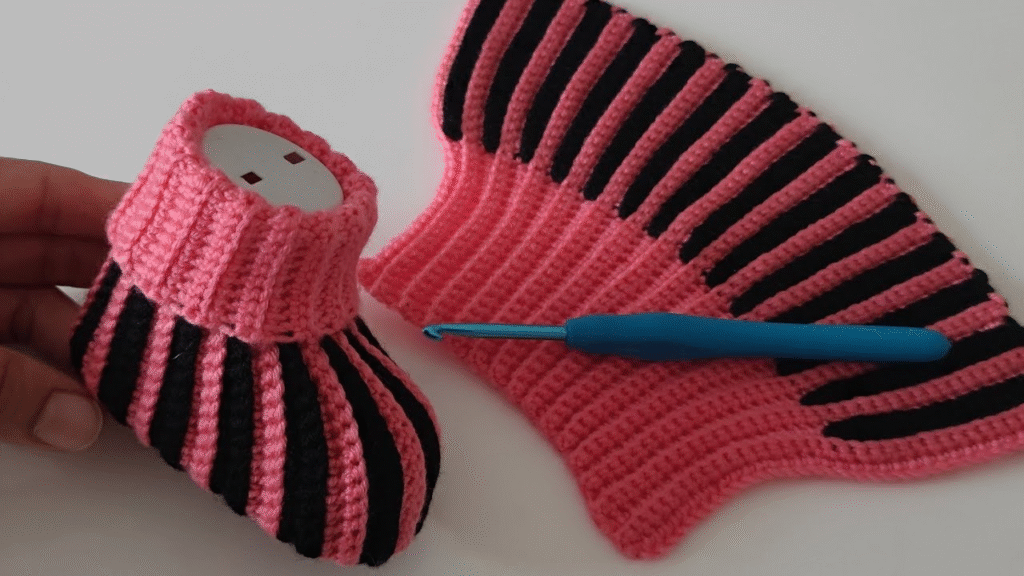
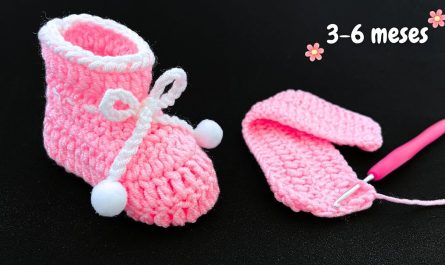
👟 How to Crochet 3D Mesh Baby Shoes – Beginner-Friendly Step-by-Step Guide
Crochet baby shoes are a timeless project, and adding a 3D mesh texture gives them a modern, breathable, and lightweight appeal—perfect for warmer weather or stylish outfits. This pattern uses basic stitches and introduces a simple 3D mesh technique, making it easy even for those new to crochet.
🧵 MATERIALS NEEDED
Yarn
- Type: Soft, baby-safe yarn (cotton or cotton-acrylic blend is great for breathability)
- Weight: DK (Light #3) or light worsted yarn
- Color: Any light/bright color that highlights texture well
Hook
- Size: 3.5 mm (E) or 4 mm (G), depending on your tension and yarn thickness
Notions
- Yarn needle (for weaving in ends)
- Scissors
- Stitch markers (optional but helpful)
- Buttons or ties (optional for decoration or closure)
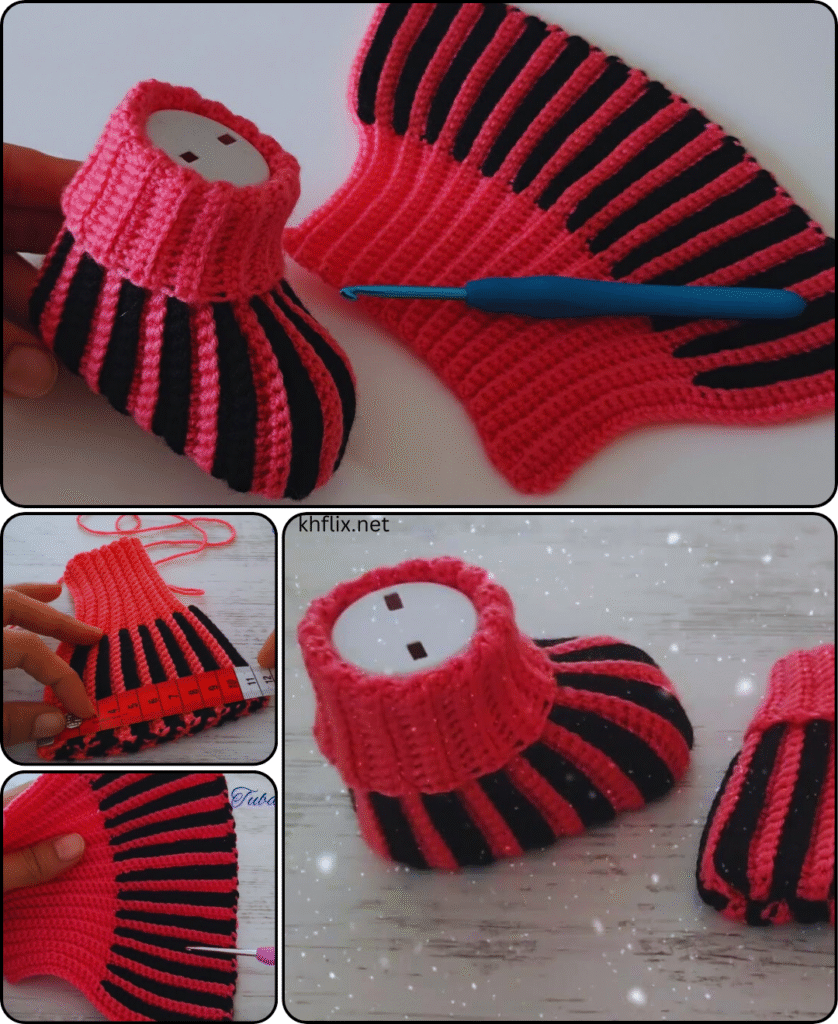
👶 SIZING GUIDE (0–3 Months)
| Age Range | Sole Length |
|---|---|
| 0–3 mo | ~9 cm (3.5″) |
💡 Adjustable: You can size up by increasing your starting chain (length) and the number of rounds.
✂️ STITCHES & ABBREVIATIONS (US TERMS)
- ch – chain
- sl st – slip stitch
- sc – single crochet
- dc – double crochet
- fpdc – front post double crochet (creates 3D mesh texture)
- bpdc – back post double crochet (optional for cuff ribbing)
- st – stitch
- inc – increase (2 stitches in the same stitch)
- sc2tog – single crochet decrease
🧶 PATTERN OVERVIEW
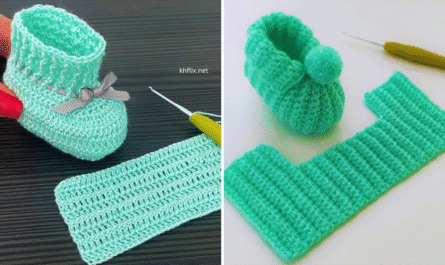
The pattern is worked in three parts:
- Sole – Oval base of the shoe
- Sides – Built up with textured mesh stitch
- Toe + Cuff – Shaped to hug the foot and decorate
🦶 PART 1: CROCHET THE SOLE
Foundation Chain
- Ch 10 (for newborn size)
Round 1
- 2 sc in 2nd ch from hook
- Sc in next 7 ch
- 5 sc in last ch
- Work on the opposite side of chain:
Sc in next 7 ch, 2 sc in last ch - Sl st to join (22 sts)
Round 2
- Ch 1
- 2 sc in first st
- Sc in next 7
- 2 sc in next 5 sts (around toe curve)
- Sc in next 7
- 2 sc in last 2 sts
- Sl st to join (30 sts)
Round 3
- Repeat increases on curved ends to form full oval shape
- You should have ~38 stitches
- Sl st to join and fasten off if changing color
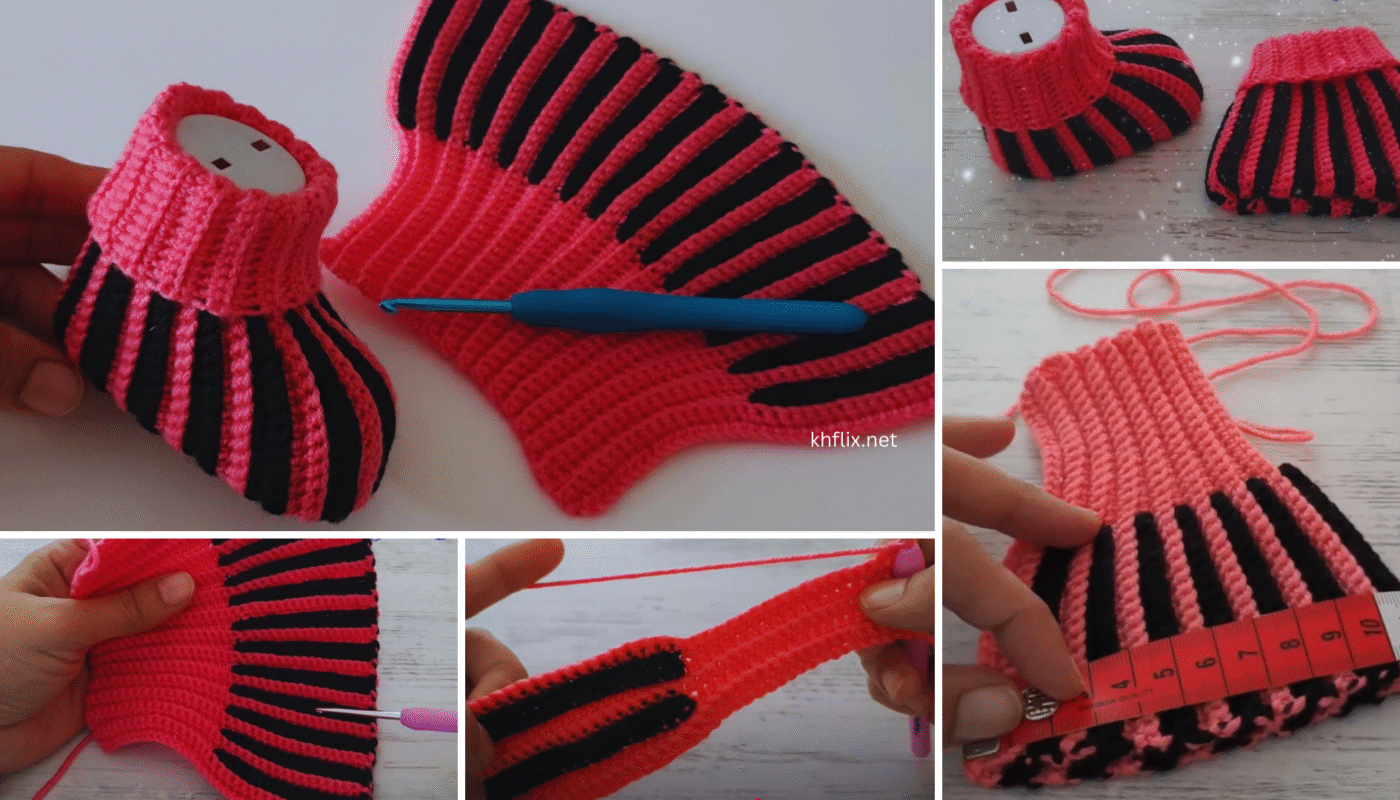
👟 PART 2: SIDES OF SHOE (START MESH TEXTURE)
Switch to new color (or continue with same if solid)
Round 4 – Base for 3D Texture
- Join yarn to back loop of any stitch
- Ch 2
- Dc in each st around (38 dc)
- Sl st to join
Round 5 – Begin 3D Mesh Pattern
- Ch 2 (counts as first dc)
- Fpdc in next st, dc in next st — repeat around
- Sl st to join
✅ You now have alternating raised (fpdc) and flat (dc) stitches
Round 6–7
- Repeat Round 5 for 2 more rounds
- Adjust number of rounds if you want the shoe taller or lower

🧦 PART 3: SHAPE THE TOE & ADD CUFF
Round 8 – Toe Decrease Start
- Ch 1
- Sc in next 10 sts
- Sc2tog across 10 toe sts (5 dec)
- Sc in next 13 sts
- Sl st to join
Round 9 – Tighten Front More
- Ch 1
- Sc in next 8 sts
- Sc2tog 3 times
- Sc in remaining sts
- Sl st to join
Round 10 (Optional)
- If needed, sc2tog again across toe to close gap and make more snug
- Adjust based on fit
🧤 PART 4: ADDING THE CUFF
Option 1: Ribbed Cuff (Textured Look)
Round 11
- Ch 2
- Fpdc in next st, bpdc in next st — repeat around
- Sl st to join
Round 12–13
- Repeat above round for 1–2 more rounds for stretchy cuff
Option 2: Fold-Over Mesh Cuff
- Work 2 more rounds in fpdc + dc pattern
- Fasten off and fold down to create a boot-style cuff
🧼 FINISHING TOUCHES
- Weave in all ends securely using a yarn needle
- Shape the shoes by gently pulling and flattening with your hands
- Optional: Add a button tab or tie to ankle for decoration and better fit

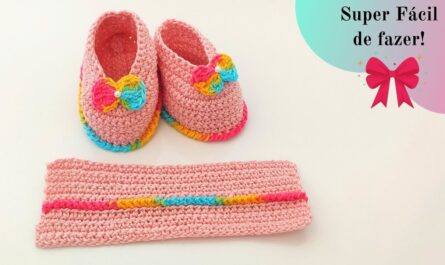
🎨 VARIATIONS & DESIGN IDEAS
- Mesh All Over: Use fpdc throughout the top for a completely mesh-textured shoe
- Contrasting Sole: Use one color for the sole, another for the sides and cuff
- Add a Bow or Star: Create simple appliqués with leftover yarn
- Animal Ears: Add two tiny ears to front for animal-themed shoes (bear, bunny)
🧺 CARE INSTRUCTIONS
- Hand wash or gentle machine wash
- Use mild detergent
- Lay flat to dry (avoid machine drying)
💡 TIPS FOR BEGINNERS
- Practice fpdc before starting on the shoe to get comfortable with front post stitches
- Use stitch markers to mark toe start or heel back
- Don’t worry if the first shoe isn’t perfect—adjust for the second one
- Make sure to count stitches each round to stay on track
🧶 CONCLUSION
Crocheting 3D mesh baby shoes is a fun and beginner-accessible project with stylish results. These booties are breathable, comfy, and versatile, perfect for gifting or for your own little one. With basic stitches and a touch of texture, you can create modern baby shoes that stand out from the usual patterns.