 by
by A Complete Step-by-Step Guide for Beginners and Beyond
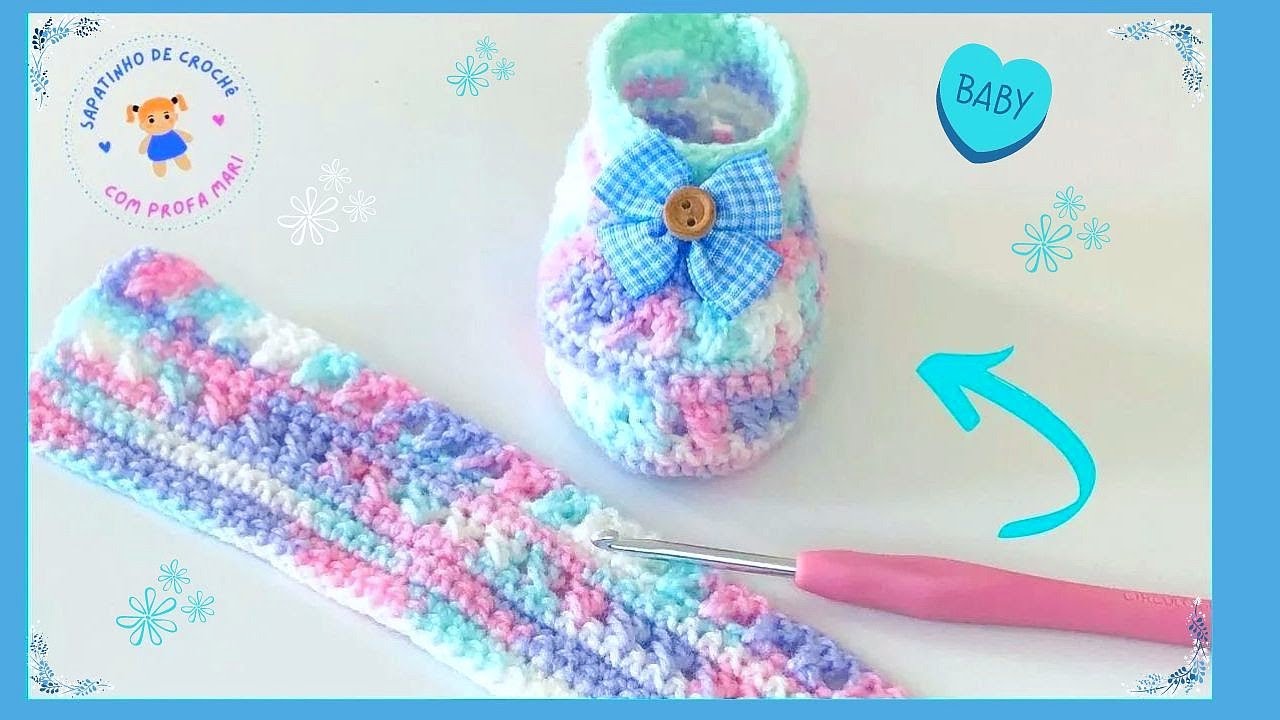
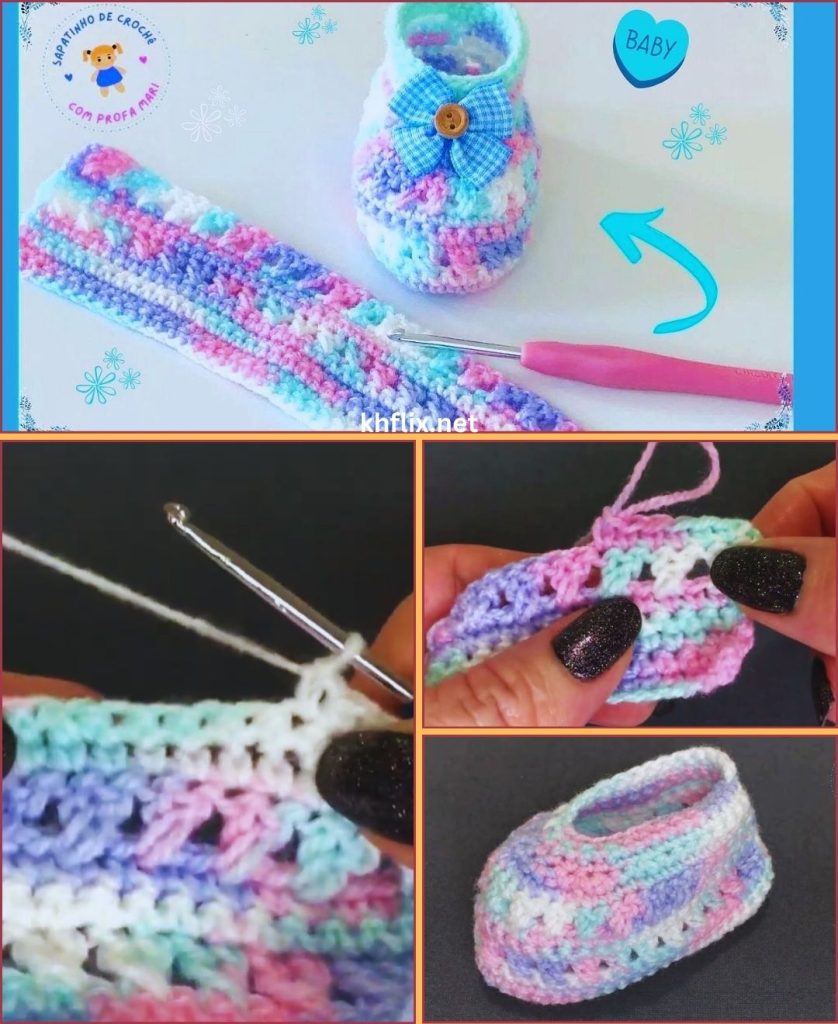
There is something truly magical about tiny handmade baby shoes. They are soft, delicate, and filled with love in every stitch. If you’ve ever wanted to crochet baby shoes but felt unsure where to start, this detailed guide will walk you through a beautiful, easy, and professional-looking technique that anyone can follow.
This method creates a snug, stylish baby shoe using a structured yet simple construction technique. Once you learn it, you can create endless variations—sandals, booties, Mary Janes, little sneakers, and more!
Let’s begin 🌸
Why This Technique Is So Beautiful
This technique stands out because:
- The sole is shaped naturally to fit baby feet
- The sides rise smoothly with no awkward seams
- The toe shaping looks elegant and rounded
- The shoe holds its structure without being stiff
- It works for boys or girls
It’s a 3-part construction method:
- Crochet the sole
- Build the sides
- Shape the toe beautifully
Simple. Clean. Professional.
Materials You’ll Need
Keep everything soft and baby-safe.
🧶 Yarn
- DK (lightweight #3) or soft worsted (#4)
- Baby acrylic or cotton blend
- Approx. 50–80 yards per pair
Choose soft pastel shades, neutrals, or classic white for an elegant look.
🪝 Crochet Hook
- 3.5 mm (E) for DK yarn
- 4.0 mm (G) for worsted
✂ Other Supplies
- Yarn needle
- Scissors
- Stitch markers (optional)
- Small decorative button or bow (optional)
Baby Shoe Size Guide
For this tutorial, we’ll make 0–3 months size.
- Sole length: 3.5–4 inches
- Foot length: 9–10 cm
To adjust for bigger sizes:
- Add more starting chains
- Add one extra increase round
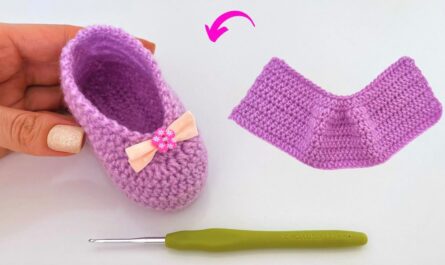
Step 1: Crochet the Beautiful Oval Sole
The sole is the foundation of your baby shoe.
Round 1:
- Chain 10
- 2 HDC in 2nd chain from hook
- HDC in next 7 chains
- 5 HDC in last chain
- Turn and work on opposite side
- HDC in next 7 stitches
- 3 HDC in last stitch
- Slip stitch to join
You now have a soft oval shape.
Round 2 (Shaping Round):
- Chain 1
- 2 HDC in first stitch
- 2 HDC in next stitch
- HDC in next 7 stitches
- 2 HDC in next 5 stitches
- HDC in next 7 stitches
- 2 HDC in last 3 stitches
- Slip stitch to join
Lay it flat. It should not curl or ruffle.
Round 3 (Stabilizing Round):
- Chain 1
- HDC in each stitch around
- Slip stitch to join
Your sole should measure about 3.5–4 inches.
Beautiful and smooth.
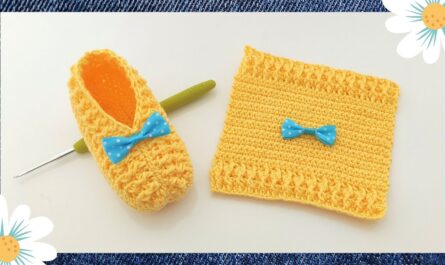
Step 2: The Gorgeous Side-Wall Technique
Here’s where the magic happens.
Round 4 (Back Loop Only Round):
- Chain 1
- SC in BACK LOOP ONLY around
- Slip stitch to join
This creates a ridge and forces the shoe to curve upward naturally.
Instant structure. 😍
Round 5:
- Chain 1
- SC in each stitch around
- Slip stitch to join
Round 6:
Repeat Round 5.
Now you’ll see a tiny bowl forming.
That’s your shoe body.
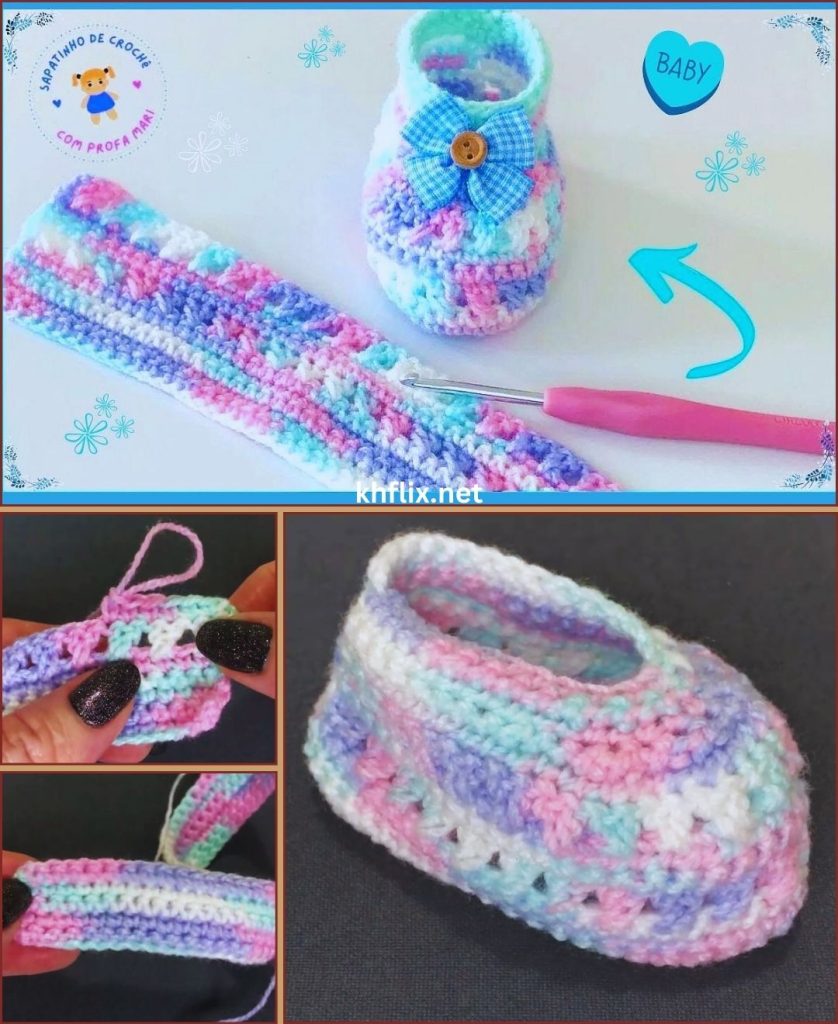
Step 3: Beautiful Toe Shaping Technique 🌹
This step transforms the bowl into a real baby shoe.
Step 1: Find the Center
- Fold the shoe in half
- Mark the center front
- Count 10 stitches across the toe area
Step 2: First Decrease Round
- SC until you reach toe section
- SC2TOG across the 10 toe stitches
- SC to end
- Slip stitch to join
You’ll see the front start closing gently.
Step 3: Second Decrease Round
Repeat the same decrease across toe area.
Now it looks like a beautiful tiny slipper.
Elegant. Rounded. Clean.
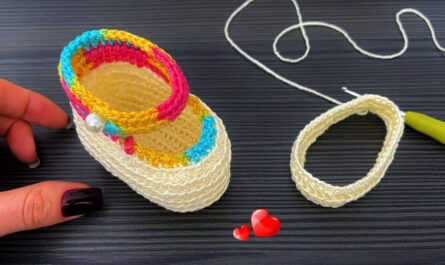
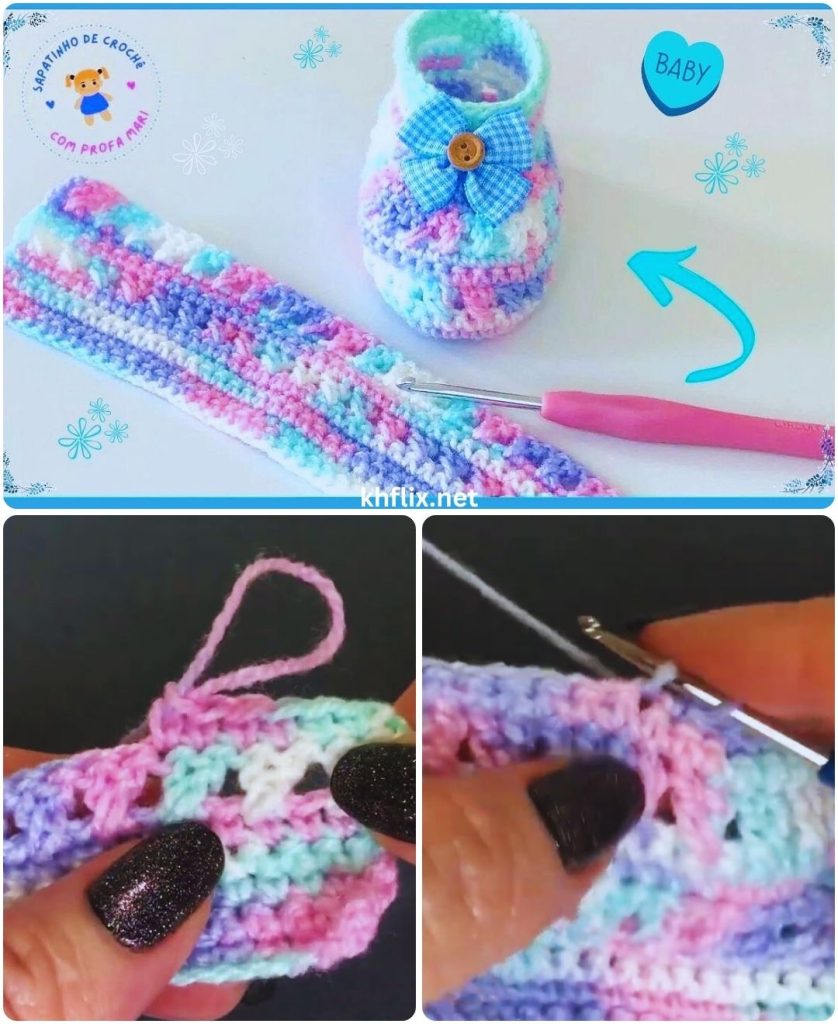
Optional: Create a Sweet Strap 😍
This makes the shoe extra secure and stylish.
Simple Strap:
- Attach yarn at side
- Chain 14–18
- Slip stitch to opposite side
- Fasten off
You can sew on:
- A tiny button
- A crochet flower
- A satin bow
Adding a Decorative Flower 🌹
Here’s a quick mini flower pattern:
- Magic ring
- (Chain 2, 2 DC, Chain 2, Slip stitch) repeat 5 times
- Tighten ring
- Fasten off
Sew onto toe area.
Instant elegance.
Making the Shoe Extra Soft & Professional
Here are expert tips:
✔ Keep tension slightly loose
Babies need comfort.
✔ Use half double crochet for structure
HDC gives smooth curves.
✔ Make both shoes at the same time
Alternate rounds between shoes to match tension.
✔ Steam lightly (if yarn allows)
Gives polished shape.
Adjusting for Larger Sizes
For 3–6 months:
- Chain 12
- Add one extra increase round
For 6–12 months:
- Chain 14
- Add 1–2 increase rounds
Always measure sole against baby foot length.
Common Mistakes (Easy Fixes!)
Sole Curling?
Too few increases → Add 1–2 increases at ends.
Sole Ruffling?
Too many increases → Remove one increase.
Shoe Too Tight?
Add one extra side-wall round.
Shoe Too Loose?
Add one more decrease round at toe.
Creative Variations You Can Try
Once you master this technique, try:
- Two-color sole and body
- Ribbed edging
- Picot trim around top
- Tiny laces
- Ankle cuff bootie
- Closed winter version
Same structure. Endless designs.
Why Handmade Baby Shoes Are Special
Crocheting baby shoes is more than just crafting.
You are creating:
- A memory
- A keepsake
- A baby shower gift
- A first photo accessory
- A piece of love stitched by hand
Every stitch carries care.
Final Thoughts 🌸
This beautiful crochet baby shoe technique is:
- Beginner-friendly
- Elegant
- Customizable
- Soft and practical
- Quick to complete
The magic lies in the simple structure:
- Oval sole
- Back-loop wall
- Gentle toe decreases
That’s it.
Once you crochet your first pair, you’ll want to make them in every color imaginable 😍🌹
If you’d like, I can also provide:
- A printable version
- A video-style breakdown
- A baby sandal version
- A crochet sneaker pattern
- A bootie version for winter
- A full size chart guide
Tell me what you’d love next! 💕