 by
by Certainly! Here’s a Detailed tutorial on how to crochet baby shoes, also known as baby booties. This guide is beginner-friendly but offers tips and variations for more advanced crocheters too. Perfect for baby showers, gifts, or just a sweet handmade touch for a newborn.
🧶 How to Make Crochet Baby Shoes: Step-by-Step Tutorial (Beginner-Friendly)
Crochet baby shoes, or booties, are not only adorable but also practical for keeping a baby’s feet warm and cozy. These tiny footwear items are a charming and rewarding project, taking only a small amount of time and materials, but delivering a big impact. Whether you’re new to crochet or looking for a fun project, this tutorial will guide you through making your first pair of crochet baby shoes.
👶 Why Make Crochet Baby Shoes?
- Fast Project: Can be finished in 1–2 hours.
- Beginner-Friendly: Uses basic stitches.
- Customizable: Easily modify colors, stitches, and trims.
- Great Gift: Ideal for baby showers or newborn announcements.
🧵 Supplies You’ll Need
1. Yarn
Choose a yarn that is soft, non-irritating, and machine washable.
Recommended Yarns:
- Acrylic (e.g., Red Heart Soft, Caron Simply Soft)
- Cotton (e.g., Bernat Softee Baby Cotton)
- Bamboo blends (smooth, silky, natural)
Yarn Weight:
- DK (Light/Weight 3) or
- Worsted (Weight 4)
You’ll need less than 100 yards total.
2. Crochet Hook
- Most baby shoe patterns use a 3.5 mm to 4.5 mm hook (E–7 to G–6)
Note: Using a smaller hook than usual creates tighter stitches, which is ideal for keeping baby shoes firm and structured.
3. Additional Tools
- Tapestry needle (for sewing and weaving in ends)
- Stitch marker (to keep track of rounds)
- Scissors
- Optional: Buttons, ribbon, or embellishments
🧷 Crochet Skills You’ll Use
Even as a beginner, you can complete this pattern if you know these stitches:
- Chain (ch)
- Slip stitch (sl st)
- Single crochet (sc)
- Half double crochet (hdc)
- Double crochet (dc)
- Increase and decrease stitches
👣 Sizing Guide for Baby Shoes
| Age | Foot Length (inches) | Chain Count Guide |
|---|---|---|
| Newborn | 3.5” | ~9–10 chains |
| 0–3 months | 4” | ~10–11 chains |
| 3–6 months | 4.5” | ~11–12 chains |
| 6–12 months | 5” | ~12–13 chains |
This tutorial uses a 4” length for 0–3 months.
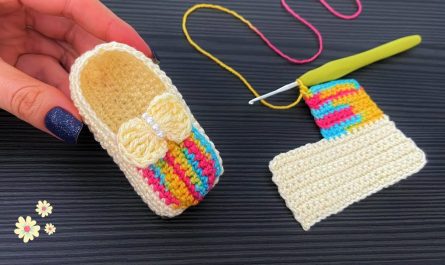
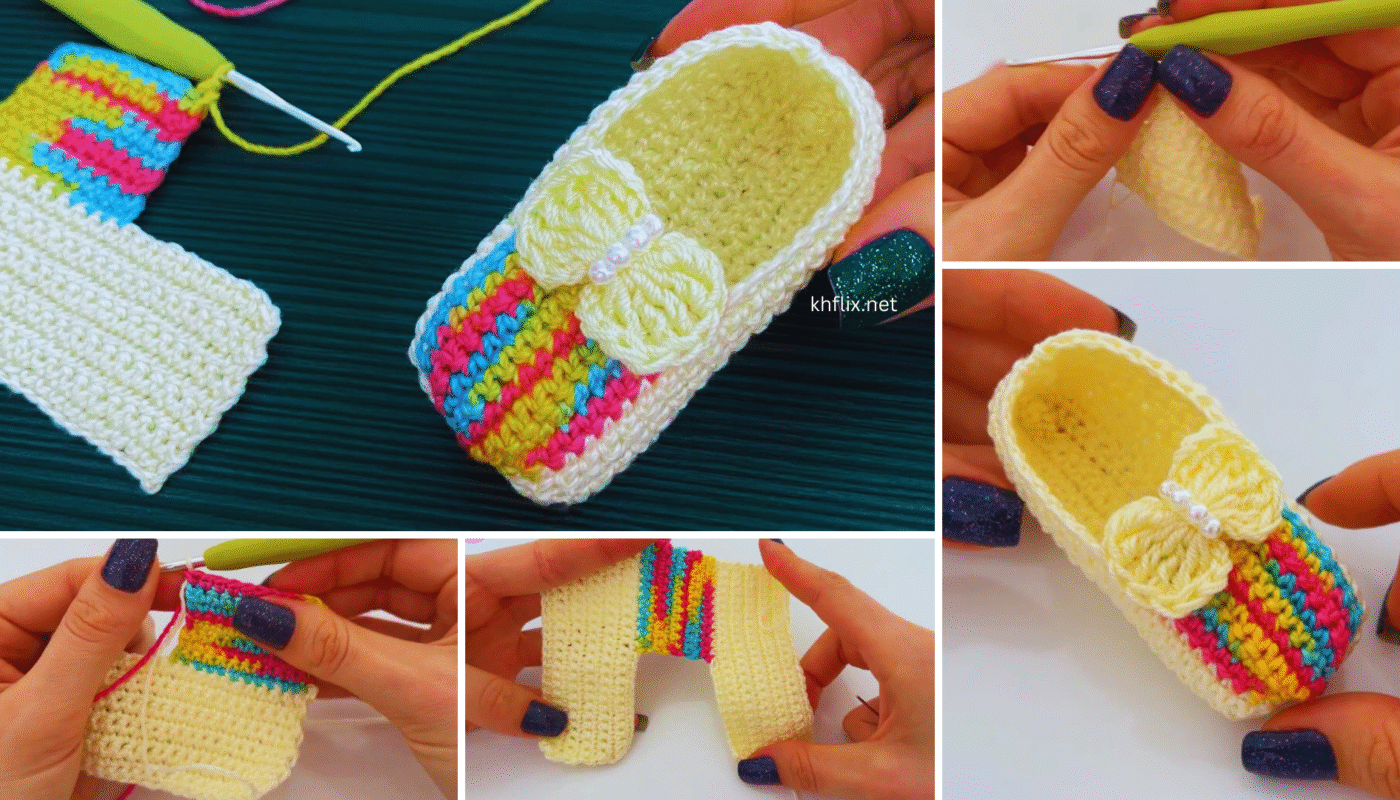
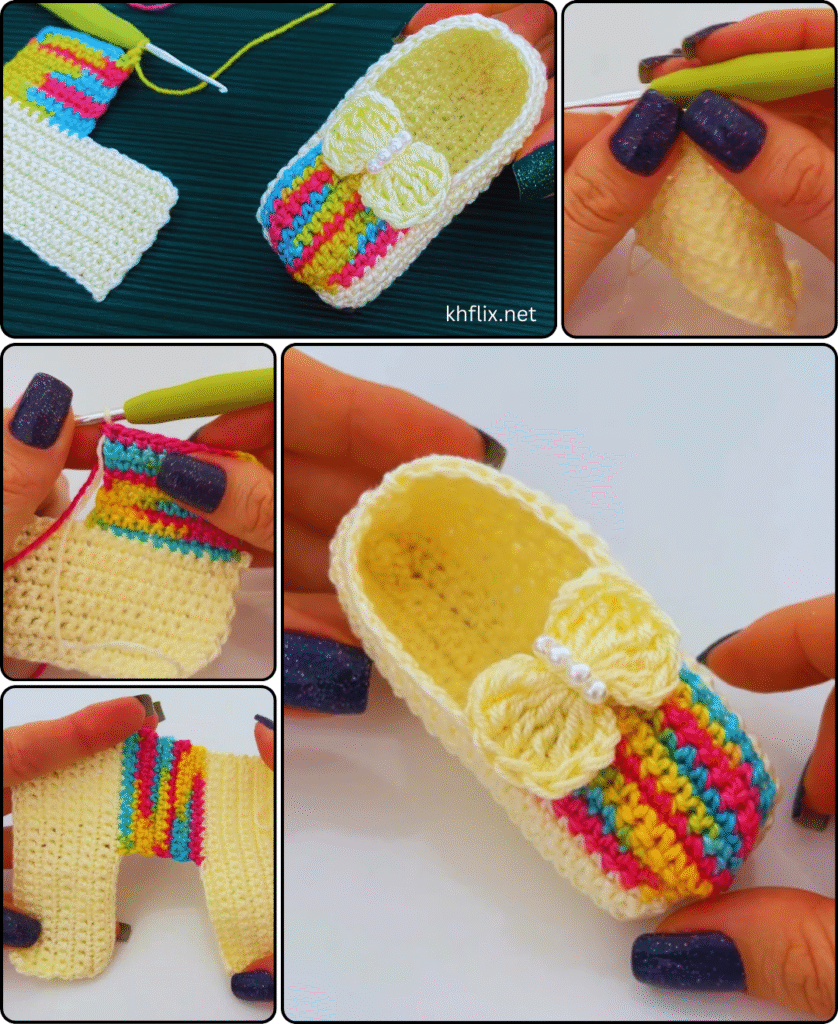
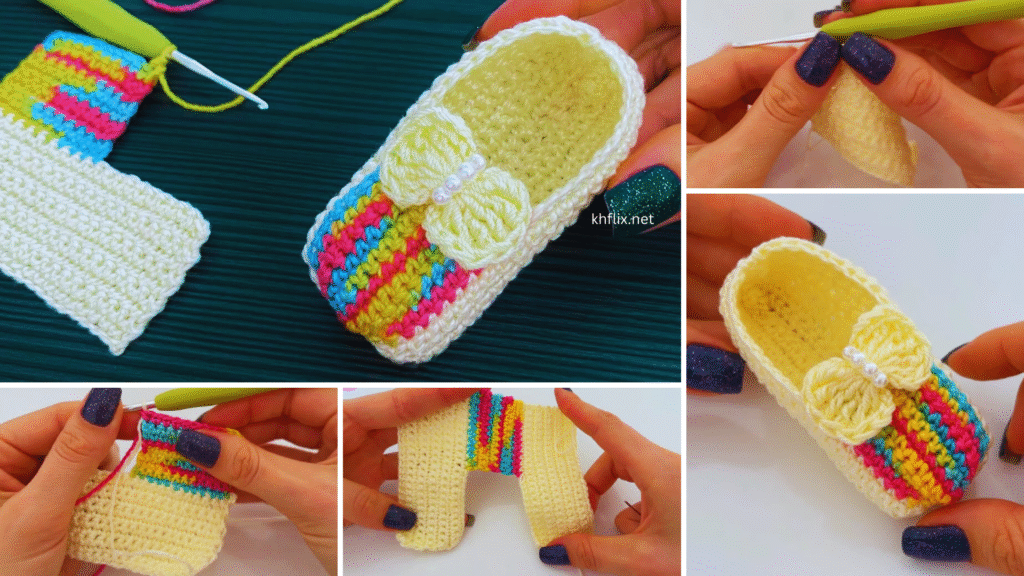
👟 Crochet Baby Shoes Pattern
Let’s crochet a basic sole-up baby shoe in a round style, with a cute cuff to hold them in place.
🔹 Part 1: Crochet the Sole
Round 1:
- Ch 10 (adjust for size)
- In 2nd ch from hook, work 2 sc
- 1 sc in next 7 chains
- 5 sc in last chain
- Rotate to work along the other side of the chain
- 1 sc in next 7 chains
- 2 sc in last chain
- Join with sl st (Total: 24 stitches)
Round 2:
- Ch 1
- 2 sc in first stitch
- 1 sc in next 7
- 2 sc in next 5
- 1 sc in next 7
- 2 sc in next 3
- Join (Total: 32 stitches)
Round 3:
- Ch 1
- sc around, increasing in heel and toe to keep oval shape:
- 2 sc in toe and heel points (about 5 increases evenly)
- Join (Total: ~37 stitches)
📝 Tip: Adjust length by adding/removing chains in the foundation.
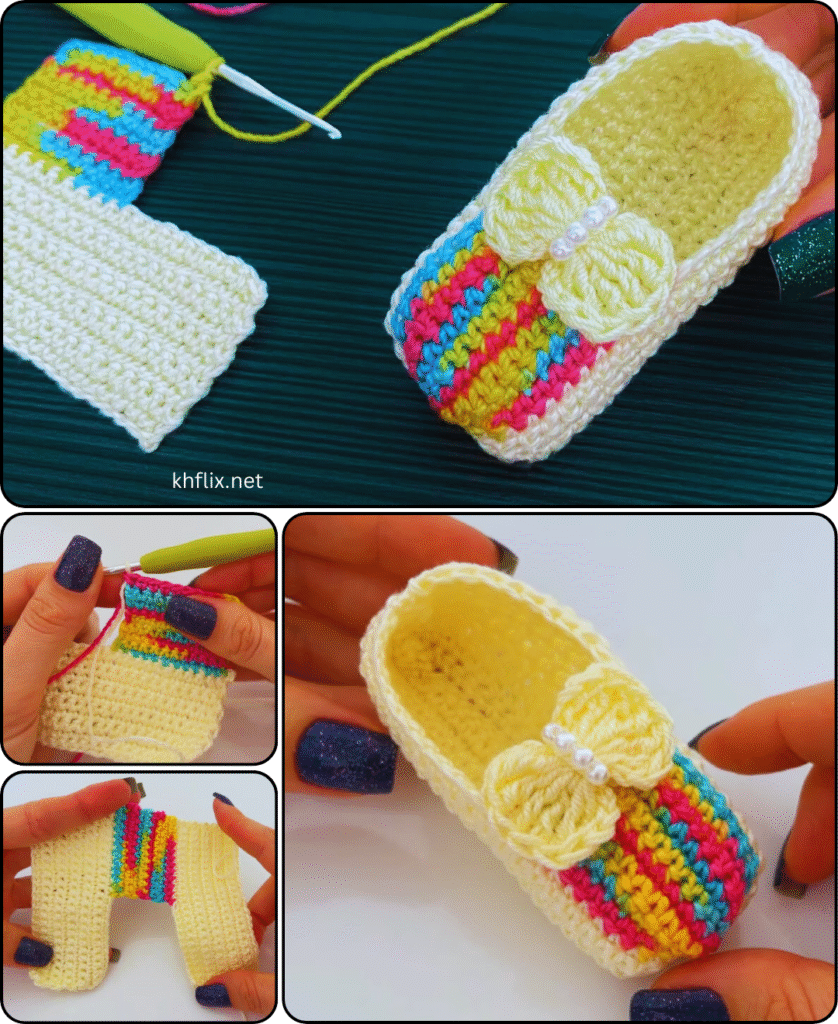
🔹 Part 2: Build the Sides
This step gives the shoe its height.
Round 4:
- Ch 1
- sc in back loop only around (to create a turning edge)
- Join with sl st
Rounds 5–6:
- Ch 1
- sc in each stitch around
- Join
🔹 Part 3: Shape the Toe (Top Front of Shoe)
We’ll use decreases to form the rounded toe.
Round 7:
- sc 10
- sc2tog (decrease) over next 10 stitches (5 decreases)
- sc to end
- Join
Round 8:
- sc 10
- sc2tog over 6 stitches (3 decreases)
- sc to end
- Join
Round 9:
- sc around
- Join
Now you have a baby shoe with a finished toe!
🔹 Part 4: Add the Cuff or Ankle Strap
Option A: Ribbed Cuff (Sock Style)
- Ch 5
- Turn, sc in each chain (4 sc)
- sl st into 2 stitches of shoe edge
- Turn, work back up the 4 sc
- Repeat around shoe opening
- Seam ribbing ends together
Option B: Buttoned Strap
- Attach yarn to one side of the opening
- ch 10, skip 1 st, sl st to opposite side
- Fasten off, sew button under strap
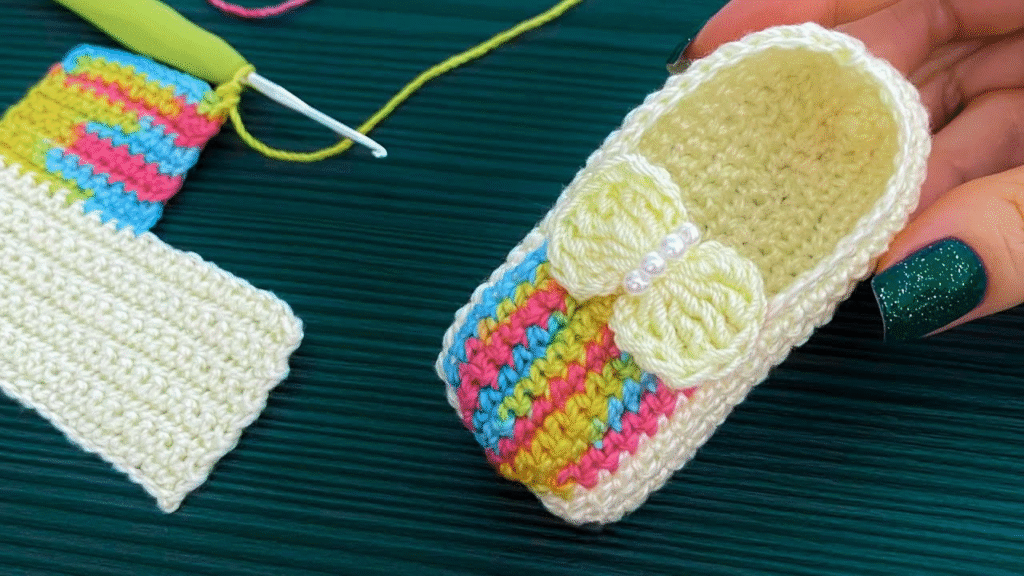
🎀 Finishing Touches
Weave in Ends
Use your tapestry needle to carefully hide all yarn tails.
Add Embellishments
- Buttons (securely sewn and large enough not to be swallowed)
- Ribbon bows
- Surface embroidery (e.g., hearts or initials)
- Animal ears for bootie faces (bears, bunnies, etc.)
🧼 Washing and Care
Always use baby-safe yarn that is:
- Machine washable
- Non-toxic
- Hypoallergenic
After finishing, hand wash or gentle machine cycle with baby detergent. Lay flat to dry.
🧵 Pattern Recap (Quick Version)
For One Shoe (0–3 months):
- Hook: 4.0 mm
- Yarn: DK or Light Worsted
- Foundation: Ch 10
- Sole: 3 rounds increasing at toe/heel
- Sides: 2–3 rounds sc
- Toe Decrease: 2 rounds with sc2tog
- Cuff: Ribbing or strap
- Finishing: Weave ends, add embellishments
💡 Tips for Success
- Use Stitch Markers: Especially when working in rounds.
- Keep Pairs Identical: Count your stitches carefully so both shoes match.
- Choose Lighter Colors: So details show better (and messes are easy to spot).
- Experiment with Yarn: Try velvet or boucle for winter booties.
- Make Several Sizes: Babies grow fast!
🎁 Final Thoughts
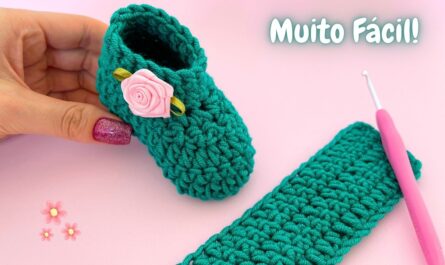
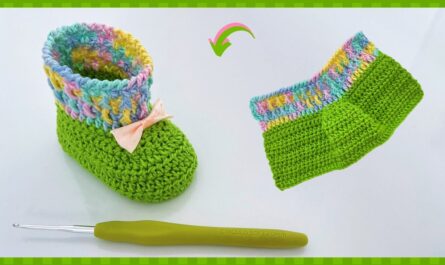
Crochet baby shoes are the perfect mix of adorable and functional. Once you get the hang of the basic construction, the variations are endless. You can customize them for every outfit or occasion—think holiday-themed, animal-themed, or gender-neutral options.
These handmade treasures are not just gifts; they’re keepsakes. Start simple, and as you grow more confident, explore more complex patterns with textured stitches, embellishments, and color changes.
Happy crocheting! 🧶👣
🎥Video Tutorial
🧶 Thanks for Reading My Crochet Ideas! 🌸
I truly appreciate you taking the time to explore my crochet creations and ideas. Whether you’re here for inspiration, learning, or just for the love of yarn, I’m so glad you stopped by!
If you enjoyed this post, feel free to share it with fellow crocheters, leave a comment, or save it for your next project. Your support means the world and helps keep the creativity flowing!