 by
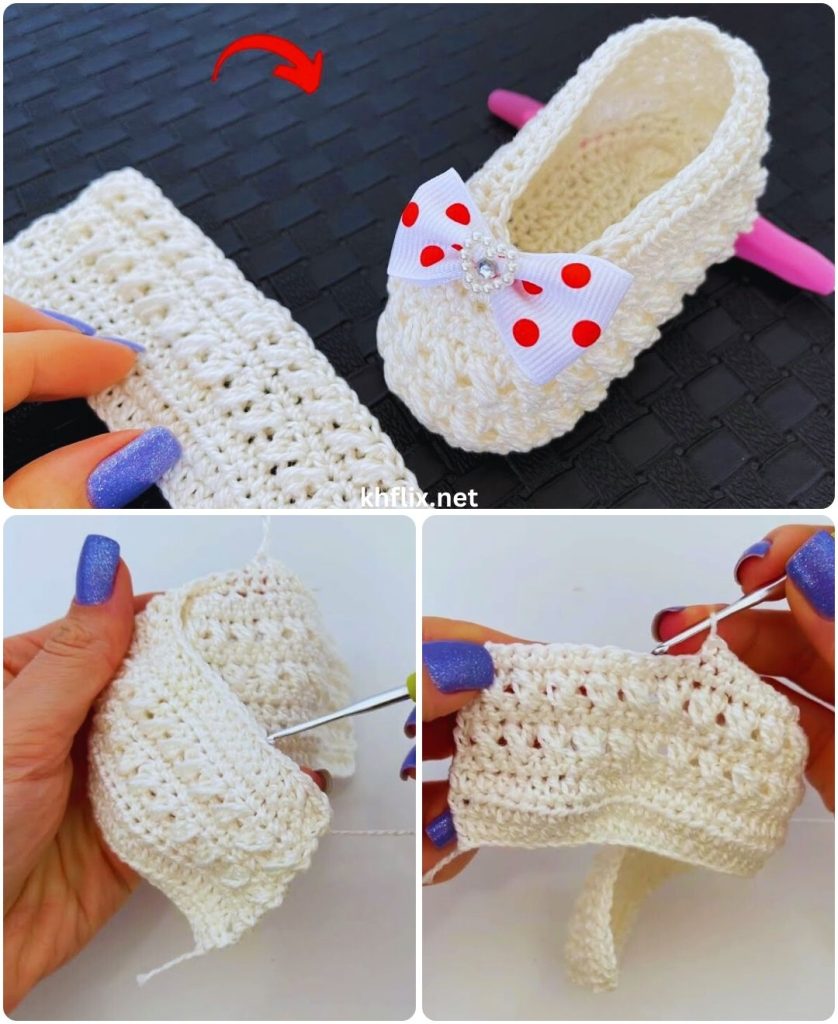
by Crochet shoes are one of the easiest and most enjoyable handmade projects, especially for beginners. You don’t need advanced skills or complicated patterns to create soft, comfortable, and attractive crochet shoes. With just a few basic stitches and simple steps, anyone can make crochet shoes at home.
This detailed guide explains how to make very easy crochet shoes step by step, using simple techniques that are perfect for beginners. Whether you are making shoes for a baby, toddler, or even as soft house shoes, the basic method remains the same.
Why Crochet Shoes Are Easy to Make
Crochet shoes are considered beginner-friendly because:
- They use basic crochet stitches
- They are small projects and work up quickly
- Mistakes are easy to fix
- They require little yarn
- They don’t need sewing or complex shaping
Even if you are new to crochet, you can successfully complete this project.
Materials You Will Need
1. Yarn
- Soft yarn (baby yarn, acrylic, or cotton)
- Medium weight (worsted) or light weight (DK)
- Choose smooth yarn for easy stitching
Tip: Avoid rough or slippery yarn if you are a beginner.
2. Crochet Hook
- Size 4 mm to 5 mm
- Match the hook size to your yarn label
3. Other Tools
- Scissors
- Yarn needle
- Stitch marker (optional)
Basic Crochet Stitches Used
This easy crochet shoe pattern uses only simple stitches:
- Chain (ch)
- Slip stitch (sl st)
- Single crochet (sc)
- Half double crochet (hdc)
These stitches are easy to learn and perfect for beginners.
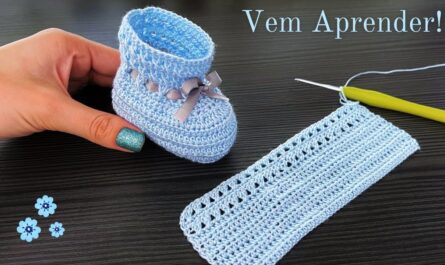
Understanding Crochet Shoe Construction
Very easy crochet shoes are usually made in three simple parts:
- Sole
- Body (sides)
- Opening or border
Once you understand this structure, making crochet shoes becomes simple and fun.
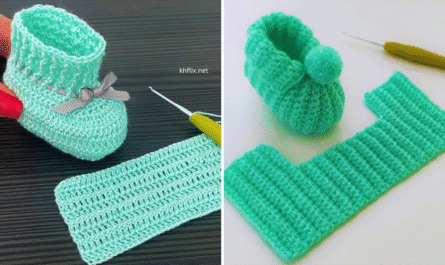
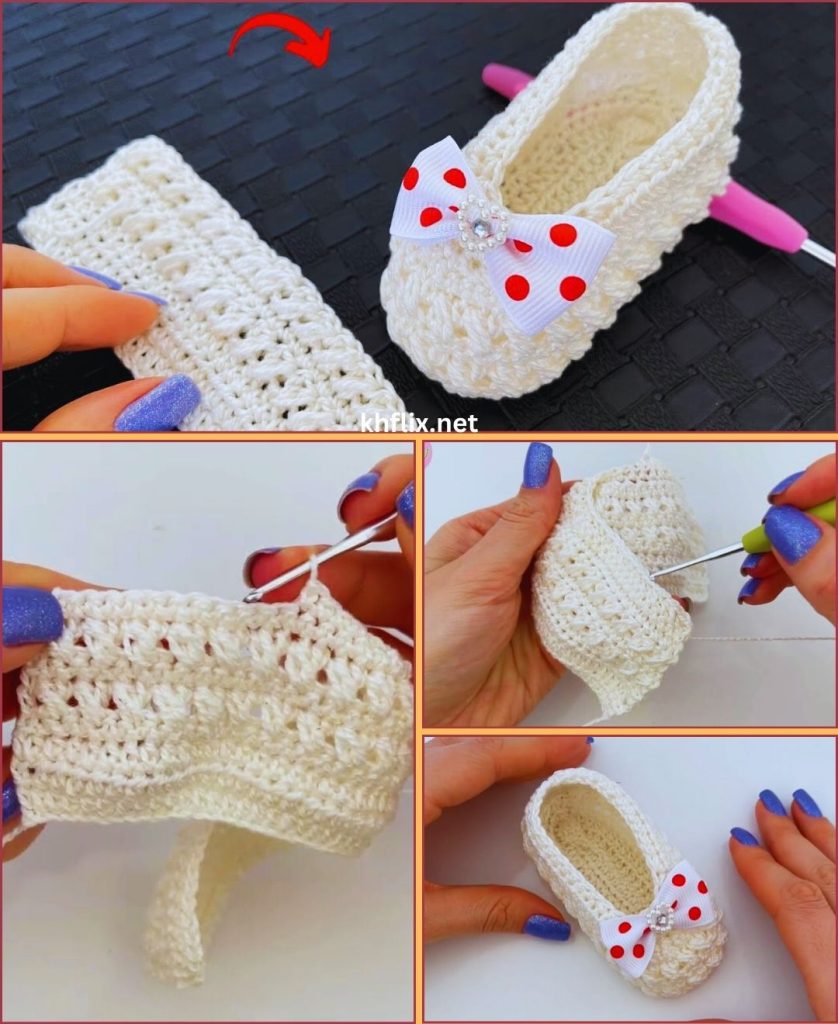
STEP 1: Crochet the Sole
The sole is the base of the shoe and is made in an oval shape.
Round 1:
- Make 10 chains
- In the second chain from the hook, make 2 hdc
- Make 1 hdc in next 6 chains
- In the last chain, make 5 hdc
- Now continue on the opposite side of the chain:
- 1 hdc in next 6 stitches
- 2 hdc in last stitch
- Join with a slip stitch
Round 2:
- Chain 1
- Make 2 hdc in the first stitch
- Make 2 hdc in the next stitch
- Make 1 hdc in the next 6 stitches
- Make 2 hdc in the next 5 stitches
- Make 1 hdc in the next 6 stitches
- Make 2 hdc in the next 2 stitches
- Join with a slip stitch
Round 3:
- Chain 1
- Make hdc in each stitch around
- Join with a slip stitch
Your sole should now lie flat and look oval in shape.
STEP 2: Create the Sides of the Shoe
This step adds height to the shoe.
Round 4:
- Chain 1
- Make hdc in back loops only all around
- Join with a slip stitch
This creates a neat edge and helps the shoe stand upright.
STEP 3: Shape the Front of the Shoe (Very Easy Method)
This shaping is simple and beginner-friendly.
Round 5:
- Chain 1
- Make hdc in first 8 stitches
- Make hdc2tog (decrease) over next 4 stitches
- Make hdc in remaining stitches
- Join with slip stitch
Round 6:
- Chain 1
- Make hdc in first 7 stitches
- Make hdc2tog over next 2 stitches
- Make hdc in remaining stitches
- Join with slip stitch
Now the shoe shape will be clearly visible.
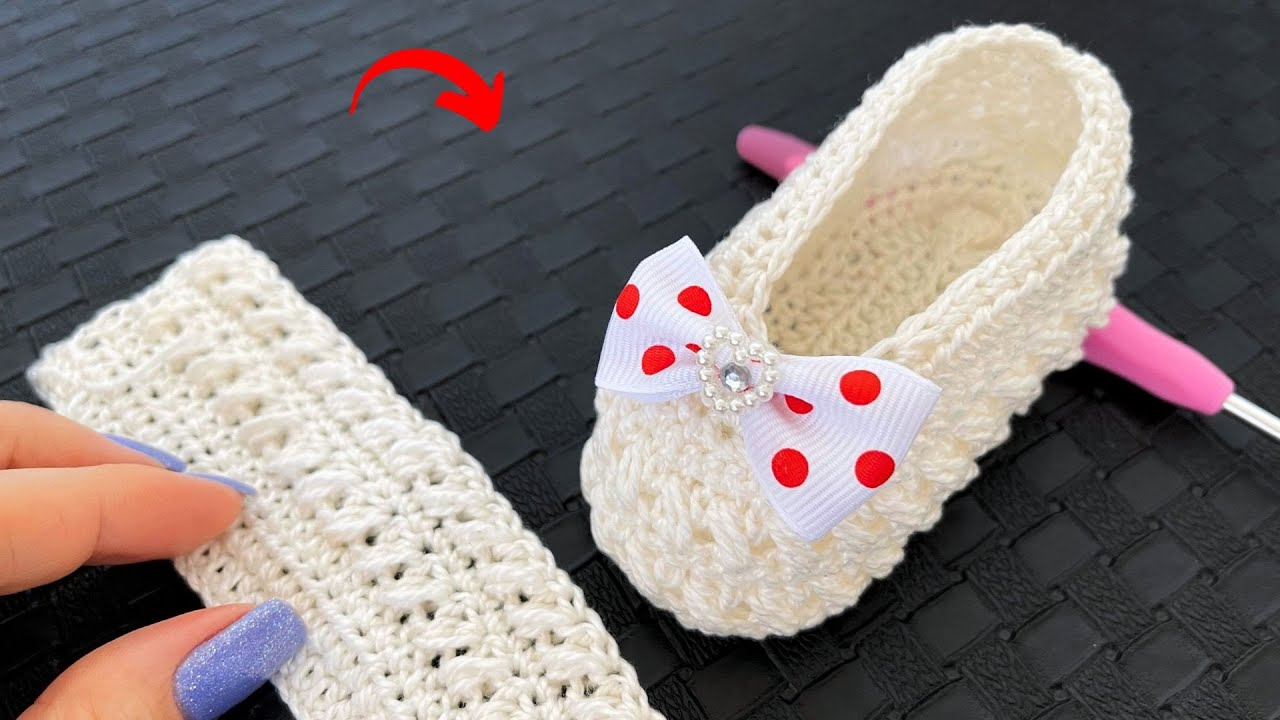
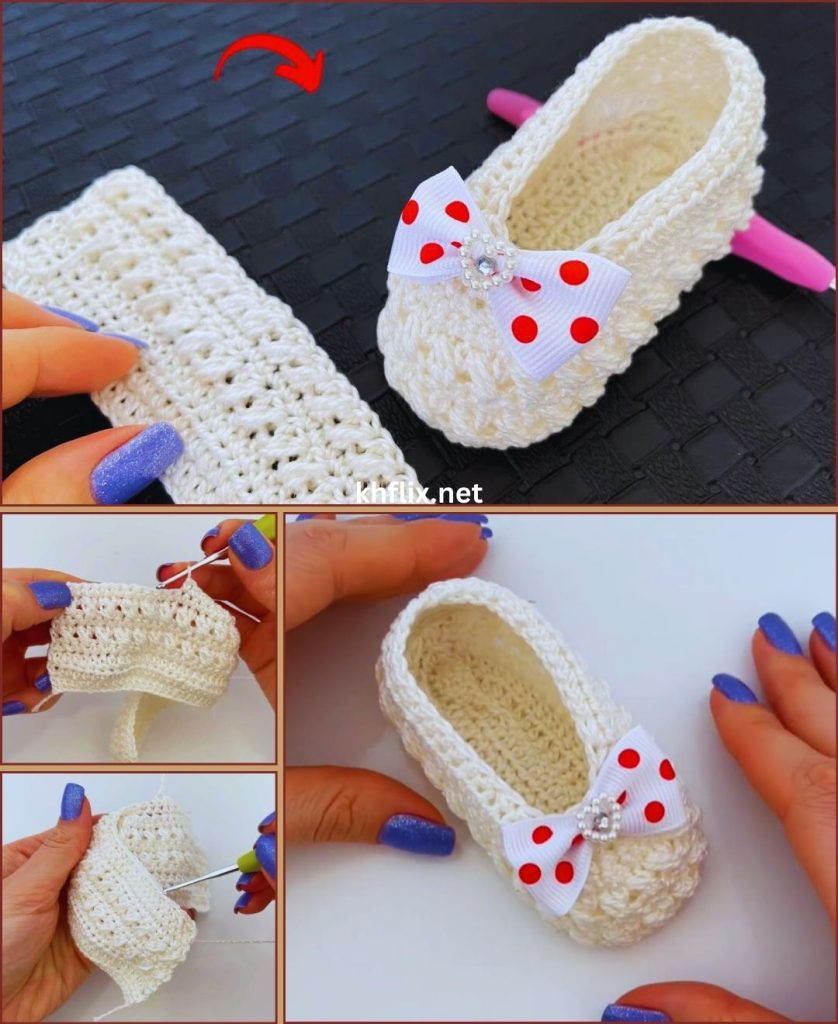
STEP 4: Create the Shoe Opening
This step makes the shoe comfortable and neat.
Round 7:
- Chain 1
- Make single crochet in each stitch around
- Join with slip stitch
This tightens the opening and helps the shoe stay on the foot.
STEP 5: Add a Simple Border (Optional)
You can keep the shoe plain or add a decorative edge.
Easy Border Option:
- Slip stitch in next stitch
- Chain 2
- Skip one stitch
- Repeat around
Or simply work another round of single crochet.
STEP 6: Fasten Off and Finish
- Cut the yarn, leaving a short tail
- Pull yarn through the last loop
- Weave in all loose ends using a yarn needle
- Make the second shoe the same way
Tips for Making Crochet Shoes Very Easy
- Use light-colored yarn so you can see stitches clearly
- Count stitches at the end of each round
- Keep your tension relaxed
- Practice basic stitches before starting
- Make both shoes together for equal size
Safety Tips (Especially for Baby Shoes)
- Use soft, breathable yarn
- Avoid buttons or beads for small babies
- Do not make shoes too tight
- Always supervise babies wearing crochet shoes
Final Thoughts
Very easy crochet shoes are perfect for beginners who want quick and satisfying results. With just a few simple stitches and easy steps, you can create soft, comfortable shoes that look beautiful and handmade. Once you master this basic method, you can experiment with colors, sizes, and decorations to make your own unique designs.
Crocheting shoes is not only relaxing but also a wonderful way to create something meaningful with your hands.
If you want, I can also:
- Simplify this into a super-easy pattern
- Write a video tutorial script
- Create crochet shoes for adults
Just tell me 😊