 by
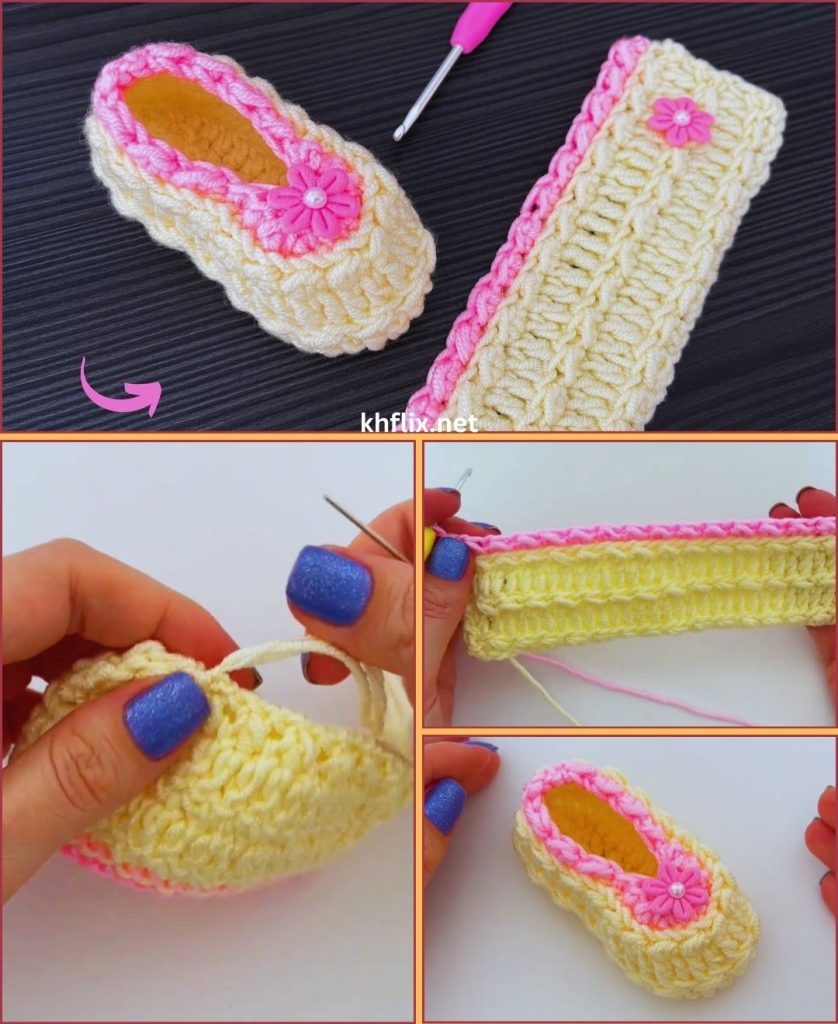
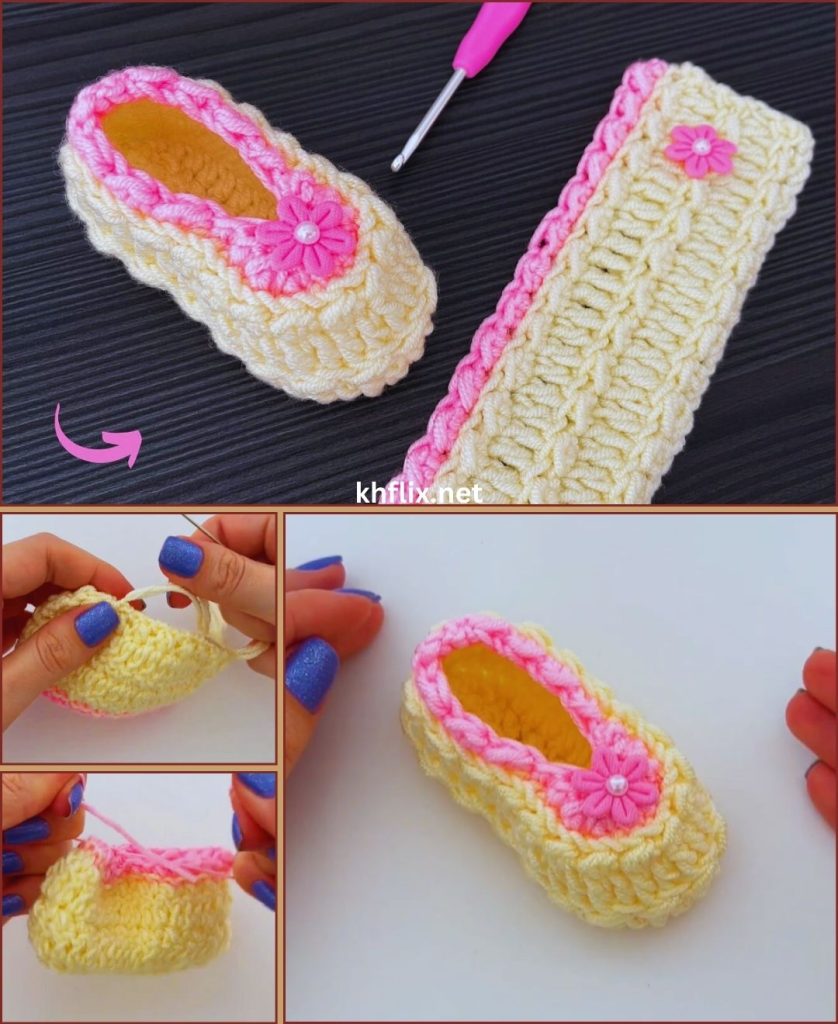
by Crocheting baby booties in two colors is a beautiful way to make your handmade project extra special. Two-color booties look stylish, neat, and professionally finished, yet they are still very easy to make—even for beginners. These booties are soft, warm, and perfect for newborns and young babies.
In this detailed guide, you will learn how to crochet baby booties step by step using two colors, from choosing yarn to finishing the final stitches.
Why Choose Two-Color Baby Booties?
Two-color crochet booties are popular because:
- They look more decorative and attractive
- You can match baby outfits easily
- They help beginners learn color changes
- They make great handmade gifts
- They look fancy but use simple stitches
You can use one color for the sole and body and another color for the cuff or border.
Materials Needed
Before starting, prepare the following items:
1. Yarn (Two Colors)
- Color A: Main color (sole and body)
- Color B: Contrast color (cuff or trim)
- Use soft baby yarn (DK or worsted weight)
- Choose cotton or acrylic yarn suitable for babies
Popular color combinations:
- White & pink
- Cream & blue
- Yellow & white
- Grey & mint
- Beige & brown
2. Crochet Hook
- Size 3.5 mm to 4.5 mm
- Follow yarn label recommendations
3. Other Supplies
- Scissors
- Yarn needle
- Stitch marker (optional)
Crochet Stitches Used
This project uses only basic stitches:
- Chain (ch)
- Slip stitch (sl st)
- Single crochet (sc)
- Half double crochet (hdc)
- Double crochet (dc)
- Decrease (hdc2tog or sc2tog)
Perfect for beginners!
Baby Bootie Size Guide (Approximate)
| Baby Age | Sole Length |
|---|---|
| Newborn (0–3 months) | 3.5 inches |
| 3–6 months | 4 inches |
| 6–9 months | 4.5 inches |
This tutorial explains newborn size.
STEP 1: Crochet the Sole (Color A)
The sole is made first using Color A.
Round 1:
- Make 10 chains
- In the second chain from hook, make 2 hdc
- Make 1 hdc in next 6 chains
- In last chain, make 5 hdc
- Continue on the other side of the chain:
- 1 hdc in next 6 stitches
- 2 hdc in last stitch
- Join with slip stitch
Round 2:
- Chain 1
- 2 hdc in first stitch
- 2 hdc in next stitch
- 1 hdc in next 6 stitches
- 2 hdc in next 5 stitches
- 1 hdc in next 6 stitches
- 2 hdc in next 2 stitches
- Join with slip stitch
Round 3:
- Chain 1
- Hdc around, making small increases at toe and heel
- Join with slip stitch
Your sole should now be flat and oval-shaped.
STEP 2: Create the Sides of the Bootie
This step gives height to the bootie.
Round 4:
- Chain 1
- Work hdc in back loops only all around
- Join with slip stitch
This creates a sharp edge between the sole and body.
STEP 3: Shape the Front (Toe Area)
Round 5:
- Chain 1
- Hdc in first 8 stitches
- Hdc decrease over next 6 stitches
- Hdc in remaining stitches
- Join with slip stitch
Round 6:
- Chain 1
- Hdc in first 7 stitches
- Hdc decrease over next 4 stitches
- Hdc in remaining stitches
- Join with slip stitch
Now the bootie should clearly look like a shoe.
STEP 4: Change Color (Color B)
Now we introduce the second color.
How to Change Color Neatly:
- Finish the last stitch of the previous round
- Pull Color B through the final loop
- Tighten gently
- Cut Color A or carry it inside
STEP 5: Crochet the Cuff (Color B)
The cuff makes the bootie cozy and stylish.
Round 7:
- Chain 1 with Color B
- Single crochet evenly around
- Join with slip stitch
Round 8:
- Chain 2
- Double crochet in each stitch around
- Join with slip stitch

Round 9:
- Chain 2
- Front post double crochet (optional) or normal dc around
- Join with slip stitch
This creates a stretchy and soft cuff.
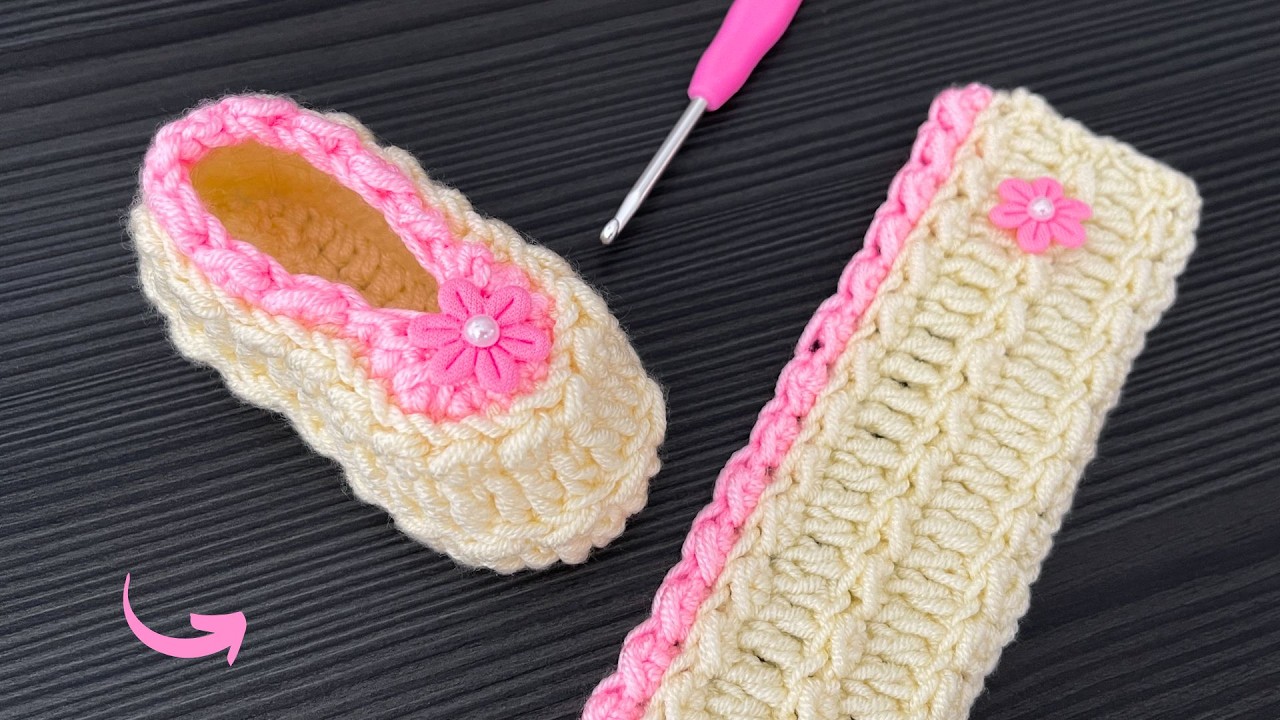
STEP 6: Add Decorative Trim (Optional)
You can decorate the booties with:
Simple Picot Edge:
- Slip stitch
- Chain 3
- Slip stitch into same stitch
- Skip one stitch and repeat
OR
Shell Border:
- 5 dc in one stitch
- Skip two stitches
- Slip stitch
- Repeat around
STEP 7: Fasten Off and Finish
- Cut yarn
- Pull through last loop
- Weave in all loose ends using yarn needle
- Make the second bootie the same way
Tips for Beginners
- Keep stitches even and relaxed
- Count stitches every round
- Use stitch markers for shaping
- Practice color change on scrap yarn
- Make both booties together to keep size consistent
Safety Tips for Baby Booties
- Avoid hard buttons or beads
- Use soft yarn only
- Do not make booties too tight
- Always supervise babies wearing booties
Final Thoughts
Two-color baby booties are a wonderful crochet project that combines simplicity with elegance. With basic stitches and easy color changes, you can create beautiful handmade footwear that looks store-bought but feels much more special. Once you master this pattern, you can experiment with stripes, themes, and different cuff styles.
If you want, I can also:
- Write a super-simple beginner version
- Create a two-color sandal or high-top bootie guide
- Turn this into a printable pattern
Just let me know 😊