by
by Crocheting baby shoes is one of the most rewarding and adorable crochet projects you can make. Baby shoes are small, quick to complete, and perfect for beginners because they use simple stitches and basic shaping. They also make wonderful handmade gifts for baby showers, birthdays, or newborn photo sessions.
In this detailed guide, you will learn how to crochet baby shoes step by step, even if you are new to crochet. Each step is explained clearly, from choosing materials to finishing touches.
Why Crochet Baby Shoes?
Crochet baby shoes are popular because:
- They are soft and gentle on baby’s feet
- They can be customized in size, color, and style
- They require only small amounts of yarn
- They are quick projects (often finished in 1–2 hours)
- They look cute and professional even with basic stitches
Materials You Will Need
Before starting, gather the following supplies:
1. Yarn
- Use soft baby yarn or lightweight (DK or worsted weight) yarn
- Choose 100% cotton or acrylic baby yarn
- Avoid itchy or rough yarns
Recommended colors: pastel shades like pink, blue, white, yellow, mint, or cream
2. Crochet Hook
- Usually 3.5 mm to 4.5 mm (E–G hook)
- Check yarn label for recommended hook size
3. Other Tools
- Yarn needle (for weaving ends)
- Scissors
- Stitch marker (optional but helpful)
Basic Crochet Stitches Used
Before starting, make sure you know these basic stitches:
- Chain (ch)
- Slip stitch (sl st)
- Single crochet (sc)
- Half double crochet (hdc)
- Double crochet (dc)
- Increase (2 stitches in one stitch)
These stitches are easy and commonly used in baby shoes.
Baby Shoe Size Guide (Approximate)
| Age | Sole Length |
|---|---|
| Newborn (0–3 months) | 3.5 inches |
| 3–6 months | 4 inches |
| 6–9 months | 4.5 inches |
This tutorial explains a newborn size, but you can adjust by adding rounds.
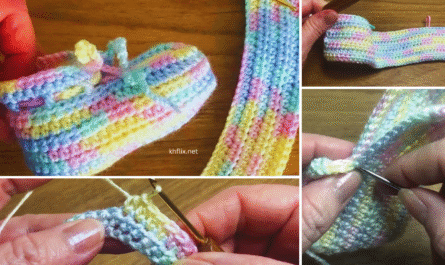
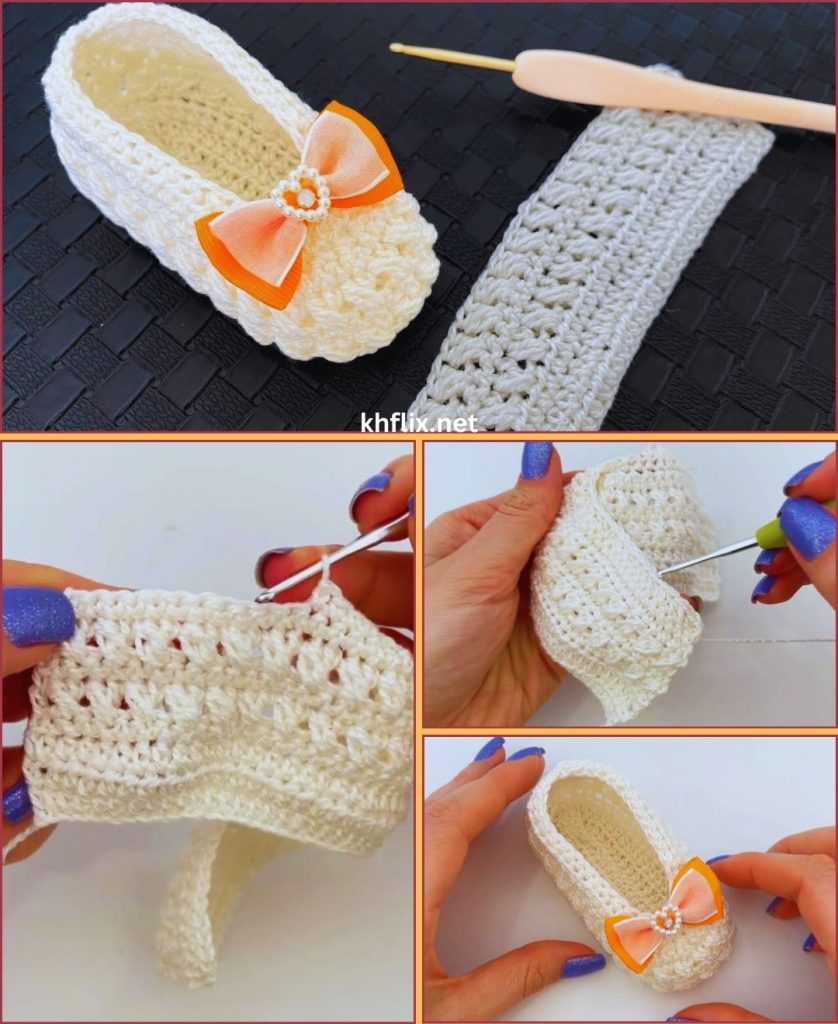
Step 1: Crochet the Sole
The sole is the foundation of the baby shoe.
Round 1:
- Make 10 chains
- In the second chain from hook, work:
- 2 hdc
- Work 1 hdc in next 6 chains
- In last chain, work 5 hdc
- Now continue on the opposite side of the chain:
- 1 hdc in next 6 stitches
- 2 hdc in last stitch
- Join with a slip stitch
Round 2:
- Chain 1
- Make 2 hdc in the first stitch
- 2 hdc in the next stitch
- 1 hdc in next 6 stitches
- 2 hdc in next 5 stitches
- 1 hdc in next 6 stitches
- 2 hdc in next 2 stitches
- Join with slip stitch
This forms an oval shape for the baby’s foot.
Round 3:
- Chain 1
- Work hdc around, increasing slightly at the toe and heel
- Join with slip stitch
At this point, the sole should lie flat and measure about 3.5 inches.
Step 2: Build the Sides of the Shoe
This step gives height to the shoe.
Round 4:
- Chain 1
- Work hdc in back loops only all around
- Join with slip stitch
This creates a clean edge and helps the shoe stand upright.
Step 3: Shape the Toe Area
Now we shape the front of the shoe.
Round 5:
- Chain 1
- Hdc in first 8 stitches
- Hdc decrease over next 6 stitches
- Hdc in remaining stitches
- Join with slip stitch
Round 6:
- Chain 1
- Hdc in first 7 stitches
- Hdc decrease over next 4 stitches
- Hdc in remaining stitches
- Join with slip stitch
You will see the front of the shoe closing in.
Step 4: Create the Shoe Opening
This round smooths the opening.
Round 7:
- Chain 1
- Work single crochet evenly around
- Join with slip stitch
This creates a neat, snug edge around the ankle.
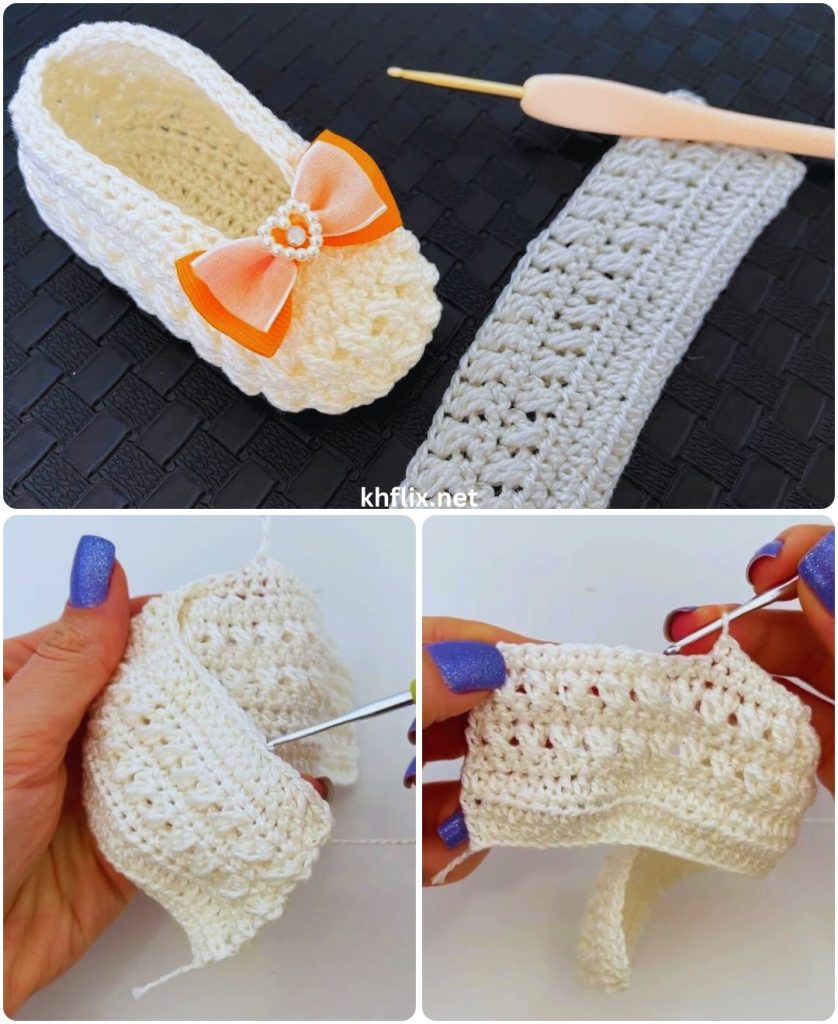
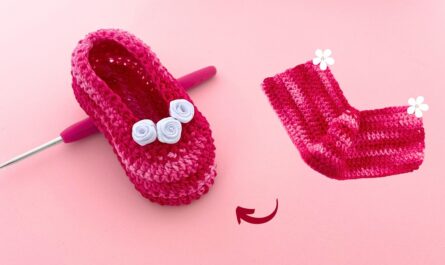
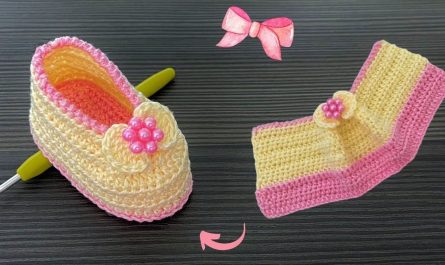
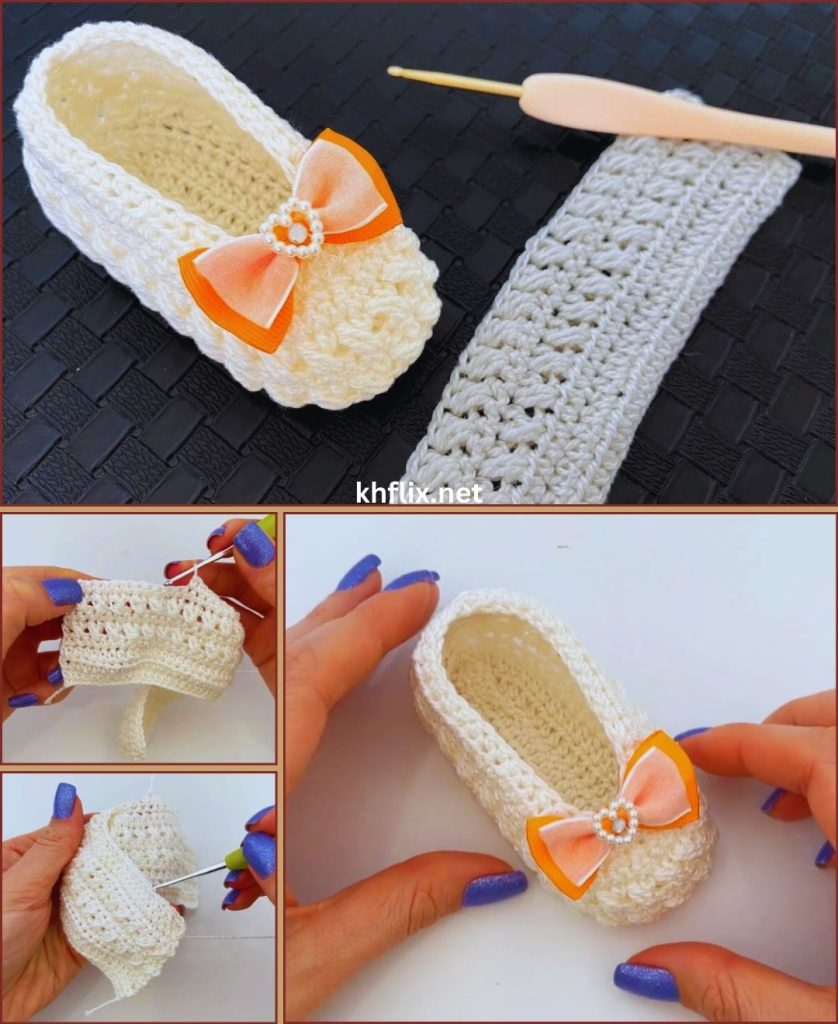
Step 5: Add a Decorative Border (Optional)
You can decorate the baby shoe for extra charm.
Simple Shell Border:
- Slip stitch
- Skip one stitch
- Work 5 double crochets in next stitch
- Skip one stitch
- Slip stitch in next stitch
- Repeat around
Or you can:
- Add a ribbon
- Crochet a small bow
- Attach a button (for decoration only, not for sleeping babies)
Step 6: Fasten Off and Finish
- Cut yarn, leaving a small tail
- Pull yarn through last loop
- Use yarn needle to weave in all loose ends
- Make the second shoe the same way
Tips for Beginners
- Keep stitches loose but even
- Count stitches every round
- Try the shoe on a doll or soft toy to check fit
- Use stitch markers to track rounds
- Practice with scrap yarn first
Safety Tips for Baby Shoes
- Avoid small buttons for newborns
- Do not make shoes too tight
- Use soft, breathable yarn
- Always supervise babies wearing shoes
Final Thoughts
Crocheting baby shoes is an easy and enjoyable project that produces beautiful results with minimal effort. With just basic stitches and simple shaping, you can create adorable handmade shoes that are comfortable and stylish. As you gain confidence, you can experiment with colors, patterns, and embellishments.
Once you make your first pair, you’ll likely want to make many more!
If you’d like, I can also:
- Simplify this into a very beginner version
- Add pictures guidance (text-based)
- Write a different style like booties or sandals
Just tell me 😊