by
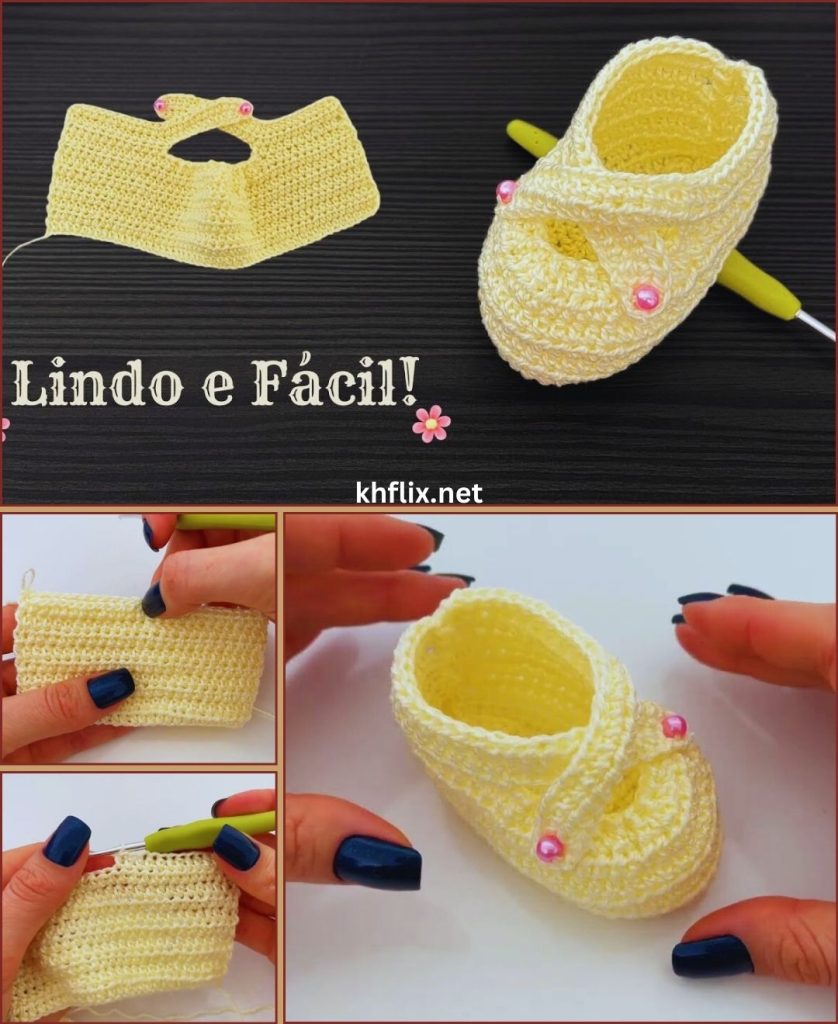
by Crocheting baby shoes is one of the most adorable and rewarding projects you can make. They’re small, quick to finish, and perfect for gifts, baby showers, or your own little one. If you’re new to crochet, don’t worry—this detailed guide will walk you through everything step by step using simple stitches.
By the end of this article, you’ll know how to crochet a soft, comfortable, and beginner-friendly baby shoe pattern with confidence.
Why Crochet Baby Shoes?
Before we begin, here’s why baby shoes are such a great project:
- ✅ Quick to make (usually 1–2 hours)
- ✅ Uses small amounts of yarn
- ✅ Perfect for beginners
- ✅ Customizable with colors and decorations
- ✅ Makes a thoughtful handmade gift
Now let’s get started!
Materials You’ll Need
To crochet easy baby shoes, gather these supplies:
1. Yarn
- Lightweight (DK) or worsted weight yarn
- Soft acrylic or cotton blend (baby-friendly and washable)
- About 50–100 yards
2. Crochet Hook
- 3.5mm (E) or 4mm (G) hook
(Check your yarn label for recommendations.)
3. Other Supplies
- Yarn needle
- Scissors
- Stitch marker (optional but helpful)
Basic Crochet Stitches You Need to Know
This pattern uses beginner stitches:
- CH – Chain
- SL ST – Slip Stitch
- SC – Single Crochet
- HDC – Half Double Crochet
- DC – Double Crochet
- INC – Increase (2 stitches in one)
If you can do these, you’re ready!
Baby Shoe Sizing Guide
For beginners, start with 0–3 months size.
Sole Length Reference:
- 0–3 months: 3.5–4 inches
- 3–6 months: 4–4.5 inches
- 6–12 months: 4.5–5 inches
We’ll focus on 0–3 months for this tutorial.
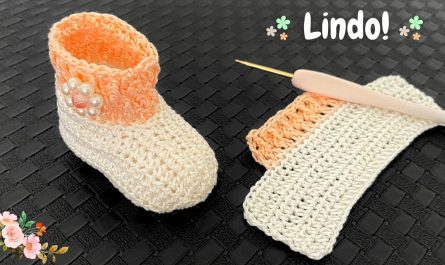
Step 1: Crochet the Sole
The sole is the foundation of your baby shoe.
Round 1:
- CH 10
- 2 HDC in 2nd chain from hook
- HDC in next 7 chains
- 5 HDC in last chain
- Working along the opposite side:
- HDC in next 7 chains
- 3 HDC in last chain
- SL ST to join
You now have a rounded oval shape.

Round 2:
- CH 1
- 2 HDC in first stitch
- 2 HDC in next stitch
- HDC in next 7 stitches
- 2 HDC in next 5 stitches
- HDC in next 7 stitches
- 2 HDC in last 3 stitches
- SL ST to join
Your sole should now lay flat and oval-shaped.
Round 3:
- CH 1
- HDC around entire sole
- SL ST to join
Now your base is complete!
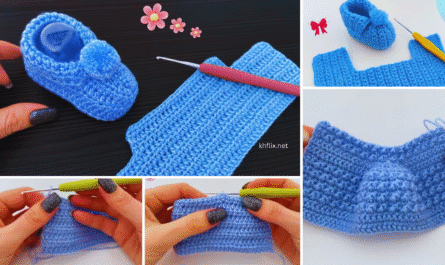
Step 2: Build the Sides
Now we start shaping the shoe.
Round 4:
- CH 1
- SC in BACK LOOP ONLY around
- SL ST to join
This creates a nice ridge and helps the shoe turn upward.
Round 5:
- CH 1
- SC in each stitch around
- SL ST to join
You should now see the sides forming like a little bowl.
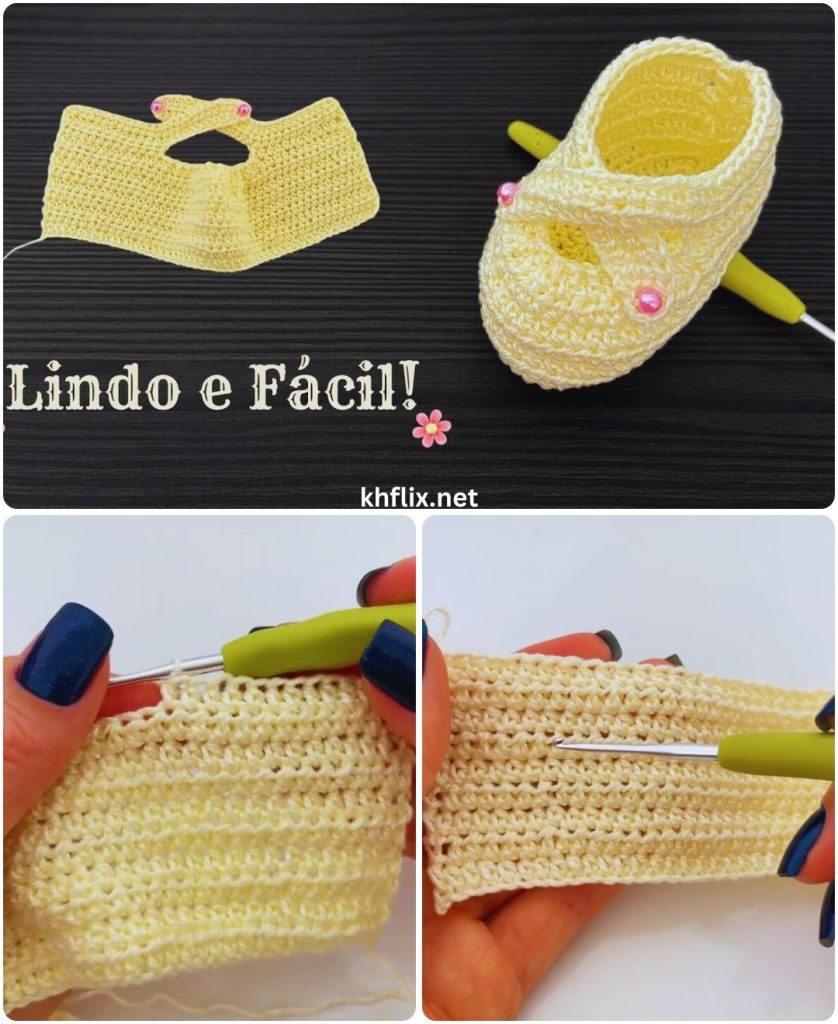
Step 3: Shape the Toe
This is where the shoe begins to look real!
- Count 10 stitches from center front.
- Place markers if needed.
- SC until you reach first marker.
- Now decrease across the toe:
- SC2TOG (single crochet 2 together) across 10 stitches.
- Continue SC to end.
- SL ST to join.
Repeat one more decrease round if you want a tighter toe.
Your baby shoe should now look like a tiny slipper!
Step 4: Add the Strap (Optional but Cute!)
Straps make baby shoes secure and adorable.
Simple Strap:
- Attach yarn at side.
- CH 15 (or enough to go across top)
- SL ST to opposite side.
- Fasten off.
You can sew a small button on one side for decoration.
Optional Decorations
Make your baby shoes extra special:
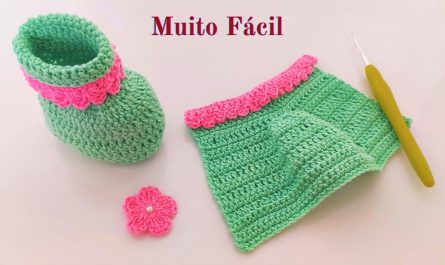
- 🌸 Crochet a small flower and attach
- 🎀 Add a tiny bow
- ⭐ Use two colors (sole one color, body another)
- 🧵 Add edging with contrasting yarn
Keep decorations secure and baby-safe.
Tips for Perfect Baby Shoes
✔ Use soft yarn only
✔ Keep stitches even but not too tight
✔ Check size before finishing
✔ Make both shoes at the same time to match tension
Washing & Care
- Machine washable yarn is best
- Wash in cold water
- Lay flat to dry
- Avoid harsh detergents
Customizing the Pattern
Want different sizes?
- Add more starting chains for larger sizes
- Add extra increase rounds
- Use thicker yarn for bigger shoes
- Use thinner yarn for newborn preemie size
Common Beginner Mistakes
❌ Sole curling → Too many increases
❌ Sole ruffling → Too few increases
❌ Shoe too stiff → Tension too tight
❌ Different shoe sizes → Count stitches carefully
Final Thoughts
Crocheting baby shoes is a beautiful way to create something handmade and meaningful. This easy baby shoe pattern is beginner-friendly, customizable, and quick to complete.
Once you make your first pair, you’ll want to make them in every color!
If you’d like, I can also provide:
- A printable PDF-style version
- A video-style breakdown
- A lacy baby girl version
- A sneaker-style baby bootie pattern
- A chart diagram version
Just tell me what you’d like next 😊