 by
by A Detailed Step-by-Step Guide for Beginners
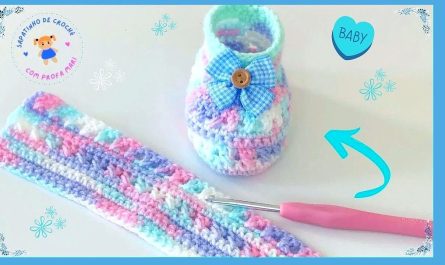
Crocheting baby shoes is one of the sweetest and most satisfying projects you can make. They are tiny, quick to finish, and full of charm. Best of all, you don’t need advanced skills to create something that looks elegant and professional.
In this detailed guide, you will learn an easy and beautiful technique for crocheting baby shoes using simple stitches and a smart construction method. Even if you’re a beginner, you’ll be able to follow along confidently.
Let’s begin step by step.
Why Crochet Baby Shoes?
Before diving into the pattern, here’s why baby shoes are such a wonderful project:
- They use very little yarn
- They work up quickly (1–2 hours per pair)
- They’re perfect baby shower gifts
- They can be customized endlessly
- They help beginners practice shaping
Most importantly — they are adorable!
Materials You’ll Need
Keep your supplies simple and soft.
Yarn
- DK (lightweight #3) or soft worsted (#4)
- Baby acrylic or cotton blend
- About 50–80 yards per pair
Choose gentle, baby-friendly colors like white, cream, blush, soft blue, or mint.
Crochet Hook
- 3.5 mm (E) for DK yarn
- 4.0 mm (G) for worsted yarn
Your fabric should feel soft but structured — not stiff.
Other Supplies
- Scissors
- Yarn needle
- Stitch markers (optional)
- Small decorative button or bow (optional)
Basic Stitches Used
This easy pattern only uses beginner stitches:
- CH – Chain
- SL ST – Slip Stitch
- SC – Single Crochet
- HDC – Half Double Crochet
- SC2TOG – Single Crochet 2 Together (decrease)
If you know these, you’re ready!
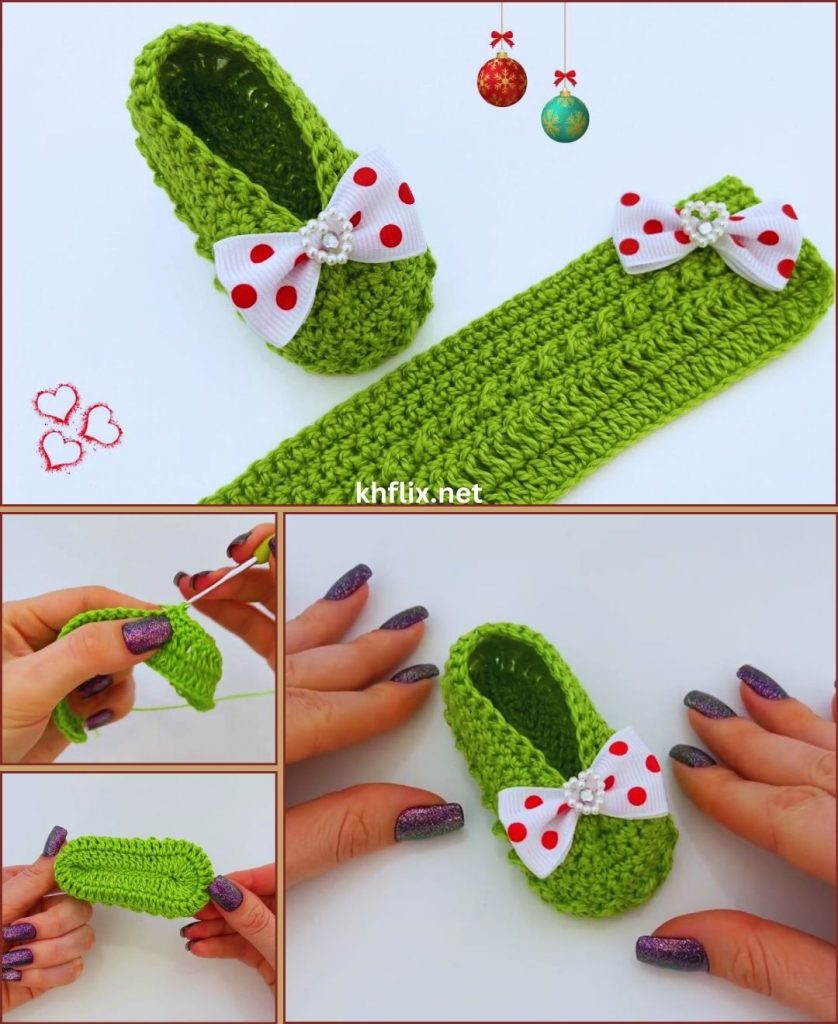
Understanding the Easy Construction Method
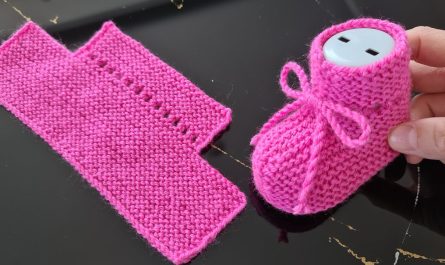
Beautiful crochet baby shoes are made using three simple stages:
- Crochet the oval sole
- Build the side walls
- Shape the toe
This technique creates smooth shaping and a professional look — without sewing separate pieces.
Size Guide (0–3 Months)
We’ll make a 0–3 month size.
- Sole length: 3.5–4 inches
- Baby foot length: about 9–10 cm
You can adjust size later by adding chains and increase rounds.
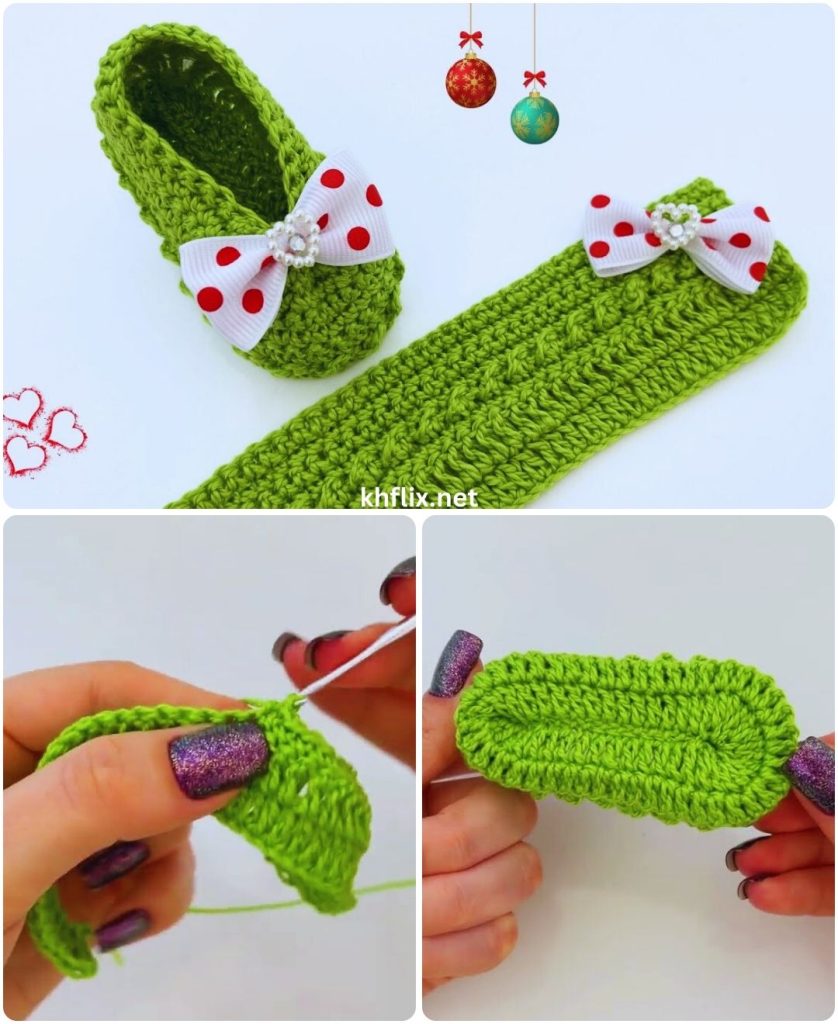
Step 1: Crochet the Oval Sole
The sole is the foundation of your shoe.
Round 1
- Chain 10
- 2 HDC in 2nd chain from hook
- HDC in next 7 chains
- 5 HDC in last chain
- Turn and work on opposite side
- HDC in next 7 stitches
- 3 HDC in last stitch
- Slip stitch to join
You now have a soft oval.
Round 2 (Increase Round)
- Chain 1
- 2 HDC in first stitch
- 2 HDC in next stitch
- HDC in next 7 stitches
- 2 HDC in next 5 stitches
- HDC in next 7 stitches
- 2 HDC in last 3 stitches
- Slip stitch to join
Lay it flat.
It should:
- Not curl
- Not ripple
Balance is key to beauty.
Round 3 (Stabilizing Round)
- Chain 1
- HDC in each stitch around
- Slip stitch to join
Your sole should measure about 3.5–4 inches.
Beautiful and even.
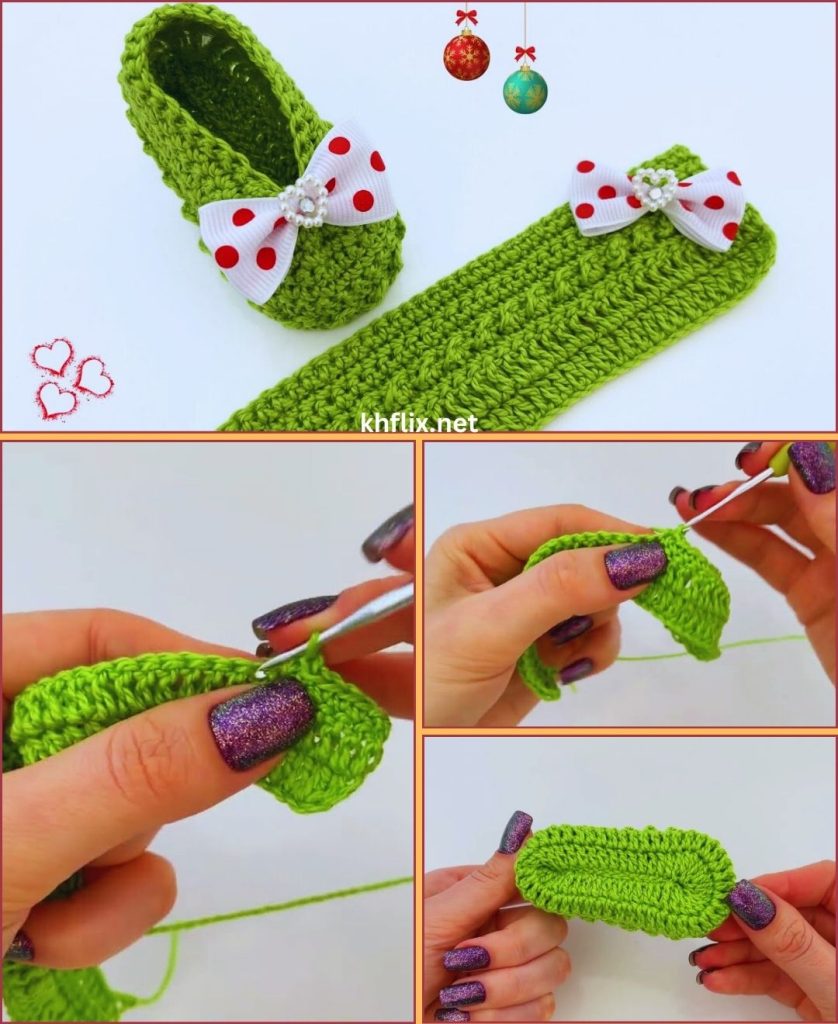
Step 2: Build the Shoe Walls
Here’s where the magic begins.
Round 4 (Back Loop Only)
- Chain 1
- SC in BACK LOOP ONLY around
- Slip stitch to join
This creates a ridge and forces the work to curve upward.
Instant shoe shape!
Round 5
- Chain 1
- SC in each stitch around
- Slip stitch to join
Round 6
Repeat Round 5.
You now have a small bowl shape — this is the body of the shoe.
Step 3: Shape the Beautiful Rounded Toe
This step transforms the bowl into a shoe.
Find the Center Front
- Fold the shoe in half
- Mark the center stitch
- Count 10 stitches across the toe area
First Decrease Round
- SC until you reach the toe section
- SC2TOG across the 10 toe stitches
- SC to end
- Slip stitch to join
The toe will begin closing softly.
Second Decrease Round
Repeat the same process across the toe area.
Now it looks like a real baby slipper!
The gentle decreases create a smooth, rounded front.
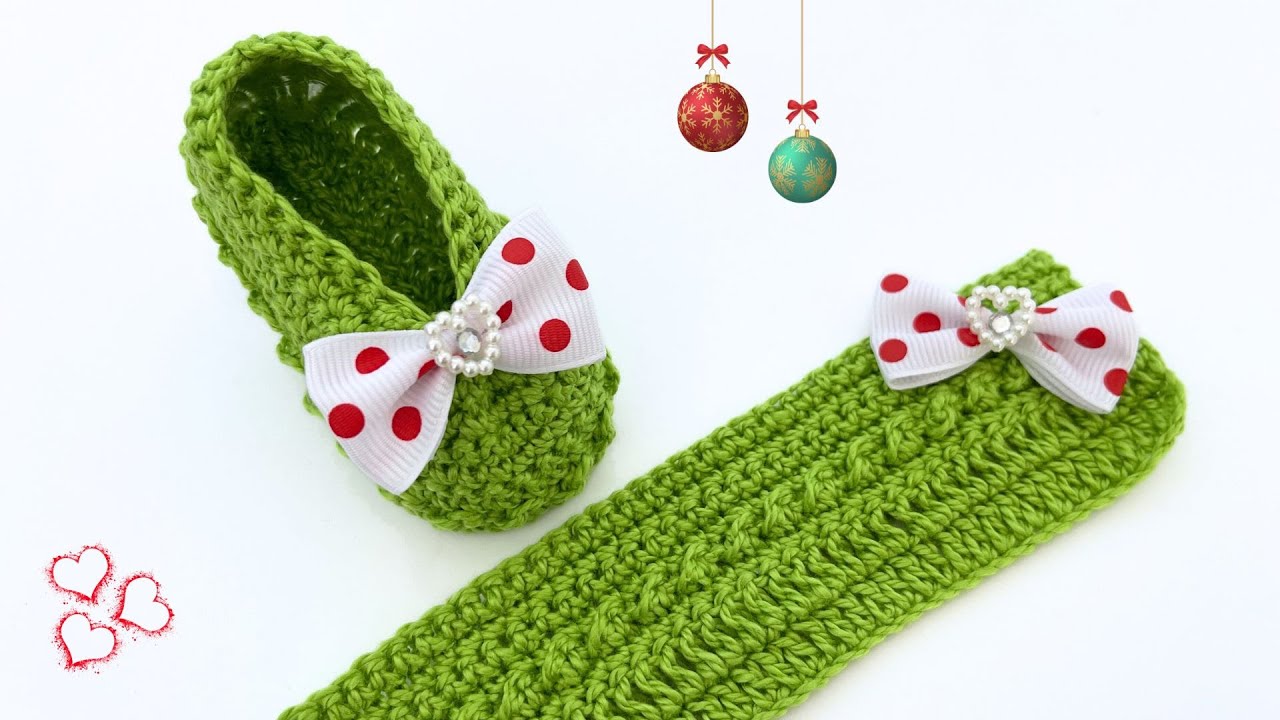
Optional: Add a Cute Strap
To make the shoe extra secure and stylish:
- Attach yarn at side
- Chain 14–18
- Slip stitch to opposite side
- Fasten off
Add a small button for decoration.
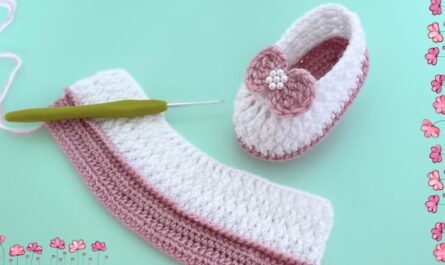
Optional: Add a Decorative Flower
Quick mini flower:
- Make a magic ring
- (Chain 2, 2 DC, Chain 2, Slip stitch) — repeat 5 times
- Pull ring tight
- Fasten off and sew onto shoe
Instant elegance.
Tips for Making Your Shoes Look Professional
Keep Tension Even
Too tight = stiff shoes
Too loose = floppy shape
Count Stitches Carefully
This ensures both shoes match.
Make Both Shoes Together
Work one round on Shoe A, then one round on Shoe B.
This keeps sizing identical.
Lightly Shape After Finishing
Gently shape the shoe with your hands for a polished look.
Adjusting for Larger Sizes
For 3–6 months:
- Chain 12
- Add one extra increase round
For 6–12 months:
- Chain 14
- Add 1–2 increase rounds
Everything else stays the same.
Common Mistakes and Fixes
Sole Curling
Too few increases — add 1–2 at curved ends.
Sole Ruffling
Too many increases — remove one increase section.
Shoe Too Tight
Add one more wall round.
Shoe Too Loose
Add one more toe decrease round.
Creative Variations
Once you master this easy technique, try:
- Two-color soles
- Ribbed edging
- Picot trim
- Ankle cuffs
- Lace-up sneaker style
- Sandal version
- Winter bootie
The structure remains the same — only details change.
Why Handmade Baby Shoes Are Special
Crochet baby shoes are more than just footwear.
They are:
- Keepsakes
- Gifts made with love
- First-photo accessories
- Baby shower treasures
Each stitch carries warmth and care.
Final Thoughts
Making easy and beautiful crochet baby shoes is all about understanding structure:
- Oval sole
- Back-loop wall
- Gentle toe shaping
That’s the secret.
With this technique, you can confidently create soft, elegant baby shoes that look professionally made — even as a beginner.
Would you like next:
- A printable formatted version?
- A baby sandal pattern?
- A sneaker-style crochet baby shoe?
- A full baby size chart guide?
Tell me what you’d love to make next! 😊💕