 by
by Crocheting your own bag is one of the most satisfying beginner-friendly projects you can start with. It’s practical, stylish, customizable, and surprisingly simple. If you’re new to crochet and want a quick and simple latest design tutorial, this detailed guide will walk you through everything—from materials to finishing touches.
Whether you’re making it for daily use, gifting, or even starting a small handmade business, this beginner crochet bag tutorial will help you create a beautiful piece with confidence.
Why a Crochet Bag Is Perfect for Beginners
Crochet bags are ideal starter projects because:
- They use basic stitches only
- Shapes are usually simple (rectangles or squares)
- No complex shaping required
- You can finish in just a few hours
- Mistakes are easy to fix
Plus, handmade crochet bags are trendy and eco-friendly alternatives to plastic bags.
Materials You Will Need
Before starting, gather these basic supplies:
🧶 Yarn
- Medium-weight yarn (Category 4 worsted weight)
- Cotton yarn is highly recommended for durability
- Approx. 200–300 grams depending on size
🪡 Crochet Hook
- 4.5mm – 5.5mm hook (check yarn label recommendation)
✂️ Other Supplies
- Yarn needle
- Scissors
- Stitch markers (optional but helpful)
- Measuring tape
Basic Crochet Stitches You Should Know
This easy crochet bag uses only beginner stitches:
- Chain (ch)
- Single Crochet (sc)
- Slip Stitch (sl st)
If you can make a chain and single crochet, you can absolutely make this bag.
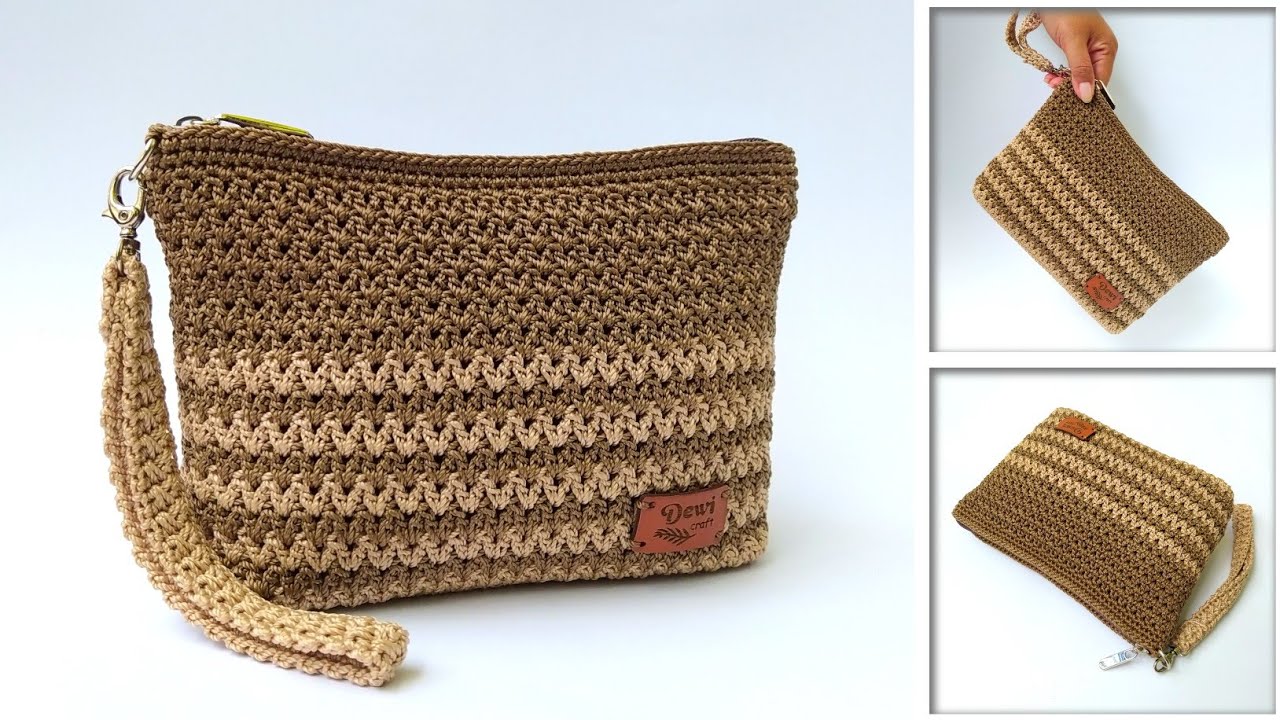
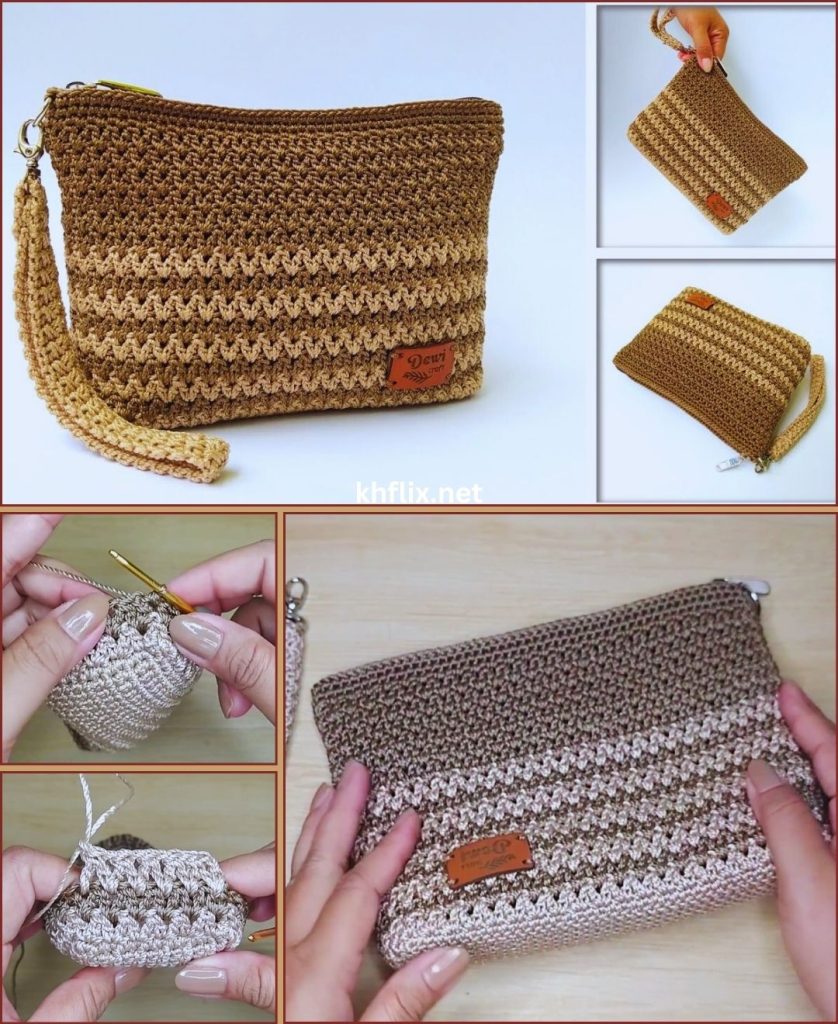
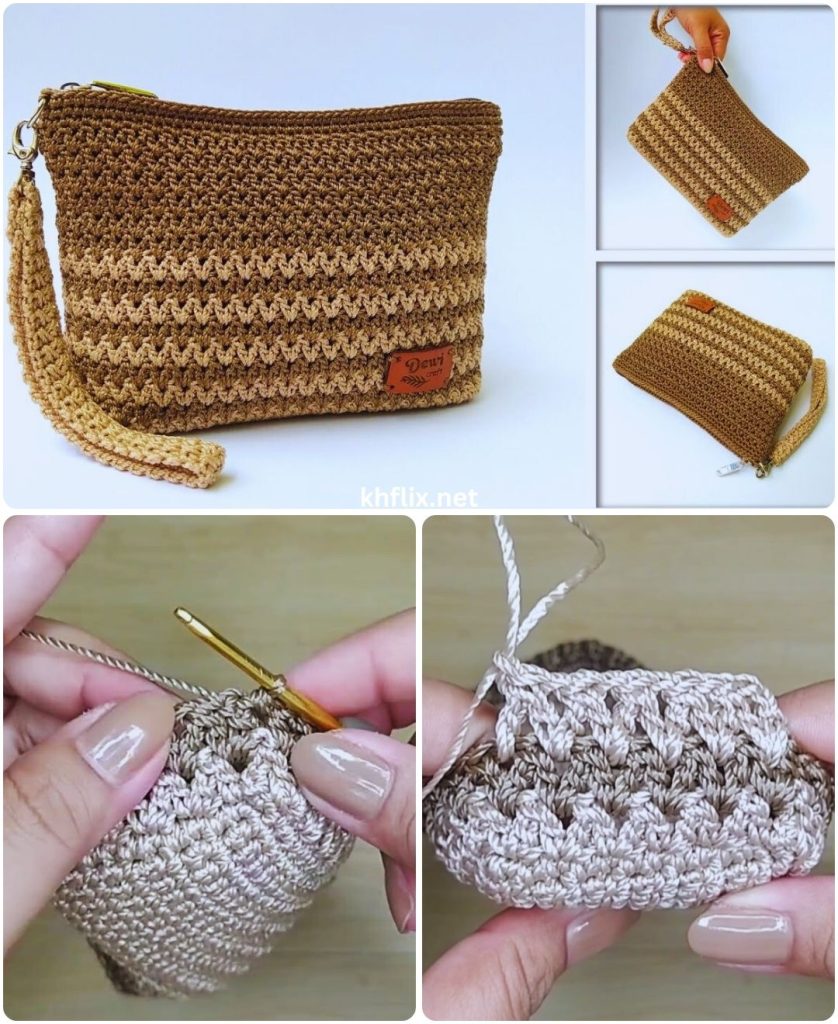
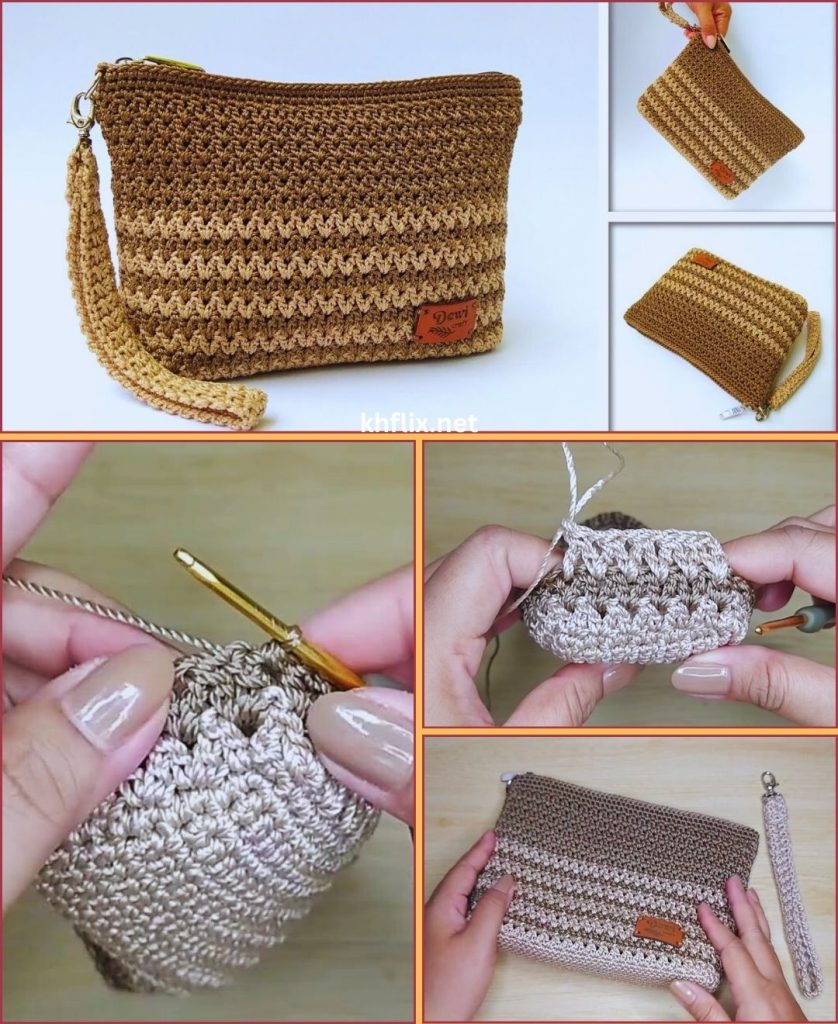
Simple and Modern Crochet Bag Design
This tutorial creates a rectangular tote-style bag, which is very trendy and practical.
Finished Size:
- Width: 30 cm (12 inches)
- Height: 35 cm (14 inches)
- Strap length: Customizable
Step-by-Step Crochet Bag Tutorial
Step 1: Create the Base Chain
- Make a slip knot.
- Chain 31 stitches (or desired width).
- Add 1 extra chain for turning.
💡 Tip: The number of chains determines the bag width.
Step 2: Row 1 – Single Crochet
- Insert hook into second chain from hook.
- Single crochet across.
- You should have 30 single crochet stitches.
- Chain 1 and turn.
Step 3: Build the Body of the Bag
Repeat:
- Single crochet across each row
- Chain 1
- Turn
Continue until the piece measures about 70 cm (28 inches).
Why 70 cm?
Because we will fold it in half to create the front and back panels.
Step 4: Fold and Shape the Bag
- Fold your long rectangle in half.
- Make sure edges align perfectly.
- The fold becomes the bottom of your bag.
Now you will crochet the sides closed.
Step 5: Close the Sides
Option 1 (Beginner Friendly): Single Crochet Join
- Insert hook through both side layers.
- Single crochet evenly up the side.
- Repeat on the other side.
Option 2: Sew sides using a yarn needle.
Now your bag body is complete!
Adding Strong Crochet Handles
Handles can make or break your bag. Let’s make sturdy ones.
Method 1: Simple Built-In Crochet Strap
- Attach yarn at one top corner.
- Chain 60–80 stitches (depending on desired strap length).
- Attach to opposite side with slip stitch.
- Turn and single crochet across the chain.
- Slip stitch to secure and fasten off.
Repeat for second strap.
Method 2: Thick Reinforced Strap (Recommended)
- Chain desired length.
- Single crochet 3–4 rows.
- Sew firmly onto bag.
This makes the bag stronger for carrying heavier items.
Optional: Add a Lining (Beginner Simple Version)
Although optional, lining improves durability.
Simple Lining Steps:
- Cut fabric same size as bag.
- Fold and sew sides.
- Insert inside bag.
- Hand stitch along top edge.
This prevents stretching and adds a professional finish.
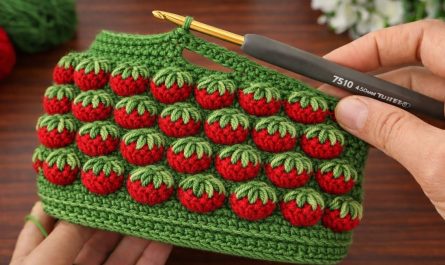
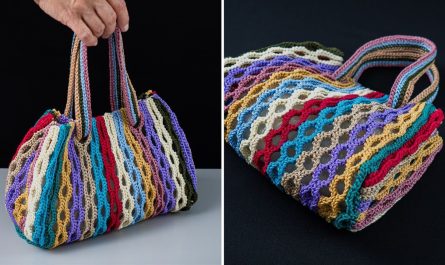
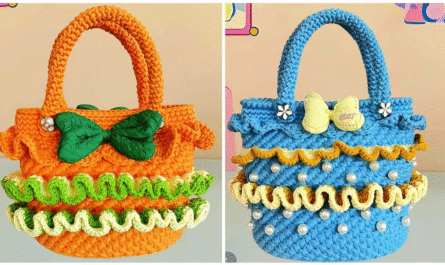
Latest Design Variations (Make It Trendy!)
Here are some modern ideas to personalize your crochet bag:
🌿 Boho Style
- Add tassels
- Use earthy color yarn
- Add wooden beads
🎨 Color Block Design
- Change yarn color every 5–10 rows
- Creates a stylish striped tote
🧵 Textured Look
- Alternate rows of single crochet and half double crochet
- Creates subtle ribbing
👜 Mini Shoulder Bag Version
- Reduce starting chain to 21
- Make shorter strap
- Perfect everyday purse
Tips for Absolute Beginners
✔ Use light-colored yarn (easier to see stitches)
✔ Count stitches at end of each row
✔ Don’t pull yarn too tight
✔ Practice tension control
✔ Watch your edges so they stay straight
Common Beginner Mistakes
1. Uneven Edges
Cause: Skipping first or last stitch
Fix: Count stitches every row
2. Bag Too Stretchy
Cause: Loose tension or wrong yarn
Fix: Use cotton yarn and smaller hook
3. Weak Handles
Cause: Thin chain only
Fix: Reinforce with extra rows
How Long Does This Project Take?
- Beginner: 4–6 hours
- Intermediate: 2–3 hours
It’s truly a quick and satisfying project!
Why This Is the Perfect First Crochet Bag
This design is:
- Simple
- Minimal shaping
- Modern and stylish
- Beginner-friendly
- Customizable
- Budget-friendly
Once you finish one, you’ll want to make more in different colors!
Final Thoughts
Learning how to make an easy crochet bag for beginners is a fantastic way to build your crochet confidence. This quick and simple latest design tutorial shows that you don’t need complicated patterns to create something beautiful and useful.
Start with basic stitches. Take your time. Don’t worry about perfection. Handmade charm is what makes crochet special.
If you’d like, I can also provide:
- A printable PDF-style pattern
- A YouTube tutorial script
- A version optimized for a blog
- A step-by-step photo guide outline
- Or a version with advanced design elements
Happy crocheting! 🧶✨