 by
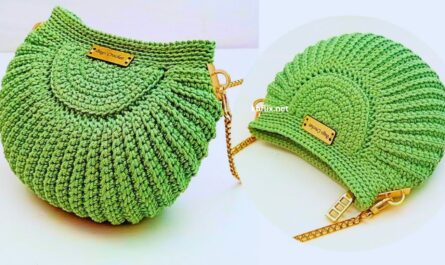
by Crocheting your own accessories is one of the most rewarding and creative ways to express your personal style. Among the many projects you can make, a crochet mini purse is both fun and functional — small enough to finish quickly, yet stylish enough to carry for any occasion.
Whether you want a dainty coin pouch, a trendy crossbody bag, or a cute clutch, this mini purse design tutorial will guide you through the process with clear steps, tips, and variations. It’s perfect for beginners who are learning the basics and want a beautiful end result they can use or gift.
🌸 Why Make a Crochet Mini Purse?
Mini purses are not just adorable — they’re practical! You can use them for:
- Carrying coins, keys, lip balm, or cards.
- Adding a handmade accessory to your outfit.
- Gifting loved ones something personal and handmade.
- Selling at craft fairs or online shops (they’re small, quick, and profitable to make!).
Best of all, this pattern works up quickly and requires very little yarn — making it a great stash-busting project.
🧶 Materials You’ll Need
Before we start, gather these basic supplies:
Yarn:
- Cotton or Acrylic Yarn (Medium Weight / #4) — cotton holds shape well, while acrylic offers softness.
- You’ll need about 50 grams of yarn in your main color.
Hook:
- 4 mm (G-6) crochet hook for standard yarn.
- Adjust hook size to match your yarn’s label for best tension.
Other Supplies:
- ✂️ Scissors
- 🪡 Yarn or tapestry needle
- 🔘 Button, magnetic snap, or zipper (for closure)
- 🎀 Optional: lining fabric, chain strap, or tassel for decoration
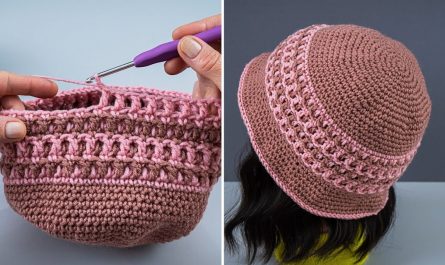
🪡 Crochet Stitches Used
You’ll only need a few basic stitches for this mini purse:
- ch (chain)
- sl st (slip stitch)
- sc (single crochet)
- hdc (half double crochet)
- dc (double crochet)
If you’re new to crochet, spend a few minutes practicing these stitches before beginning the project.
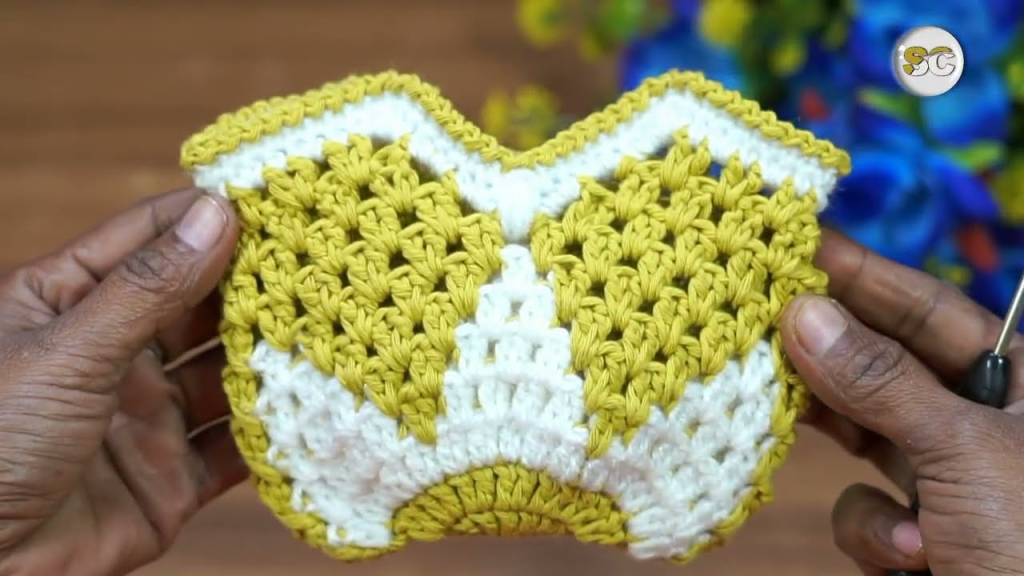
👜 Crochet Mini Purse Pattern — Step-by-Step Tutorial
We’ll be making a rectangular base, folding it into a pouch shape, and adding a simple flap for closure.
The finished size will be approximately 6 inches wide x 4 inches tall, but you can easily resize it by adjusting your starting chains.
🪷 Step 1: Create the Foundation Chain
- Make a slip knot on your hook.
- Chain 31 (this will determine the width of your purse).
- Turn your work.
🌼 Step 2: Crochet the Base
We’ll now make the main rectangle of the purse body.
- In the second chain from the hook, make 1 single crochet (sc).
- Continue making 1 sc in each chain across the row. (Total: 30 sc)
- Chain 1 and turn.
Repeat this for 20 rows or until your piece measures around 6 inches tall.
This creates a flat rectangle — the foundation of your mini purse.
🌷 Step 3: Shape the Purse Body
Now that you have the base, it’s time to fold and seam it into a pouch shape.
- Fold your rectangle upward, leaving about one-third of the length at the top for the flap (unfolded part).
- Example: If your piece is 9 inches long, fold 6 inches up, leaving 3 inches for the flap.
- Join the sides by slip stitching or sewing using a tapestry needle and matching yarn.
You now have a simple crochet pocket — the main body of your mini purse!
🌹 Step 4: Make the Flap
The flap gives your purse a finished look and helps keep your belongings secure.
- With your purse facing you, reattach yarn to the top edge of the back side (where you left the flap section).
- Work 1 sc in each stitch across the row.
- Chain 1 and turn.
- Continue making rows of single crochet for 6–8 rows (depending on how long you want your flap).
Optional Shaping:
To make a curved or pointed flap, start decreasing at each end:
- On each row, skip the first stitch and work across to the second-to-last stitch.
- This gradually narrows the flap, forming a triangle or rounded shape.
🌸 Step 5: Add Edging (Optional but Recommended)
To make your mini purse look neat and polished:
- Attach yarn to any corner.
- Work single crochet stitches evenly around the entire outer edge (flap, sides, and opening).
- Add slip stitch joins to close and fasten off.
You can use a contrasting color for a decorative edge or keep it simple and elegant.
🌼 Step 6: Add the Closure
There are several stylish ways to close your mini purse:
- Button & Loop:
- Crochet a small chain loop on the flap’s tip.
- Sew a matching button on the body of the purse to fit the loop.
- Magnetic Snap:
- Sew or glue magnetic clasps inside for a clean finish.
- Zipper:
- Sew a short zipper along the opening for a secure closure (great for carrying coins).
🌷 Step 7: Optional Strap or Chain Handle
You can leave your purse as a clutch or add a strap for a mini crossbody bag.
Crochet Strap:
- Chain 80–100 (depending on desired length).
- Work 1 row of single crochet or slip stitch across.
- Attach both ends to the inside corners of your purse.
Chain Strap:
Use a metal or beaded chain for a modern look — simply hook it through small loops on each side.
🌹 Step 8: Finishing Touches
- Weave in all yarn ends with a tapestry needle.
- Steam or block lightly if needed to smooth edges.
- Add decorations like:
- Small crochet flowers 🌸
- Tassels or pom-poms 🎀
- Beads or embroidery 🌿
These embellishments can make your mini purse unique and stylish!
🌻 Optional Variations
Once you master the basic mini purse pattern, try these creative versions:
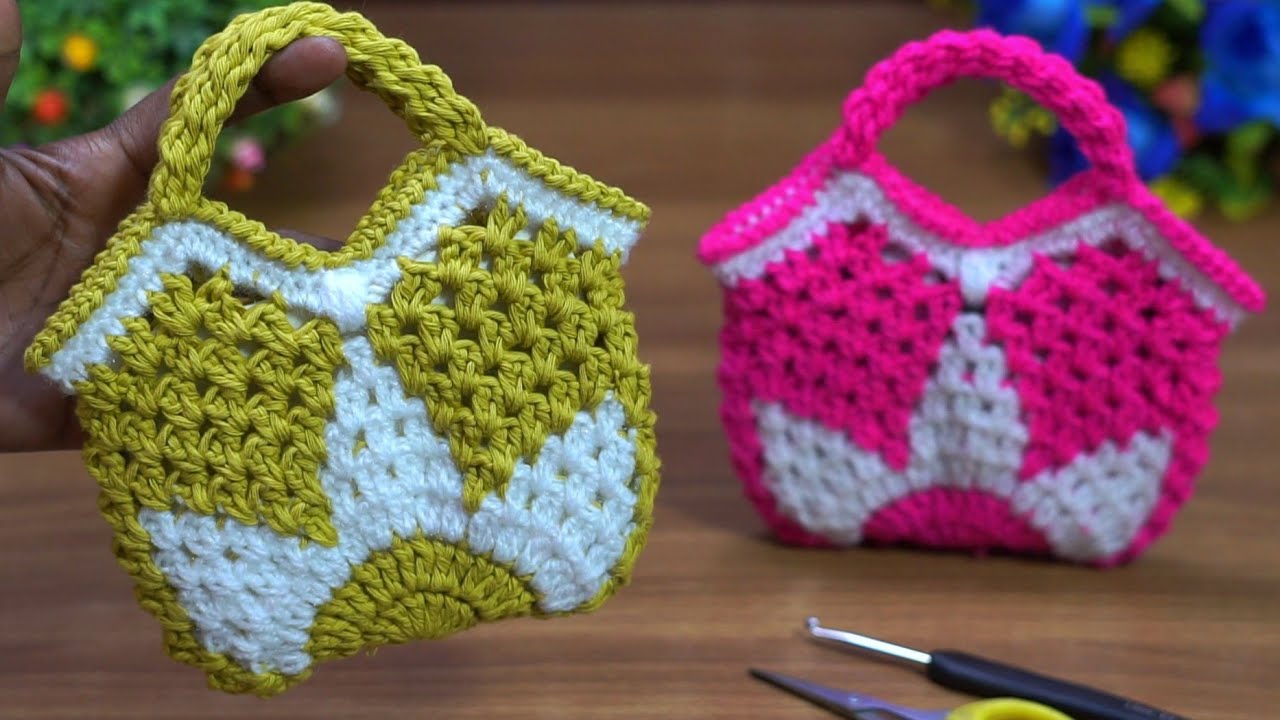
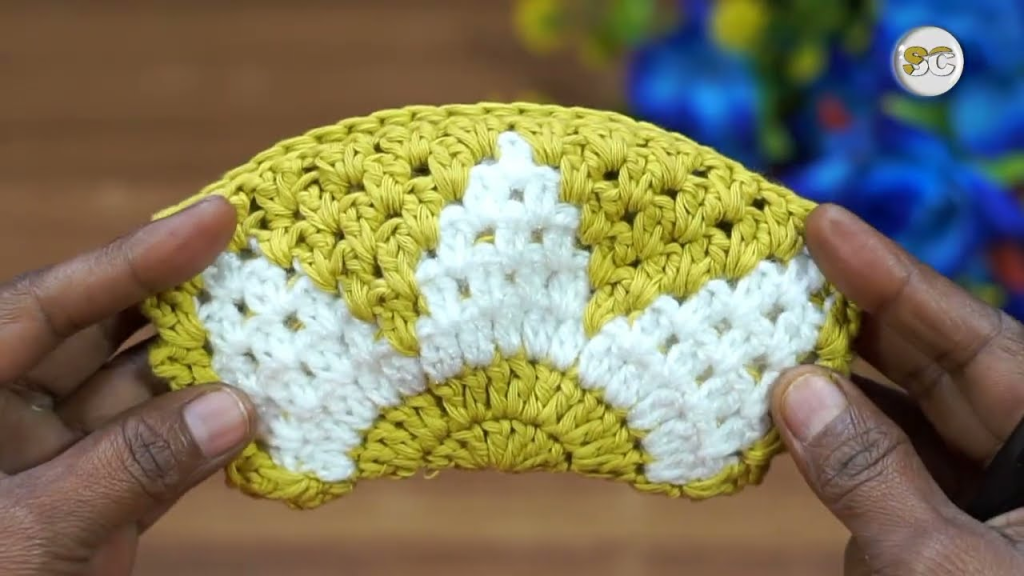
- Granny Square Mini Purse:
Crochet two colorful granny squares, join them, and add a flap — vintage and vibrant! - Textured Purse:
Use stitches like puff stitch, bobble stitch, or shell stitch for decorative texture. - Striped Mini Bag:
Change colors every few rows for fun, bold stripes. - Mini Backpack Style:
Add two small straps at the back and a flap — perfect for kids or trendy accessories! - Lined Purse:
Sew a small piece of cotton fabric inside for added durability and a professional finish.
💫 Tips for Perfect Results
- Keep your tension consistent — tight stitches create structure.
- Always count your stitches to keep edges straight.
- Use cotton yarn for a sturdy, neat finish.
- Block or lightly steam your purse after finishing to perfect its shape.
- Experiment with buttons, zippers, or embellishments to personalize your design.
🌸 Project Time & Skill Level
- 🕒 Time: 2–3 hours (depending on speed)
- 💡 Skill Level: Beginner to Intermediate
- 🎨 Customization: Endless! Change colors, size, or style to match any outfit or mood.
🌼 Final Thoughts
Crocheting a mini purse is more than just a project — it’s a delightful journey of creativity, patience, and self-expression. This easy design gives you the foundation to explore countless styles, from minimalist chic to boho charm.
Once you’ve finished your first mini purse, you’ll be inspired to make more — in different colors, patterns, and textures. Each one becomes a little work of art, handcrafted with love and care.
So, grab your yarn and hook, find a cozy corner, and let your imagination flow. In just a few hours, you’ll have a beautiful crochet mini purse that’s as unique as you are. 🧶✨