 by
by Certainly! Here’s a detailed, long-form guide on how to crochet a baby shoe (booties) using two colors, including materials, steps, and variations. This is ideal for beginners or intermediate crocheters who want to create adorable, handmade baby footwear.
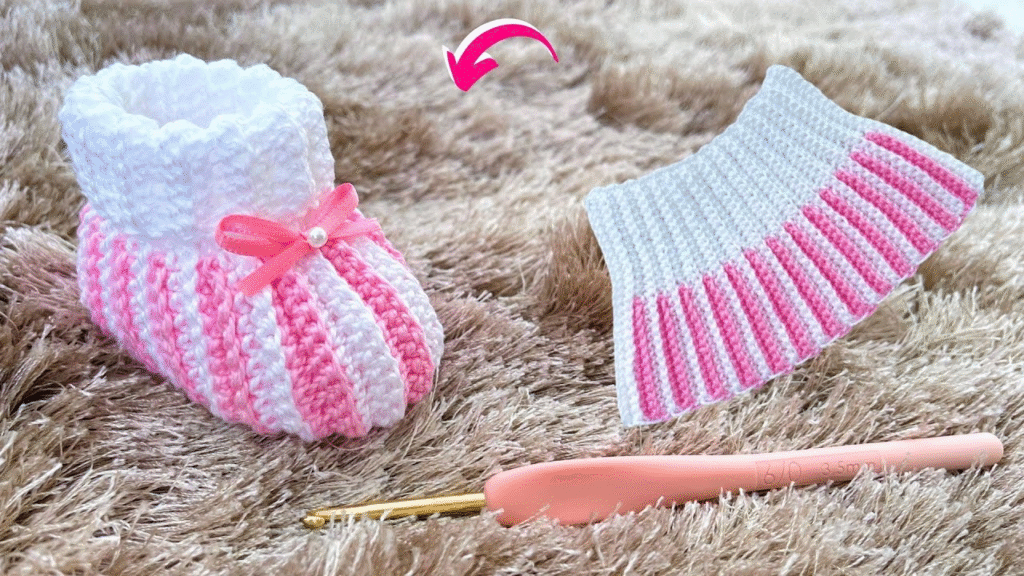
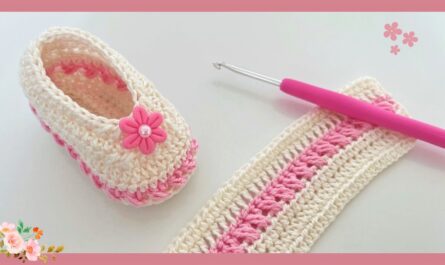
🧵 How to Crochet Two-Color Baby Shoes (Booties) – A Complete Guide
Crocheting baby shoes is a charming and rewarding project. Not only are they practical and cute, but they also make treasured keepsakes or heartfelt gifts. Adding two colors brings a touch of style and creativity, allowing you to personalize the shoes to match any baby outfit or nursery theme.
In this comprehensive guide, we’ll walk you through the entire process of making two-color crochet baby shoes—from choosing yarn to finishing techniques.
🧶 Materials You Will Need
Yarn
- Type: Soft, baby-friendly yarn (anti-pilling acrylic, cotton blend, or bamboo)
- Weight: DK (Light #3) or Worsted Weight (Medium #4)
- Colors: Choose two complementary or contrasting colors
- Color A (main color) – for the sole and base
- Color B (accent color) – for cuffs, straps, or embellishment
Hook
- Size: 3.5 mm (E) to 4.5 mm (7), depending on yarn and your tension
Other Tools
- Yarn needle for sewing and weaving in ends
- Stitch markers (optional, for round counting)
- Scissors
- Buttons or embellishments (optional)
👶 Shoe Sizing Guide
Crochet baby shoes are often made based on age. Here’s a basic reference:
| Age | Sole Length |
|---|---|
| 0–3 months | 3.5″ (9 cm) |
| 3–6 months | 4″ (10 cm) |
| 6–9 months | 4.5″ (11.5 cm) |
This tutorial focuses on the 0–3 months size, but you can adjust the hook size or yarn to change the final shoe size.
🧵 Basic Stitches and Abbreviations (US Terms)
- ch = chain
- sl st = slip stitch
- sc = single crochet
- hdc = half double crochet
- dc = double crochet
- st(s) = stitch(es)
- inc = increase (2 stitches in the same stitch)
- dec = decrease (2 stitches together)
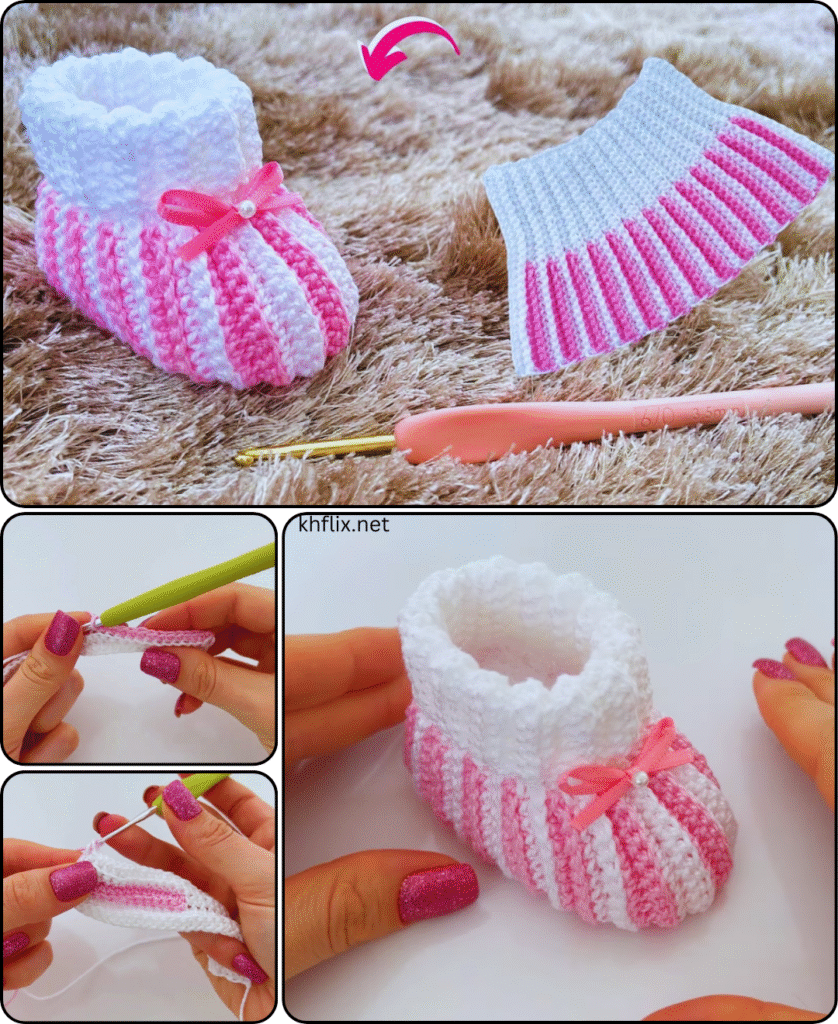
🪄 Two-Color Crochet Baby Shoe Pattern (0–3 Months)
🦶 PART 1: Crochet the Sole (Using Color A)
Round 1
- Ch 10.
- In 2nd ch from hook, work: 2 sc.
- Sc in next 6 ch.
- In last ch: 5 sc (this will curve around the end).
- Working on the other side of the chain:
Sc in next 6 ch, 2 sc in last ch. (21 sts) - Sl st to join.
Round 2
- Ch 1.
- 2 sc in first st, sc in next 7 sts.
- 2 sc in next 5 sts.
- Sc in next 7 sts, 2 sc in last 2 sts. (30 sts)
- Sl st to join.
Round 3
- Ch 1.
- Sc in next, 2 sc in next around heel and toe ends, and sc evenly across sides. (38 sts)
- Sl st to join.
🧽 This is your finished sole. Fasten off Color A if you’re switching to Color B for the top.
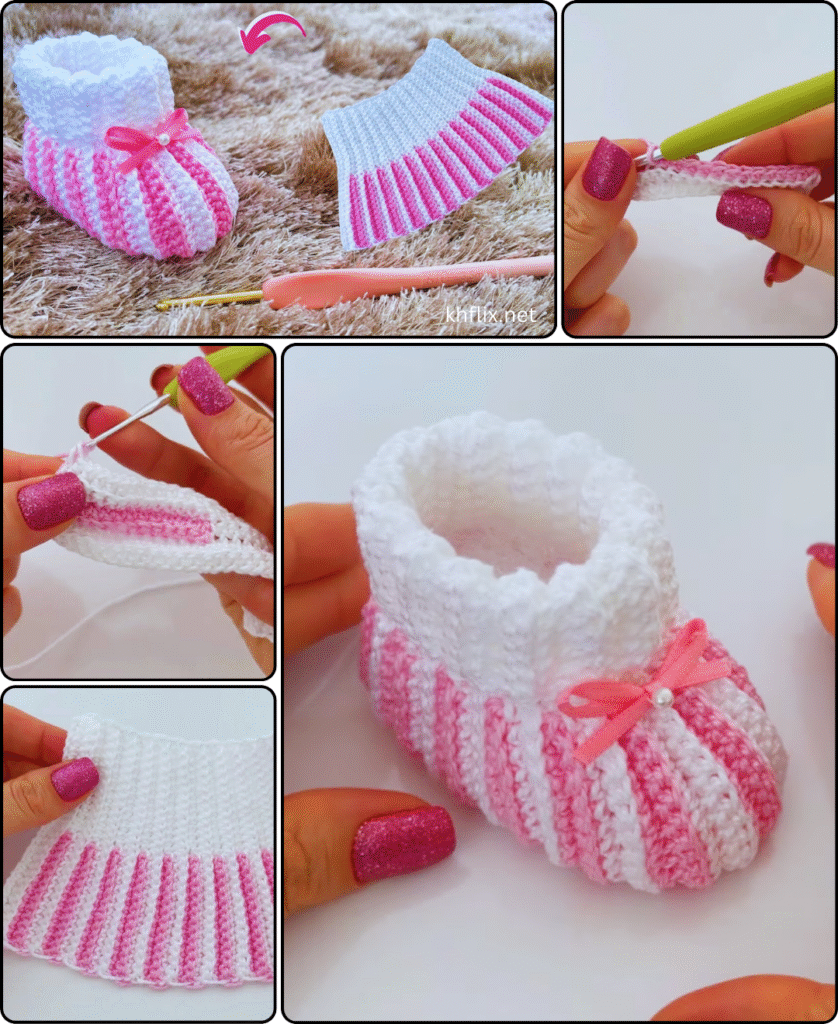
👟 PART 2: Sides of the Shoe (Using Color B)
Round 4
- Join Color B in the back loop of any stitch.
- Ch 1. Working in back loops only, sc in each st around. (38 sts)
- Sl st to join.
Round 5
- Ch 1. Sc in each st around. (38 sts)
- Sl st to join.
🧩 This round builds up the sides of the shoe.
👢 PART 3: Top of the Shoe (Toe Shaping)
Round 6 (Toe Start)
- Ch 1. Sc in next 12 sts.
- (Sc2tog) x 7 across the toe area.
- Sc in next 12 sts.
- Sl st to join. (31 sts)
Round 7 (Toe Curve)
- Ch 1. Sc in next 10 sts.
- (Sc2tog) x 5
- Sc in next 11 sts.
- Sl st to join. (26 sts)
Round 8
- Ch 1. Sc in next 10 sts.
- (Sc2tog) x 3
- Sc in next 10 sts.
- Sl st to join. (23 sts)
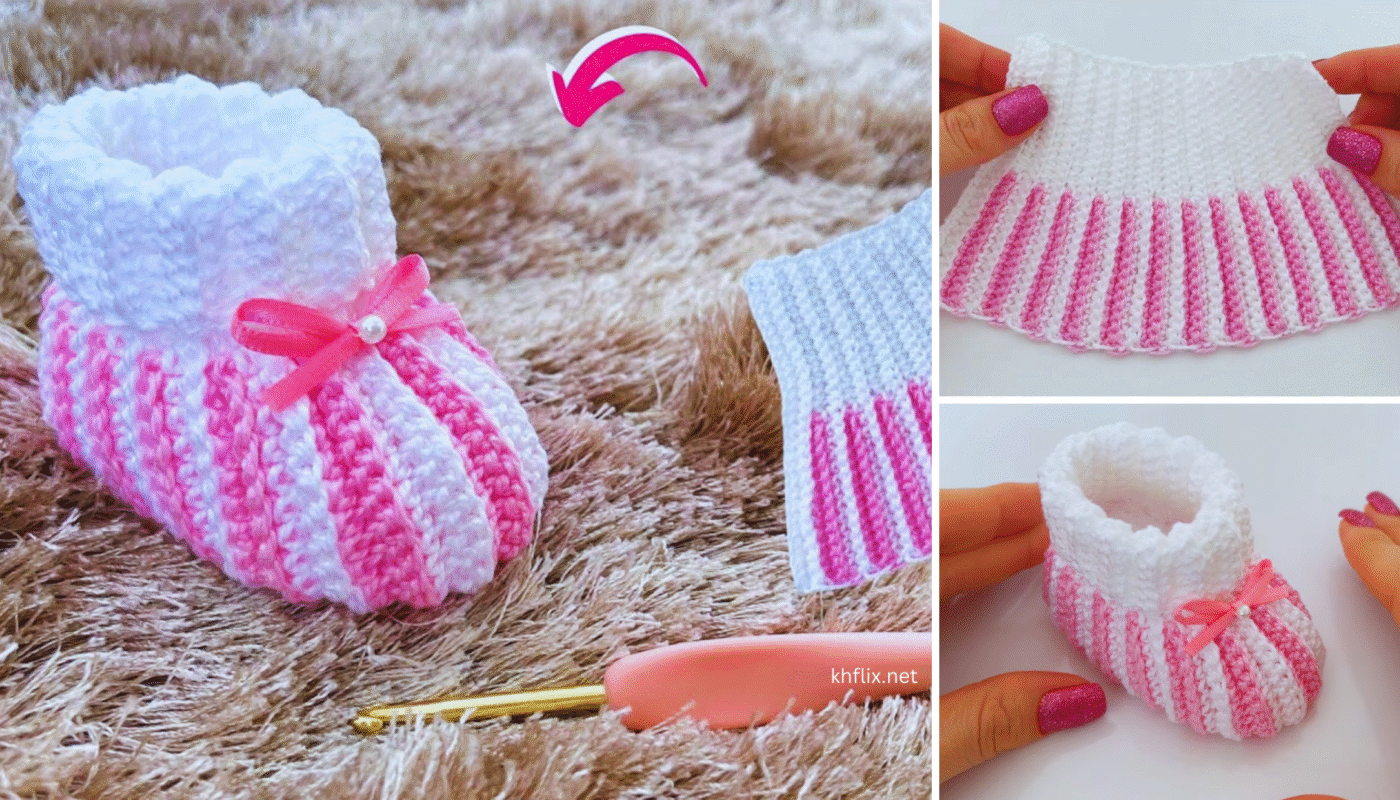
🧸 The shoe should now look curved at the front like a proper bootie.
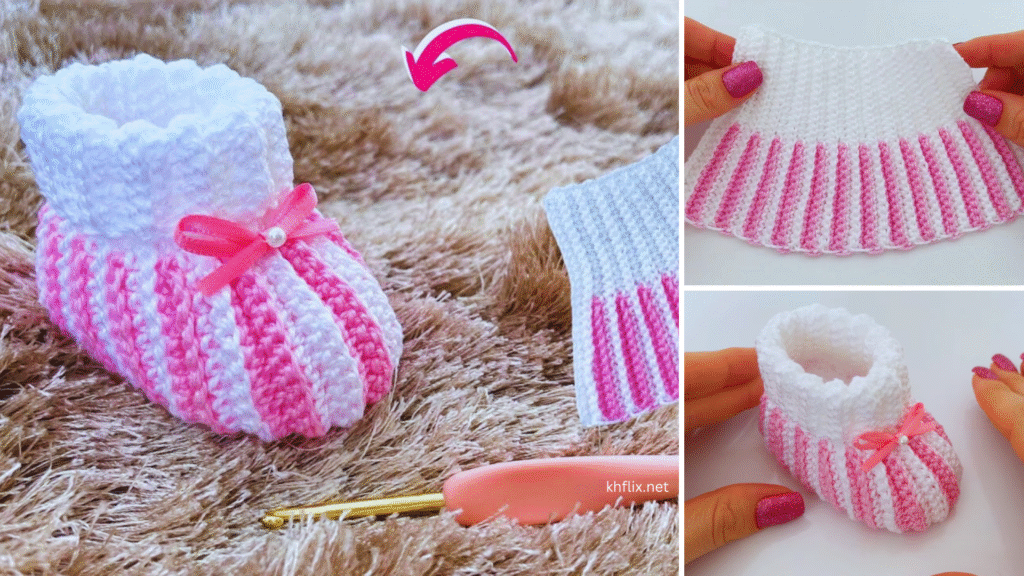
🧦 PART 4: Ankle Cuff (Optional Ribbed or Rolled Edge)
Option 1: Rolled Cuff
- Continue with Color B or switch back to Color A.
- Ch 2. Work 1 hdc in each st around.
- Do 2–3 rounds depending on how tall you want the cuff.
- Fasten off and fold cuff downward.
Option 2: Ribbed Cuff
- Join yarn at back.
- Ch 6. Sc in 2nd ch from hook and across (5 sc).
- Sl st in next 2 sts of shoe opening.
- Turn, skip sl sts, sc in back loops only across the 5 sc.
- Repeat this ribbed strip around the ankle.
- Sew or sl st the final row to the first to close.
🎨 Tips for Using Two Colors
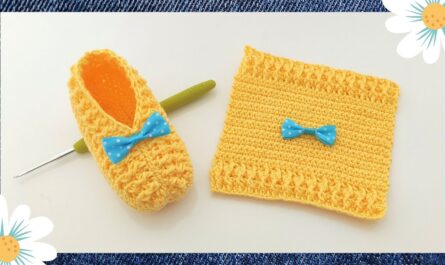
- Contrast vs. Complement: For a classic look, pair a neutral with a pop color (e.g., white and mint).
- Stripes or Solids: You can alternate colors row by row or make the sole one color and upper another.
- Clean Color Change:
- Change colors in the last yarn-over of the last stitch before the new row.
- Carry yarn up the side if possible, or cut and weave in ends for a cleaner finish.
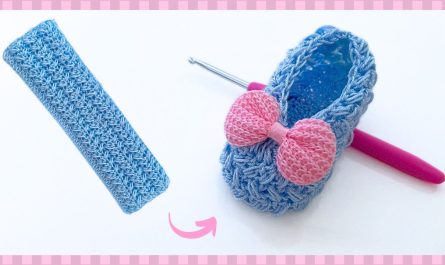
🧷 Embellishment Ideas
- Buttons (sew securely for baby safety!)
- Crochet flowers, bows, or stars using the second color
- Surface slip stitches for outlines or initials
- Ties or straps for Mary Jane–style shoes
🧼 Washing & Care
- Machine wash gentle or hand wash
- Lay flat to dry
- Avoid hot water or bleach
- Use baby-safe detergent
🪡 Final Touches
- Weave in all loose ends using a yarn needle.
- Shape the bootie gently with your hands or block lightly with steam.
- Pair them up and package them nicely if gifting.
💡 Bonus: Pattern Variations
- Mary Janes: Add a strap and button across the top.
- Boot-style: Extend ankle cuff upward and fold down.
- Sneaker style: Use white sole and colored body, add mock laces.
- Animal-themed: Add bear ears or bunny face using basic appliqué.
🧶 Final Thoughts
Crocheting a two-color baby shoe is a beautiful project filled with love, creativity, and joy. With a few basic stitches and some yarn, you can craft adorable little shoes that will be cherished by parents and babies alike. Whether you’re making a gift for a baby shower, a new arrival, or your own little one, these shoes are sure to impress.
They’re small, quick, and deeply satisfying—perfect for trying new techniques, colors, and textures. So grab your hook, pick your colors, and start stitching your way to a pair of handmade baby shoes that walk the line between precious and practical.