 by
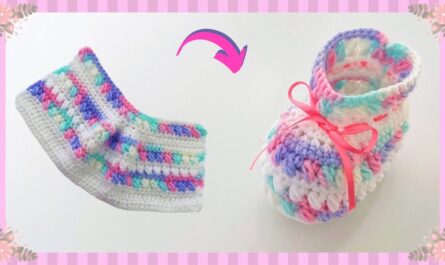
by Crocheting baby shoes is one of the most delightful and rewarding crochet projects. Not only do handmade baby shoes look adorable, but they are also soft, comfortable, and customizable for any baby shower, gift, or personal use. With just a few materials and basic crochet skills, you can make beautiful, wearable baby shoes that will keep tiny feet warm and stylish.
This comprehensive guide will teach you how to crochet easy baby shoes step by step, covering materials, basic stitches, shoe construction, sizing tips, and creative variations.
1. Understanding Baby Crochet Shoes
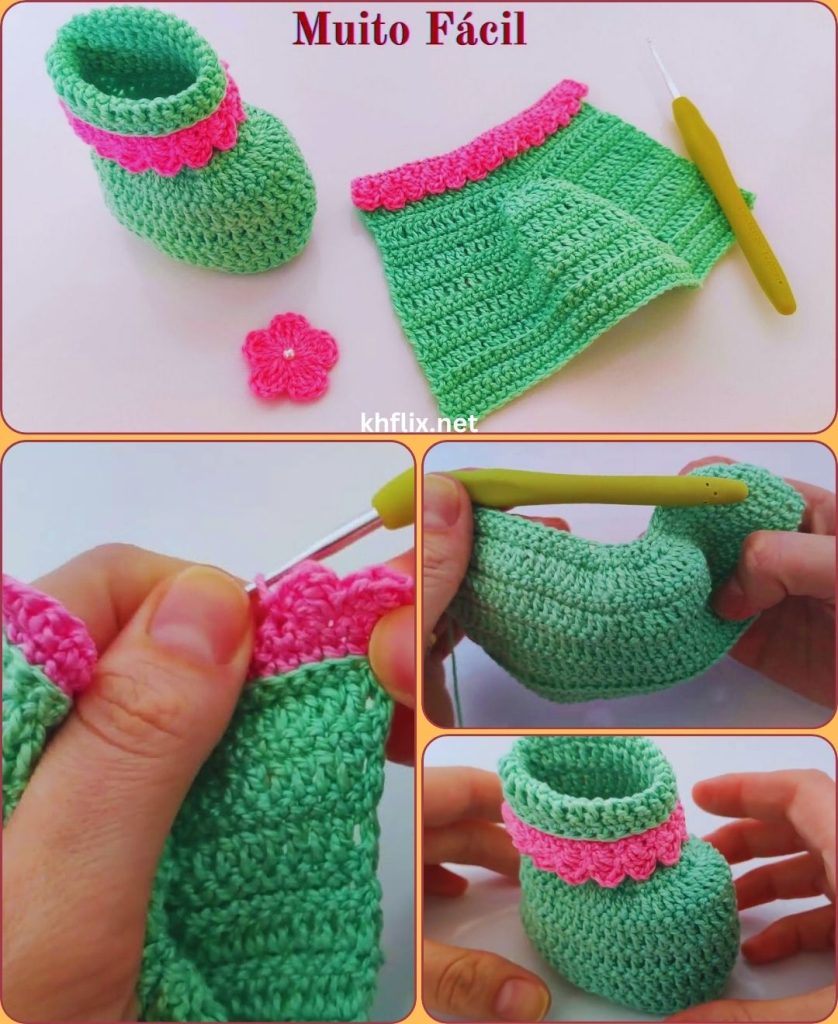
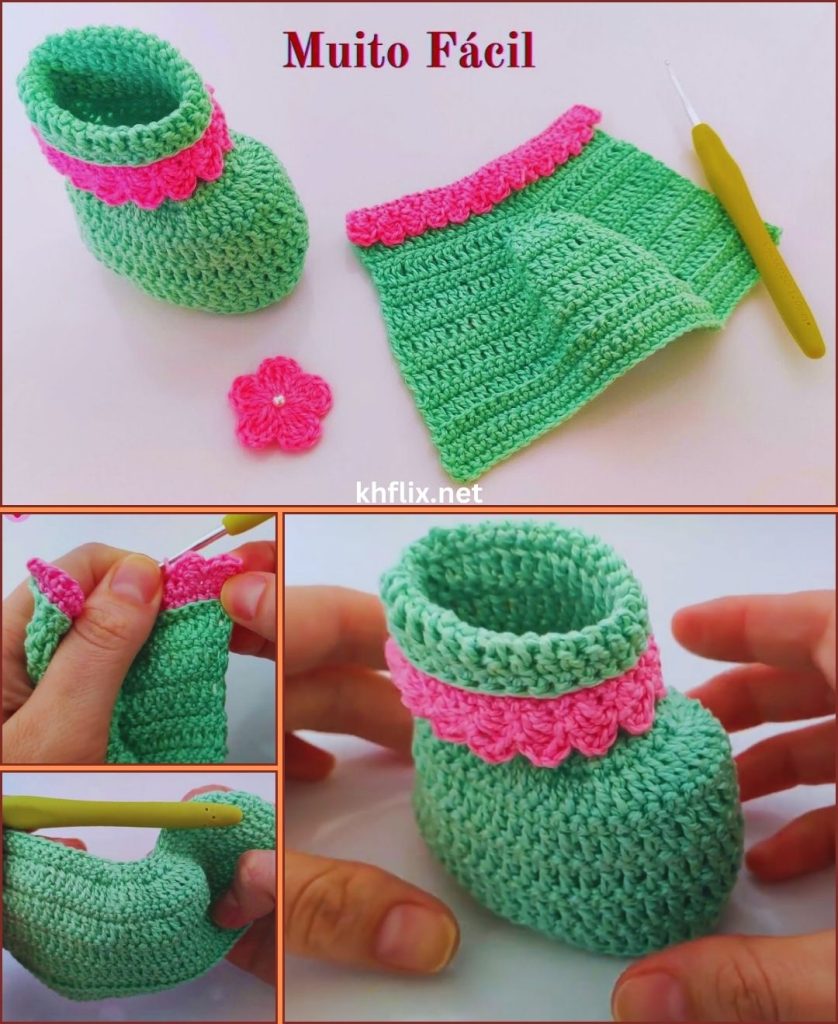
Baby crochet shoes (also called booties) are typically made in one piece and consist of:
- Sole – the bottom of the shoe that fits the foot
- Upper – the part covering the top of the foot
- Cuff or strap – optional part to secure the shoe on the ankle
- Decorations – bows, flowers, or buttons for personalization
They can be made using simple single crochet stitches for beginners or more complex patterns for decorative styles. Some styles are slip-on shoes, while others have straps or ties to prevent slipping off tiny feet.
2. Materials Needed
Before starting, gather the necessary materials:
Yarn
- Soft cotton yarn – gentle on baby skin
- Acrylic baby yarn – soft and washable
- Bamboo yarn – eco-friendly and silky
Weight:
- DK (light) or worsted weight yarn is ideal for newborns and infants.
Colors:
- Soft pastels (pink, blue, yellow, white) for traditional baby colors
- Bright or multicolor yarns for playful designs
Crochet Hook
- 3.0 mm – 4.0 mm depending on yarn thickness
- Smaller hooks make tighter stitches, helping the shoe maintain shape
Additional Tools
- Yarn needle – for sewing and weaving in ends
- Scissors
- Stitch markers – optional, to mark rounds or rows
- Buttons or small decorations – optional
3. Basic Stitches Required
Even as a beginner, you can make simple baby shoes with these stitches:
- Slip Knot – starting point
- Chain (ch) – foundation stitch
- Single Crochet (sc) – compact stitches for soles
- Half Double Crochet (hdc) – medium height stitches for uppers
- Double Crochet (dc) – for decorative parts
- Slip Stitch (sl st) – joining or finishing rounds
- Increase (inc) – two stitches in one stitch
- Decrease (dec) – combine two stitches into one
4. Step 1: Measure the Baby’s Foot
Before starting, measure the baby’s foot or use standard sizing:
| Age | Foot Length (approx.) |
|---|---|
| Newborn | 3.5 inches (9 cm) |
| 0–3 months | 3.75 inches (9.5 cm) |
| 3–6 months | 4 inches (10 cm) |
| 6–12 months | 4.5 inches (11.5 cm) |
- Adjust the sole chain length to match the foot measurement.
5. Step 2: Crochet the Sole
- Start with a slip knot.
- Chain the required number of stitches for the sole length.
- Example: 12–15 chains for newborn size.
- Work single crochet stitches along the chain.
- When reaching the end, work multiple stitches into the last chain to round the end of the sole.
- Continue along the opposite side of the foundation chain.
- Work multiple stitches into the last chain at the starting end to round the heel.
- Join with a slip stitch to complete the round.
The result should be an oval-shaped base for the baby shoe.
6. Step 3: Crochet the Upper Part of the Shoe
The upper covers the top of the foot:
- Attach yarn at the back of the sole.
- Chain 1–2 depending on stitch choice.
- Work single crochet (or half double crochet) stitches around the top edge of the sole.
- Stop at the front of the shoe to leave an opening for the foot.
- Continue around the heel and back.
You may need to increase stitches gradually near the toe area to allow room for the baby’s foot.
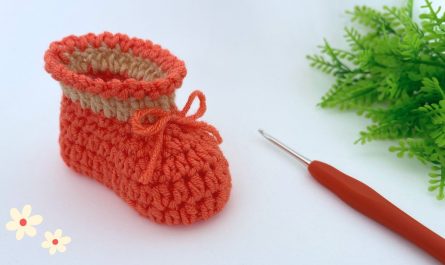
7. Step 4: Shape the Toe (Optional)
For a rounded toe:
- Use decrease stitches (sc2tog) evenly along the front of the shoe.
- Repeat until the toe area is smooth and rounded.
For a flat toe:
- Simply continue working single crochet around the shoe.
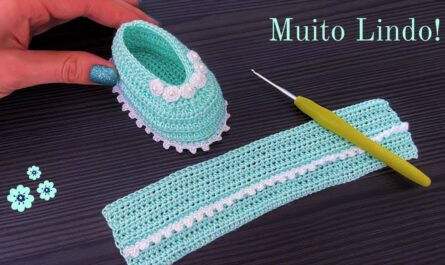
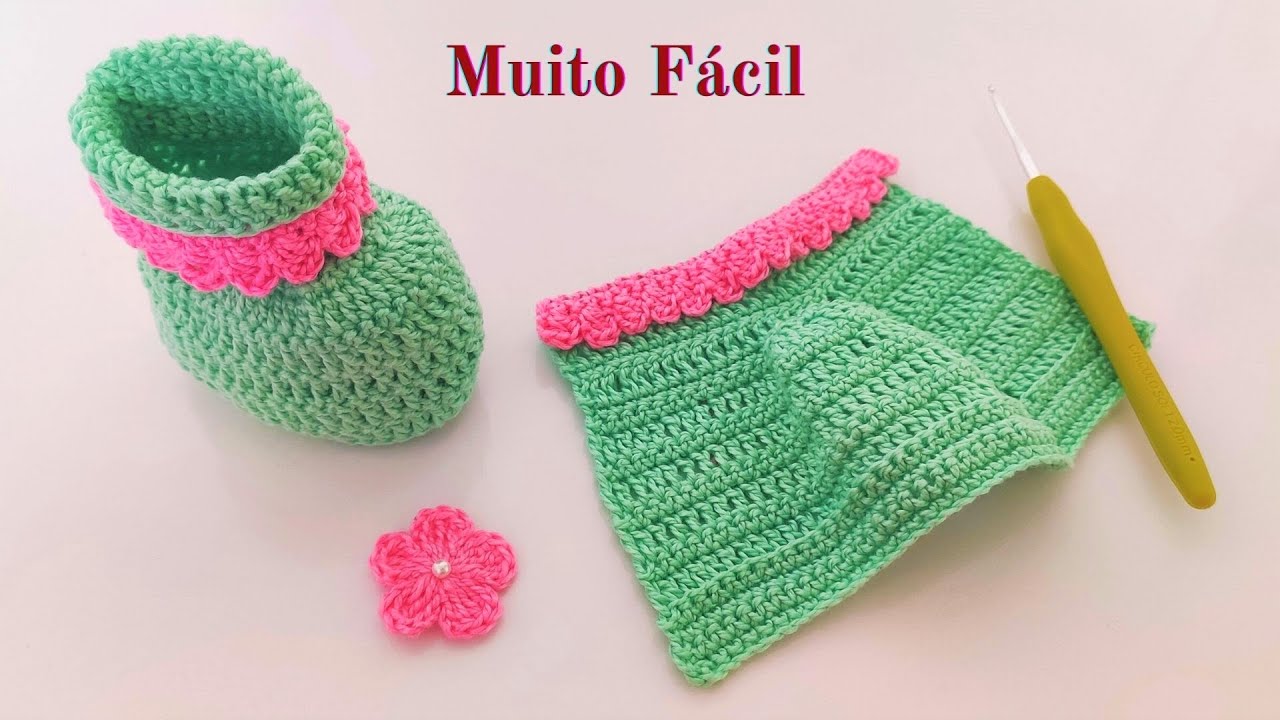
8. Step 5: Create the Cuff or Strap
The cuff keeps the shoe on the baby’s foot:
Option A: Simple Cuff
- Continue crocheting single or half double crochet stitches upwards from the ankle edge.
- Work 3–5 rows depending on desired height.
Option B: Strap
- Chain 10–15 stitches from one side of the shoe opening.
- Attach with a button or slip stitch to the opposite side.
- Adjust length so it fits snugly but comfortably.
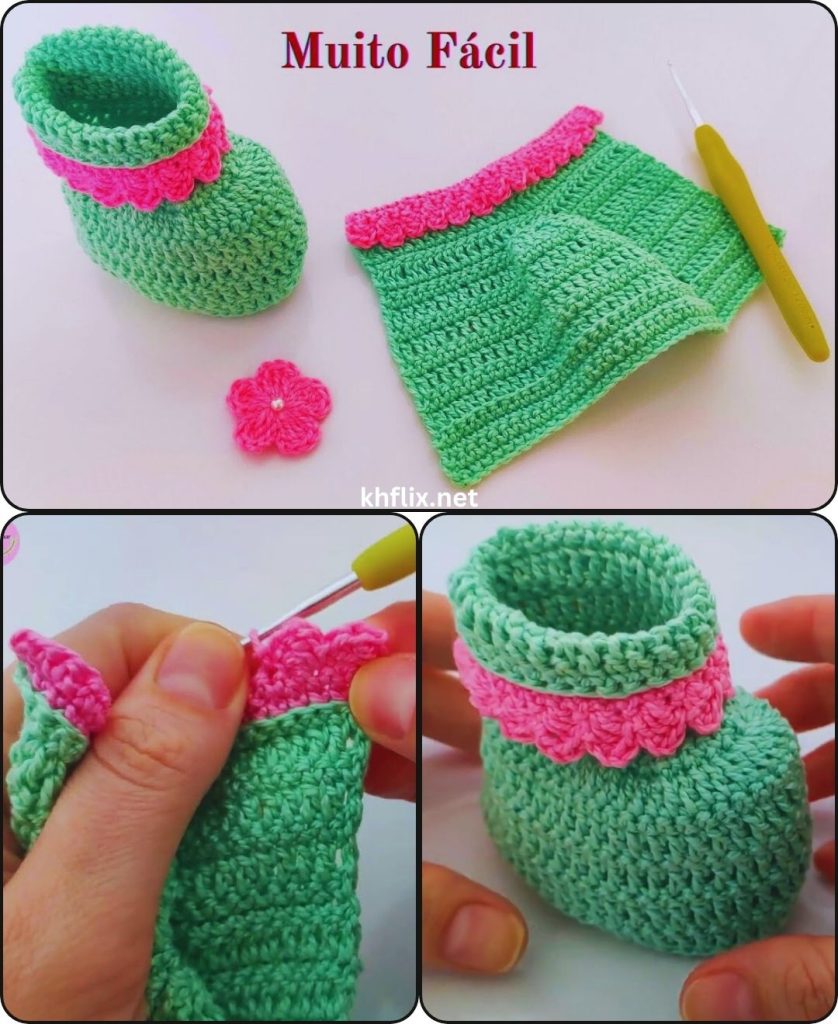
9. Step 6: Finishing Touches
- Weave in yarn ends using a yarn needle.
- Add decorations like a small bow, flower, or bead.
- Shape the shoe gently to give it a professional look.
Optional: You can line the shoe inside with soft felt for extra comfort.
10. Step 7: Crochet the Second Shoe
- Repeat all steps for the second shoe.
- Ensure both shoes are mirror images for matching pairs.
11. Creative Variations
- Bootie Style – taller ankle cuffs for warmth.
- Mary Jane Style – add a strap across the top with a button.
- Animal Faces – add crochet ears and embroidered eyes.
- Flower or Bow Embellishments – for decorative baby shoes.
- Color Blocking – use two or three colors for a playful look.
12. Tips for Making Perfect Baby Shoes
- Check size frequently – baby feet grow quickly, so use age guides.
- Use soft yarn – avoid scratchy materials.
- Tight stitches for sole – ensures shoe holds shape.
- Adjust strap length – strap should be snug but not tight.
- Block if necessary – gently shape shoes to even edges.
13. Benefits of Crochet Baby Shoes
- Handmade and personalized gift
- Keeps baby’s feet warm and soft
- Can be customized with colors and decorations
- Beginner-friendly with basic crochet skills
- Small project – quick to complete
- Eco-friendly and washable
14. Care Instructions
- Wash gently in cold water or by hand.
- Air dry to maintain shape.
- Avoid using harsh detergents or bleach on delicate baby yarn.
15. Conclusion
Crocheting easy baby shoes is a fun, practical, and creative project. By making the sole, upper, and cuff or strap step by step, you can produce adorable shoes suitable for newborns and infants. With a variety of yarn colors, stitch patterns, and embellishments, each pair of baby shoes can be unique and personalized.
Whether for gifts, baby showers, or your own little one, these handmade crochet shoes are functional, beautiful, and memorable. 🧶👶
If you want, I can also create a visual step-by-step guide with diagrams for easy baby shoes, showing the sole, upper, and strap construction for beginners.
Do you want me to do that?