 by
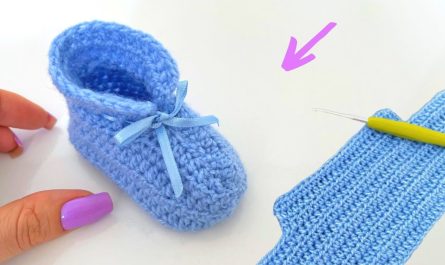
by Crochet baby shoes are one of the most adorable and rewarding handmade projects. They’re small, quick to complete, and perfect for gifts, baby showers, or even starting a small handmade business. In this detailed guide, you’ll learn how to make a crochet baby shoe with two decorative lines — simple, stylish, and beginner-friendly.
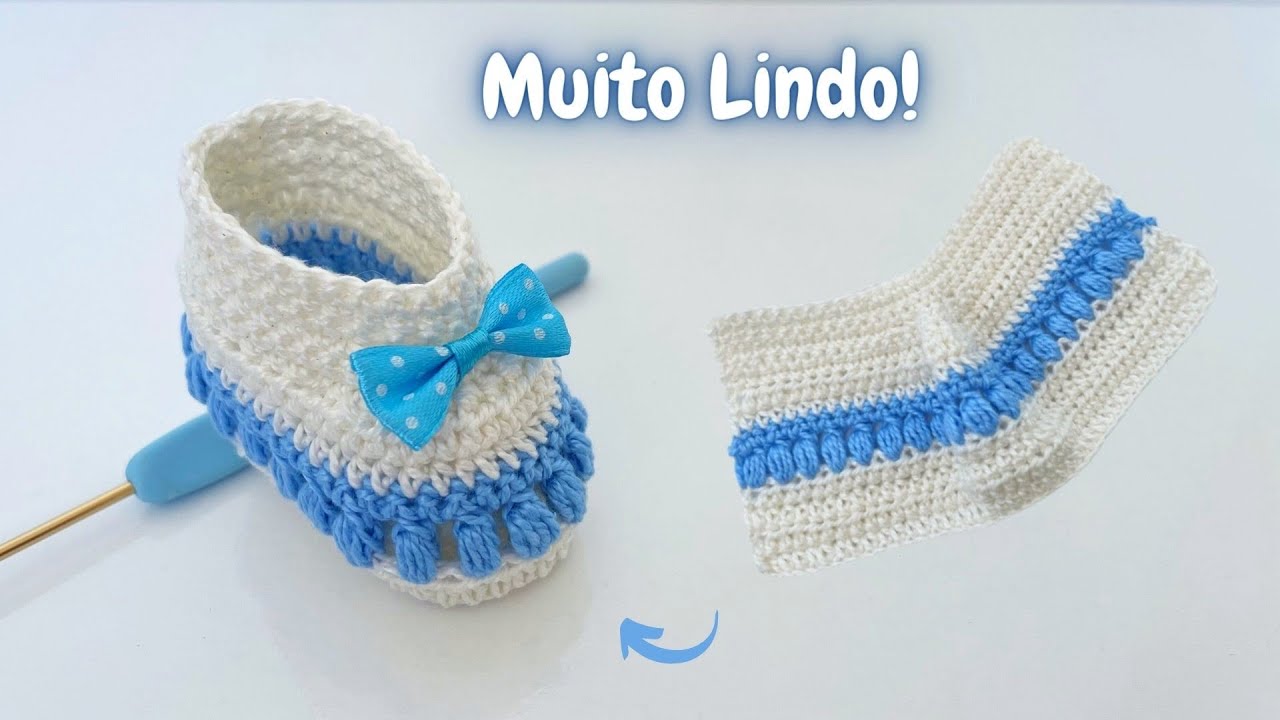
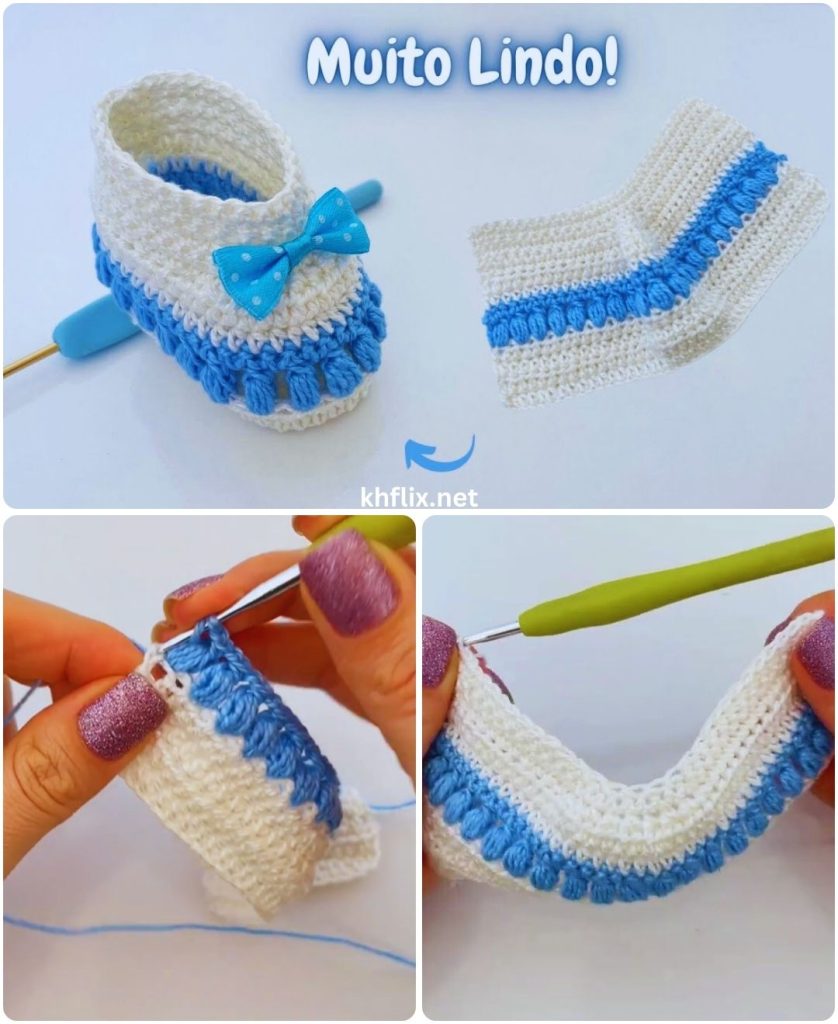
The “two lines” design refers to two contrasting stripes worked into the shoe (usually around the sole and upper edge), giving the shoe a clean, sporty look similar to classic canvas styles.
Let’s get started.
👶 Why Crochet Baby Shoes?
Before we begin, here’s why this project is so popular:
- ✅ Small and quick to finish
- ✅ Requires little yarn
- ✅ Easy to customize colors
- ✅ Perfect handmade gift
- ✅ Great for beginners
Plus, babies grow fast — so handmade shoes are always appreciated!
🧵 Materials You’ll Need
Keep it simple. You don’t need advanced tools.
Yarn
- Soft baby yarn (DK or light worsted weight recommended)
- Color A – Main color
- Color B – For the two lines
Choose soft, breathable, and washable yarn suitable for baby skin.
Hook
- 3.0 mm – 4.0 mm crochet hook (adjust based on yarn thickness)
Other Supplies
- Yarn needle
- Scissors
- Stitch marker (optional but helpful)
- Measuring tape
📏 Baby Shoe Size Guide (0–6 Months)
Typical sole length:
- 0–3 months: 3.5 inches (9 cm)
- 3–6 months: 4 inches (10 cm)
You can adjust by adding or reducing starting chain stitches.
🪡 Basic Crochet Stitches Used
If you are a beginner, don’t worry. This pattern uses simple stitches:
- Chain (ch)
- Slip stitch (sl st)
- Single crochet (sc)
- Half double crochet (hdc)
- Double crochet (dc)
That’s it.
👣 Step 1: Making the Sole (Foundation)
We start from the bottom.
With Color A:
- Chain 11 (for 0–3 months size).
- Work 2 hdc in the second chain from hook.
- Work 1 hdc in next 8 stitches.
- Work 5 hdc in last chain (this creates the toe curve).
- Now work along the other side of the chain:
- 1 hdc in next 8 stitches
- 3 hdc in last stitch
- Join with slip stitch.
You now have an oval sole.

👣 Step 2: Build the Sole Height
Round 2:
- Chain 1.
- Work 2 hdc in first stitch.
- 1 hdc in next stitches.
- Increase at toe area (2 hdc in each of the 5 curved stitches).
- Continue around.
- Join.
Round 3:
- Repeat similar increases around toe and heel.
- Join.
Now the sole should measure about 3.5 inches.
🎨 Step 3: First Line (Stripe #1)
Now we create the first decorative line.
Switch to Color B.
Round 4:
- Attach Color B.
- Work 1 single crochet (sc) in each stitch around.
- Join with slip stitch.
This creates your first clean stripe around the sole.
Fasten off Color B.
👟 Step 4: Build the Shoe Wall
Switch back to Color A.
Round 5:
- Work in back loops only (this helps shoe shape stand up).
- 1 hdc in each stitch around.
- Join.
Round 6:
- 1 hdc in each stitch around.
- Join.
The shoe now starts forming its structure.
🎨 Step 5: Second Line (Stripe #2)
Attach Color B again.
Round 7:
- 1 single crochet in each stitch around.
- Join and fasten off.
Now your baby shoe has two clean decorative lines:
- One near the sole
- One near the upper edge
This gives it a stylish layered look.
👶 Step 6: Shape the Toe
Switch back to Color A.
Round 8:
- Work hdc until you reach the front center (about 10 stitches).
- Hdc2tog (half double crochet two together) across the toe section.
- Continue normal hdc on sides.
- Join.
Round 9:
- Repeat toe decreases.
- Join.
This shapes the front nicely.
🧶 Step 7: Add Ankle Edge
You can choose:
Option 1: Simple sc edge
Option 2: Ribbed look (front post/back post dc)
Option 3: Picot decorative edge
For beginners:
- Work 1 sc around.
- Join and fasten off.
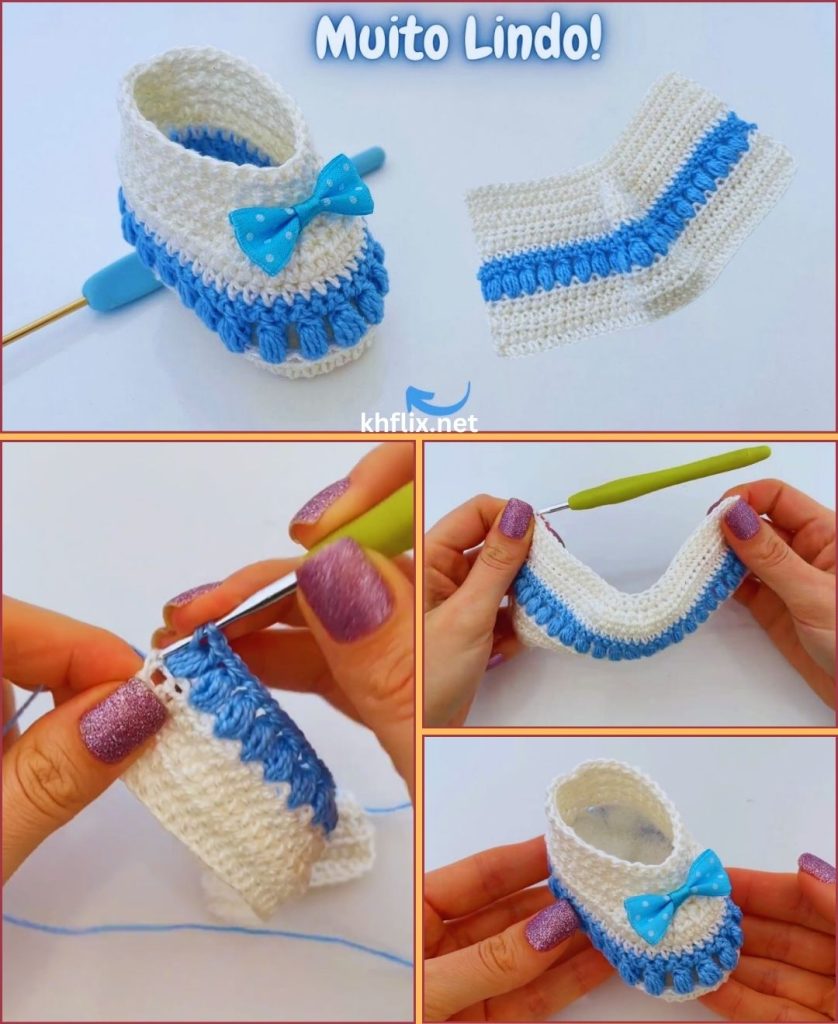
🎀 Optional Additions
Make it extra cute:
- Add a small crochet bow
- Attach tiny buttons (secure tightly)
- Add a crochet flower
- Insert soft elastic for snug fit
🧼 Safety Tips for Baby Shoes
✔ Avoid loose buttons
✔ Secure all yarn ends tightly
✔ Use soft, non-irritating yarn
✔ Ensure no hard decorations inside
Comfort and safety always come first.
🪄 How to Make the Two Lines Look Perfect
Here are professional tips:
- Change color at the final yarn-over of the last stitch
- Pull new color tightly to avoid gaps
- Use invisible join for clean stripe finish
- Keep tension consistent
Clean stripes make the shoe look professionally made.
💡 Why Two Lines Look So Good
The double stripe:
- Adds visual balance
- Makes simple design stand out
- Looks sporty and modern
- Works for both boys and girls
- Makes color combinations pop
Try combinations like:
- White + navy
- Pink + white
- Gray + yellow
- Mint + cream
🧵 Make the Second Shoe
Important: Make two identical shoes.
Tip:
Count stitches carefully and write down your row numbers so the second shoe matches perfectly.
💰 Turn This Into a Small Business
Crochet baby shoes sell very well because:
- Parents love handmade items
- Great for baby shower gifts
- Custom colors attract buyers
- Low material cost
- Quick production time
You can sell:
- On social media
- At local craft markets
- Through word-of-mouth orders
Two-line designs look premium but are simple to make.
🏁 Final Thoughts
Making a crochet baby shoe with two lines is:
- Simple
- Beginner-friendly
- Affordable
- Creative
- Beautiful
With just basic stitches and two yarn colors, you can create a charming, stylish baby shoe that looks professionally made.
Take your time.
Keep tension even.
Practice one pair.
After that, you’ll be making them quickly and confidently.
If you’d like, I can also provide:
- A printable written pattern
- A video-style instruction format
- A version for different baby sizes
- A more advanced designer version
Just tell me 🧶👶