 by
by Certainly! Here’s a detailed article explaining the full pattern and tutorial for creating beautiful crochet booty shoes for a baby aged 3 to 6 months. This guide walks you through materials, stitch techniques, step-by-step instructions, and design options to help you craft a perfect pair of handmade baby shoes.
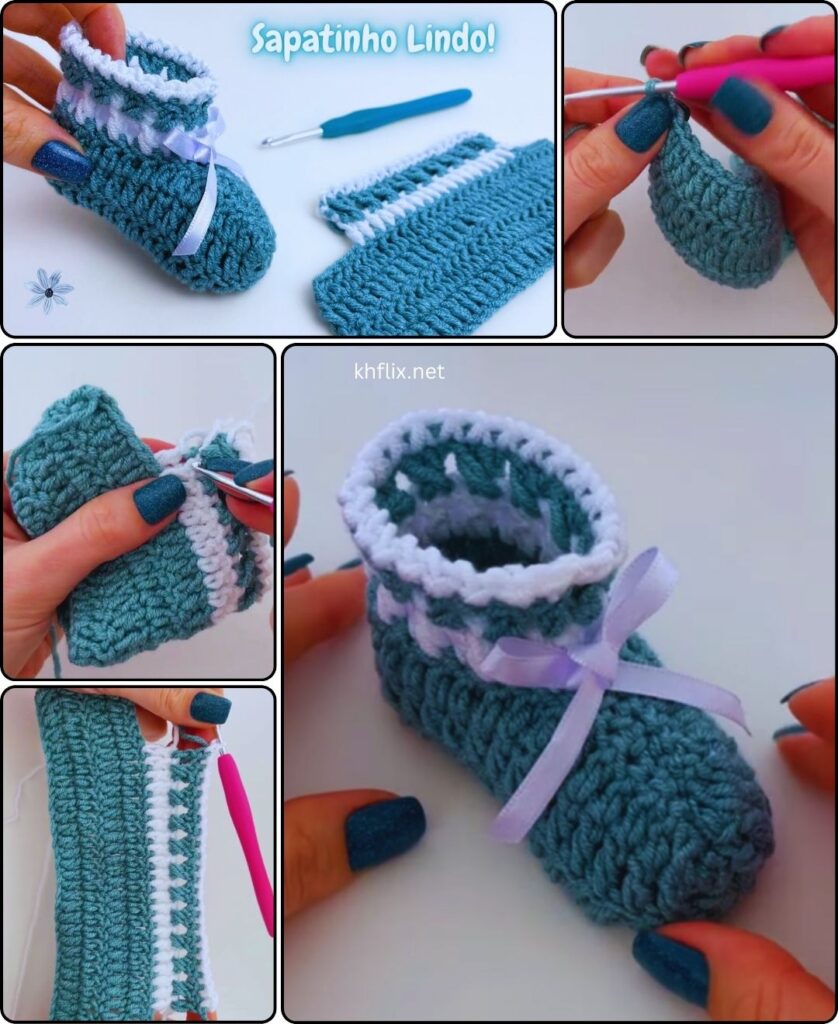
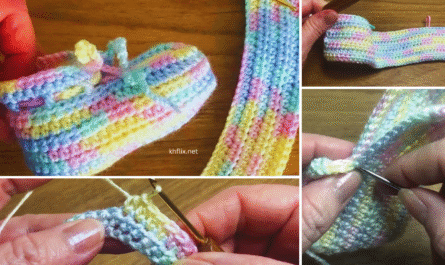
🧶 Complete Tutorial Pattern: How to Make Beautiful Crochet Booty Shoes for Babies (3 to 6 Months)
Baby crochet booties are a timeless, heartwarming project that brings comfort, warmth, and style to a baby’s tiny feet. Handmade with love, these booties are perfect as gifts for baby showers, christenings, or just everyday wear. In this detailed tutorial, we’ll walk through how to create crochet booty shoes for a baby aged 3 to 6 months, including instructions for the sole, shoe body, ankle cuffs, and finishing touches.
Whether you’re an experienced crocheter or just starting out, this project is fun, rewarding, and adaptable.
👶🏼 About This Pattern
- Skill level: Easy to Intermediate
- Finished size: Approx. 4 to 4.5 inches (10 – 11.5 cm) long
- Target age: 3 to 6 months
- Time required: 2 – 3 hours for a pair
🧵 Materials Needed
| Item | Description |
|---|---|
| Yarn | Worsted weight (Medium #4), baby-friendly yarn |
| Crochet Hook | 4.5 mm (US size 7) – adjust for size |
| Tapestry Needle | For sewing ends |
| Scissors | For cutting yarn |
| Stitch Markers | Optional, but helpful for beginners |
| Buttons or Decorations | Optional – for embellishing |
📘 Crochet Stitches & Abbreviations (US Terms)
| Stitch Abbreviation | Full Name |
|---|---|
| ch | chain |
| sl st | slip stitch |
| sc | single crochet |
| hdc | half double crochet |
| dc | double crochet |
| inc | increase (2 sts in one st) |
| sc2tog | single crochet decrease |
| BLO | back loops only |
If you’re unfamiliar with these stitches, it’s helpful to practice them briefly before starting the booties.
📏 Booty Shoe Sizing for 3–6 Months
| Feature | Measurement |
|---|---|
| Sole Length | 4 – 4.5 inches (10–11.5 cm) |
| Foot Width | ~2 inches |
To increase the size for older babies, use a slightly larger hook or heavier yarn.
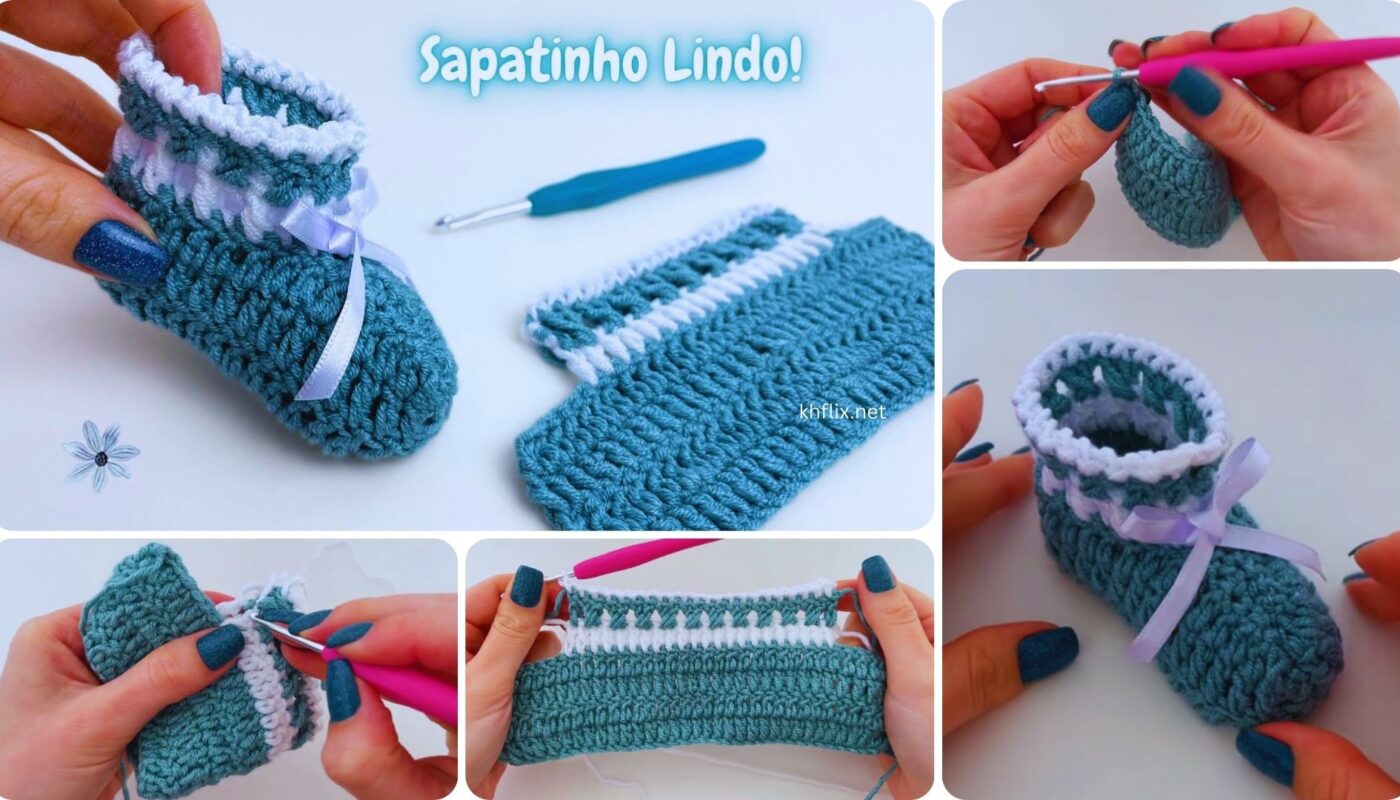
👣 Step-by-Step Pattern: Crochet Baby Booty Shoes (3–6 Months)
🔹 Part 1: Crocheting the Sole
We begin by crocheting an oval-shaped sole that serves as the foundation of the bootie.
Foundation Chain:
- Ch 11
Round 1:
- In 2nd ch from hook, work 2 sc
- Sc in next 8 chains
- In last chain: 5 sc (this curves around the heel)
- Continue on the opposite side of the chain: sc in next 8
- 2 sc in last stitch (same stitch as first 2 sc)
- Join with sl st to first sc (25 sts total)
Round 2:
- Ch 1
- 2 sc in first st, sc in next 8
- 2 sc in each of the next 5 sts (toe curve)
- Sc in next 8
- 2 sc in last 3 sts
- Join with sl st (34 sts)
Round 3:
- Ch 1
- Sc in next 9
- (sc in 1 st, 2 sc in next) repeat 5 times across toe
- Sc in next 10
- (2 sc in 1 st, sc in 1) repeat 3 times at heel
- Join with sl st (42 sts)
📝 Tip: You can adjust the width of the bootie by adding or skipping stitches in the toe and heel areas.
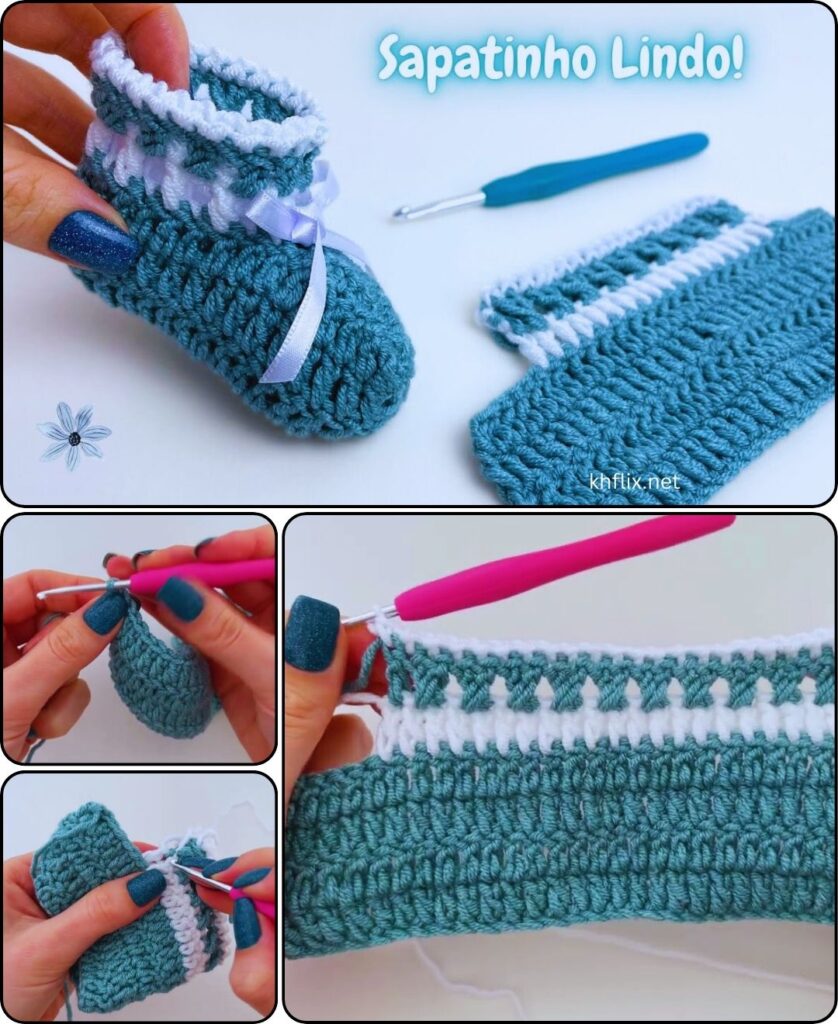
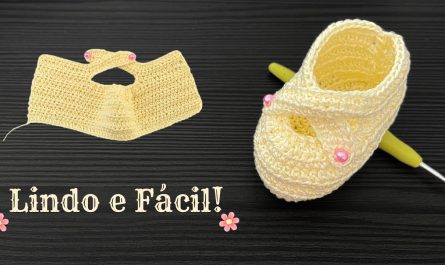
🔹 Part 2: Upper Booty Shoe
Now we start building the sidewalls of the bootie shoe.
Round 4 (BLO):
- Work in back loops only of each stitch.
- Ch 1, sc in each st around
- Join with sl st (42 sts)
This gives the bootie a clean edge where the sole meets the sides.
Rounds 5–6:
- Ch 1, sc in each stitch around
- Join with sl st
🧼 These rounds form the shoe body. Make sure your stitches are even for a smooth appearance.
🔹 Part 3: Shaping the Toe Area
This section starts reducing the front of the bootie to make a shoe shape.
Round 7:
- Ch 1
- Sc in next 14
- (sc2tog) 7 times
- Sc in remaining stitches
- Join with sl st
Round 8:
- Ch 1
- Sc in next 10
- (sc2tog) 5 times
- Sc in remaining stitches
- Join with sl st (approx. 30–32 sts now)
Round 9:
- Ch 1, sc in each stitch around
- Join with sl st
🎯 The bootie should now resemble a soft shoe with a curved toe and slightly higher back.
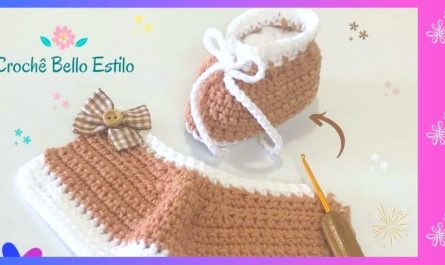
🔹 Part 4: Ankle Cuff (Optional Styles)
Now add a stylish ankle cuff. Choose one of these styles:
Option A: Simple Ribbed Cuff
- Ch 1
- Work 5–6 rounds of hdc in back loop only (BLO) around
- Sl st to join each round
- Fasten off, weave in ends
This creates a stretchy, foldable cuff that can be worn up or down.
Option B: Buttoned Strap (Mary Jane Style)
- After Round 9, fasten off
- Attach yarn on one side near the ankle opening
- Ch 10–12 (or desired length), sl st to opposite side of bootie
- Sc back across chain, fasten off
- Sew button to outer side of bootie
Perfect for formal occasions or as part of a matching outfit.
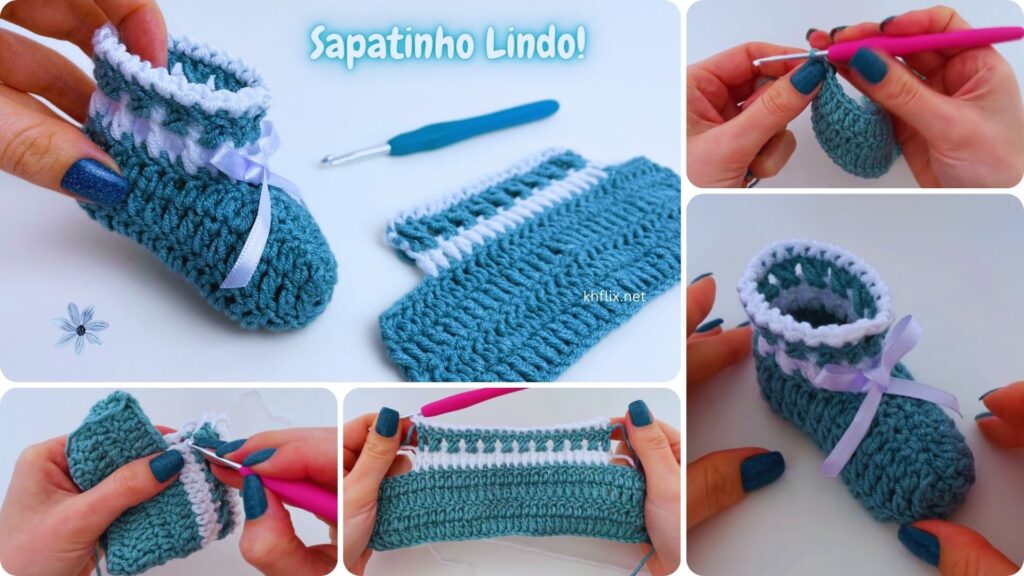
🎀 Finishing Touches
- Use a tapestry needle to weave in all yarn tails.
- Block the booties slightly to shape them if needed.
- Add decorative embellishments such as:
- Crocheted bows
- Tiny flowers
- Wooden or plastic buttons
- Embroidered initials
💡 Make sure all additions are securely sewn to ensure baby safety.
✅ Tips for Success
- Use a soft, washable yarn that won’t irritate baby’s skin.
- Count your stitches often to stay on track.
- Make both booties in the same session to maintain consistent tension.
- Want to change size? Adjust yarn weight or hook size accordingly.
🌈 Customizations to Try
- Use two colors for a striped look (e.g., different sole and top).
- Add a pom-pom or tassel at the heel.
- Try variegated yarns for a multicolor effect without changing colors manually.
- Create matching baby accessories like a hat or mittens.
✅ Pattern Tips & Tricks
- Use soft yarn: Baby yarns are made specifically for sensitive skin
- Count stitches carefully: Especially during increases and decreases
- Make both shoes together: It helps maintain size and tension consistency
- Customize easily: Change color mid-row, add edging, or use texture stitches
🎨 Optional Customization Ideas
- Color-block the sole and body with two different yarn colors
- Add animal-themed embellishments (bunny ears, bear face)
- Use velvet or boucle yarn for a fancy texture
- Create a matching set with a hat and mittens
📦 Perfect for Gifting
These crochet booty shoes make excellent handmade gifts:
- Baby Showers
- First Photoshoots
- Welcome Home Outfits
- Holidays or Seasonal Themes
Wrap in a soft cloth or box them in a hand-decorated baby keepsake box.
🧶 Final Thoughts
Making beautiful crochet booty shoes for a 3 to 6-month-old baby is both a joyful and practical craft. It’s a perfect weekend project that allows you to be creative while making something that will be cherished and possibly kept as a keepsake.
With this detailed pattern, you have all the steps and tools needed to produce a stylish, cozy, and well-fitting pair of handmade baby shoes. Whether you choose to add a cuff, strap, or embellishments, the result will surely warm tiny feet—and hearts.