 by
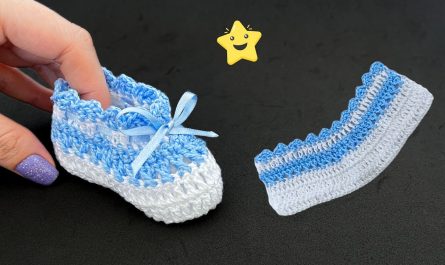
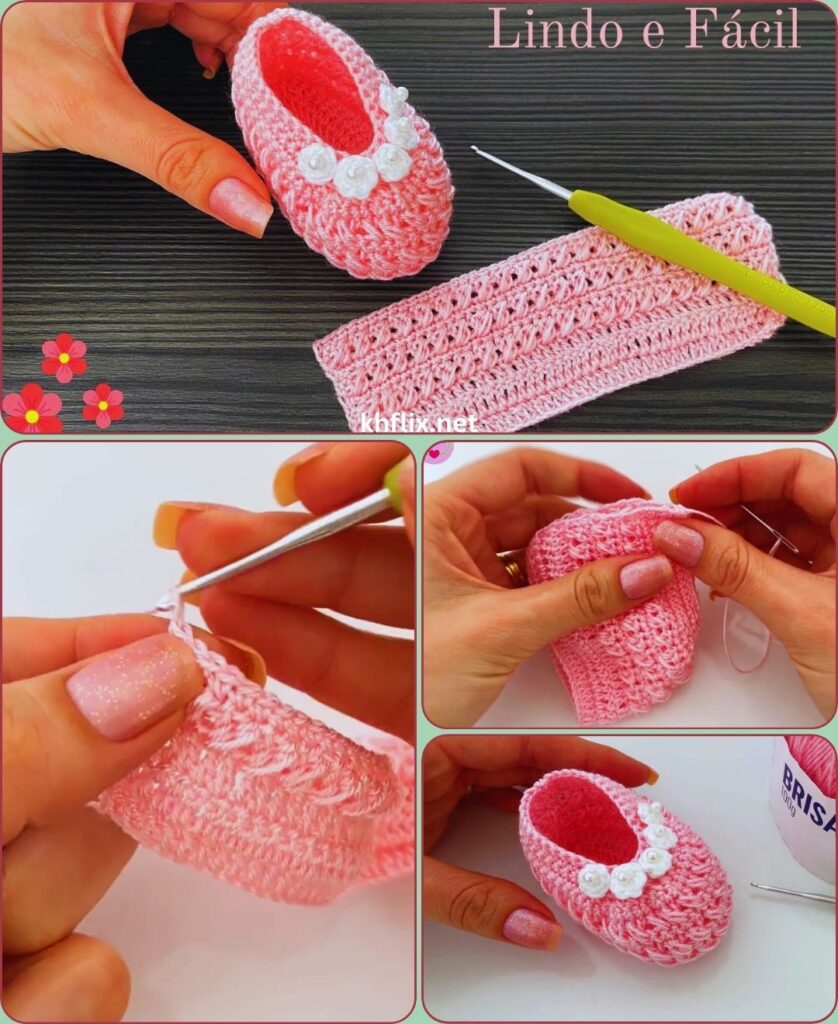
by Crochet baby sneakers are a fun and stylish twist on traditional baby booties. Inspired by classic athletic shoes, these miniature sneakers combine comfort, softness, and a sporty look that makes them perfect for newborns and infants. The best part is that you don’t need advanced crochet skills to make them. With just a few basic stitches and a little patience, beginners can create an adorable pair of handmade baby sneakers.
This step-by-step guide will teach you how to make easy baby crochet sneakers for beginners, using simple techniques that are easy to understand. Whether you’re crocheting for your own baby, creating a thoughtful handmade gift, or making products to sell, this project is a wonderful way to practice your crochet skills.
👟 Why Crochet Baby Sneakers?
Crochet sneakers are one of the most popular baby crochet projects because they combine fashion and function.
Benefits of Crochet Baby Sneakers
- 👶 Soft and gentle on baby’s feet
- 🧶 Beginner-friendly pattern
- ⏱ Quick to complete in just a few hours
- 🎁 Perfect handmade baby shower gift
- 📸 Ideal for newborn photography
- 💖 Stylish, modern, and adorable
- ♻ Requires only a small amount of yarn
These tiny sneakers look like real athletic shoes while remaining lightweight and comfortable.
🧶 Materials You’ll Need
Prepare your supplies before you begin.
Yarn
Choose soft baby-safe yarn such as:
- Baby acrylic yarn
- Soft cotton yarn
- Cotton-acrylic blend
Popular color combinations include:
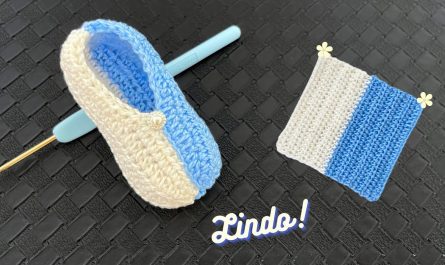
- White and Blue
- White and Red
- Gray and White
- Black and White
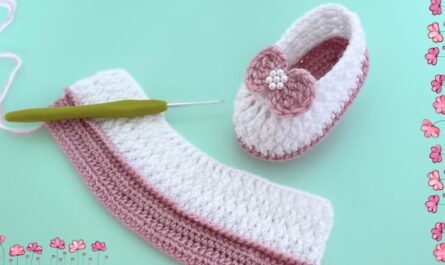
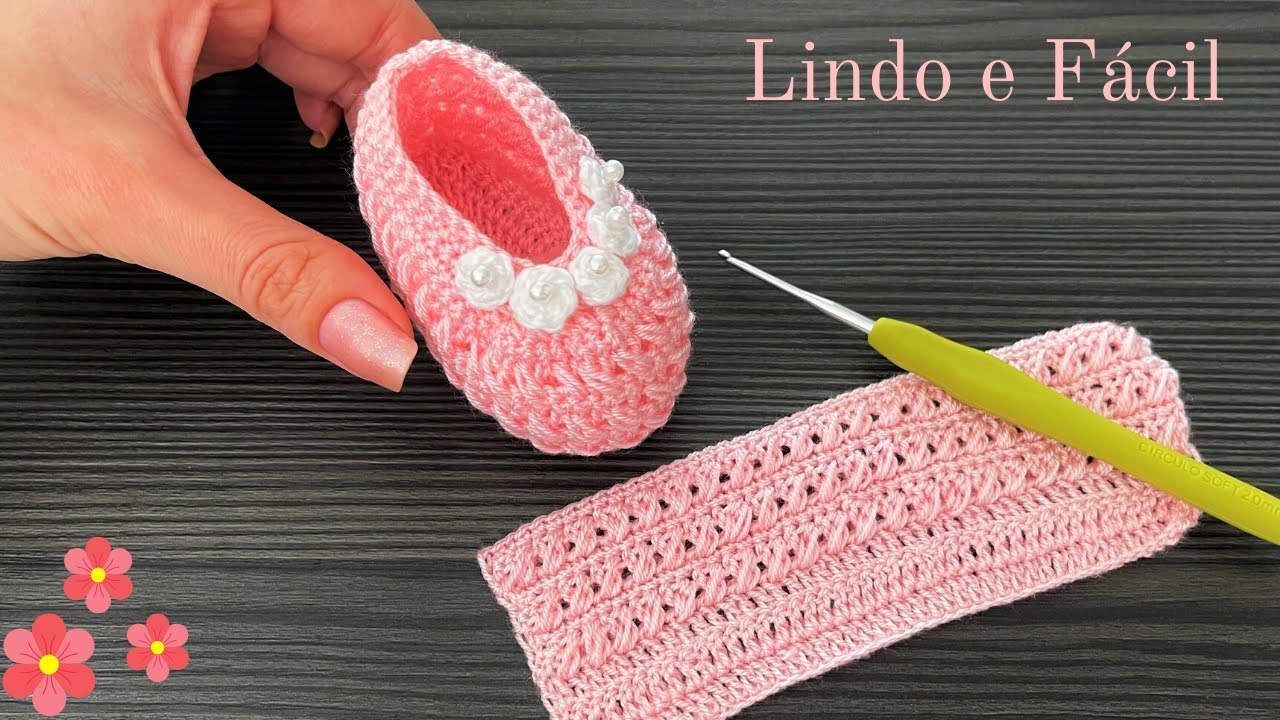
- Pink and White
- Navy and White
Using two colors creates a realistic sneaker appearance.
🪝 Crochet Hook
Choose a hook that matches your yarn.
Recommended sizes:
- 3.5 mm
- 4.0 mm
A slightly larger hook creates softer, more flexible sneakers.
✂️ Additional Supplies
You’ll also need:
- Yarn needle
- Sharp scissors
- Stitch markers (optional)
- Measuring tape
- Small buttons (optional)
🧵 Basic Crochet Stitches
This beginner pattern uses only easy stitches.
You’ll practice:
- Chain (ch)
- Slip Stitch (sl st)
- Single Crochet (sc)
- Half Double Crochet (hdc)
- Double Crochet (dc)
- Single Crochet Two Together (sc2tog)
These basic stitches create a smooth, durable sneaker.
👣 Step 1: Crochet the Sneaker Sole
The sole forms the base of the shoe.
Instructions
- Chain 11 stitches.
- Work two single crochet into the second chain.
- Crochet one single crochet across the chain.
- Crochet five single crochet into the last chain.
- Continue along the opposite side.
- Join with a slip stitch.
The sole should be oval and symmetrical.
👟 Step 2: Add Another Sole Round
Strengthen the sole by crocheting another round.
- Chain one.
- Crochet evenly around.
- Increase only at the toe and heel.
- Join with a slip stitch.
This creates a sturdy yet flexible base.
🧱 Step 3: Build the Side Walls
Now begin shaping the sneaker.
Crochet one full round using:
Single Crochet in the Back Loops Only
This creates:
- A raised edge
- Structured side walls
- A realistic shoe shape
The sneaker now begins to stand upright.
👶 Step 4: Crochet the Sneaker Body
Continue with your main color.
- Crochet one single crochet into every stitch.
- Repeat for two or three rounds.
- Keep your stitches even and relaxed.
The body should become smooth and comfortable.
🔻 Step 5: Shape the Toe
The rounded toe is one of the defining features of a sneaker.
Instructions
- Find the center front.
- Crochet single crochet two together (sc2tog) across the toe area.
- Continue crocheting normally around the remaining stitches.
- Repeat another decrease round if necessary.
This creates a neat rounded toe.
🤍 Step 6: Create the Sneaker Tongue
Switch to white yarn if desired.
Crochet a small rectangle by:
- Chaining several stitches.
- Working rows of single crochet.
- Making the tongue long enough to fold naturally.
Sew the tongue securely inside the opening.
This small detail gives the sneaker its classic athletic appearance.
🪢 Step 7: Crochet the Shoe Collar
Continue around the opening.
Crochet one or two rounds using:
- Single crochet
- Half double crochet
This strengthens the top edge and improves comfort.
👟 Step 8: Add Crochet Shoelaces
Create simple crochet laces.
Instructions
- Chain 45–60 stitches.
- Fasten off.
- Weave the chain through the front of the sneaker.
Tie into a small bow.
The laces instantly transform the bootie into a miniature sneaker.
🌸 Step 9: Decorative Ideas
Customize your sneakers with simple decorations.
Ideas include:
- Small crochet stars
- Tiny hearts
- Color stripes
- Contrasting soles
- Initial letters
- Decorative buttons
- Embroidered details
Keep all decorations securely attached for baby safety.
🧵 Step 10: Finishing the Sneakers
Complete your project by:
- Cutting the yarn.
- Pulling the yarn through the last loop.
- Weaving in loose ends.
- Trimming excess yarn.
- Gently shaping each sneaker.
Compare both sneakers to ensure they match perfectly.
💡 Helpful Tips for Beginners
For the best results:
- Use soft baby yarn.
- Maintain even tension.
- Count stitches every round.
- Crochet both sneakers together.
- Use stitch markers when needed.
- Practice decreases before shaping the toe.
Taking your time leads to better-looking sneakers.
⚠️ Common Mistakes to Avoid
Sneakers Are Different Sizes
Always count your stitches.
Sole Curls Up
Your tension may be too tight.
Try using a larger crochet hook.
Tongue Looks Too Large
Measure before sewing it into place.
Laces Too Short
Chain extra stitches so you can tie a comfortable bow.
🌈 Popular Sneaker Color Combinations
Modern baby sneakers look beautiful in many colors.
Some favorites include:
- 🤍 White + Navy Blue
- ❤️ White + Red
- 🩶 Gray + White
- 🖤 Black + White
- 💙 Blue + White
- 💗 Pink + White
- 💚 Mint + White
- 🤎 Beige + Cream
Using contrasting colors makes the sneaker details stand out.
🧼 Caring for Crochet Baby Sneakers
To keep your handmade sneakers looking beautiful:
- Wash gently by hand.
- Use mild detergent.
- Rinse with cool water.
- Lay flat to dry.
- Avoid high heat.
- Store in a clean, dry place.
Proper care helps preserve the shape and softness of your crochet work.
👶 Final Thoughts
Learning how to make easy baby crochet sneakers for beginners is a wonderful way to build your crochet skills while creating something stylish, practical, and fun. With just a few basic stitches, soft baby yarn, and simple shaping techniques, you can make adorable miniature sneakers that look like real athletic shoes while remaining soft and comfortable for tiny feet.
As your confidence grows, you can experiment with different colors, decorative stripes, crocheted shoelaces, embroidered details, and unique designs to create your own signature sneaker style. Every pair you finish will improve your technique and become a treasured handmade gift filled with creativity and care.
Whether you’re crocheting for your own baby, giving a thoughtful handmade present, or adding fashionable items to your handmade shop, these easy crochet baby sneakers are sure to become a favorite project.
Happy crocheting, and enjoy making beautiful baby sneakers one stitch at a time! 👟🧶👶