 by
by Crochet baby sneakers are a wonderful project for anyone learning to crochet. They combine the comfort of soft baby booties with the stylish look of classic sneakers, making them one of the most popular handmade baby accessories. Although they may look detailed, beginner-friendly crochet sneakers are surprisingly simple to create when you follow each step carefully.
In this complete guide, you’ll learn how to make easy baby crochet sneakers for beginners using basic stitches, simple shaping techniques, and easy finishing methods. By the end of the project, you’ll have a charming pair of handmade sneakers that are both comfortable and fashionable for little feet.
👶 Why Crochet Baby Sneakers?
Crochet sneakers are more than just cute—they’re practical and enjoyable to make.
Benefits of Making Crochet Baby Sneakers
- 👟 Stylish design inspired by classic sneakers
- 🧶 Great beginner crochet project
- ⏳ Quick to finish
- 👶 Soft and comfortable for babies
- 🎁 Perfect handmade baby shower gift
- 💖 Excellent project for selling at craft fairs or online
Because they are made with soft yarn, crochet sneakers are lightweight and gentle on delicate baby skin.
🧶 Supplies You’ll Need
Before beginning your project, gather all of your materials.
Yarn
Choose soft baby yarn such as:
- Baby acrylic
- Cotton yarn
- Cotton-acrylic blend
You may use:
- One solid color
- Two-color combination
- Three-color sneaker design
Popular colors include white, navy, gray, red, pink, black, beige, and mint green.
🪝 Crochet Hook
Recommended hook sizes:
- 3.5 mm
- 4.0 mm
Choose the hook size recommended for your yarn.
✂️ Other Tools
You’ll also need:
- Yarn needle
- Scissors
- Stitch markers (optional)
- Measuring tape
🧵 Crochet Stitches Used
This beginner project uses only basic stitches.
You’ll practice:
- Chain (ch)
- Slip Stitch (sl st)
- Single Crochet (sc)
- Half Double Crochet (hdc)
- Double Crochet (dc)
- Single Crochet Decrease (sc2tog)
If you know these stitches, you’re ready to begin.
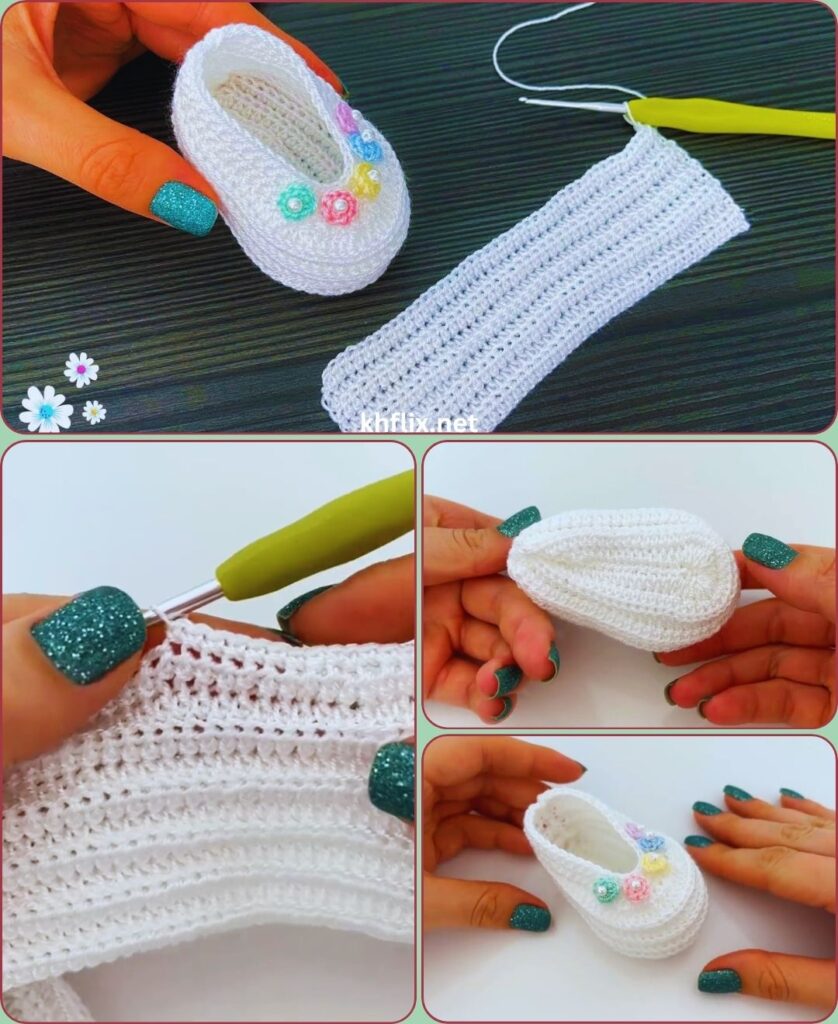
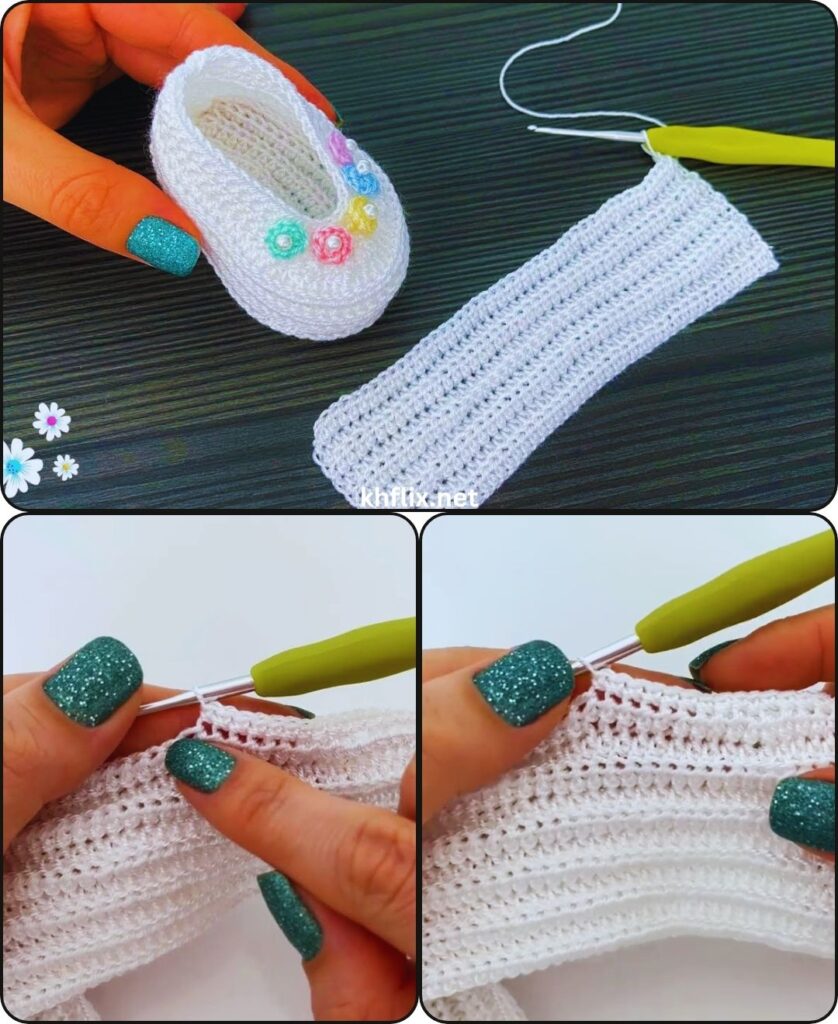
👣 Step 1: Crochet the Sole
The sole is the foundation of every crochet sneaker.
Instructions
- Chain 11 stitches.
- Work two single crochet into the second chain.
- Crochet one single crochet across the chain.
- Place five single crochet into the last chain.
- Continue crocheting along the opposite side.
- Join with a slip stitch.
The finished sole should have a smooth oval shape.
👟 Step 2: Strengthen the Sole
To make the sneaker more durable:
- Crochet one additional round.
- Increase only at the toe and heel.
- Keep your stitches even.
- Join with a slip stitch.
This creates a thicker and more supportive sole.
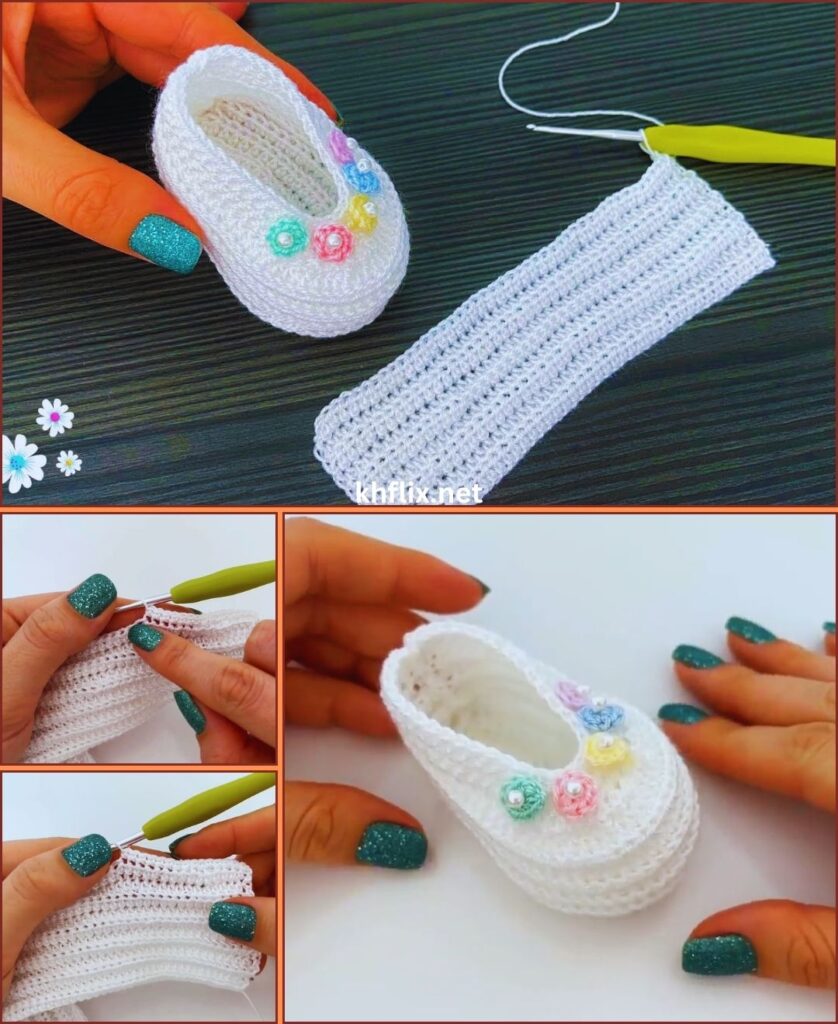
🧱 Step 3: Build the Sneaker Sides
Now begin creating the walls of the shoe.
Crochet one round using:
Single Crochet in the Back Loops Only
This technique creates:
- A decorative ridge
- Strong side walls
- Better shoe structure
You’ll notice the sneaker beginning to stand upright.
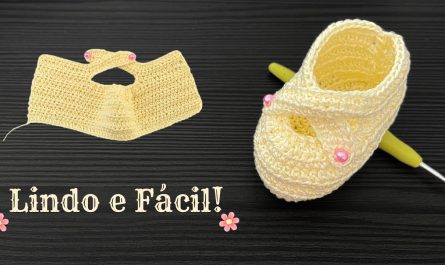
👶 Step 4: Crochet the Main Body
Continue with your main yarn color.
- Crochet one single crochet into every stitch.
- Repeat for two or three rounds.
- Keep the stitches relaxed and even.
This creates the comfortable body of the sneaker.
🔻 Step 5: Shape the Front Toe
The toe gives the sneaker its recognizable shape.
Instructions
- Locate the center front.
- Crochet sc2tog across the toe area.
- Continue normally around the remaining stitches.
- Repeat another shaping round if needed.
The front should now appear smooth and rounded.
🤍 Step 6: Crochet the Sneaker Tongue
The tongue gives the shoe its sporty appearance.
Create a small rectangle by:
- Chaining several stitches.
- Working back and forth with single crochet.
- Fastening off after reaching the desired height.
Sew the tongue securely inside the sneaker opening.
👟 Step 7: Crochet the Top Edge
Strengthen the opening by crocheting:
- One or two rounds of single crochet
- Or one round of half double crochet
This gives the sneaker a clean, finished appearance while improving durability.
🪢 Step 8: Make Crochet Shoelaces
Crochet simple shoelaces by:
- Chaining 50–60 stitches.
- Fastening off.
- Threading the chain through the eyelet spaces.
Tie the ends into a neat bow.
These simple laces instantly create the classic sneaker look.
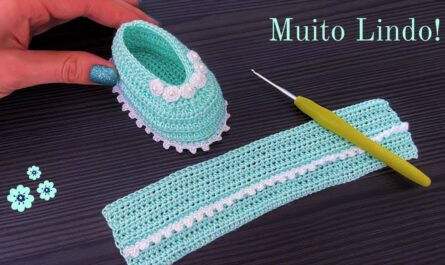
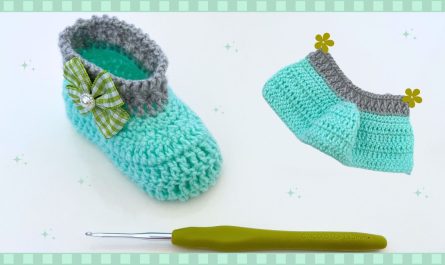
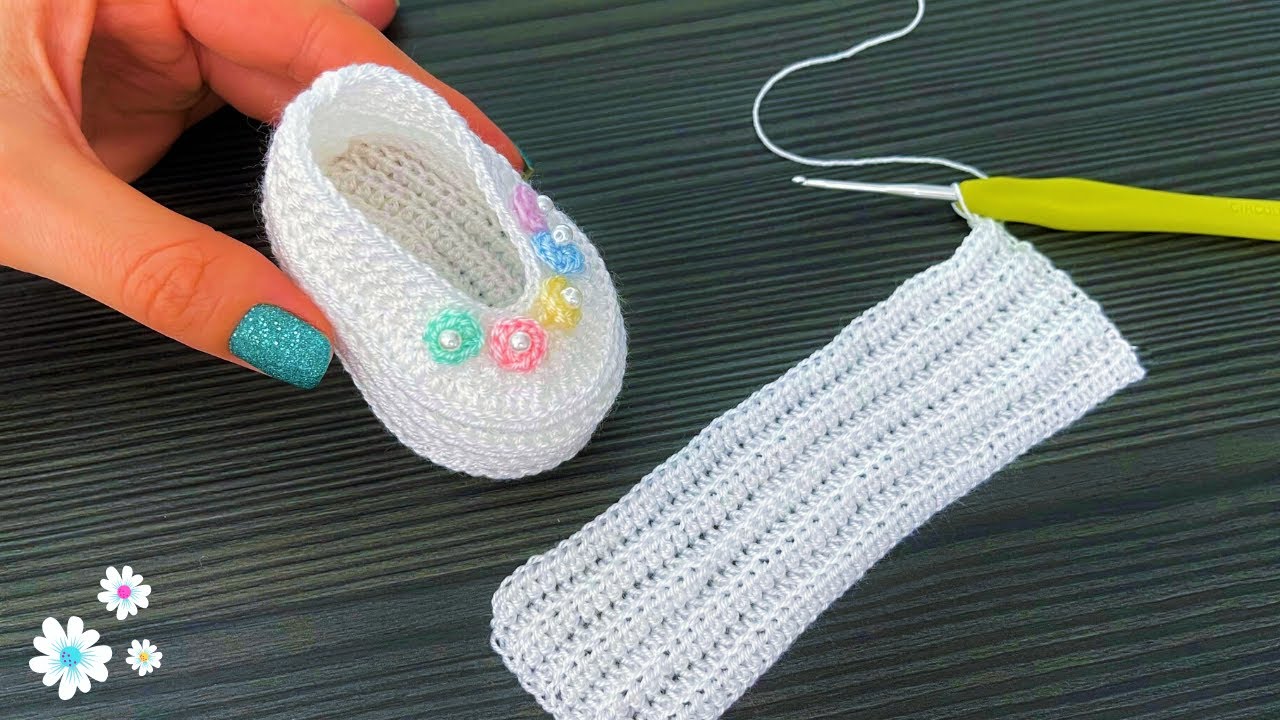
🌸 Step 9: Add Decorative Details
Personalize your sneakers with simple embellishments.
Ideas include:
- Small crochet stars
- Hearts
- Color stripes
- Initial letters
- Tiny flowers
- Decorative buttons
- Contrasting toe caps
Remember to attach decorations securely if the sneakers will be worn by babies.
🧵 Step 10: Finish Your Sneakers
Complete the project by:
- Cutting the yarn.
- Pulling the yarn through the final stitch.
- Weaving in all loose ends.
- Trimming excess yarn.
- Gently shaping both sneakers.
Place them side by side to check that they match.
💡 Helpful Tips for Beginners
For the best results:
- Practice even stitch tension.
- Count stitches every round.
- Crochet both sneakers at the same time.
- Use stitch markers when shaping.
- Keep decreases gradual.
- Choose soft baby-safe yarn.
Patience always produces neater crochet work.
⚠️ Common Beginner Mistakes
Sneakers Become Different Sizes
Always count your stitches.
Sole Curls
Use a larger hook or loosen your tension.
Tongue Is Too Large
Measure before sewing it into place.
Shoelaces Are Too Short
Add extra chain stitches before fastening off.
🌈 Popular Color Ideas
Some beautiful color combinations include:
- 🤍 White + Navy Blue
- ❤️ Red + White
- 🩶 Gray + White
- 🖤 Black + White
- 💙 Blue + White
- 💗 Pink + White
- 💚 Mint + White
- 🤎 Beige + Cream
Mixing two colors creates a realistic sneaker effect.
🧼 Caring for Crochet Baby Sneakers
To keep your sneakers looking their best:
- Hand wash gently with mild detergent.
- Rinse in cool water.
- Do not twist the fabric.
- Lay flat to dry.
- Store in a clean, dry location.
Proper care helps preserve the shape and softness of your handmade sneakers.
👶 Final Thoughts
Learning how to make easy baby crochet sneakers for beginners is a fantastic way to improve your crochet skills while creating something practical and stylish. This project introduces you to shaping, stitching, and simple finishing techniques without being overwhelming, making it an excellent choice for first-time crocheters.
Once you’ve mastered the basic pattern, you can experiment with different colors, decorative stripes, crocheted shoelaces, folded cuffs, and unique embellishments to create your own signature sneaker designs. Every pair you complete will build your confidence and help you develop the skills needed for more advanced crochet projects.
Whether you’re making them for your own baby, giving them as a heartfelt handmade gift, or selling them in your crochet business, these easy baby crochet sneakers are sure to become a favorite project that combines creativity, comfort, and timeless style.
Happy crocheting, and enjoy every stitch as you create adorable baby sneakers by hand! 👟🧶👶