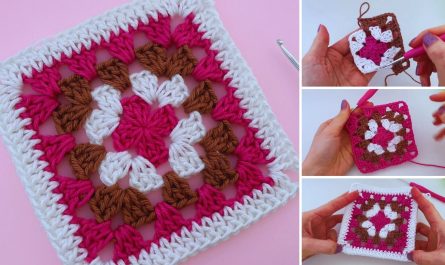
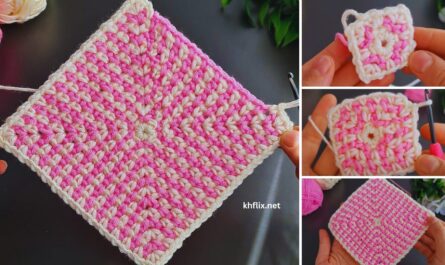
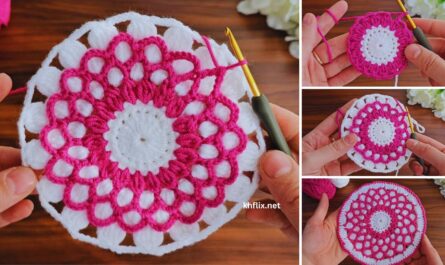
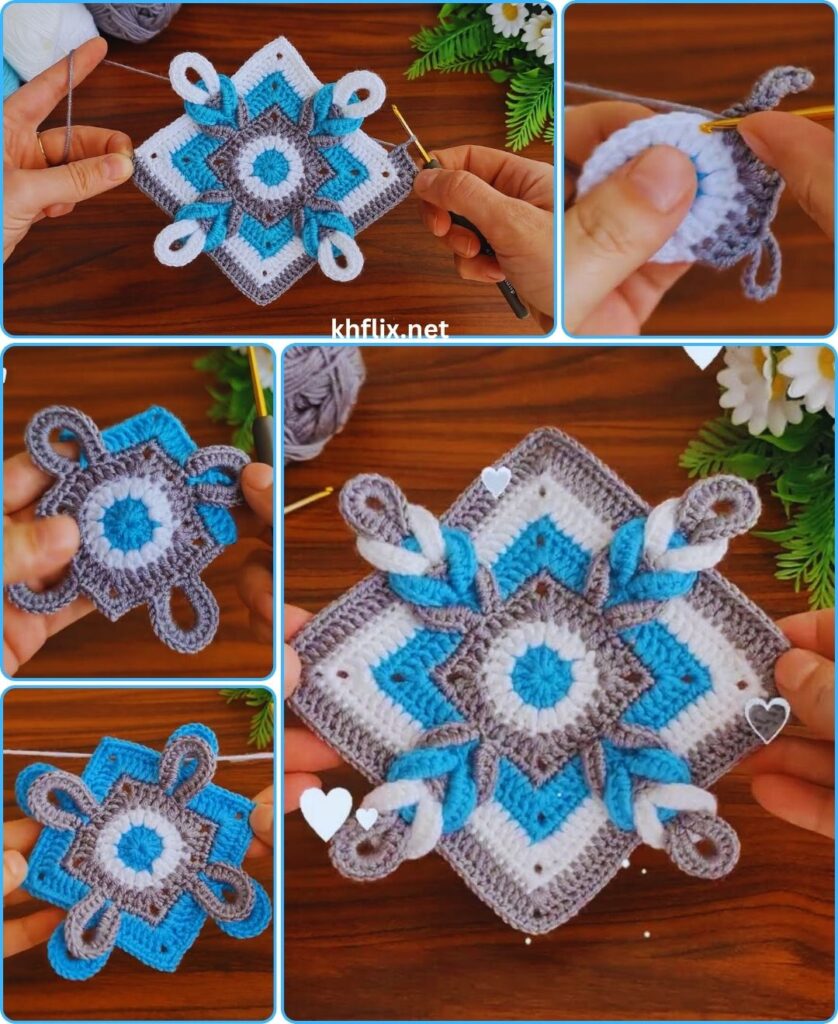
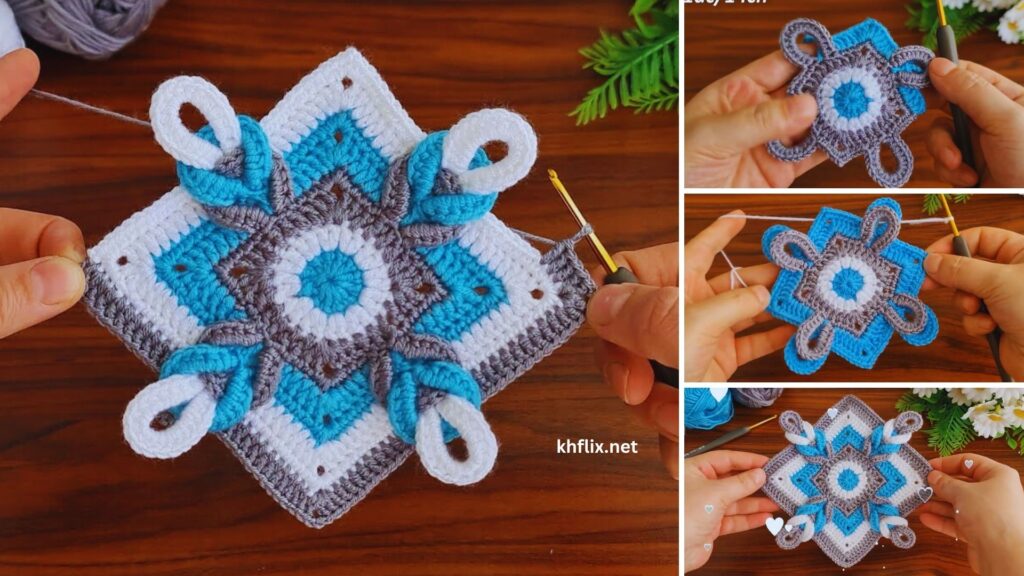
Let’s crochet a vibrant and stylish square coaster motif with three colors! This project is a fantastic way to add a personalized pop of color and handmade charm to your home decor. It’s also an excellent way to practice color changes and use up those smaller yarn scraps.
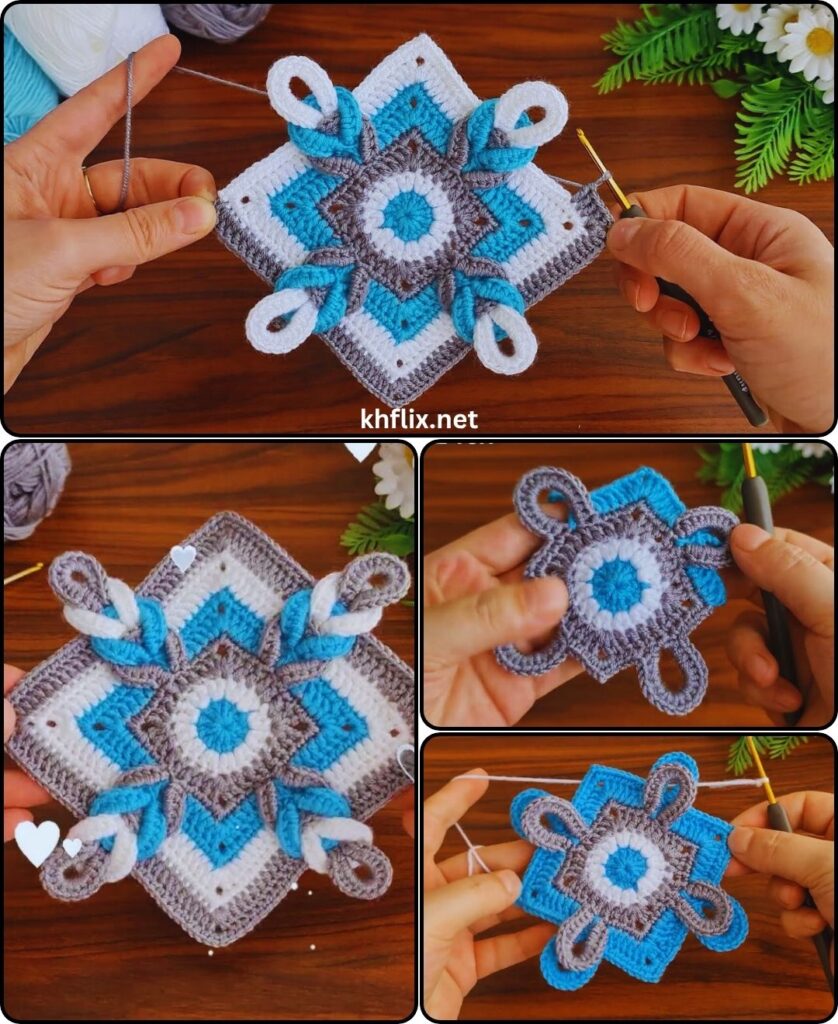
How to Make a Three-Color Crochet Square Coaster Motif
This detailed pattern will guide you through creating a sturdy, flat square coaster. The three-color design allows for beautiful visual interest, whether you choose contrasting shades or a harmonious blend.
Skill Level: Easy
You’ll need to know:
- Chain (ch): The foundation of most crochet projects.
- Slip Stitch (sl st): Used for joining rounds.
- Single Crochet (sc): A compact, dense stitch.
- Double Crochet (dc): A taller, more open stitch.
- Working in rounds: Crocheting in a circular motion.
- Creating a Magic Ring (MR) or Adjustable Ring: (Optional but highly recommended for a tight center).
Finished Coaster Dimensions (Approximate):
Your finished square coaster will typically measure around 4.5 to 5.5 inches (11.5 to 14 cm) per side. This can vary slightly based on your yarn thickness, hook size, and personal tension.
Materials You’ll Need:
- Yarn: Approximately 30-50 yards (27-45 meters) of Worsted Weight (Medium #4) Cotton Yarn.
- Why Cotton? Cotton yarn is highly recommended for coasters because it’s absorbent, durable, and heat-resistant. Acrylic yarn can melt if exposed to very hot temperatures, so cotton is the safer and more practical choice.
- Colors:
- Color A (Center): Your first color for the very middle.
- Color B (Middle Section): Your second color for the next section.
- Color C (Outer Border): Your third color for the outermost edge.
- Crochet Hook: Size H/5.0mm. Or the hook size that gives you a fabric dense enough to be sturdy but not too stiff. If your stitches feel too loose or too tight, adjust your hook size up or down accordingly.
- Yarn Needle (Tapestry Needle): Essential for seamlessly weaving in all your loose yarn tails at the end.
- Scissors: For cutting your yarn.
Gauge:
Gauge isn’t critical for a coaster, as it doesn’t need to fit precisely like a garment. However, aiming for consistent tension will help ensure your coaster is well-formed and lies flat. If your stitches are too loose, the coaster might be flimsy; too tight, and it could be rigid or pucker.
Abbreviations Used in This Pattern:
- ch: chain
- sl st: slip stitch
- sc: single crochet
- dc: double crochet
- tr: treble crochet (or triple crochet)
- st(s): stitch(es)
- sp: space
- ch-sp: chain space
- MR: Magic Ring (also called Magic Circle or Adjustable Ring)
- (): repeat instructions within parentheses a specified number of times.
- []: indicates the total number of stitches/chain spaces at the end of a specific round.
Mastering Clean Color Changes:
This technique is crucial for making your multi-color coaster look professional and neat.
- Work the last stitch of your current round with the current color as usual, but stop when you have two loops left on your hook. (For example, if it’s a dc stitch, you’ve yarned over, inserted hook, yarned over, pulled up a loop, yarned over, pulled through two loops – two loops remain.)
- Drop the current color yarn.
- Pick up your new color yarn. Yarn over with the new color, and pull it through the remaining two loops on your hook to complete the stitch.
- Now, using the new color, sl st into the first stitch of the round (or the top of your turning chain) to join the round.
- Always cut the old color yarn, leaving a 4-inch tail. You’ll neatly weave these tails in later.
Let’s Crochet Your Three-Color Square Coaster Motif!
This coaster is typically worked in rounds, starting from the center and expanding outwards, with strategically placed stitches to create the square shape.
Part 1: The Center (Color A)
- Start: Make a Magic Ring (MR).
- Alternative Start (if you prefer not to use a MR): Chain 4, then slip stitch into the first chain to form a ring.
- Round 1:
- Ch 2 (does NOT count as a stitch, but gives height).
- Work 8 hdc into the MR (or into the center of your ch-4 ring).
- If using a Magic Ring, pull the starting tail tightly to close the center hole.
- Sl st into the first hdc to join the round.
- [You should have 8 hdc stitches at the end of this round.]
- Round 2:
- Ch 2 (does NOT count as a stitch).
- Work 2 hdc into each stitch around.
- [You should have 16 hdc stitches at the end of this round.]
- Crucial Step: Color Change! On the very last hdc of this round, stop when you have two loops left on your hook. Drop Color A, pick up Color B, yarn over with Color B, and pull through the remaining two loops to complete the stitch. Now, using Color B, sl st into the top of the first hdc to join the round. Cut Color A, leaving a 4-inch tail to weave in later.
Part 2: The Middle Section (Color B)
This round introduces the corner spaces that will define your square shape.
- Round 3:
- With Color B now attached, ch 2 (does NOT count as a stitch).
- *(Dc in the first stitch, tr in the next stitch, ch 2, tr in the next stitch, dc in the next stitch).* This creates your first corner.
- Hdc in the next 3 stitches.
- Repeat from * to * 3 more times around the circle. (You’ll end with the last hdc in the last stitch before the beginning of the round).
- Sl st into the top of the first dc to join the round.
- [You should have 4 corners (each with a ch-2 space) and 12 hdc stitches (3 between each corner).]
- Crucial Step: Color Change! On the very last sl st of this round, use Color C to complete the slip stitch. Cut Color B, leaving a 4-inch tail to weave in later.
Part 3: The Outer Border (Color C)
This final round expands the square and gives it a nice finished edge.
- Round 4:
- With Color C now attached, ch 1 (does NOT count as a stitch).
- *(Sc in each stitch until you reach the corner ch-2 space).*
- In each corner ch-2 space, work (2 sc, ch 2, 2 sc). This creates neat, defined corners.
- Repeat from * to * around the entire square.
- Sl st into the first sc to join the round.
- [Your total stitch count will depend on your previous rows, but you should have a clear square shape with (2 sc, ch 2, 2 sc) in each of the four corners.]
- Fasten off (FO), leaving a 6-inch tail.
Part 4: Finishing Your Square Coaster
- Fasten Off: After completing Round 4, cut your yarn, leaving a 6-inch tail. Yarn over and pull the tail completely through the loop on your hook to secure the last stitch. Gently tug to tighten.
- Weave in All Ends: This is a crucial step for a neat, professional, and durable coaster, especially with three colors!
- Thread each yarn tail (from your Magic Ring, all color changes, and your final fasten-off) onto your yarn needle.
- Carefully weave them through several stitches of the same color on the back side of your coaster. Try to go through the middle of the stitches to fully hide the tails. Weave in one direction for a few stitches, then change direction slightly and weave back for a few stitches (this “locks” the tail in place and prevents it from unraveling).
- Take your time with this to ensure your coaster looks great and won’t unravel with use or washing.
- Shape: Gently lay your coaster flat. Use your fingers to gently manipulate and smooth out the edges, ensuring it lies perfectly flat and has a clean, square shape. If it’s a bit wavy, a gentle steam block can help it lie completely flat (be careful not to over-steam cotton or acrylic).
You’ve now created a beautiful and unique three-color crochet square coaster motif! This simple yet effective design is perfect for adding a charming, handmade touch to your home or giving as a thoughtful gift. What fun color combinations are you excited to try for your next set of coasters?


