 by
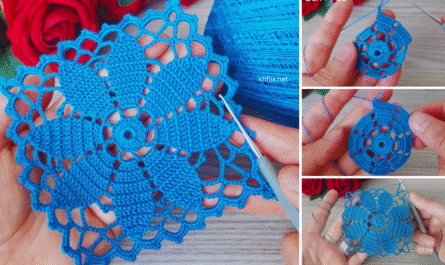
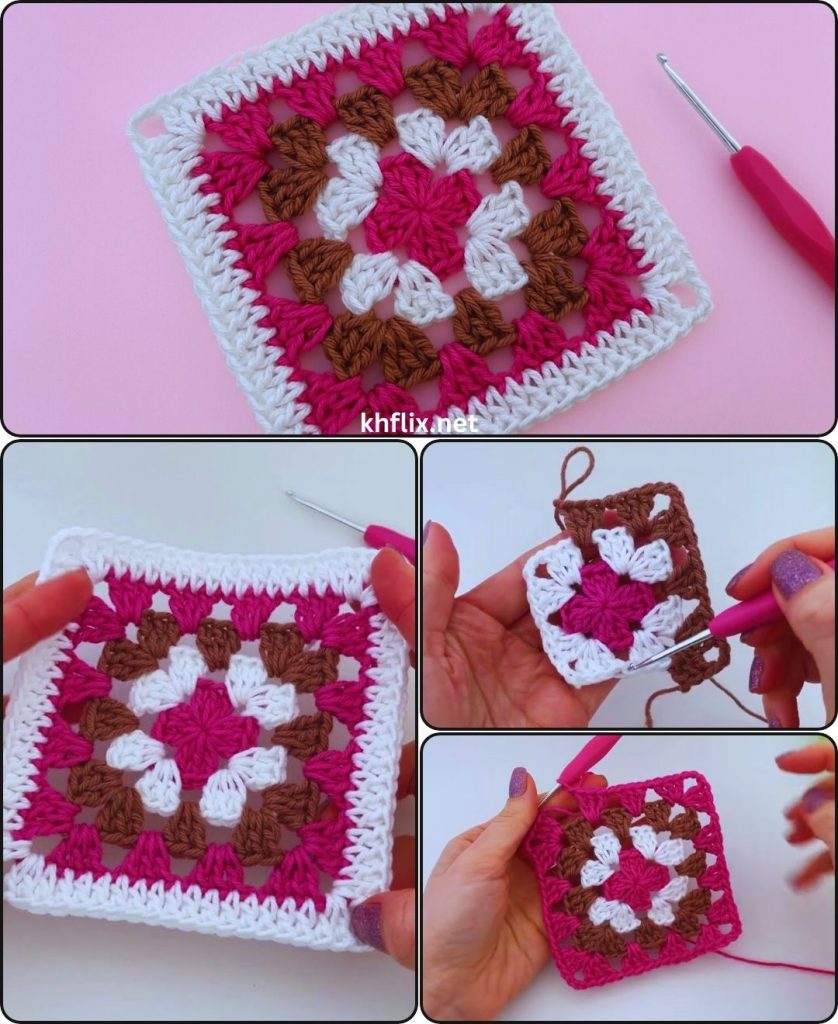
by A hollow square, also known as a granny square, is a timeless crochet classic. Adding stripes to a basic granny square is a fantastic way for a beginner to practice color changes while creating a vibrant, eye-catching design. The open, airy nature of the hollow square makes it a perfect canvas for bold stripes.
This detailed guide will walk you through the process, from understanding the basic stitches to creating your own beautiful striped squares.

Part 1: Essential Supplies and Key Concepts
Before you start, let’s go over the basics you’ll need.
- Two or More Colors of Yarn: This project is great for using up small bits of leftover yarn. Choose a yarn of a consistent weight, like worsted weight (medium/size 4). Using contrasting colors will make your stripes stand out.
- Crochet Hook: The hook size should match your yarn. A 5.0mm (H-8) or 5.5mm (I-9) hook is a great choice for worsted weight yarn.
- Scissors: For cutting yarn.
- Tapestry Needle: For weaving in ends.
Key Concepts for Beginners:
- Granny Cluster: The basic building block of a hollow square is a “granny cluster,” which is a group of three double crochet (dc) stitches worked into the same space.
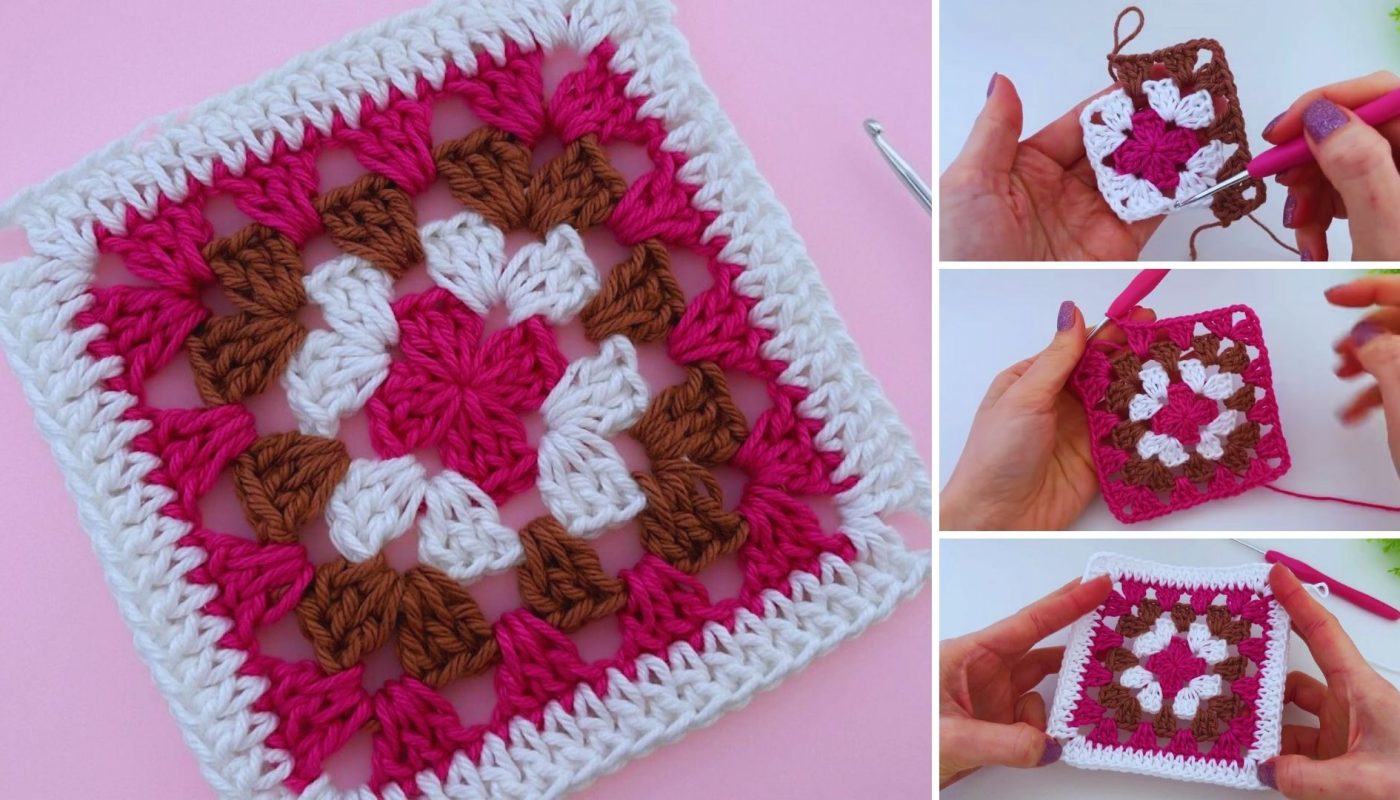
- Corner: The corners of the square are where you’ll work two granny clusters separated by a chain space (e.g.,
(3 dc, ch 2, 3 dc)). - Color Change: You will change colors at the end of each round. The secret to a clean color change is to complete the final stitch of the round with the new color.
Part 2: Step-by-Step Tutorial
This pattern is designed to be simple and repetitive, making it easy to memorize and get the hang of.
Pattern Key:
- Ch: Chain
- Sl st: Slip stitch
- Dc: Double crochet
- Sp: Space
- CC: Change Color
Color A: Your first color Color B: Your second color
Starting the Square
- With Color A, make a magic ring (or
ch 4andsl stto the firstchto form a ring). A magic ring creates a tighter center. - Round 1:
Ch 3(counts as your firstdc), work2 dcinto the ring. This is your first granny cluster.Ch 2. - Work
3 dcinto the ring,ch 2. Repeat this two more times. You should have four clusters separated by four chain spaces. - Join with a
sl stto the top of the beginningch-3.
Adding Your First Stripe (Color B)
This is where you’ll make your first color change.
- Round 2: Drop Color A. Pick up Color B, yarn over with Color B, and pull through the loop on your hook to complete the
sl stjoin. Ch 3(counts as your firstdc). Work2 dc,ch 2,3 dcall in the same corner space. This is your first corner.Ch 1. Now, move to the next corner. In the nextch-2space, work(3 dc, ch 2, 3 dc).Ch 1. Repeat this two more times to complete the other two corners.- Join with a
sl stto the top of the beginningch-3.
Continuing with the Stripes
You’ll continue to alternate between Color A and Color B for each new round.
- Round 3: Drop Color B. Pick up Color A and complete the
sl stjoin. Ch 3(counts as your firstdc). Work2 dcin the first side space (ch-1space).Ch 1. Now, in the next corner space (ch-2space), work(3 dc, ch 2, 3 dc)`.Ch 1. Work3 dcin the next side space.Ch 1. Work(3 dc, ch 2, 3 dc)in the next corner space.- Repeat this pattern (
ch 1,3 dcin side space,ch 1, corner) around the square. - Join with a
sl stto the top of the beginningch-3.
Keep Going:
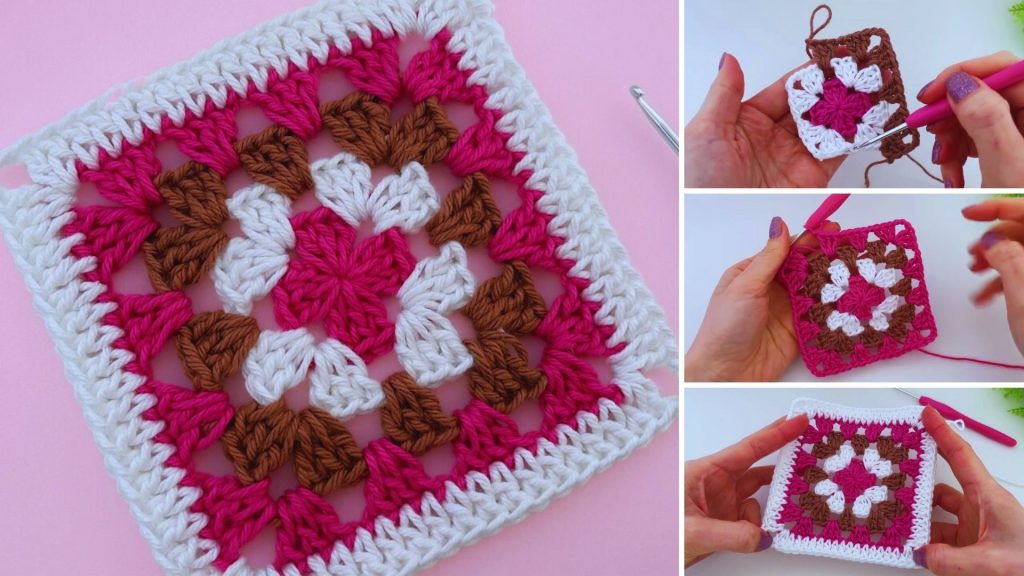
The pattern for each subsequent round is the same. You’ll work a cluster of three dc stitches into each of the side spaces, and a corner ((3 dc, ch 2, 3 dc)) into each corner space. You will continue to alternate colors at the end of each round.
Part 3: Finishing and Advanced Tips
- Weaving in Ends: Once your square is the desired size, you’ll need to weave in your yarn ends. Thread the yarn onto your tapestry needle and weave it back and forth through the stitches on the back of the square. Weave it in two different directions for extra security.
- Carrying Yarn: For a cleaner, more efficient process, you can “carry” the inactive yarn up the seam. When you complete a round and slip stitch, simply let the inactive yarn hang on the wrong side of your work. When you’re ready to use it again on the next stripe, gently pull it up. This saves you from having to cut and weave in ends at every single color change. Just be careful not to pull the yarn too tightly, which can cause the square to pucker.
- Different Stripe Widths: You don’t have to change colors every round. You can make thicker stripes by working two or three rounds in one color before switching to the next.
- Three Colors or More: Once you’re comfortable with two colors, try adding a third. Just continue the pattern, alternating colors in a set sequence (e.g., Color A, Color B, Color C, then back to Color A).
Practice makes perfect. The more squares you make, the more comfortable you’ll become with the process. You can even join your finished squares together to create a colorful blanket, placemat, or even a bag.