 by
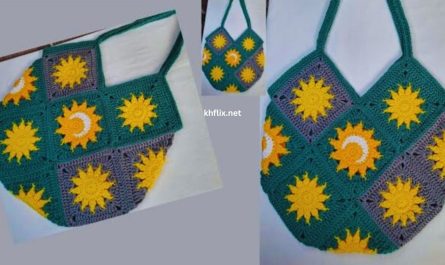
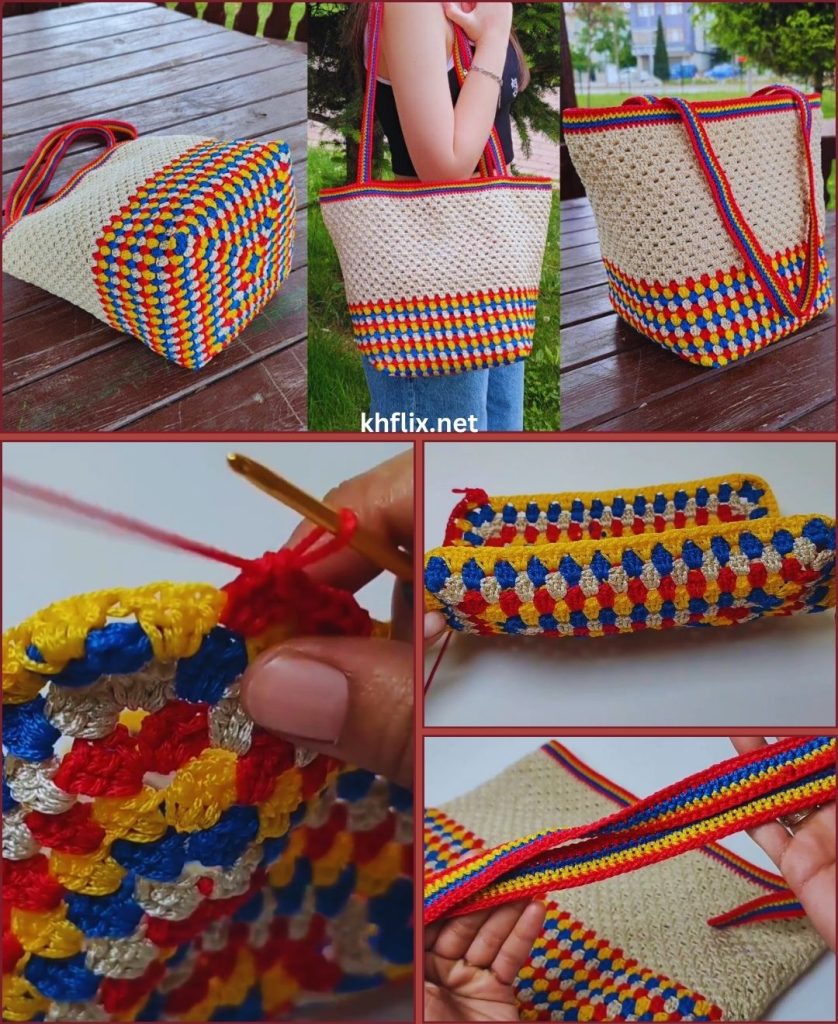
by Summer is the perfect time to bring out bright colors, lightweight accessories, and handmade treasures—and nothing is more stylish or practical than a crochet tote bag. Whether you’re heading to the beach, the weekend market, a picnic, or a vacation getaway, a handmade tote bag is a must-have accessory that combines beauty, function, and creativity.
The best part? You can make a tote bag easily, even if you’re a beginner! With simple stitches and a repeatable pattern, this tutorial gives you everything you need to create a durable, roomy, lightweight tote that you’ll want to carry everywhere.
Let’s get started!

🌞 Why Crochet a Tote Bag?
Crochet tote bags are:
- ✔ Eco-friendly (reusable & washable)
- ✔ Stylish (endless color and pattern possibilities)
- ✔ Durable (especially with cotton yarn)
- ✔ Beginner-friendly
- ✔ Roomy enough for groceries, towels, books, and more
- ✔ Perfect summer accessories
Whether you’re making one for yourself or gifting it, this project is fun, functional, and deeply satisfying.
🧶 Materials Needed
Yarn
The best yarn for a summer tote is cotton because it’s:
- Strong
- Washable
- Breathable
- Won’t stretch too much
Recommended weight:
- Worsted weight (4) cotton
- OR DK cotton for a lighter bag
Crochet Hook
- 4.0 mm – 5.0 mm (depending on yarn thickness)
Using a slightly larger hook gives the stitches a nice drape.
Other Tools
- Scissors
- Tapestry needle
- Stitch markers (optional)
- Measuring tape
🧵 Stitches & Techniques You’ll Use
This easy tote bag uses very simple stitches:
- CH – chain
- SC – single crochet
- DC – double crochet
- SL ST – slip stitch
Optional stitches for texture:
- V-stitch (DC, CH 1, DC)
- Mesh stitch (DC, CH 1, skip 1)
If you know how to chain and do basic stitches, this project is perfect for you!
👜 Construction Overview
This tote bag is made in three main parts:
- The Base (solid, sturdy rectangle or oval)
- The Body (mesh or open stitch pattern for airflow)
- The Handles (sturdy straps crocheted right into the top)
Everything is worked in the round, so no complicated sewing needed.
🌊 Free Easy Tote Bag Pattern (Perfect for Beach or Market!)
Below is a full, simple, beginner-friendly pattern.
⭐ Step 1: Make the Base
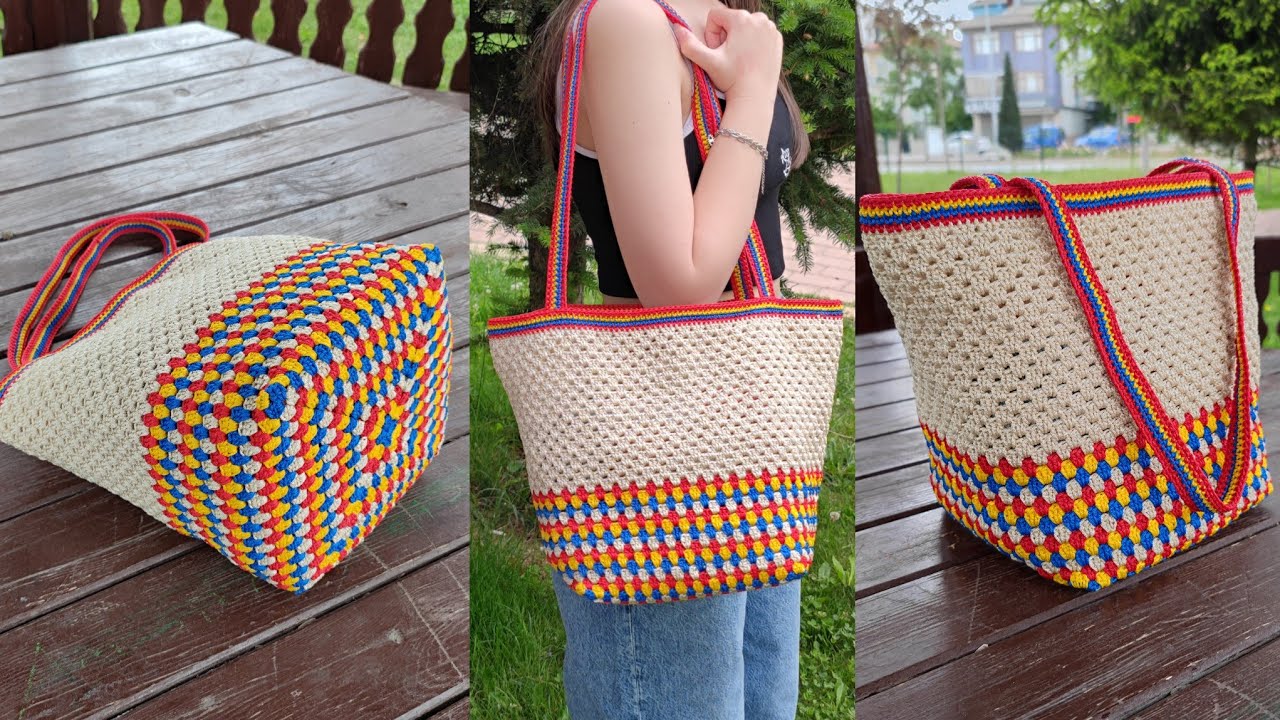
We’ll make a rectangular base to keep your tote roomy and stable.
Foundation Chain
CH 31
(This creates a base about 28–30 cm long. For a larger tote: CH 40–50.)
Row 1
- SC in 2nd CH from hook
- SC across (30 SC)
- CH 1, turn
Rows 2–10
- SC in each stitch
- Turn at the end of every row
Continue until your rectangle measures about 10–12 cm tall.
✔ This solid base gives your tote strength and structure.
⭐ Step 2: Work Around the Base to Build the Sides
Now begin crocheting in the round.
Round 1
- SC evenly around the entire rectangle
- Place 3 SC in each corner to maintain shape
- Join with SL ST to first SC
You now have the foundation for the bag walls.
⭐ Step 3: Begin the Body of the Tote (Mesh or Open Stitch)
You can choose from two easy, summery stitch patterns.
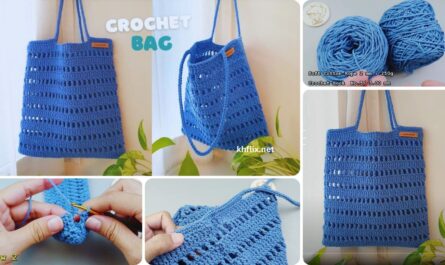
Option A: Easy Mesh Stitch (Classic Summer Look)
Round Pattern
- CH 2
- DC, CH 1, skip 1 stitch
- Repeat around
- Join with SL ST
Repeat this round for 15–25 rounds depending on desired height.
✔ Creates a breezy, beachy net-style bag
✔ Lightweight and perfect for summer
Option B: V-Stitch Body (Elegant & Beginner-Friendly)
Round Pattern
- CH 3
- V-stitch in every 3rd stitch (DC, CH 1, DC in the same stitch)
- Repeat around
- SL ST to join
Repeat the round for 15–20 rounds.
✔ Creates an airy, lacy texture
✔ Stronger than mesh
✔ Great for market produce
⭐ Step 4: Shape the Top of the Bag
After your bag reaches your preferred height (usually 30–38 cm):
Round 1
Switch to tighter stitches:
SC around the top edge
Join with SL ST
Round 2
HDC or DC around for a smooth, firm top band
Join with SL ST
Repeat 2–3 rounds if you want a thicker top edge.
⭐ Step 5: Add the Handles (Simple & Strong)
Handles are crocheted directly onto the bag.
Placement
Lay bag flat and count stitches:
- Make sure handles are centered
- Place stitch markers where each handle begins and ends
Handle Pattern
- Insert hook into marked stitch
- CH 35–45 (for long straps)
- Skip the same number of stitches on the bag
- SL ST into the next marker to attach the other end
Repeat on the opposite side of the tote.
Reinforce
- SC around the entire top edge again
- Work 2–3 rows to make handles extra sturdy
✔ This prevents stretching and gives the top edge a professional finish.
⭐ Step 6: Finishing Touches
You’re almost done!
- Weave in all yarn ends with a tapestry needle
- Lightly block the bag to shape it
- Optional:
- Add a tassel
- Sew a lining inside
- Attach a wooden tag
- Crochet a matching pouch
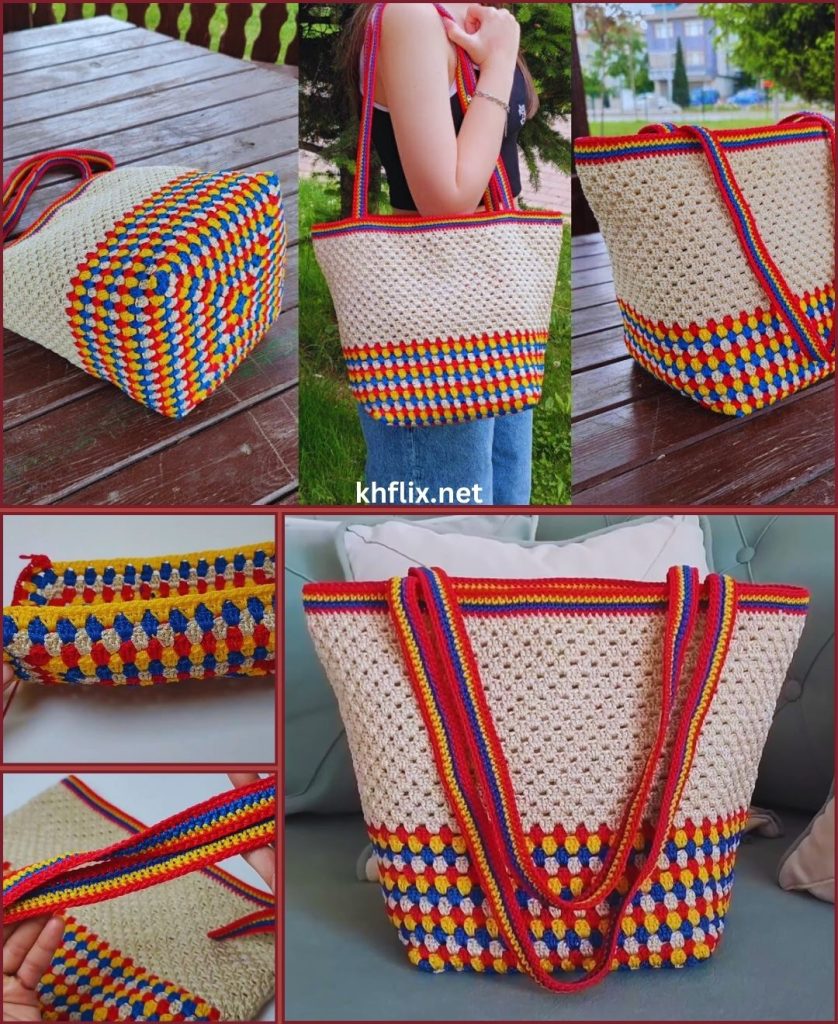
Your tote bag is now ready to carry to the beach, take to the market, or show off on vacation!
🌺 Customization Ideas
Make your tote unique with these options:
✨ Color Options
- Pastel sunset stripes
- Ocean blues and greens
- Bold tropical hues (coral, yellow, teal)
- Neutral beige for a minimalist beach look
✨ Textures
- Alternate mesh with solid rows
- Add bobble stitches for fun
- Try macrame-inspired crossed stitches
✨ Shapes
- Go taller or wider
- Add a flat oval base
- Make shorter straps for a handbag look
✨ Extras
- Add inside pockets
- Crochet matching coasters or makeup bags
- Sew on leather straps for a premium finish
🎒 Where to Use Your Tote Bag
This tote is incredibly versatile. Use it for:
- ✔ Beach trips 🏖
- ✔ Market shopping 🥕
- ✔ Gym or yoga class 🧘♀️
- ✔ Kid’s toys
- ✔ Pool days 💦
- ✔ Books & notebooks
- ✔ Summer road trips
- ✔ Everyday carry
Once you make one, you’ll want to make more in every color!
❓ Frequently Asked Questions
Q1: Is this project beginner-friendly?
YES! If you can do basic crochet stitches, you can make this bag.
Q2: How long does it take?
- Beginners: 2–3 days
- Experienced crocheters: 6–8 hours
Q3: Does cotton stretch?
A little, but it stays strong and durable—the best choice for bags.
Q4: Can I make it with thicker yarn?
Absolutely! It will work up faster and feel sturdier.
Q5: Do I need to line the bag?
Not necessary for mesh bags, but optional if you’re carrying small items.
🌞 Conclusion
A crochet tote bag is the perfect summer must-have—stylish, functional, environmentally friendly, and fun to make. With this easy step-by-step tutorial, even complete beginners can create a beautiful handmade tote that works for the beach, the market, or everyday adventures.
Once you finish your first one, you’ll realize how simple—and addictive—these bags are to create. Try different stitches, colors, and handles to make each tote uniquely yours!
If you want, I can also create:
✔ A printable PDF pattern
✔ A diagram/chart version
✔ A video script tutorial
✔ A matching pouch or mini bag pattern
✔ A wide, flat-base version for groceries
Just tell me!