 by
by Step-by-Step DIY Guide for Beginners – Aurora Bag
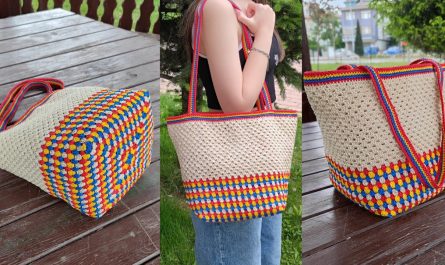
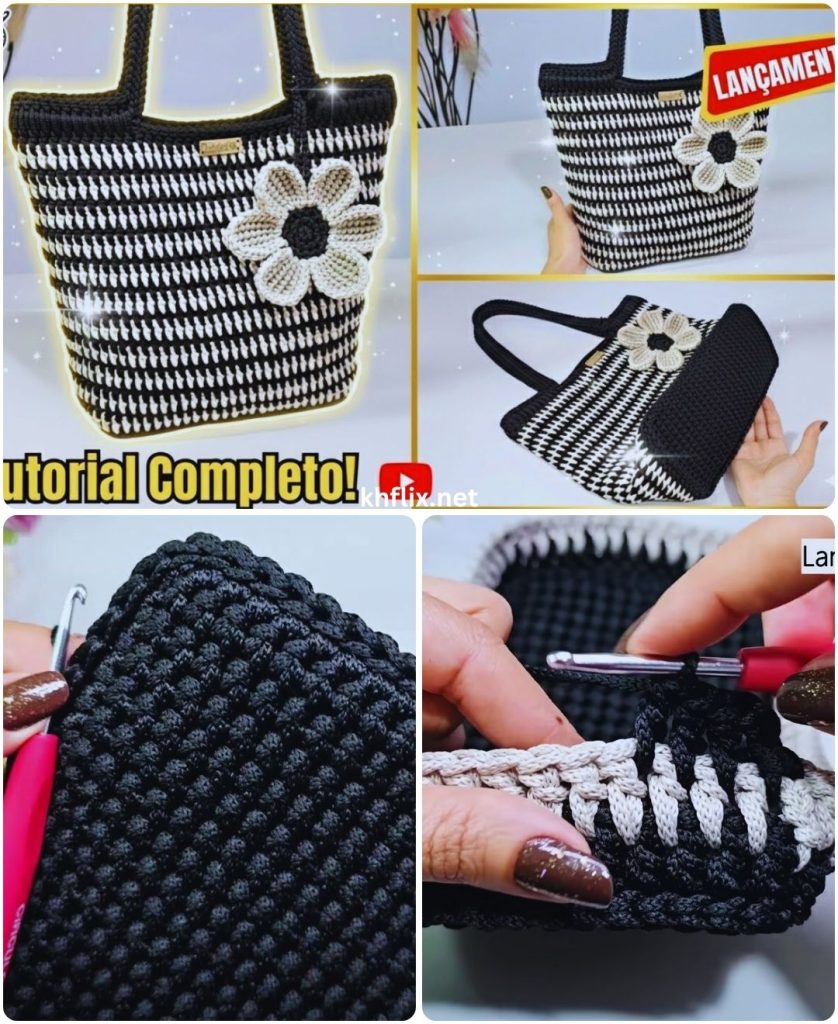
Crochet bags are one of the most rewarding projects for beginners, and the Aurora Bag is a perfect example of how simple techniques can create a stylish, useful, and affordable handmade item. Designed to be easy, quick, and economical, this DIY crochet bag is ideal for new crocheters who want a practical project without complicated stitches or expensive materials.
Whether you’re crafting for personal use, gifting, or even selling handmade items, the Aurora Bag is a smart and satisfying project that proves beautiful crochet doesn’t have to be difficult.
What Is the Aurora Crochet Bag?
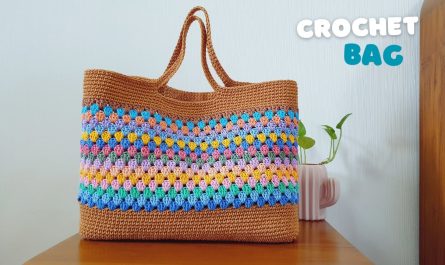
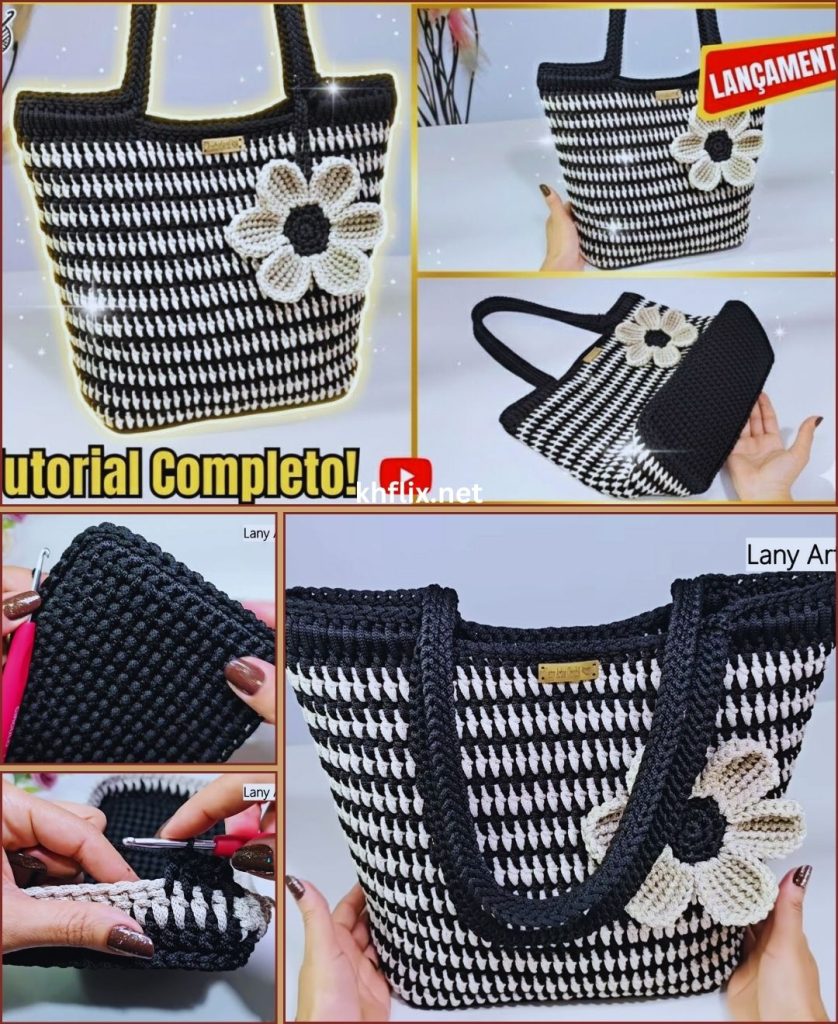
The Aurora Bag is a simple, modern crochet bag made using basic stitches and straightforward construction. Its clean shape and textured fabric make it both functional and visually appealing, even for beginners.
Key Features of the Aurora Bag
- Beginner-friendly design
- Uses basic crochet stitches
- Quick to complete
- Budget-friendly materials
- Lightweight yet durable
- Easy to customize
This bag is perfect for everyday use—shopping, casual outings, or carrying small essentials.
Why This Crochet Bag Is Perfect for Beginners
Many beginners feel intimidated by bag patterns, but the Aurora Bag removes that fear.
Beginner Benefits
- No complex shaping
- No advanced stitch techniques
- Simple construction process
- Forgiving design
- Clear start-to-finish flow
You’ll practice essential crochet skills while making something you’ll actually use.
Skill Level & Time Required
This DIY project is designed to fit into busy schedules.
- Skill level: Beginner
- Time required: 2–5 hours
- Stitches used: Chain, single crochet, half double crochet
- Techniques: Working in rows or rounds
It’s a great weekend project or even a one-day make.
Materials You’ll Need
One of the biggest advantages of the Aurora Bag is how economical it is.
Basic Supplies
- Medium-weight yarn (cotton or cotton blend recommended)
- Crochet hook (4–5 mm)
- Stitch marker
- Yarn needle
- Scissors
Yarn Choice Tips
Cotton yarn works especially well because it:
- Is strong and durable
- Holds the bag’s shape
- Is easy to clean
- Provides a neat, professional finish
Using leftover yarn can make this project even more budget-friendly.
Choosing the Bag Size
The Aurora Bag is flexible in size.
- Small size: Perfect for essentials
- Medium size: Ideal everyday bag
- Large size: Great as a tote or market bag
Beginners are encouraged to start with a medium size for balance and ease.
Step-by-Step Guide to Crocheting the Aurora Bag
Exact stitch counts may vary depending on size, but the overall process is simple and repeatable.
Step 1: Crochet the Base
Start by creating a flat base for your bag.
- Chain the desired width
- Work rows of single or half double crochet
- Continue until the base reaches your preferred length
This base forms the foundation of the Aurora Bag.
Step 2: Build the Bag Body
Once the base is complete, crochet around it to form the sides.
- Work evenly without increasing
- Use a stitch marker to track rounds
- Keep stitches consistent for a smooth finish
This step gives the bag its structure.
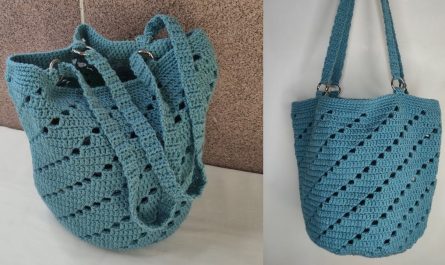
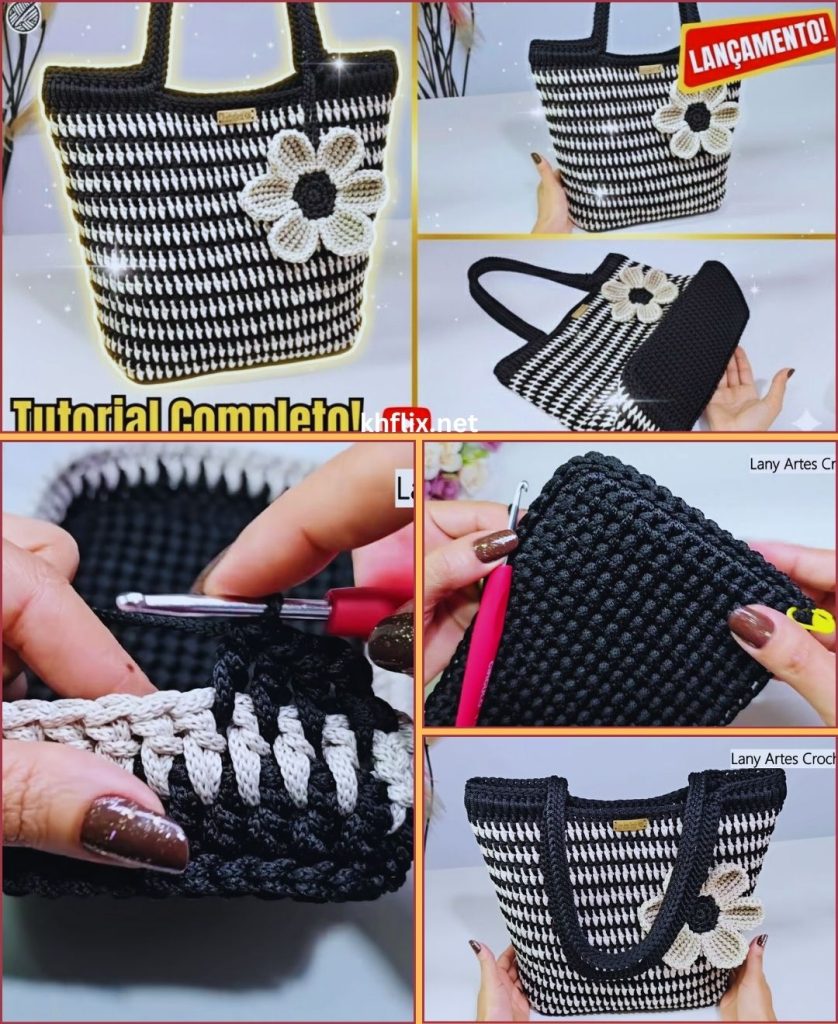
Step 3: Create the Signature Texture
The Aurora Bag often features subtle texture using simple stitch patterns.
- Alternate rows of basic stitches
- Work through back loops for definition
- Maintain even tension
This adds visual interest without complexity.
Step 4: Continue to Desired Height
Keep crocheting until the bag reaches the height you want.
- Shorter for casual use
- Taller for tote-style bags
Consistency is key to a professional look.
Step 5: Finish the Top Edge
Strengthen the opening of the bag.
- Work a final round of tight stitches
- Add a decorative edge if desired
This prevents stretching and adds durability.
Step 6: Crochet the Handles
Handles are simple but important.
Easy Handle Method
- Chain the desired handle length
- Attach securely to both sides
- Reinforce with extra stitches
Make sure the handles are sturdy enough for daily use.
Step 7: Final Finishing
This final step pulls everything together.
- Weave in all loose ends
- Adjust stitches
- Lightly block if necessary
Your Aurora Bag is now complete!
Tips for Making the Bag Quick & Economical
- Use one yarn color to save time
- Choose basic stitches
- Avoid complex closures
- Work with consistent tension
These tips help you finish faster while maintaining quality.
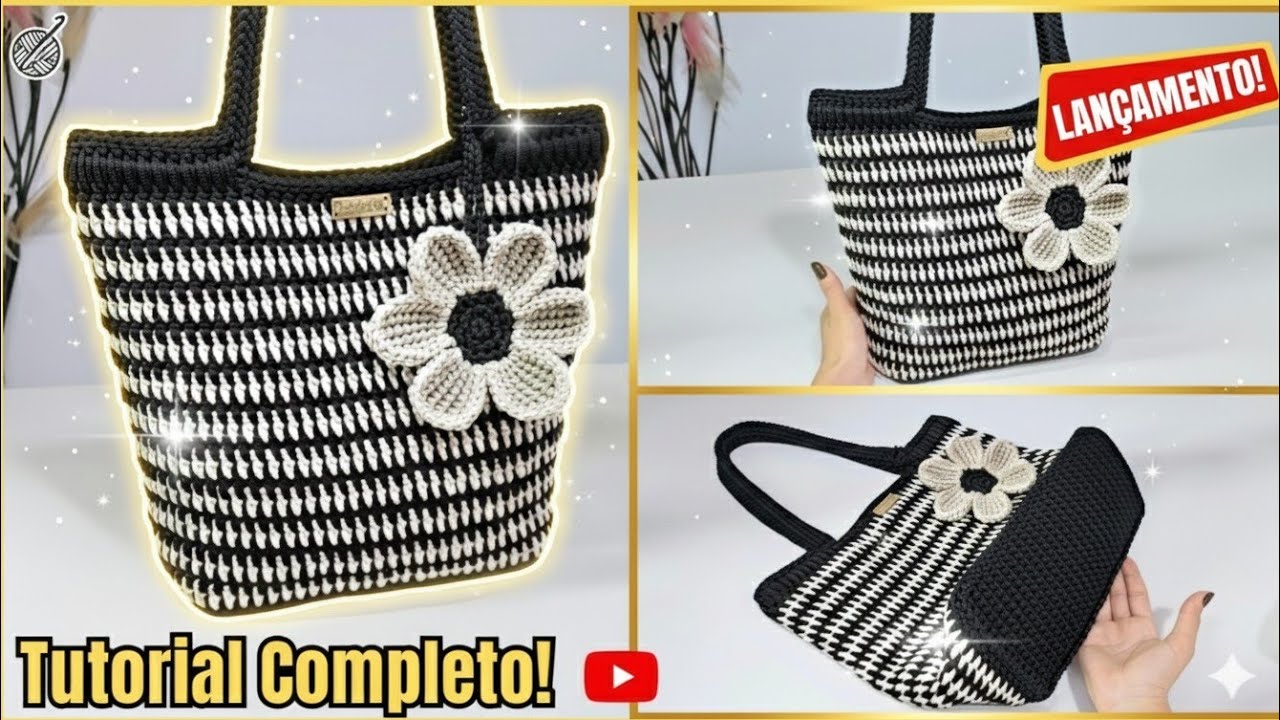
Customization Ideas
Once you’ve mastered the basic Aurora Bag, make it your own.
Easy Customizations
- Add stripes or color accents
- Attach tassels or charms
- Add a fabric lining
- Adjust handle length
Small changes can completely transform the look.
Why the Aurora Bag Is Great for Selling
This bag isn’t just easy—it’s market-friendly.
Profit-Friendly Features
- Low yarn cost
- Quick production time
- Wide customer appeal
- Customizable sizes and colors
It’s ideal for craft fairs, online shops, and handmade gift collections.
Eco-Friendly & Sustainable Appeal
The Aurora Bag is also an eco-conscious project.
- Reusable alternative to plastic bags
- Uses natural fibers like cotton
- Long-lasting and washable
- Handmade with minimal waste
Sustainability adds extra value for modern buyers.
Final Thoughts
The Aurora Bag proves that crochet doesn’t have to be complicated or expensive to be beautiful. With its easy construction, quick results, and economical materials, it’s the perfect DIY crochet bag for beginners.
Whether you’re learning crochet, making gifts, or starting a small handmade business, this bag offers a wonderful balance of simplicity and style. Once you complete one, you’ll likely want to make more in different colors and sizes. 🧶👜
If you’d like, I can also:
- Turn this into a written crochet pattern
- Create an SEO-optimized blog version
- Write a YouTube video description
- Help with pricing and selling tips
Just let me know—happy crocheting!